The GIGABYTE X399 DESIGNARE EX Motherboard Review
by E. Fylladitakis on June 22, 2018 11:30 AM EST- Posted in
- Motherboards
- Gigabyte
- ASRock
- Asus
- Ryzen
- ThreadRipper
- X399
- 1950X
BIOS
Like almost every motherboard nowadays, the GIGABYTE X399 Designare EX sports a graphical BIOS. Strangely, GIGABYTE has the advanced mode enabled by default for users who first enter the BIOS. The motherboard also resets to the advanced mode after clearing the BIOS. The "easy" mode is almost hidden, with the user having to move the mouse to the bottom of the screen to reveal its existence. After pressing the "easy mode" button, the BIOS is essentially reduced into a single screen that mostly provides system information and monitoring. The few options that a casual user might need, such as boot sequence and fan speed adjustments, are accessible from this page.

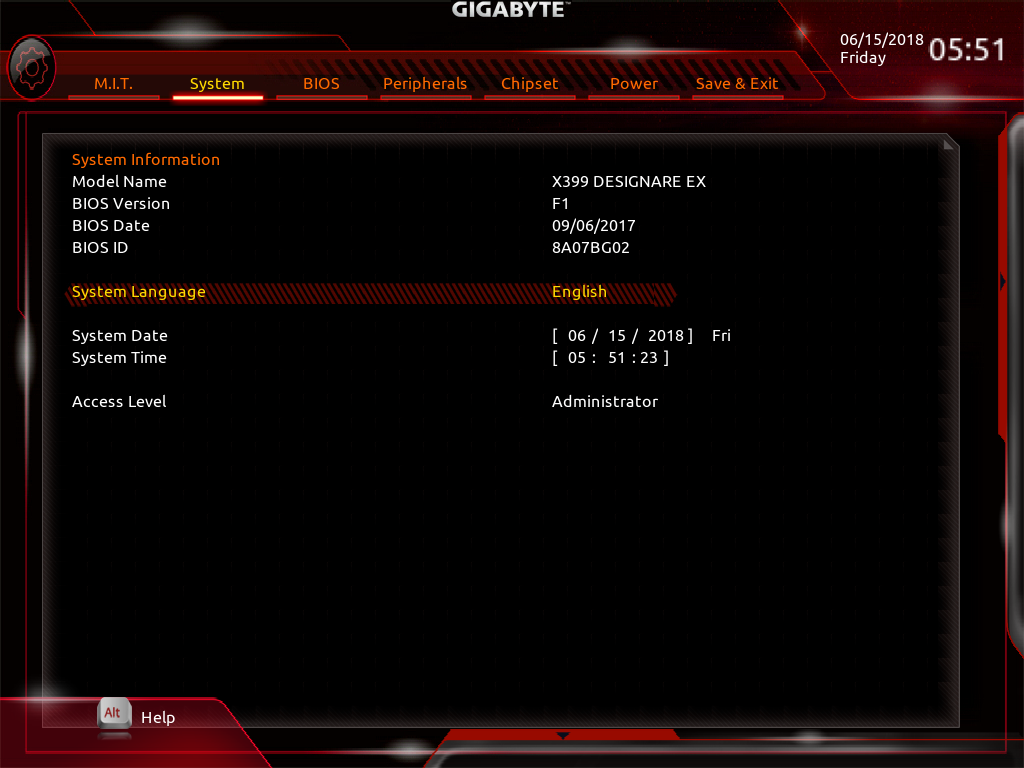
The Classic (or advanced) mode reveals all of the motherboard's menus and options. The BIOS defaults to the second tab, the "System" tab, which contains only basic system information and the language selection option.
The first tab from the left (M.I.T.) is perhaps the most important of the entire BIOS. It is a complex section that is divided into five submenus, with a sixth option offering access to semi-graphical fan speed options. The other five menus include the frequency, memory and voltage settings of the motherboard.
_thumb.png)
_thumb.png)
_thumb.png)
_thumb.png)
_thumb.png)
_thumb.png)
The "Advanced Frequency Settings" submenu includes frequency settings for both the CPU and the RAM. Only the base CPU clock ratio and memory frequency multiplier can be adjusted from the main page, with the rest of the CPU-related options inside a second submenu. From this submenu, the user can enable/disable the core performance boost (enabled by default) and other CPU-related features, including SVM (virtualization - disabled by default).
The "Advanced Memory Settings" once again includes the memory frequency multiplier and the memory profile options. By default, the memory timings are set to Auto and the BIOS informs the user of the value each setting has. If the memory timing mode is switched from Auto to Manual, the user will be able to change the five "standard timing" settings, plus a very long list of the "advanced timing" settings. That probably is about as customizable as it gets. A small submenu also includes the memory power/gear down and interleaving options.

The "Advanced Voltage Settings" submenu brings up all of the voltage, frequency, and current controls. Almost all of the voltage settings are absolute, with relative (offset) options available only for the CPU Vcore and VSOC. Note that the CPU thermal control/throttling options are not included in this menu.
The fourth submenu, "PC Health Status" is purely informative and shows only the voltage sensor readings, no temperature or fan-related information. Finally, the fifth submenu, "Miscellaneous Settings", only includes two options, one for the configuration of the PCI Express slots and one for the enhancement of legacy benchmarks.
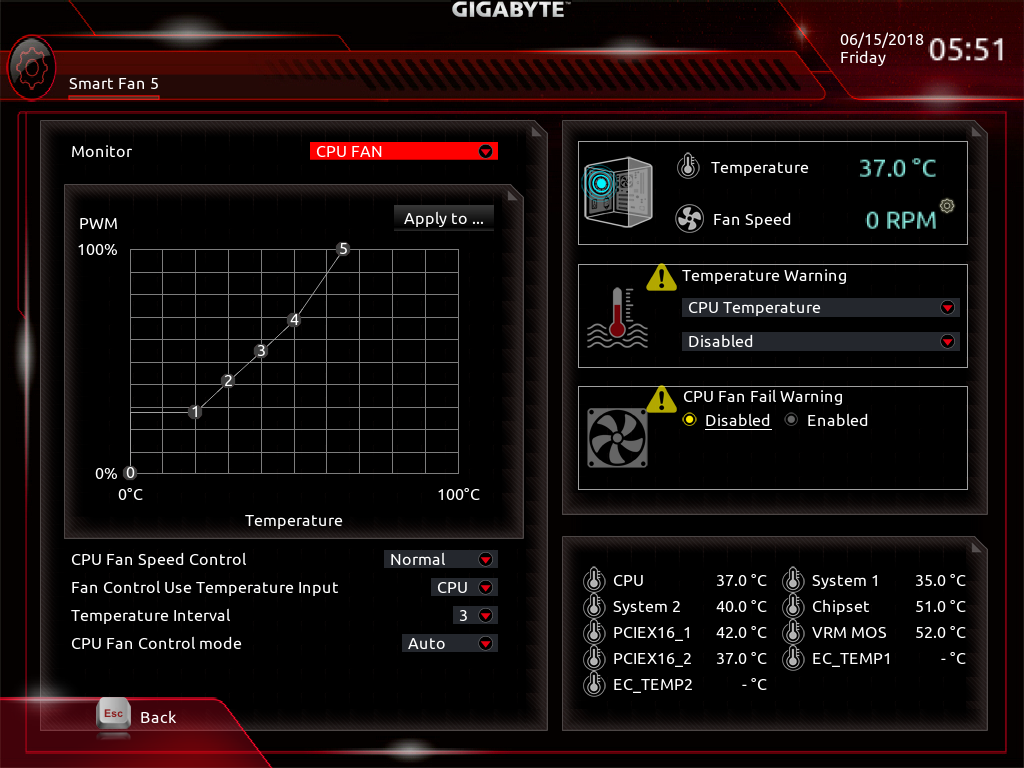
The Smart Fan 5 submenu brings up a graphic interface for the monitoring and adjustment of the fans that are connected to the onboard headers. There are three preset options, "Normal", "Silent" and "Full Speed", as well as manual control that allows the user to adjust the speed of each device according to a specific system temperature.
After M.I.T., the only other tab that warrants any special attention is the "Peripherals" tab. This tab usually contains settings that control a motherboard's onboard chipsets and some basic chipset-related options. In this case however, the "Peripherals" tab also contains both the RGB Fusion app and the AMD CBS submenu. The former brings up a graphical interface that allows for the programming of the onboard and header RGB lighting options. The latter is a messy series of submenus that include a lot of Ryzen-specific options. Many of the submenus include only one or two options, suggesting that gathering them all into a single submenu would have probably been a wiser design choice. CPU throttling options can be found under the "Zen Common Options" submenu and trying to access them brings up a disclaimer/warning screen.

The rest of the submenus are simple and without any hidden surprises. The "BIOS" and "Chipset" submenus contain mostly boot-related and SATA-related options respectively. The "Power" menu also contains only power-related settings and the High Precision Event Timer (HPET) setting (enabled by default).
_thumb.png)
_thumb.png)
_thumb.png)
_thumb.png)
_thumb.png)
_thumb.png)


20 Comments
View All Comments
Komachi_Ensaka - Friday, June 22, 2018 - link
Great Article.BTW this Board has a THB_C Header.
Any update THB_C Header/GC-ALPINERIDGE(ThunderBolt 3 exCard) about this MB from GIGABYTE?
Cooe - Saturday, June 23, 2018 - link
Intel still hasn't actually opened up the licensing. They said they were going to like 2 years ago at this point, but have managed to drag their feet through avoiding actually pulling the trigger to the present day.Basically, everyone with TB3 compatible hardware, but no valid software & driver license is pretty much stuck holding their junk in their hands ever waiting on an non-motivated Intel. This is almost surely the reason why the only X399 board (or AMD board of any kind actually) to have said TB3 HW was this particular SKU (having ofc been added to it's design at a point when it seemed like they'd be able to activate/enable it not long after the board would launch), and this includes the so far shown X399 refresh boards.
eek2121 - Sunday, June 24, 2018 - link
Hrm, overclocking depends on the chip. My TR used to be Rock solid stable at 1.225V @ 4.0 and 1.35V at 4.1. However, I like to play with my chips, so on my MSI I have had it as high as 1.65V @ 4.4 GHz. At that speed it beat every Intel chip to date for every benchmark I ran, but also degraded my CPU in a few hours. However, it can still do 4.0 @ 1.288V, which keeps the chip well under 68C even under Prime95.tspacie - Friday, June 22, 2018 - link
Question about test setup (and DPC latency); do you install all the optional drivers that come with the Mobos or just whatever Windows Update finds?E.Fyll - Saturday, June 23, 2018 - link
All of the tests take place after installing all the drivers and related software that comes with the manufacturer's CD/flash media. We only skip the installation of any "optional" software that may be includes, such as toolbars and application demos. Note that installing most driver packages just installs the manufacturer's utility/tool/interface and not the driver, as the OS will generally not replace current drivers with older versions (not unless forced).cyberguyz - Friday, June 22, 2018 - link
Having owned a Gigabyte X399 Aorus Gaming 7 (It died for the same reasons that seem to have happened to quite a few others :( not gonna go into that here) I see very little difference between my Late X399 Aorus and this board:The boards are pretty much identical except for second Intel I211 ethernet replacing the Killer ethernet. B oth boards sport 2x GB ethernet and onboard 1200AC wireless. They both have 5x metal-clad x16 slots with the middle one disguising an x4 slot. They both have 3x pcie gen3 M.2 slots in the exact same places. They both have 8x sata3 ports and the same number of external & internal Gen 1 USB3 3.1 ports the same 2 USB gen2 ports - one 'A' and one 'C'. The number of power phases and audio controller + capacitors and software.
In fact the only distinguishing features I can see are the metal backplate while the Aorus is littered everywhere with with RGB leds, the differing second ethernet port and possibly the M2->U2 adapter.
Not really seeing the excitement with this one other than a little bit of steel rather than bling (I really don't see the value or detriment of the Killer vs Intel ethernet).
Arbie - Friday, June 22, 2018 - link
The undervolted result is really interesting - cutting power in half! Did you by any chance capture the difference in idle watts? That's where my system is 99% of the time, and as I recall TR's idle dissipation was about twice that of a Ryzen 1800. Of course I could undervolt the latter too... something to consider.zirk65 - Saturday, June 23, 2018 - link
I had the same thought about idle watts, whether the memory controller is still the likely consumer.E.Fyll - Saturday, June 23, 2018 - link
I did not test that extensively but the difference in idle is about 7-8 Watts, depending on the motherboard. It is not as impressive as the difference under load but not negligible either. Tweaking could probably improve that a little bit further but I highly doubt that the idle energy consumption can ever reach that of single-die processors.eek2121 - Sunday, June 24, 2018 - link
Set you minimum processor power management to. 4.0 GHz. Set P0 pstate to a lower level or bump up LLC...