The ASUS ROG Strix X299-XE Gaming Motherboard Review: Strix Refined
by Joe Shields on December 11, 2017 8:00 AM EST- Posted in
- Motherboards
- Asus
- X299
- Skylake-X
- Kaby Lake-X
BIOS
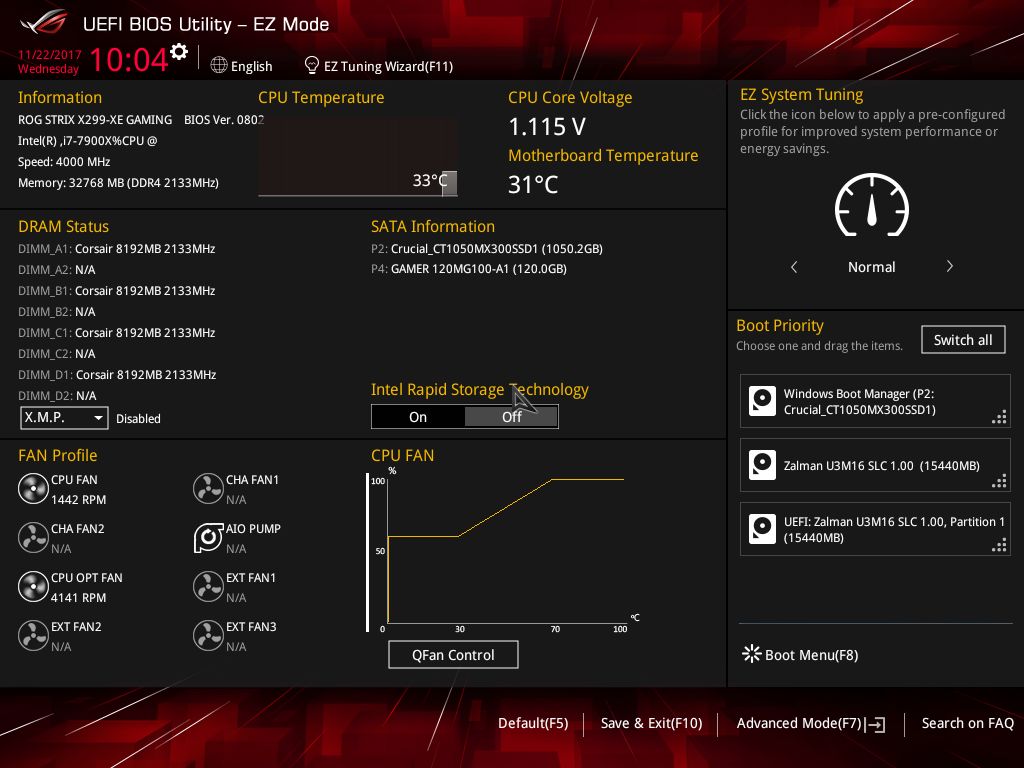
When we first get into the BIOS we are greeted by the Main screen (2nd image) and not EZ Mode as pictured below. I am not sure if that is because this is a ROG brand product, and ASUS is thinking that users that buy this class of enthusiast motherboard would generally jump through to advanced, or why it is different than the TUF X299 Mark 1 recently reviewed which comes into EZ Mode first.
The EZ Mode give users a high-level view of the system and are allowed to change a few options. In this case, we see CPU and Memory type, temperature, the status of fans attached to the onboard headers with access to QFan, boot priority (adjustable), and EZ System Tuning.
Auto Tuning/overclocking is possible through the EZ System Tuning options in the upper right-hand corner. The Extreme Tuning option cranked things up to a single core overclock of 4.6 GHz and an all core clock of 4.4GHz. To reach those clocks, the BIOS set a voltage of 1.30V which, for the all core clocks it is using, sends a bit more voltage than our processor needs to be stable (around +0.15V more). When this setting was selected, with our current cooling solution (2x140mm AIO), CPU temperatures shot up close to 100ºC in POVRay, breaking our testing rule on thermal limits of 90ºC handily. The Fast Tuning option sets things 4.5Ghz single core and 4.3 GHz all cores at 1.25V. This result was more appropriate for our cooling and non-delidded chip but still used a bit more voltage than needed.
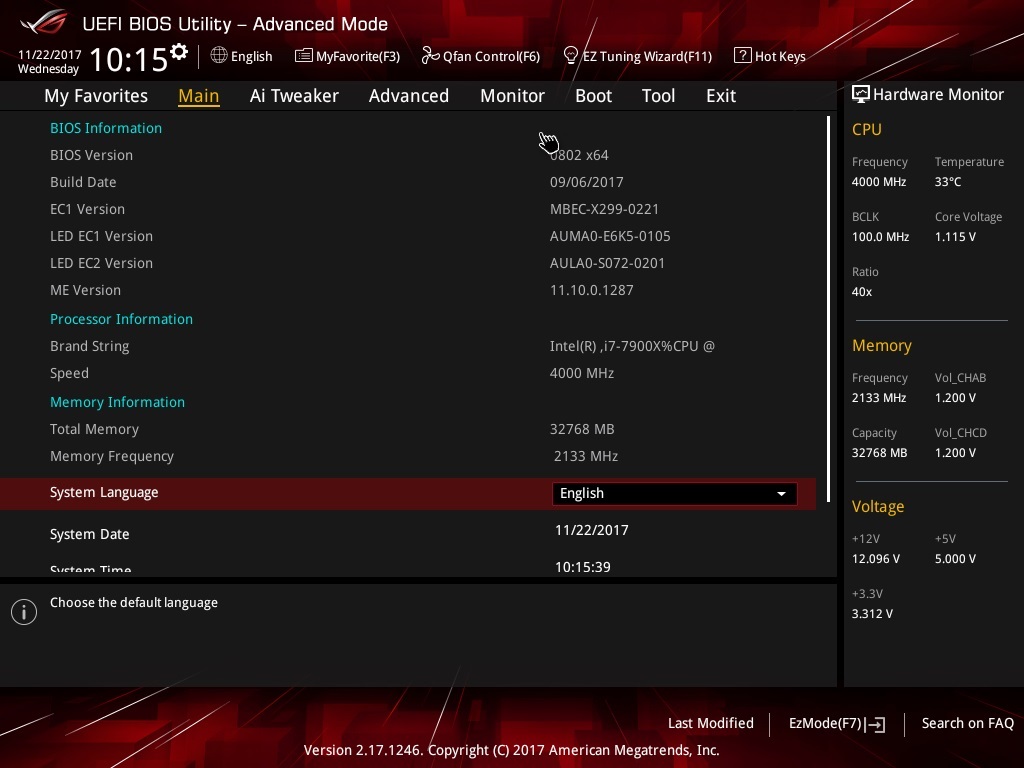
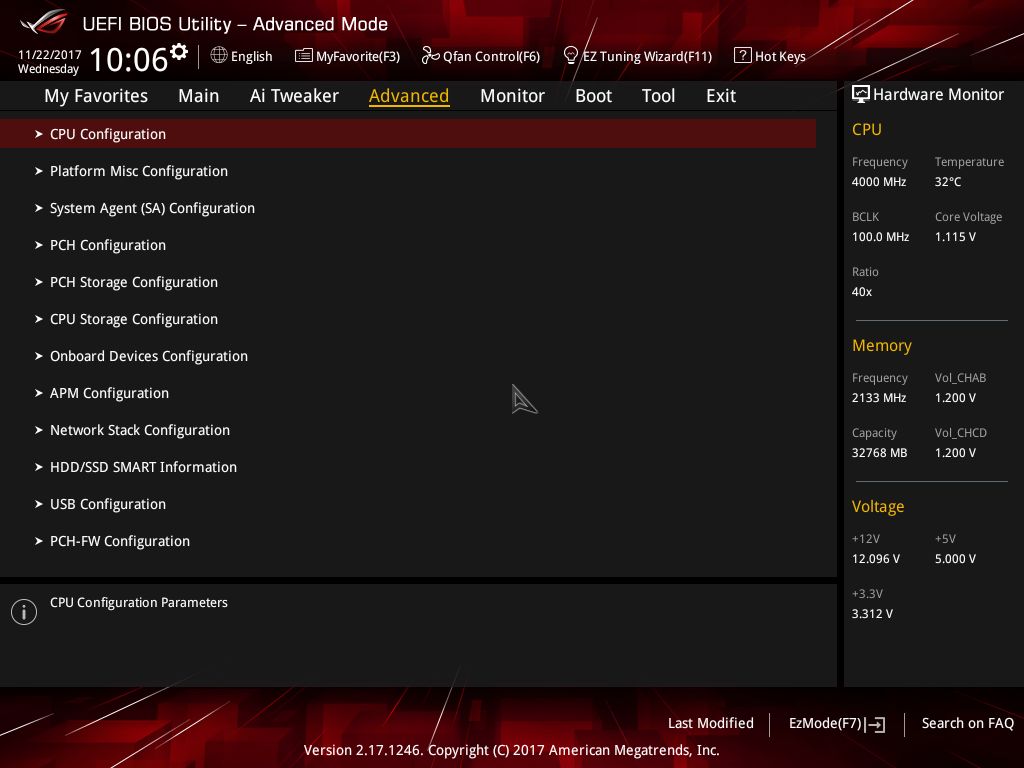
When going into advanced mode, we are greeted by the Main screen which is simply an informative page giving high-level information about the BIOS version, CPU type, Memory capacity and frequency, and more. The 'My Favorites' section includes a lot of often used options under one heading. It is also customizable by pressing F3.
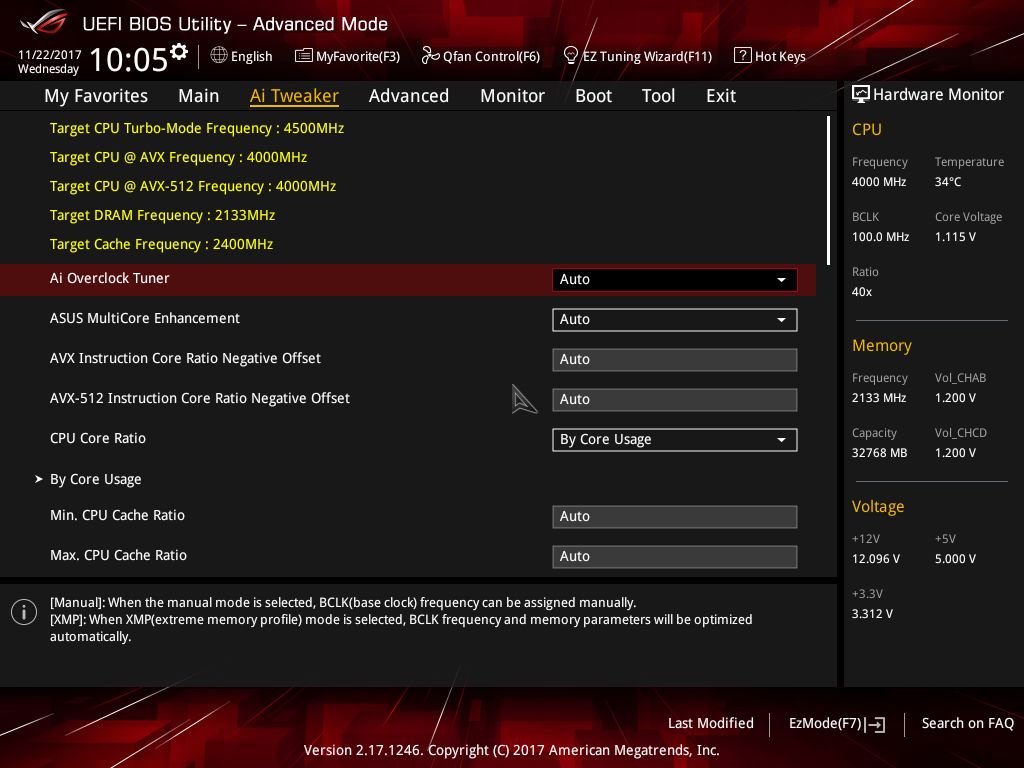
The Ai Tweaker screen is where those overclocking will spend the majority of the time. This section includes options to enable XMP for the memory or where to select manual mode where BCLK can now be adjusted manually. When enabling XMP, this ASUS BIOS will ask "...you would like to apply the all core enhancement with the XMP settings for improved performance". In other words, this is another way to enable MCE (there is a drop-down below the Ai Overclock tuner as the primary way to do so). This will synchronize all cores to the same speed as opposed to using the default Intel method where there are steps down in frequency as more cores are used. We leave this option disabled for our stock testing
The DRAM Timing control section in Ai Tweaker is where all memory timings can be adjusted. In fact, there are several screens of timings one can adjust. The External Digi+ Power Control section is where one can control LLC, VRM, CPU Power Phases, and thermal controls. Most users won't spend much time in the Internal CPU Power Management Settings or Tweaker's Paradise unless they are really pushing things to the limit.
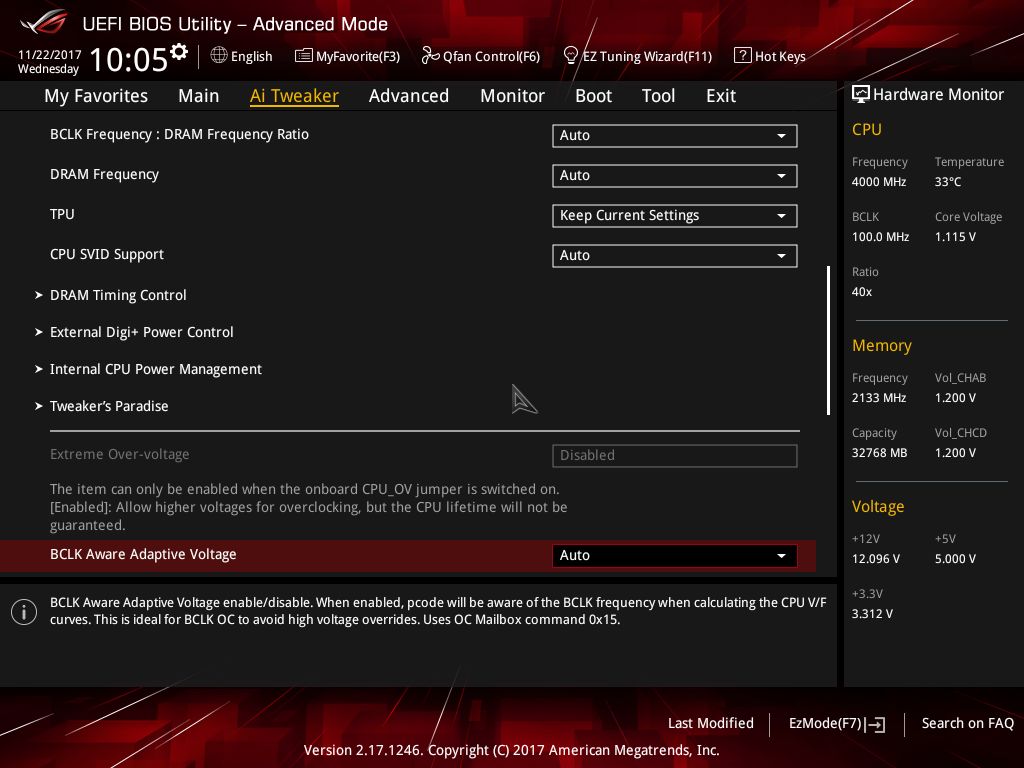
Further down the Ai Tweaker page, we are able to see the different voltages types which can be adjusted as needed.

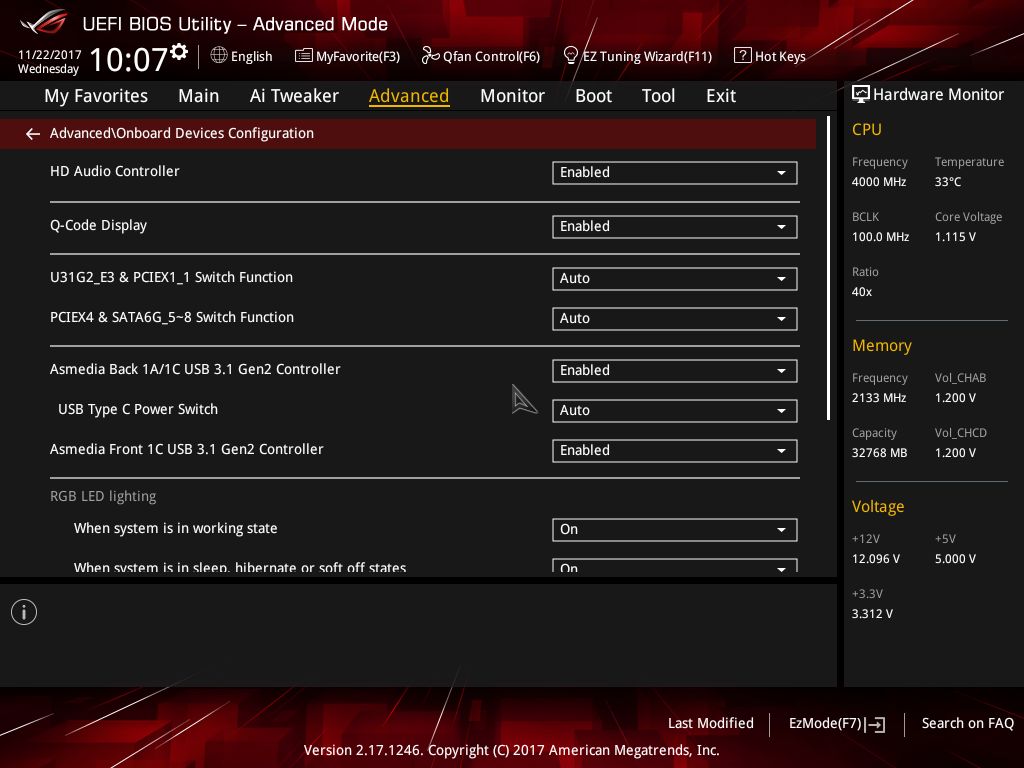
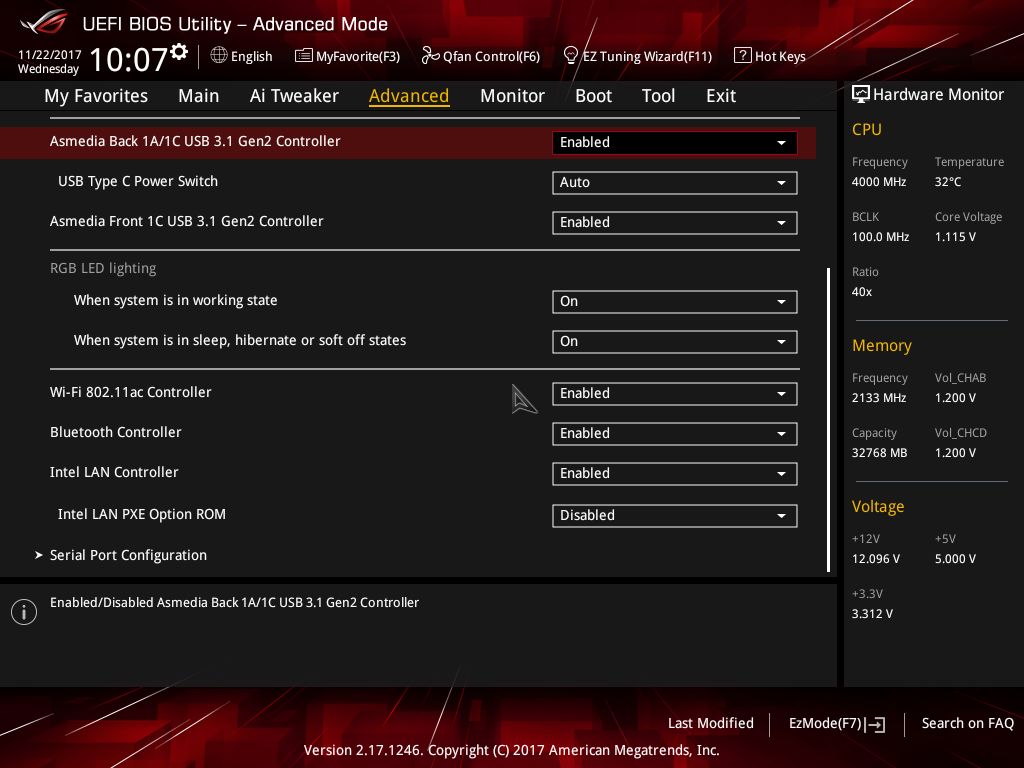
The Advanced section houses several other subheadings where adjustments to the PC can be made. These are options such as PCIe lane control, PCH storage configuration, USB configuration, network stack, as well as enabling or disabling some of the bells and whistles like SATA controllers, Audio, RGB lighting, and LAN/Wi-Fi.
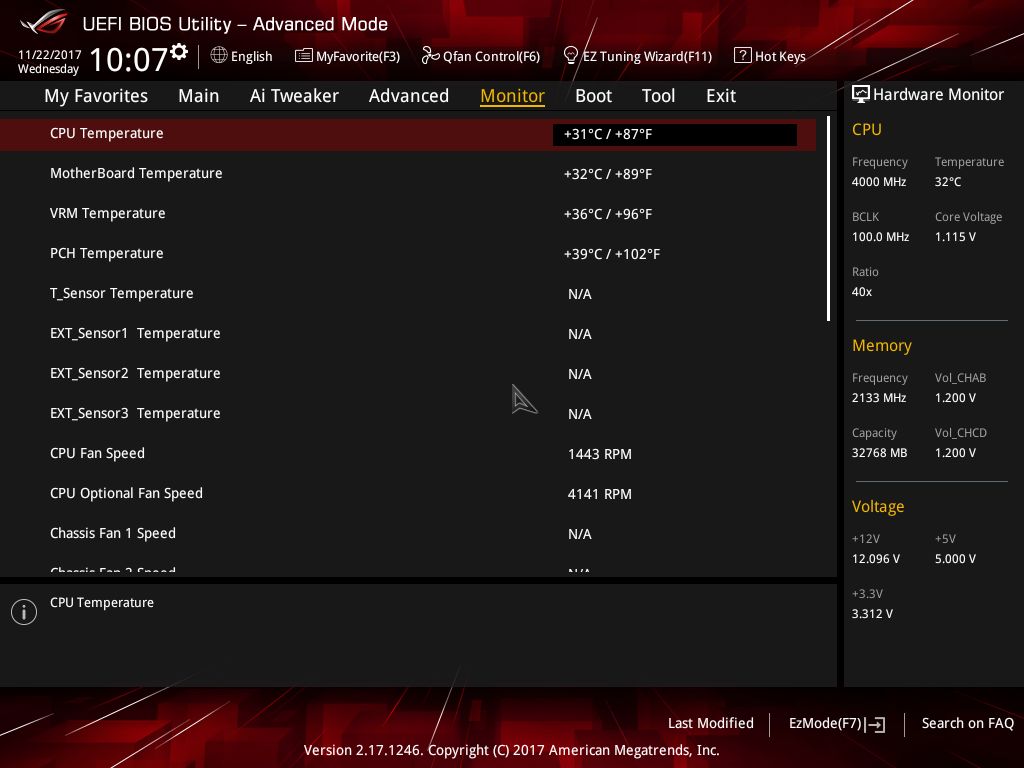
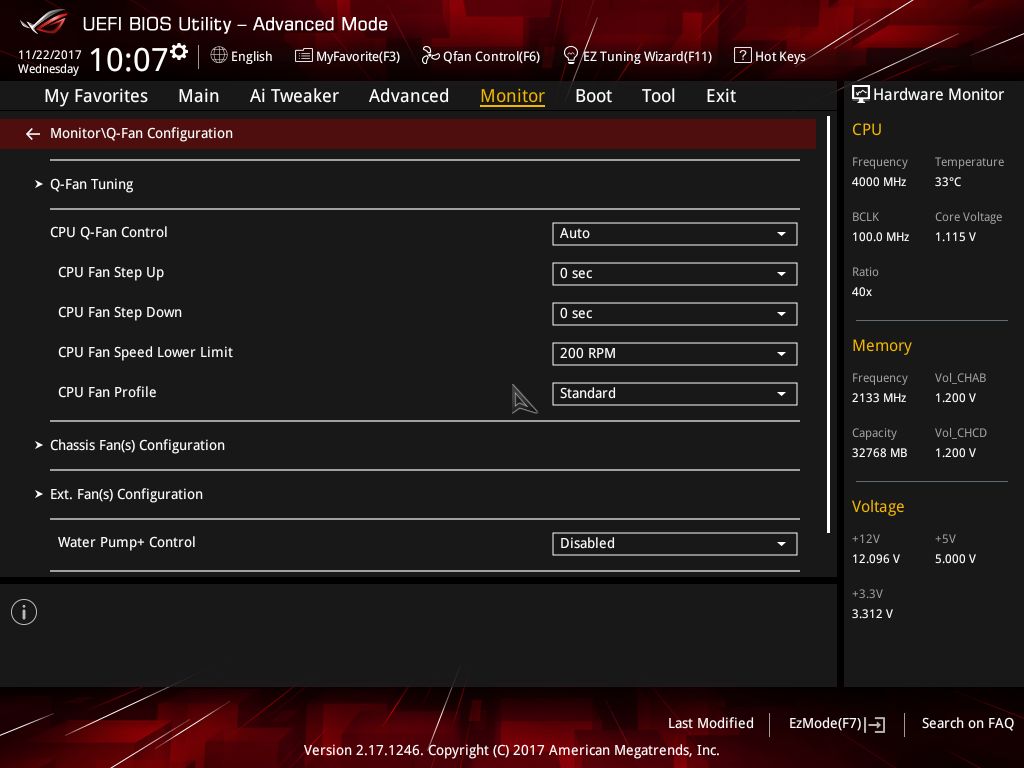
The Monitor section provides details on the temperatures from the CPU, Motherboard, PCH, and VRM, as well as external sensors that are plugged into the board. A bit further down the page is where users are able to adjust the attached fans speed.
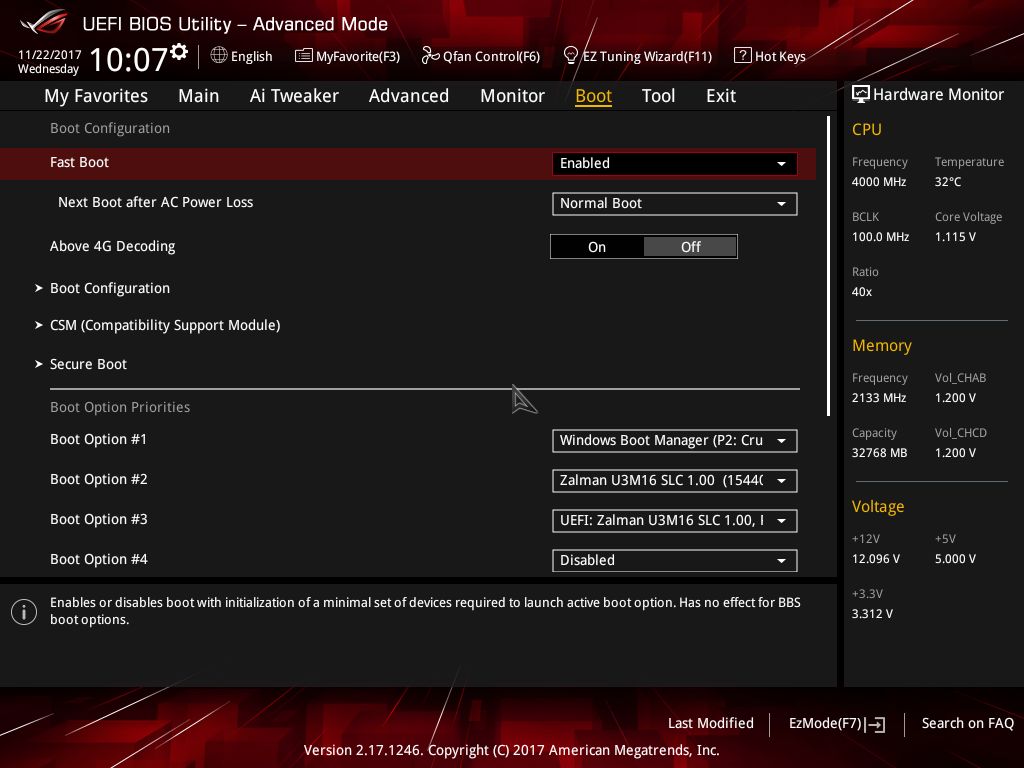
The Boot section holds the options for changing boot order, as well as speed (fast boot), and gives the ability to force a specific device with boot override.
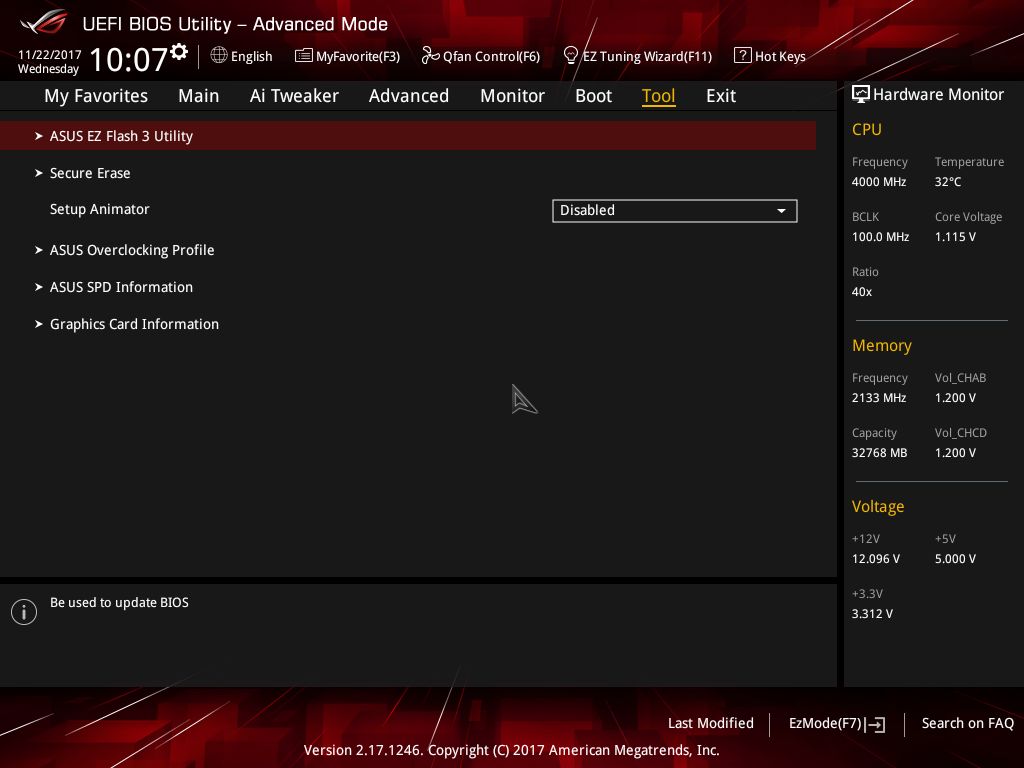
The Tools section includes the EZ Flash 3 Utility for flashing the BIOS and Secure Erase to wipe SSDs to a factory fresh state. Also in this section are the ASUS SPD Information and Graphics Card Information options which will present a high-level of information on the DRAM and GPU installed. This includes XMP profiles for DRAM and GPU temperature, voltage, and memory size/type. This is also where users are able to save overclocking profiles.
Overall, I didn't have any issues with the BIOS. Mouse movement was a bit quick for my liking compared to being in Windows, but it wasn't a huge deal.


Software
Normally we would start with what the support CD contains, however, this was one of the missing items in the accessory stack for our review sample. That said, we don't imagine it to be any different than the TUF X299 we just reviewed which has drivers and utilities to install.
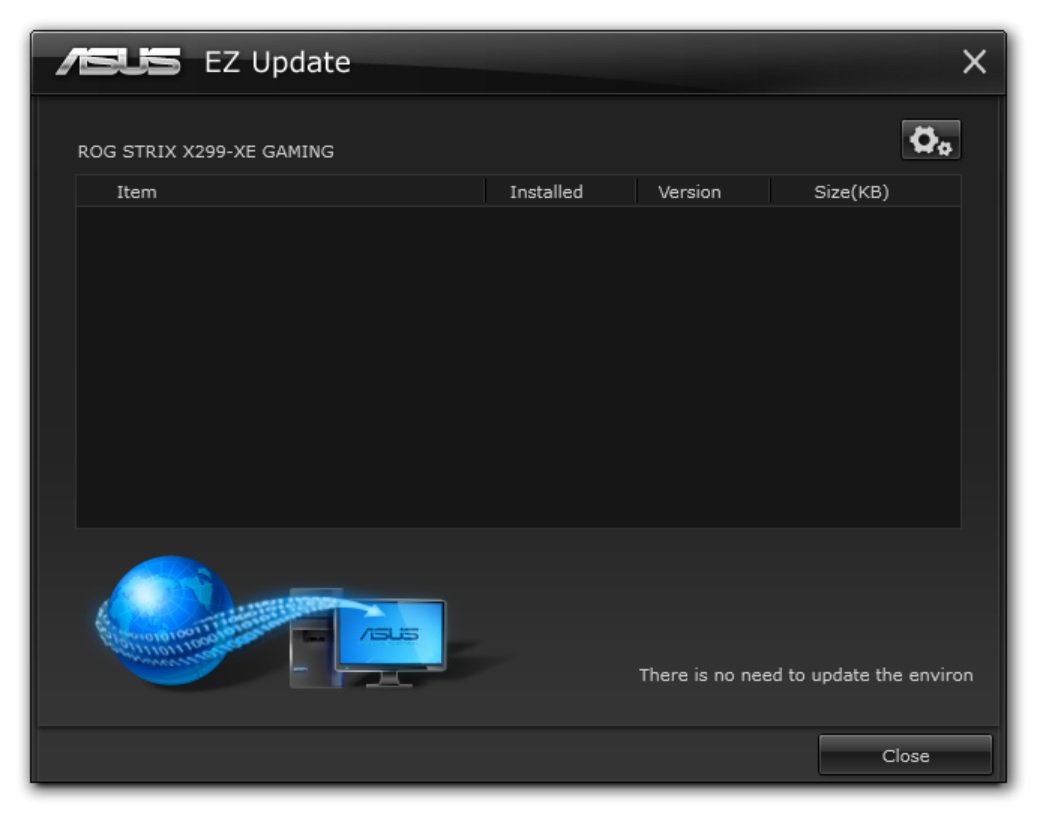
From the software stack, one of the more important features is EZ Update. It is an application used to check the web for new versions of installed software. Nothing was needed in this case so nothing is displayed in the query, although there is clipped text as shown below. (Side Note from Ian: I've never managed to see this working when updates were available.)
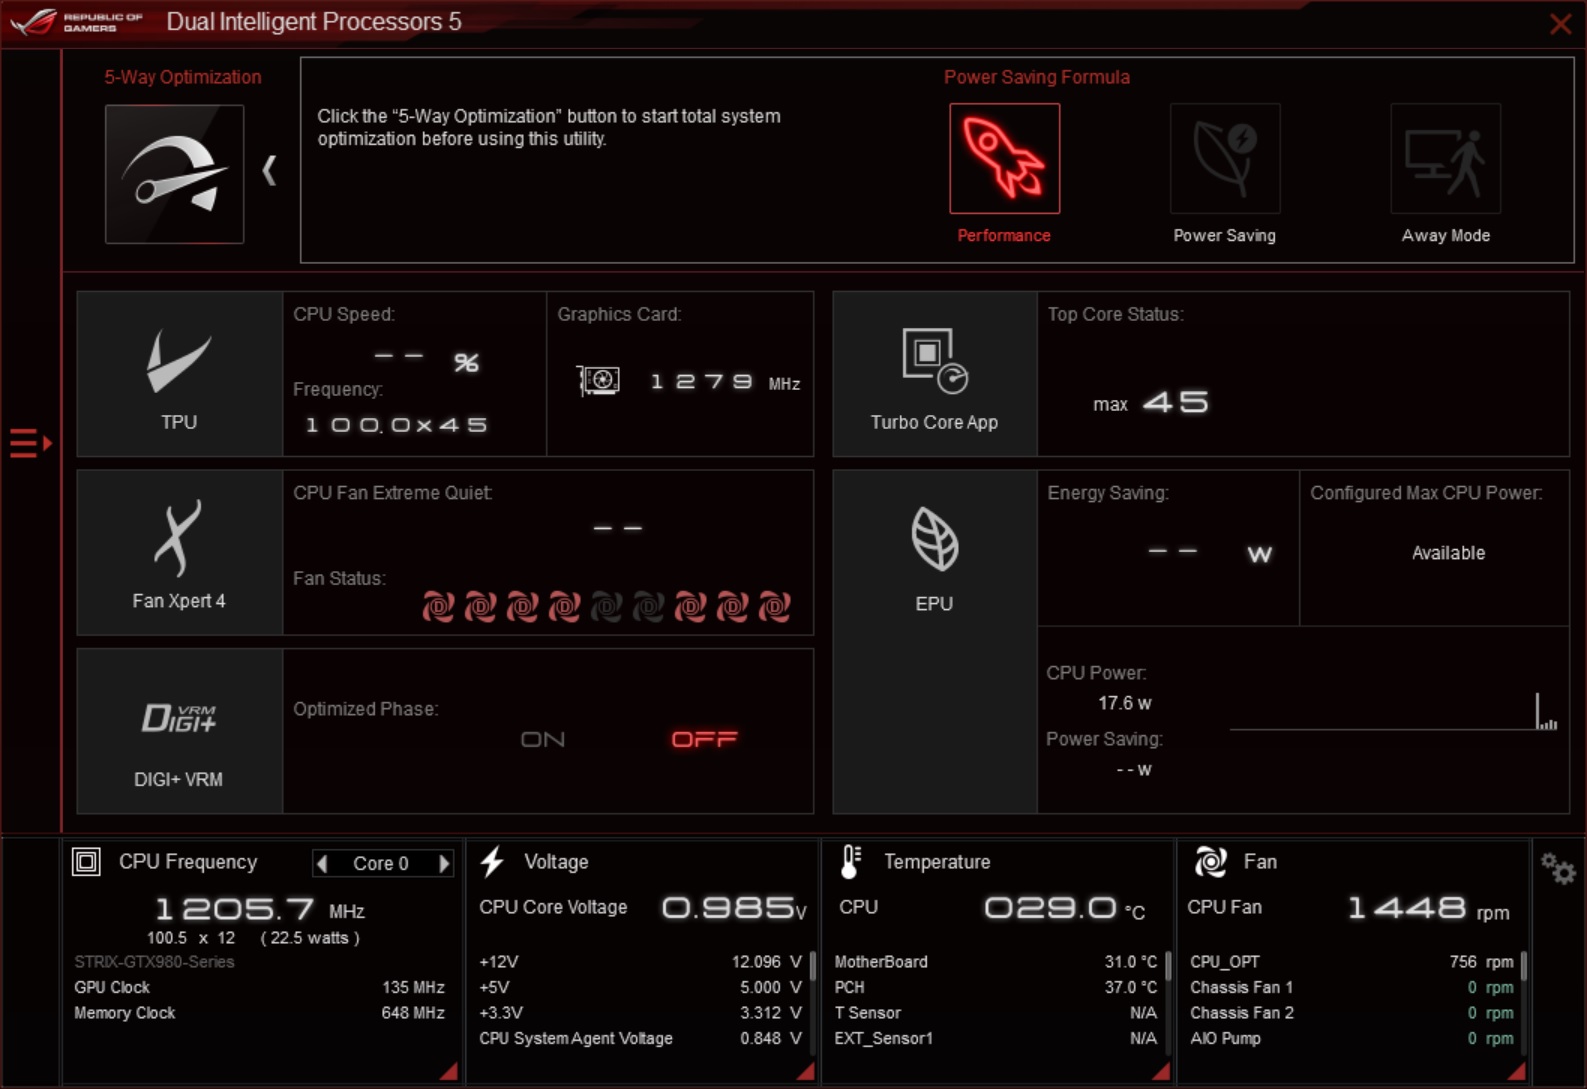
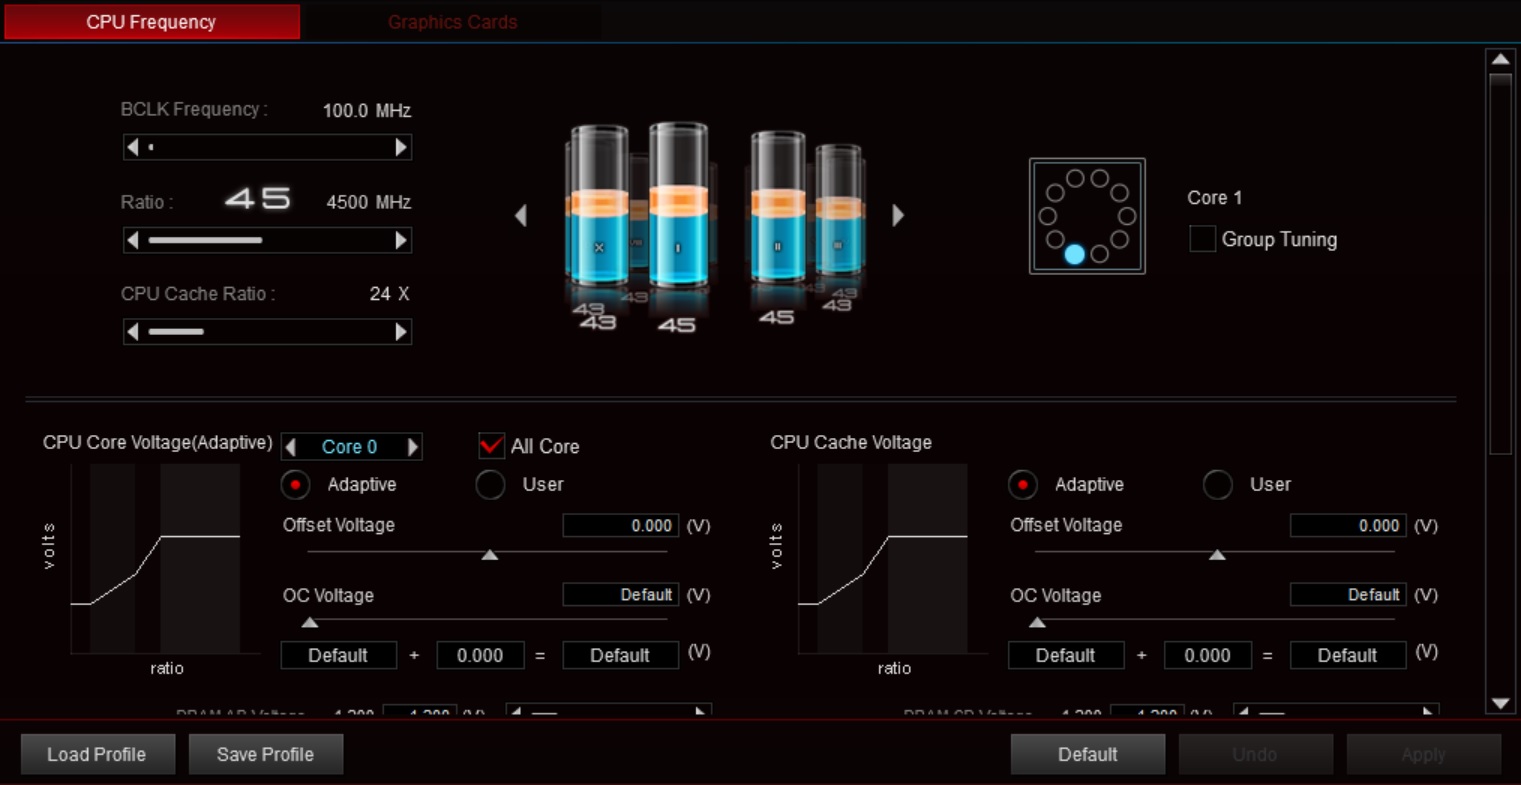
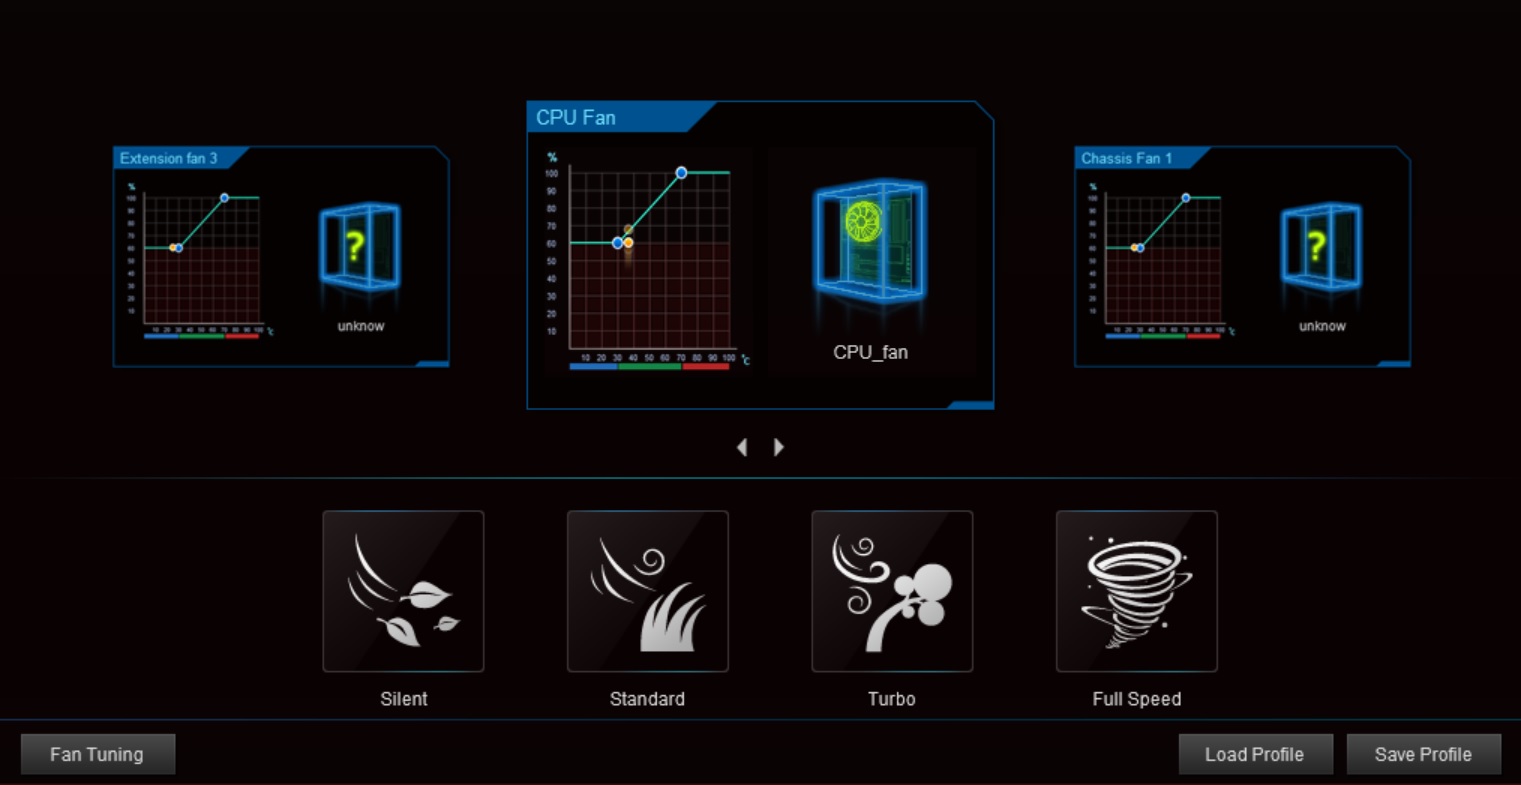
AI Suite 3 contains the 'Dual Intelligent Processors 5' software suite that allows users to make many changes to the clockspeeds and voltages, the fan control, and offers power saving adjustments. It also has monitoring for CPU frequency, the major voltage domains on the CPU, the major rails on the power supply, as well as temperature and fan speeds. On top of this, fans can be controlled through the Fan Expert 4 utility. If overclocking isn't your thing, or you would like to save some power, the EPU section allows you to switch modes from performance to away mode.
Overall, the DIP5 application works well. I played around a bit with this when overclocking and did not run into any major issues. Navigation felt a bit clunky when you need to use the sidebar, but most options are on buttons on the first page anyway.
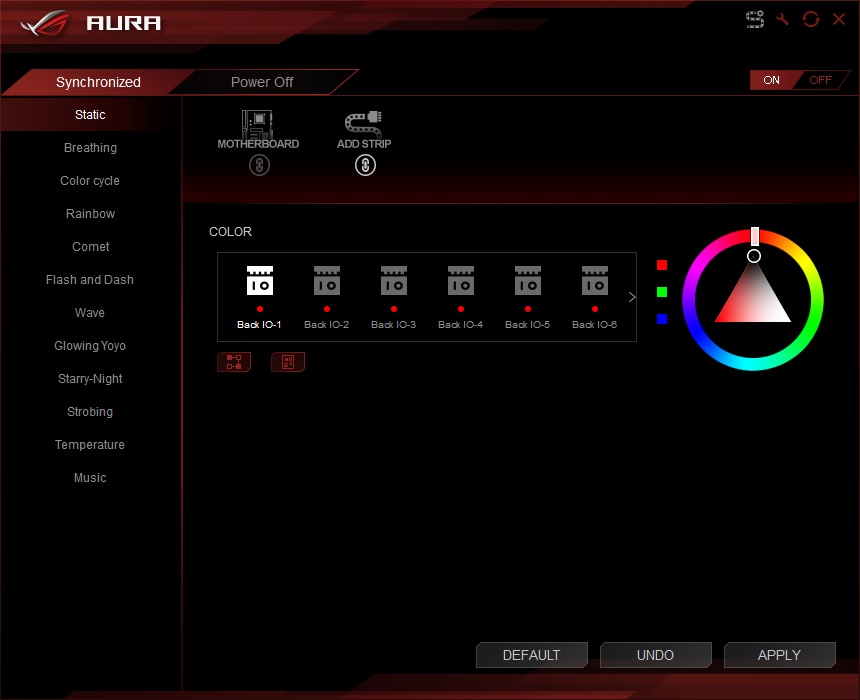
RGB lighting control, for both onboard and attached LEDs, is managed by the ASUS Aura software. There are 23 different modes (more than the TUF we recently reviewed) and speed adjustments for each. RGB LEDs can be synchronized or run independently.
Audio management is handled by the Sonic Studio III and Supreme FX software, allowing changes to base formatting to equalization, boosts, and other sound effects.


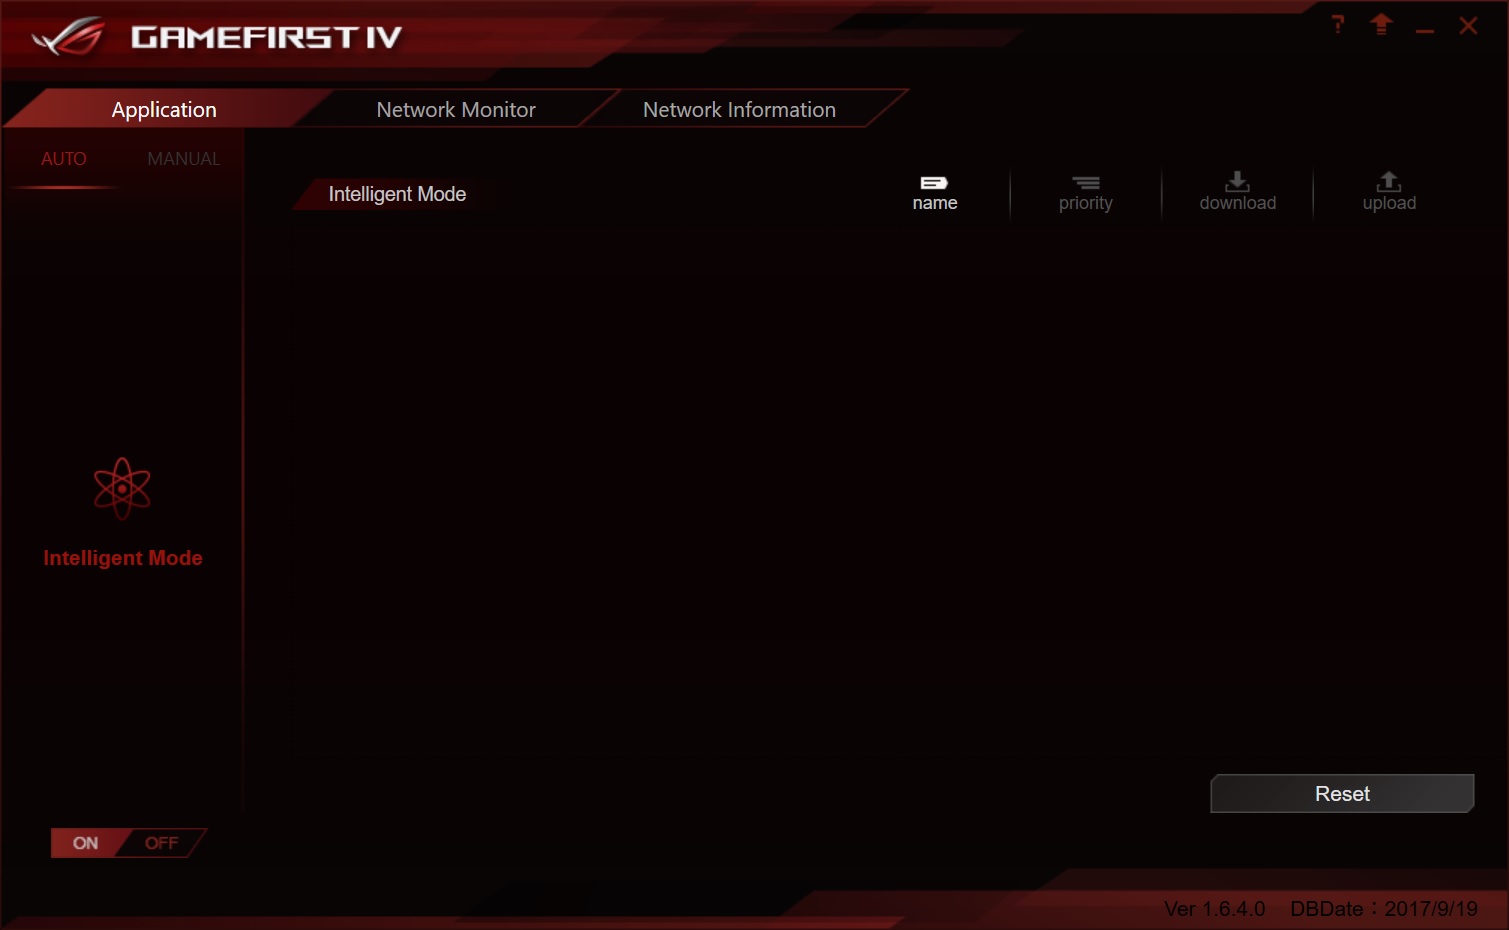
Last up is ASUS' LAN traffic monitoring and shaping software in Gamefirst IV.


27 Comments
View All Comments
MrPoletski - Monday, December 11, 2017 - link
I can totally see ten of thousands of dollars being spent on this board and a corresponding PC of worthwhile power so the owner can play master of orion 2, nes emulators and minecraft. I know, I'm one of those nobs.peevee - Monday, December 11, 2017 - link
Somebody has to seriously grow up instead of wasting $400 for a gaming MB (or a few thou for a gaming computer).ddrіver - Monday, December 11, 2017 - link
"ten of thousands of dollars"? Sounds a bit excessive given that 1 (or 2, where possible) of the most expensive components available still doesn't really get you to $10K. Unless you're buying by sorting for the most expensive anything and taking as many as you can fit in a case.Next thing you're going to brag you pay a guy to comment for you.
DanNeely - Monday, December 11, 2017 - link
" The smaller slots are an x1 and two x4 slots (the first runs at 1x) powered by the chipset for add-in cards. "This seems backwards since the first x4 is always free to put a card in while the second is blocked by the 2nd GPU.
Joe Shields - Monday, December 11, 2017 - link
Hey Dan, I don't blame you for thinking this way. However, from the specifications it says this...:1. PCIEX4_1 max. at x1 mode
Which is the same for all 44/28/16 lane CPUs.
DanNeely - Monday, December 11, 2017 - link
ok. Just wanted to confirm it was a screwy design on Asus's part, not a transcription error.SanX - Monday, December 11, 2017 - link
Where the hell are dual CPU mobos? Intel and AMD don't like to sell more chips?Dr. Swag - Monday, December 11, 2017 - link
Intel has never sold non Xeon products that can be put in dual CPU mobos.PeachNCream - Monday, December 11, 2017 - link
Google says there were dual Pentium, Pentium Pro, Pentium II, Pentium III, and so forth motherboards around so Intel has sold non-Xeon products for dual socket/slot motherboards.DanNeely - Monday, December 11, 2017 - link
With the exception of the P3 all of those predated the Xeon branding. Dual socket P3 was presumably transitional in their rebranding.For modern chips, on the Intel side mainstream parts have neither the on die hardware, nor chip socket support for multi-socket setups because doing so would inflate the costs of the 99.9% of systems that are single socket.
I'm less sure of the situation with AMD. I suspect that due to the level of die sharing they're doing between TR and Epyc that TR cpu dies themselves have the hardware needed to talk to a second CPU socket. However I'm skeptical that they've also paid extra for a larger/more complex socket on mainstream TR parts. It'd raise costs for the 99.9% of uni-socket systems and cut into sales of their more profitable Epyc line.
More generally multi-core CPUs have been heavily eroding the market for multi-socket chips over the last 15 years. They require more complex boards, more complex CPUs, in many cases (ie any that need threads on different sockets to talk to each other) they also require additional programming work to perform at their maximum capacity (AMD has a NUMA hit for new multi die but single socket chips, however its worse for their dual socket ones). All of that means that almost any time you can get a single socket system with a suitable performance level it will be more cost effective than a similar dual (never mind quad or 8way) socket system. With dozens of cores available on Intel and AMD's current high end platforms small core count dual socket systems rarely make sense outside of cases where you need huge amounts of ram and don't really care about CPU performance.