Antec Performance One
by Purav Sanghani on February 13, 2005 12:05 AM EST- Posted in
- Cases/Cooling/PSUs
The Installation Process
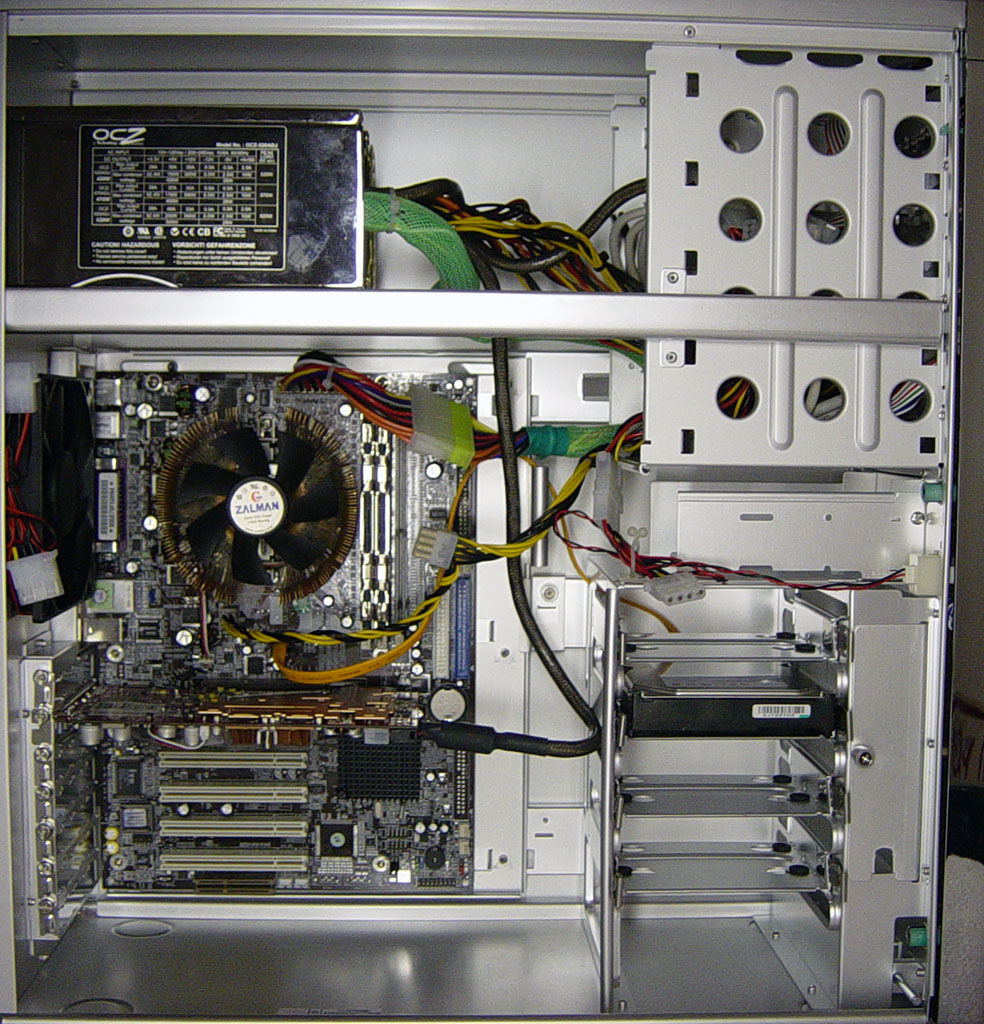
Though there were many tool-less features included in the P160, the installation process took about 10-12 minutes to complete. We felt that the hard drive trays were a nice, but unnecessary feature, since we still had to screw the drives to the trays to install them, still requiring four screws. Drive rails would have been a better choice and would have resulted in quicker and easier installations. The upside to the trays was the rubber grommets and ease of use once the drives were mounted to the trays.
Click to enlarge.
The motherboard also took about 3 minutes to install because we had to secure it with screws, and before that, we had to screw in the stand-offs.
The power supply was also very easy to install, since we had plenty of extra space to work with. We actually used the thumbscrews from the left side panel to mount the unit as we did not need them for the panel.
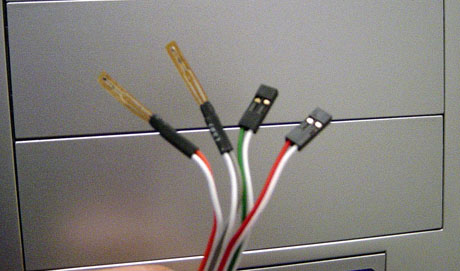
Something that we noticed with the wiring for the temperature sensors was that they were grouped together with a couple of motherboard connectors all the way up to the ends. We can still peel them apart, but sometimes the jackets of the wires may tear open in the process.


53 Comments
View All Comments
Swaid - Sunday, February 13, 2005 - link
Now you need to get your hands on the Antec P180!Bonesdad - Sunday, February 13, 2005 - link
Good looking case...thanks so much for reviewing a case for adults. More, More, More!!!psiclonehi - Monday, August 22, 2016 - link
Funny thing. I noticed this thread is very old, but I had to put in a word for this case. I still use mine and love it!