The Corsair Carbide 400Q Case Review
by E. Fylladitakis on April 29, 2016 9:00 AM EST- Posted in
- Cases/Cooling/PSUs
- Corsair
- ATX
- E-ATX
- Carbide
The Interior of the Corsair Carbide 400Q
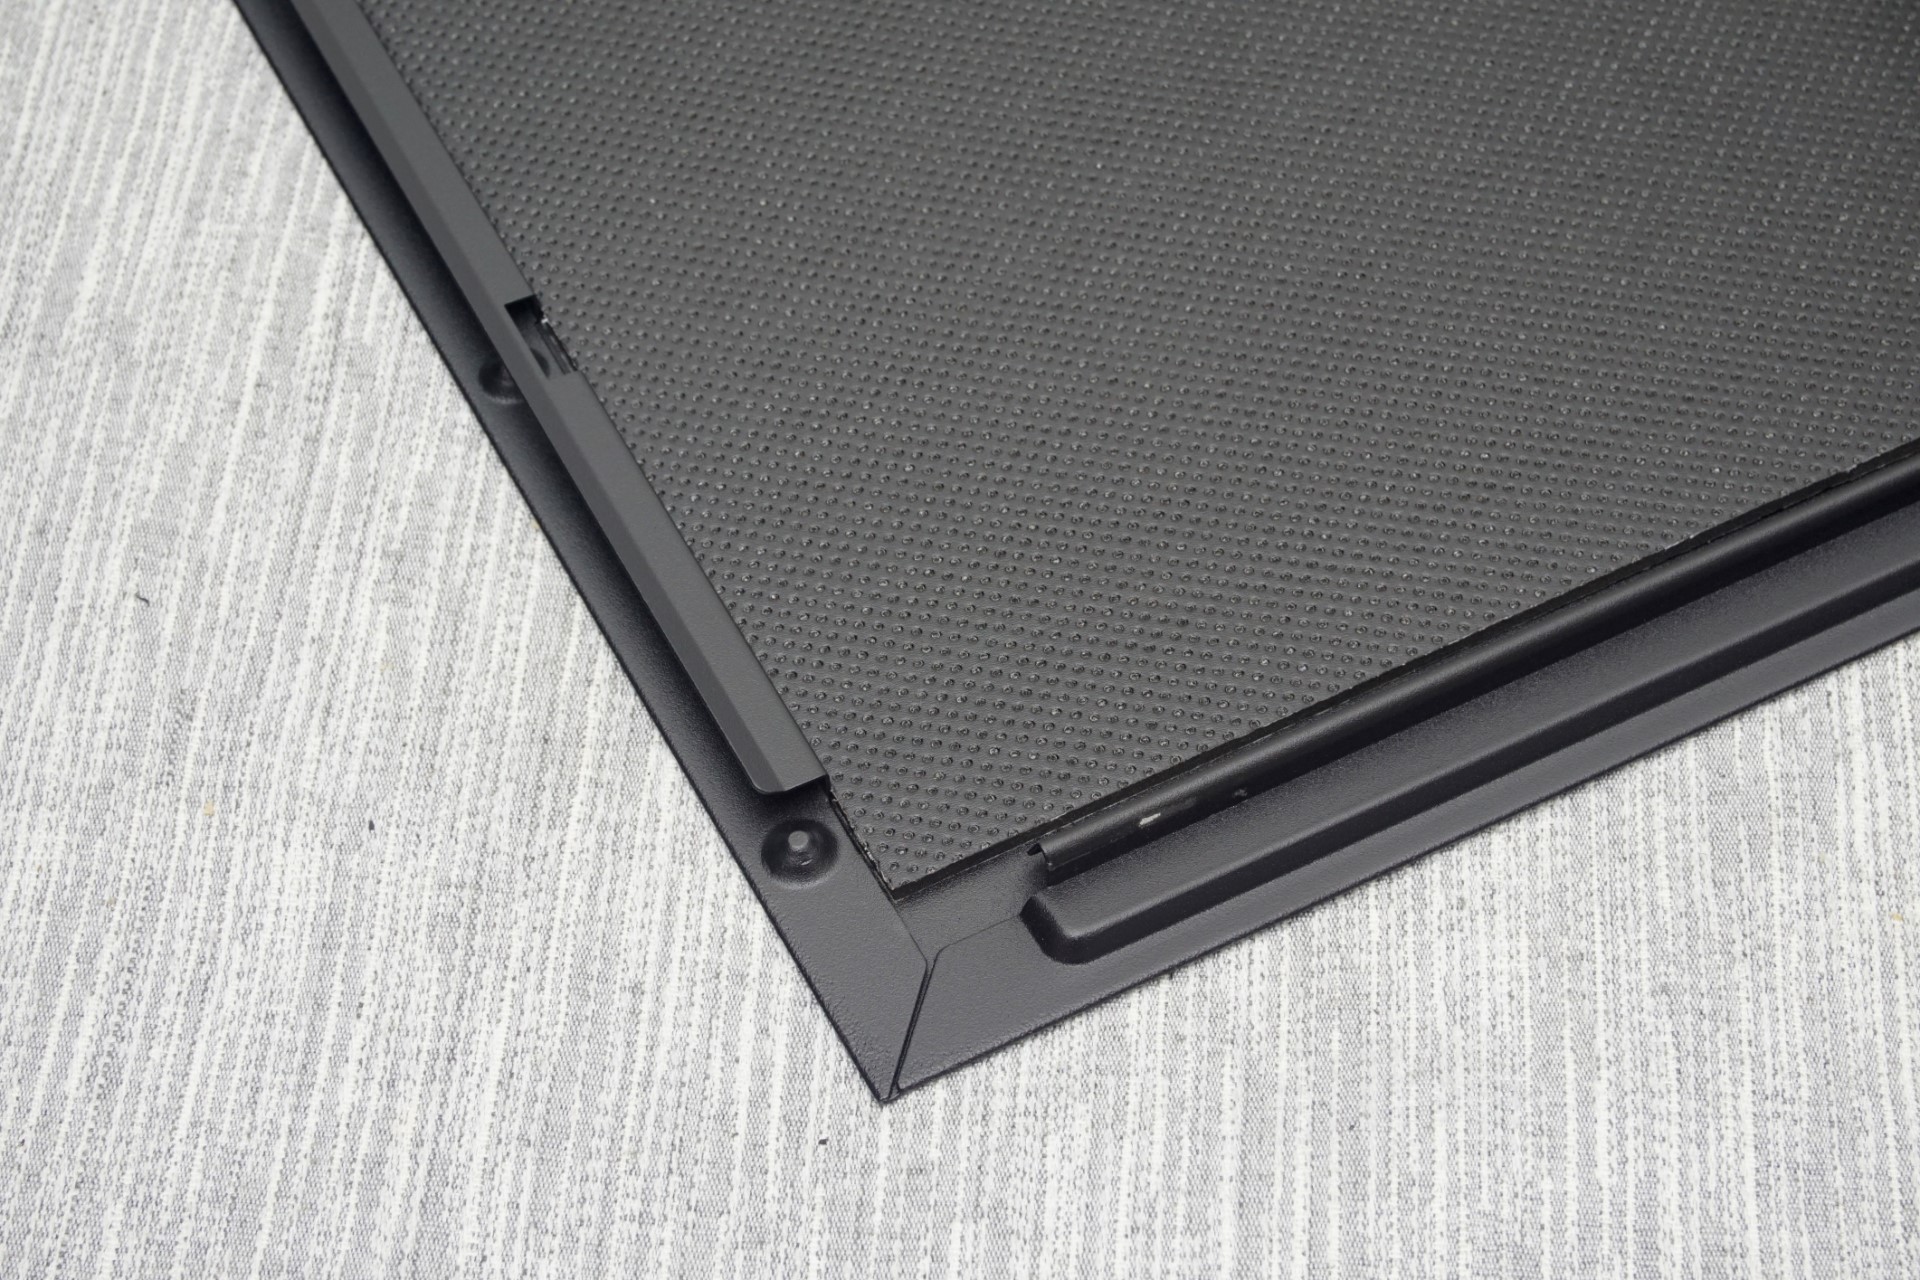
The side panels of the Carbide 400Q can be easily detached by removing two thumbscrews for each. Both of the side panels, and including the top panel cover and the faceplate, have a thin layer of sound dampening material applied to them. Considering the openings on the sides of the front panel and the rear of the case, the impact of the material on the acoustics of the case is unlikely to be very high, but every little bit can help.
The interior of the Carbide 400Q is all black, including every cable, screw and stand-off. The only parts breaking the blackness of the case are the grey impellers of the stock cooling fans. The metallic surfaces are sprayed with the same satin black paint as the exterior. The plastic covers across the PSU compartment and HDD cage are sprayed with the satin black paint as well, but it is not nearly as fingerprint resistant as the metallic parts of the case. Strangely, only the three main openings next to the motherboard feature rubber grommet covers. There are more openings next to those, as well as several more above and below the motherboard, none of which has a rubber grommet installed.
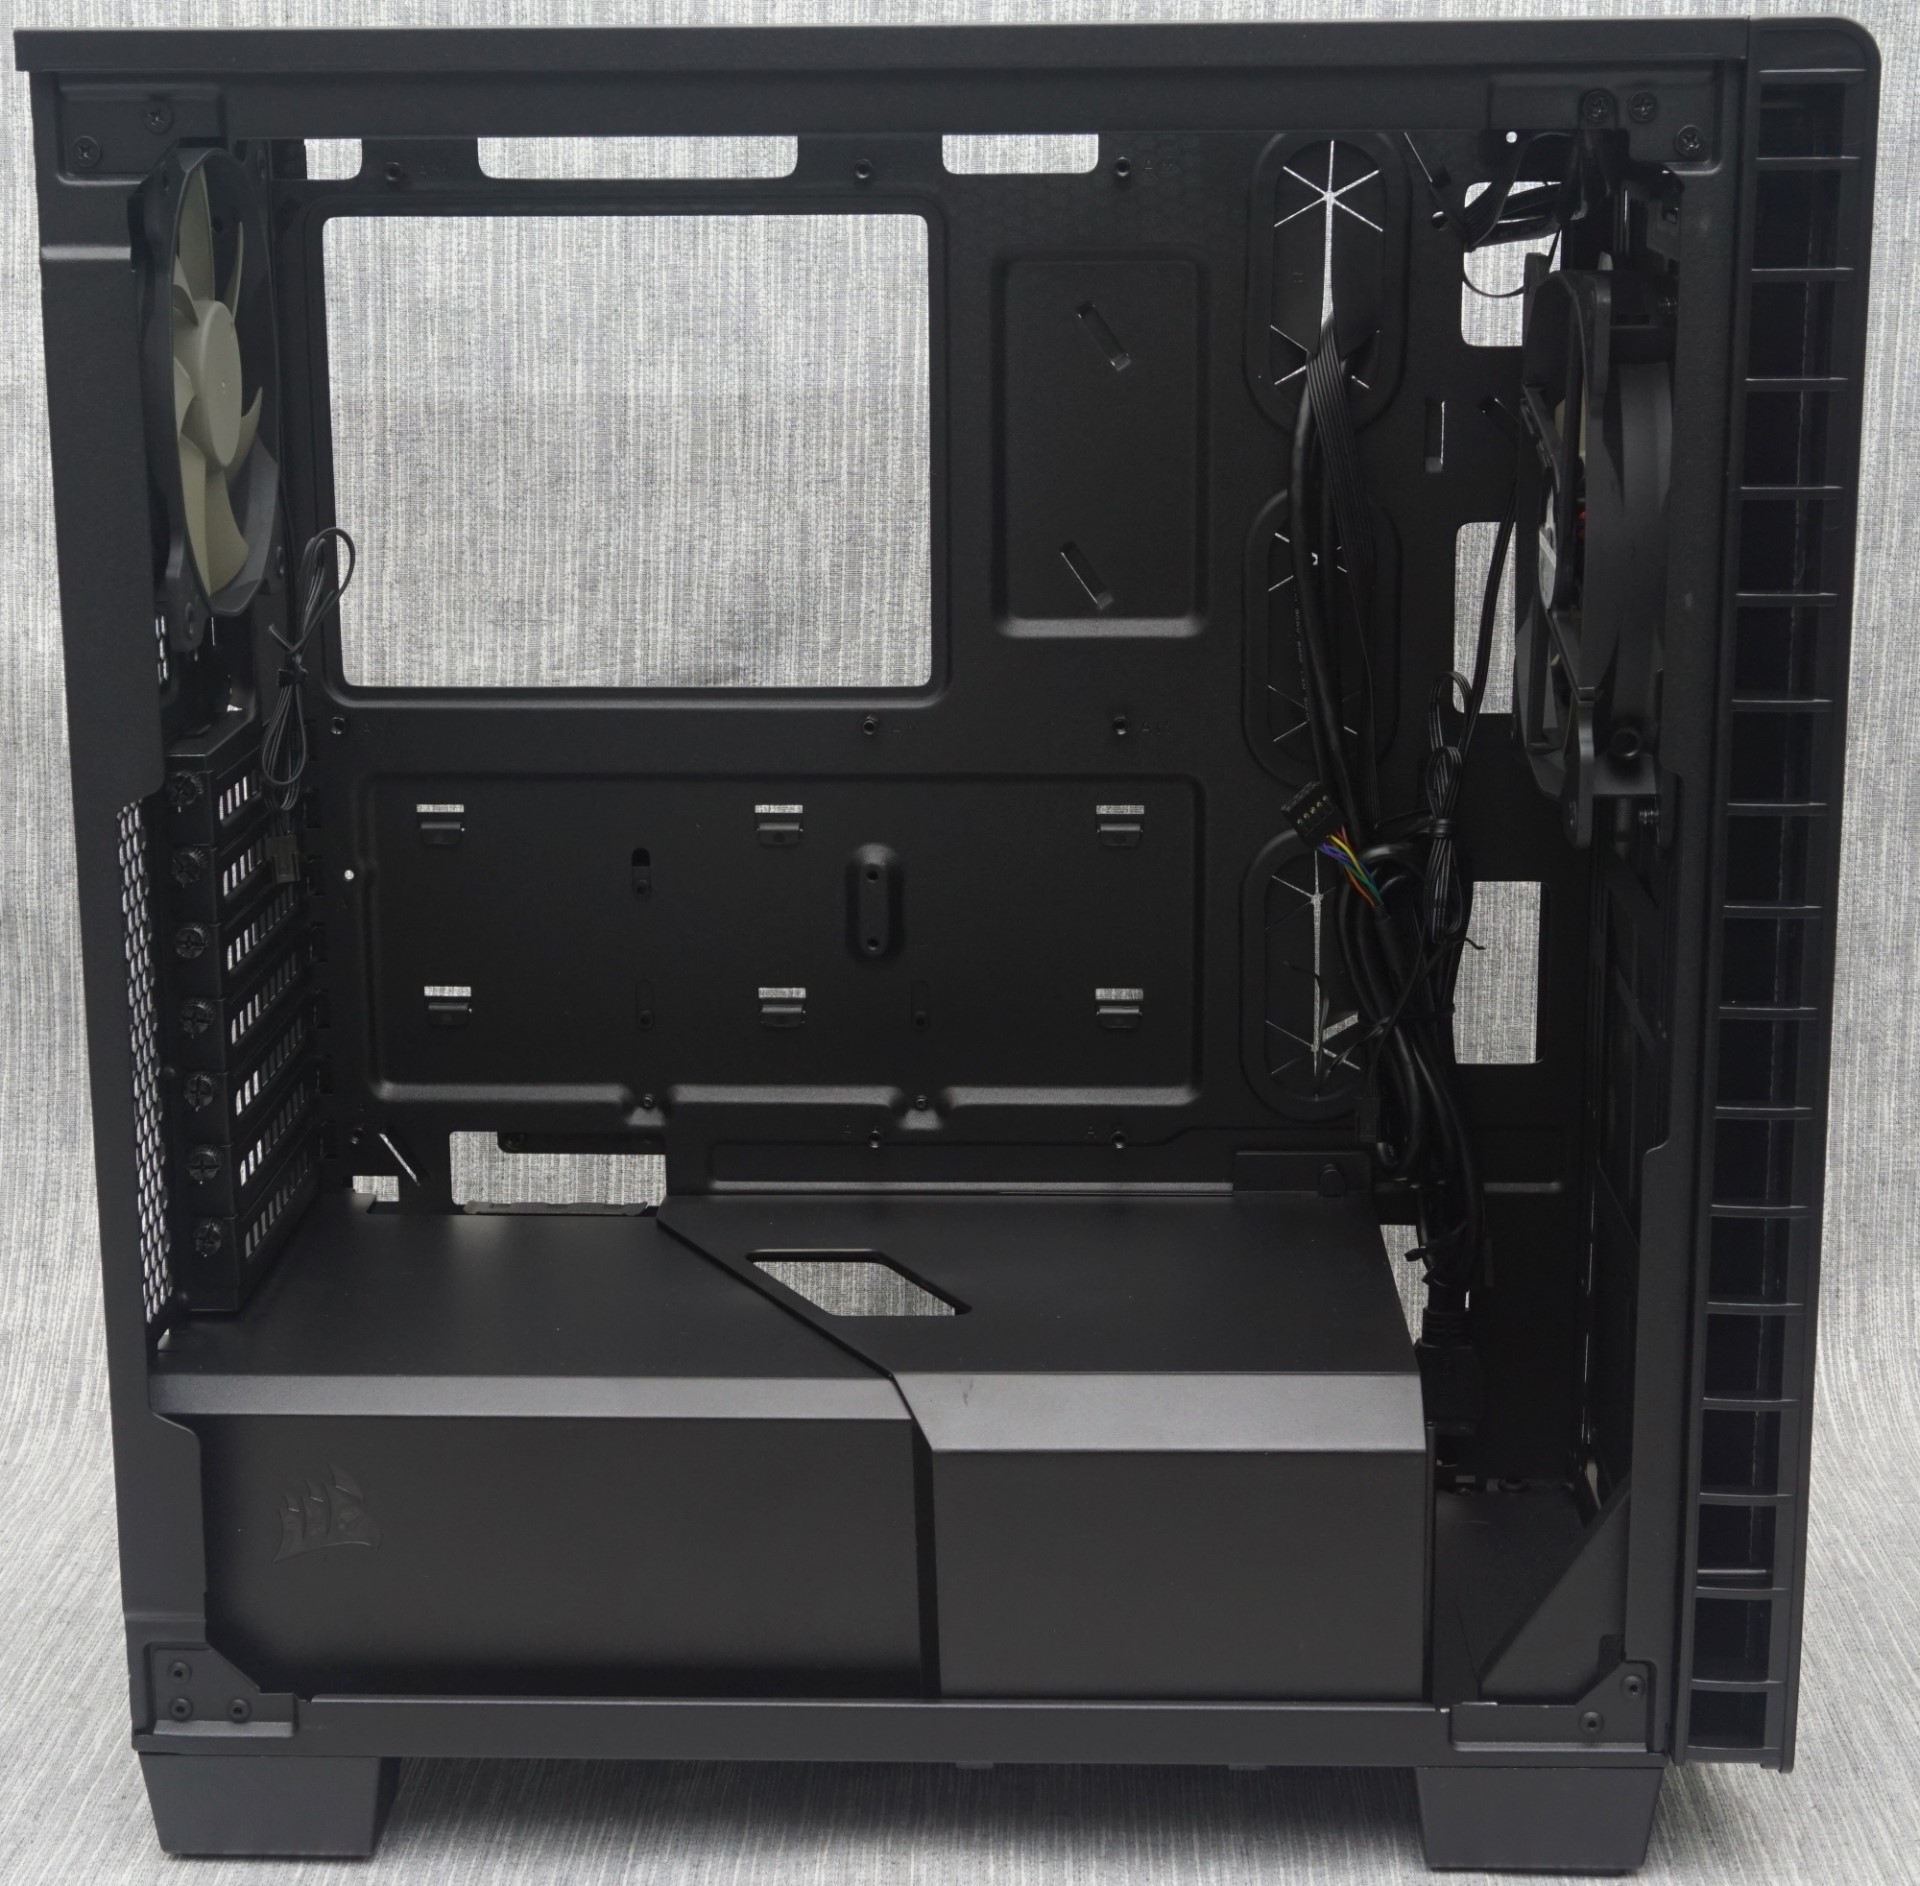
Lacking any front/external drive cages, the interior of the Carbide 400Q is very spacious, allowing for the installation of E-ATX motherboards. Graphics cards up to 370 mm long will fit as well, but note that the installation of fans or radiators will reduce that clearance. A large rectangular hole is cut on the motherboard's tray to allow for the installation of aftermarket coolers without having to remove the motherboard. Some of the very large air coolers may not fit in the Carbide 400Q, as the height of the CPU cooler is limited to 170 mm.
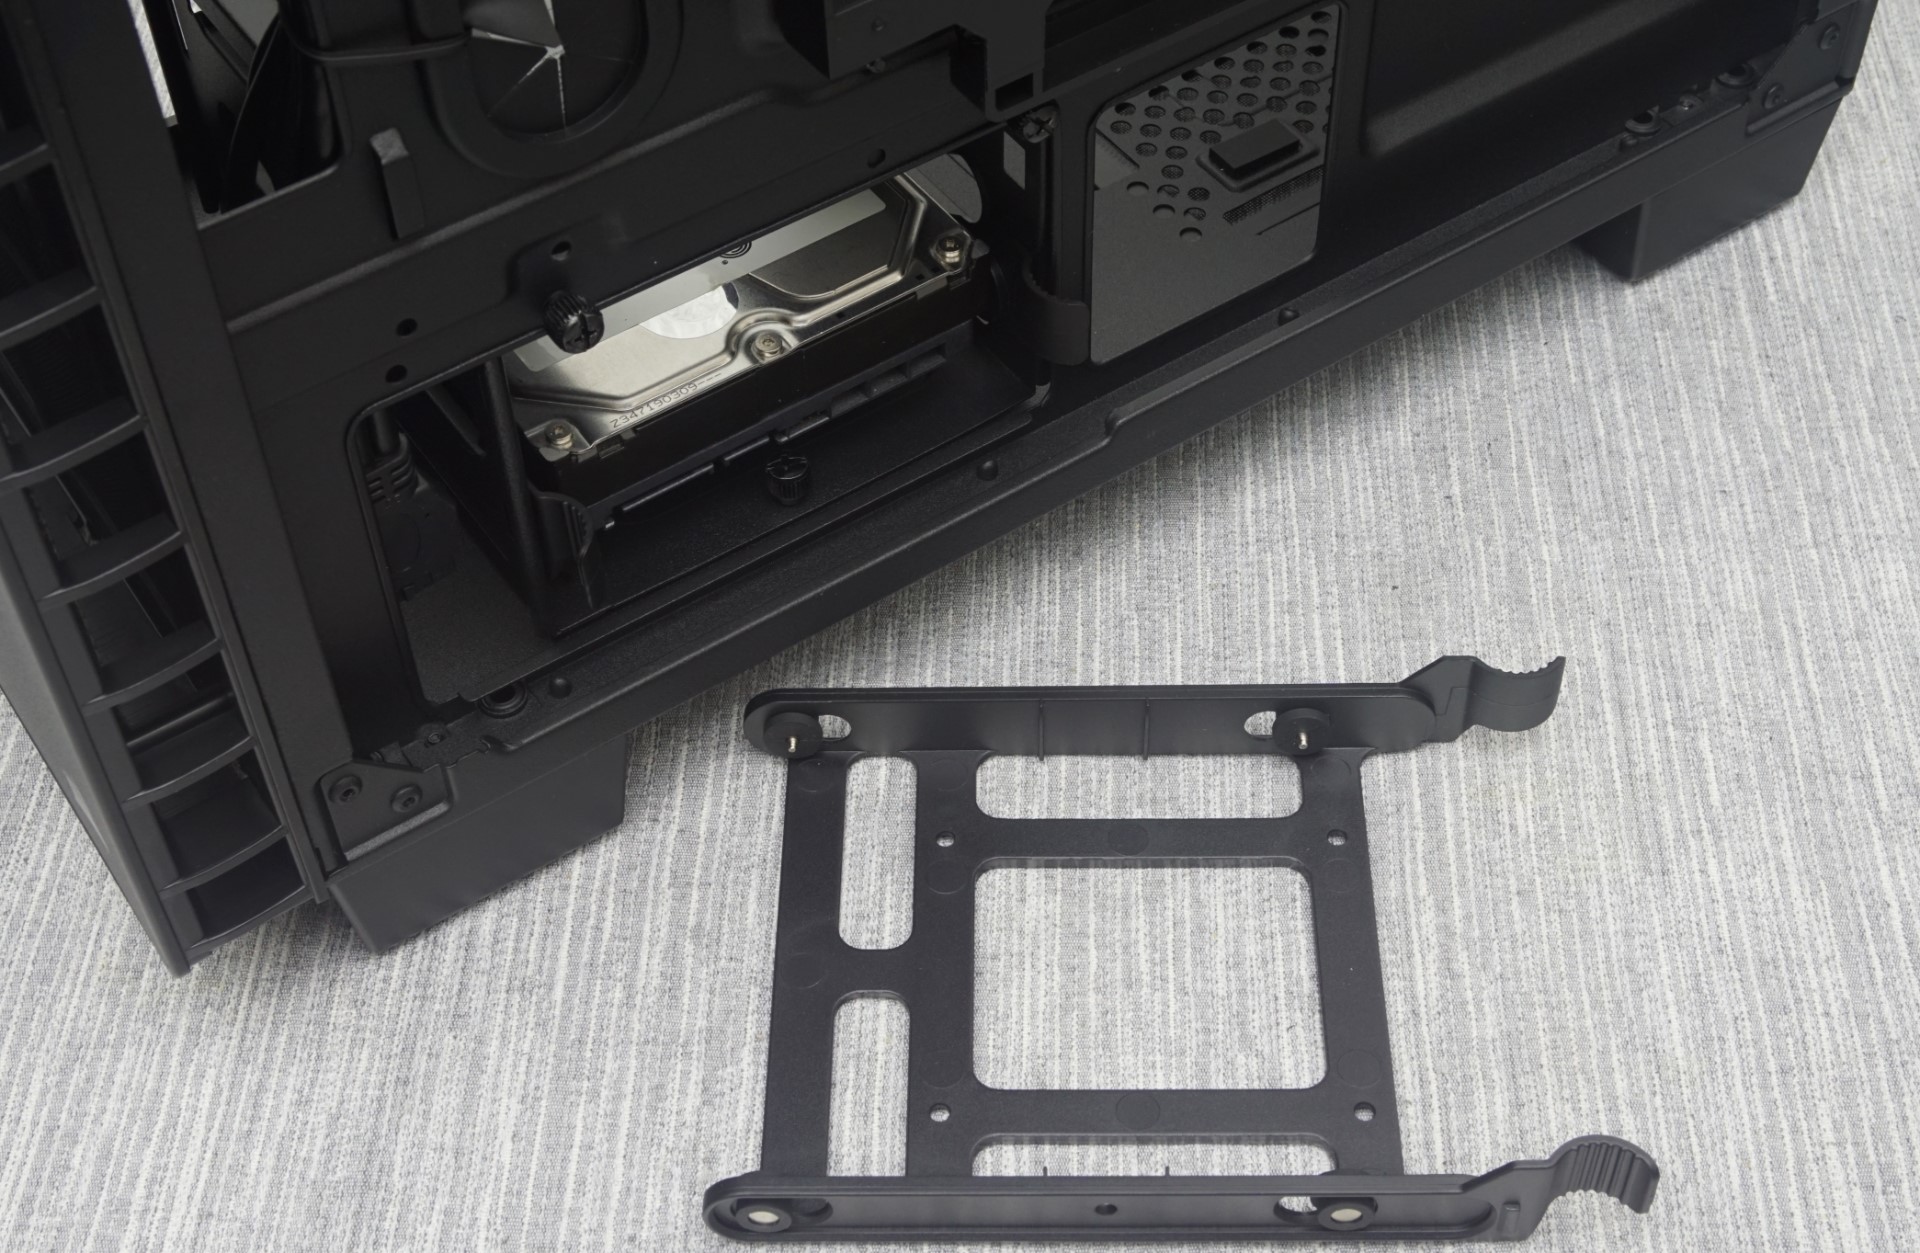
To remove the two plastic covers that separate the PSU and HDD area from the rest of the case, the HDD cover has to come off first, then the PSU cover. There is a hole at the top of the covers that allows for the routing of a PSU cable directly towards the system, but we found that to be greatly inconvenient because it then has to be disconnected for the covers to be removed. Considering that this particular design has no side window, the very presence of the covers is strange to begin with.
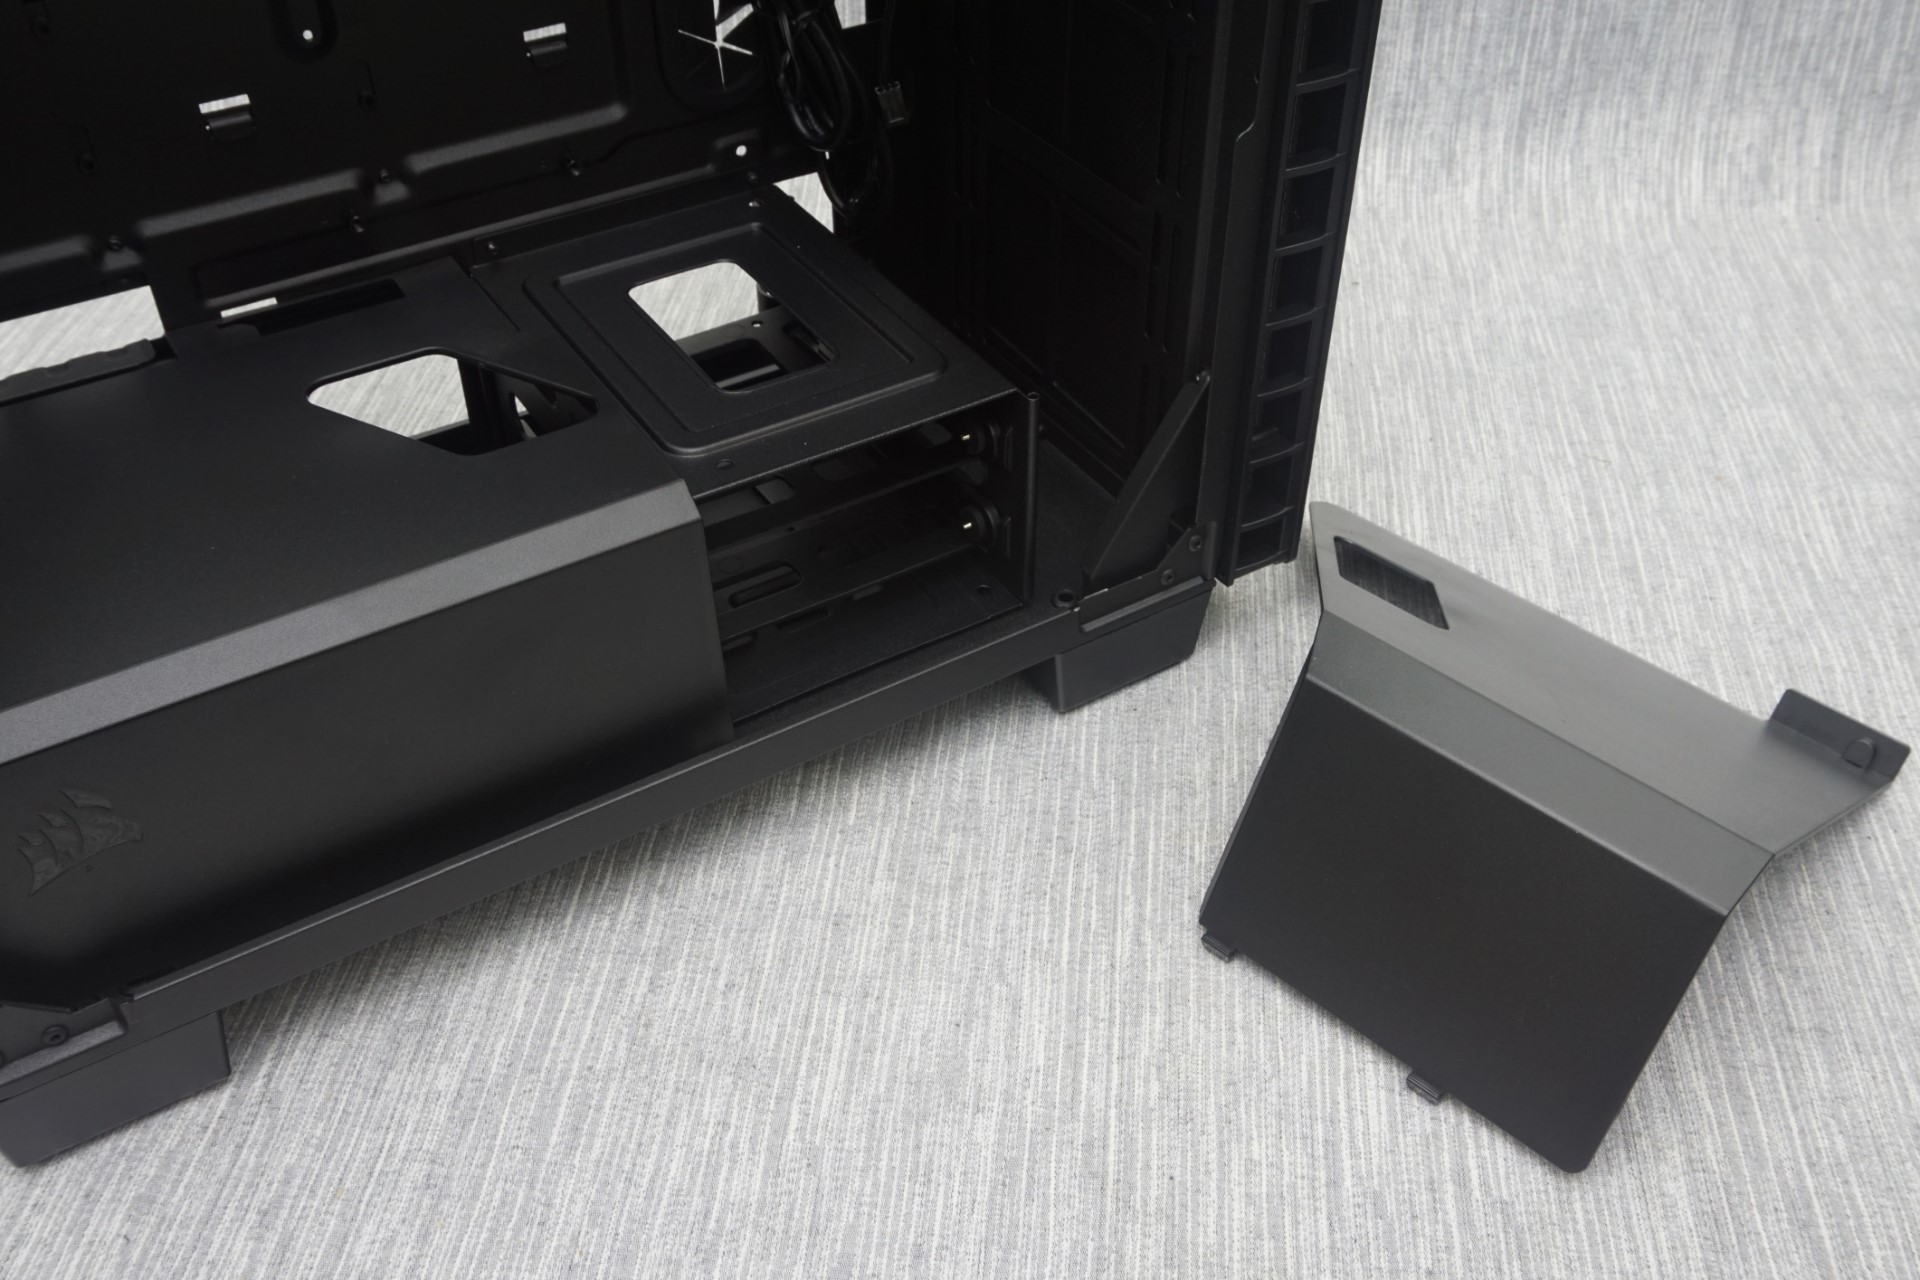

After the covers have been removed, the PSU area and HDD cage can be clearly seen. The Carbide 400Q can hold PSUs up to 190 mm long, but we do not recommend the installation of such long units. To install such a PSU, the HDD cage will have to be moved to its auxiliary position, towards the front of the case, and routing the cables through the right panel’s openings becomes troubling. Furthermore, moving the HDD cage to its auxiliary position will block the installation of radiators at the front of the case.
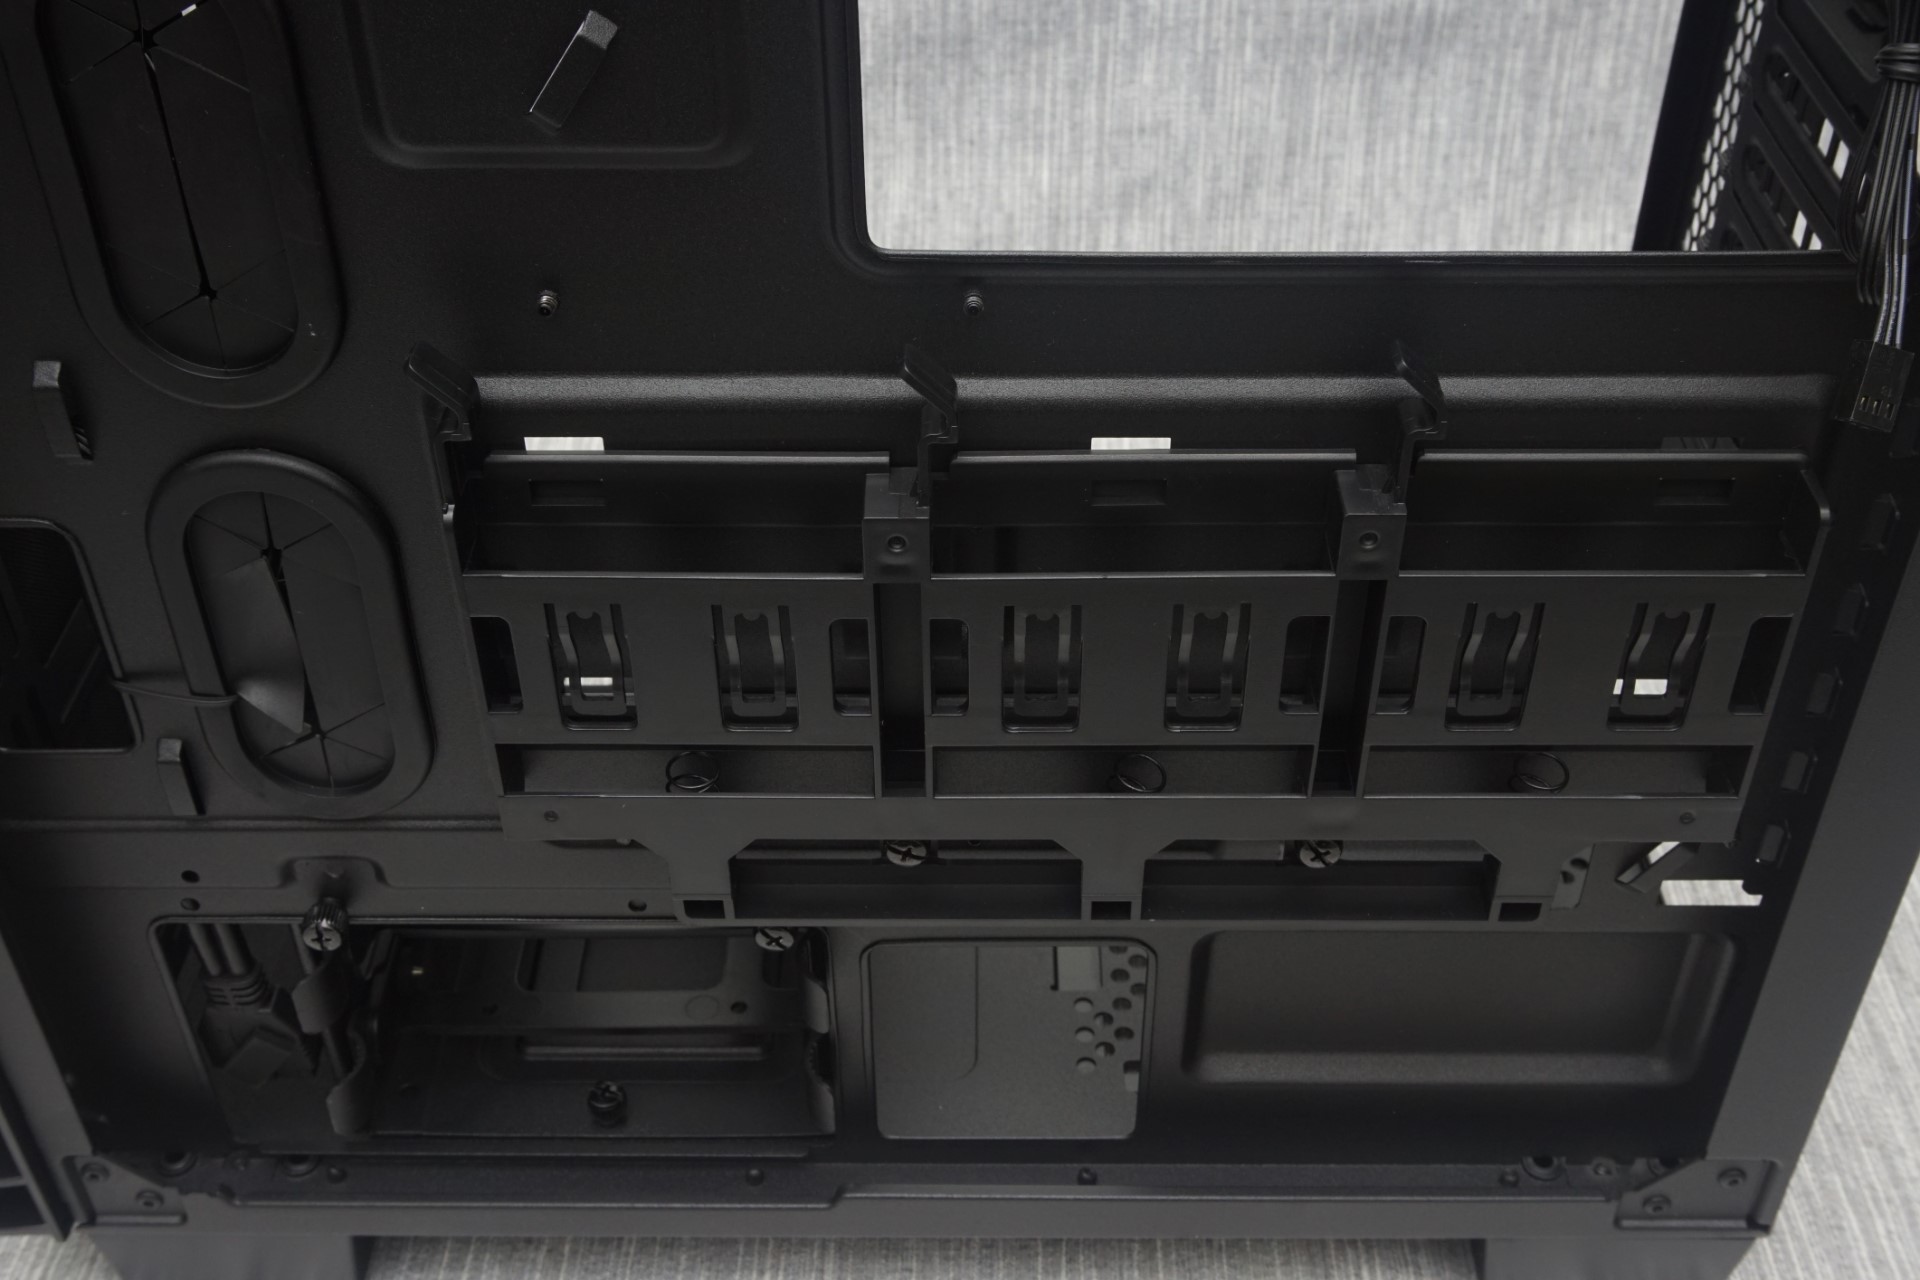
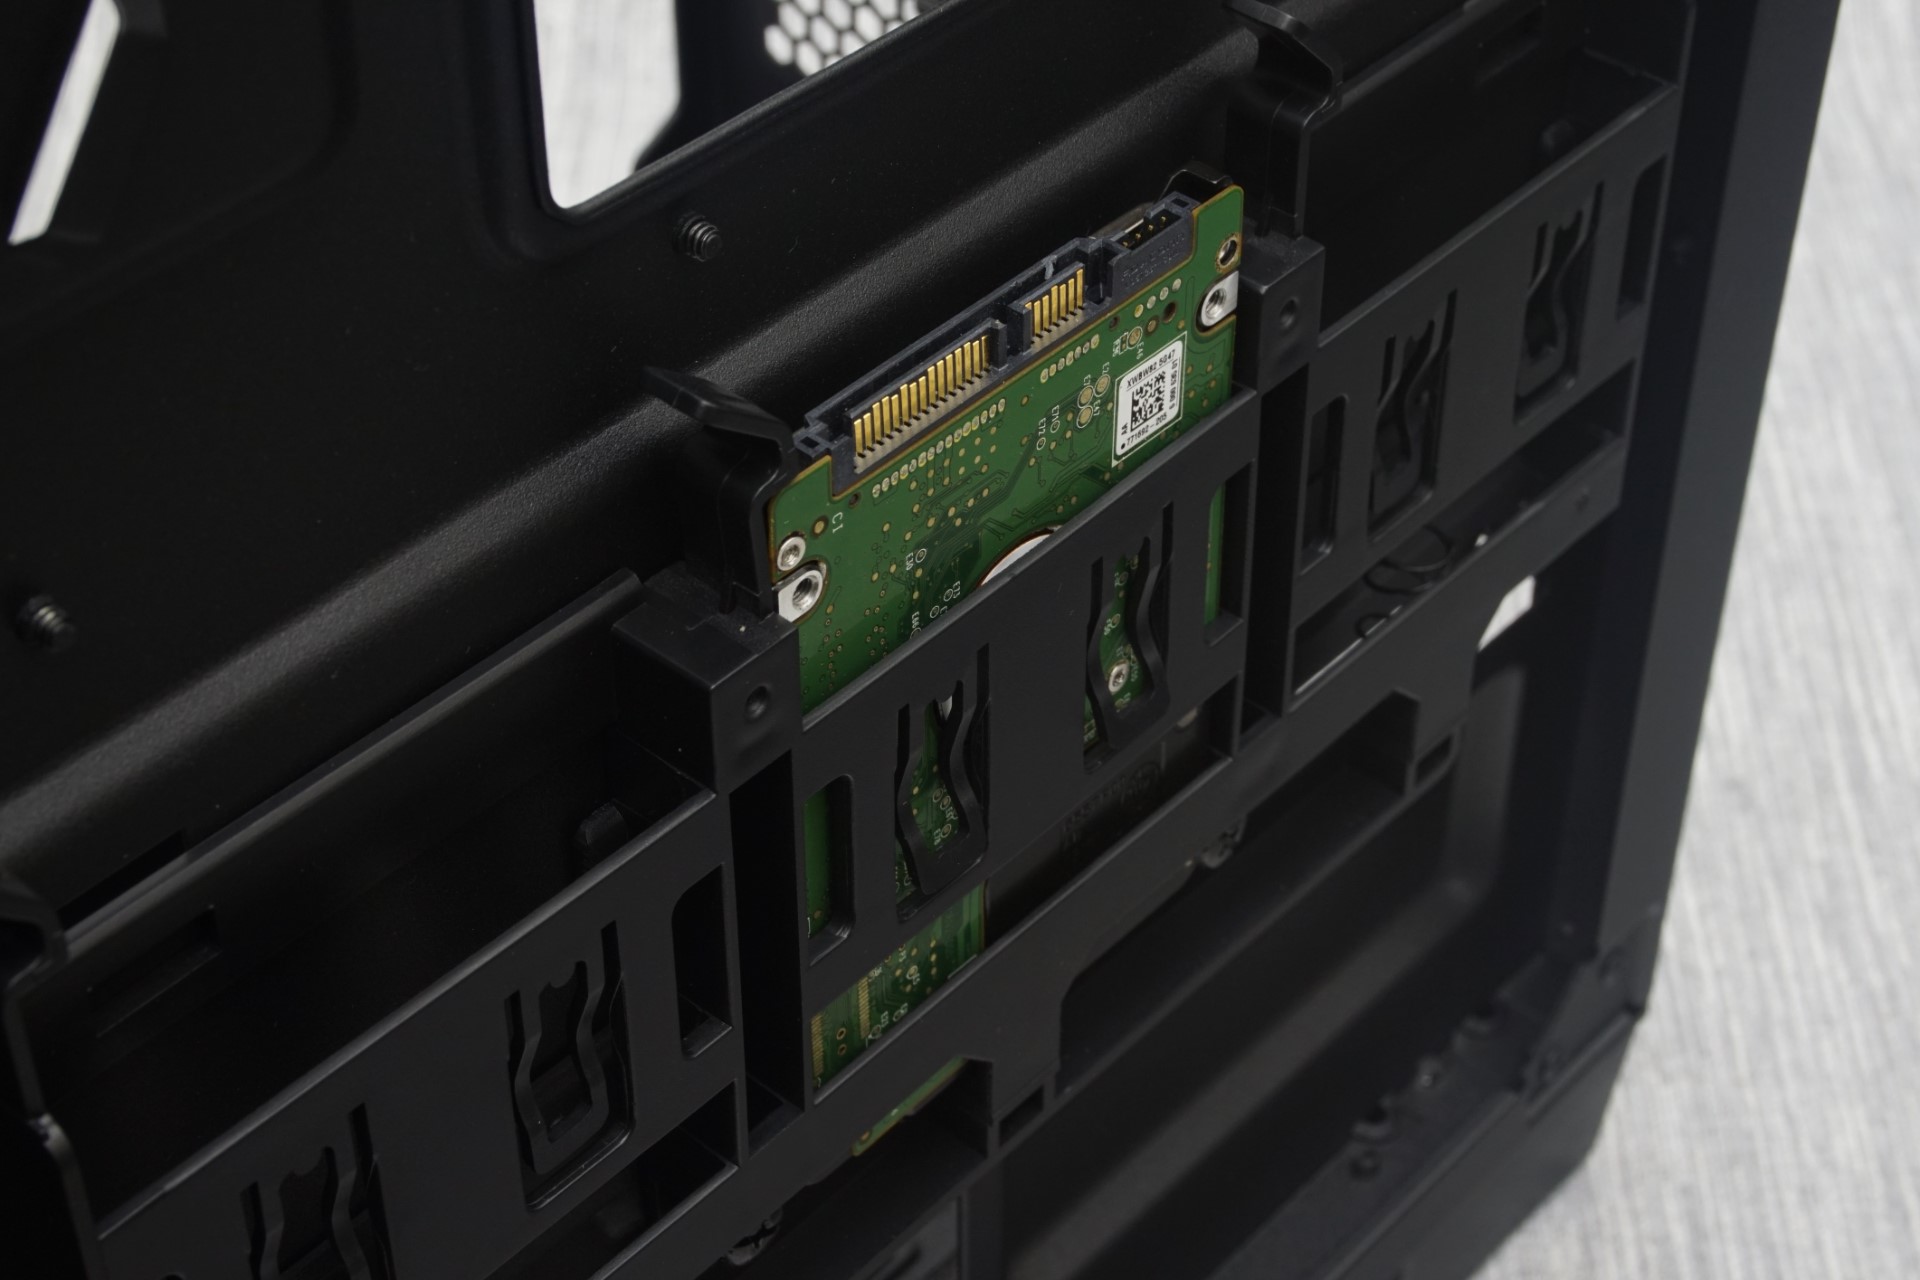
The Carbide 400Q is somewhat limiting when it comes to drives. Three 2.5” drive trays can be found at the rear side of the motherboard’s tray and another two 3.5” or 2.5” drives can be installed on the removable plastic trays of the small drives cage. Nevertheless, the number of drives that the Carbide 400Q supports should be sufficient for the vast majority of home and office users.
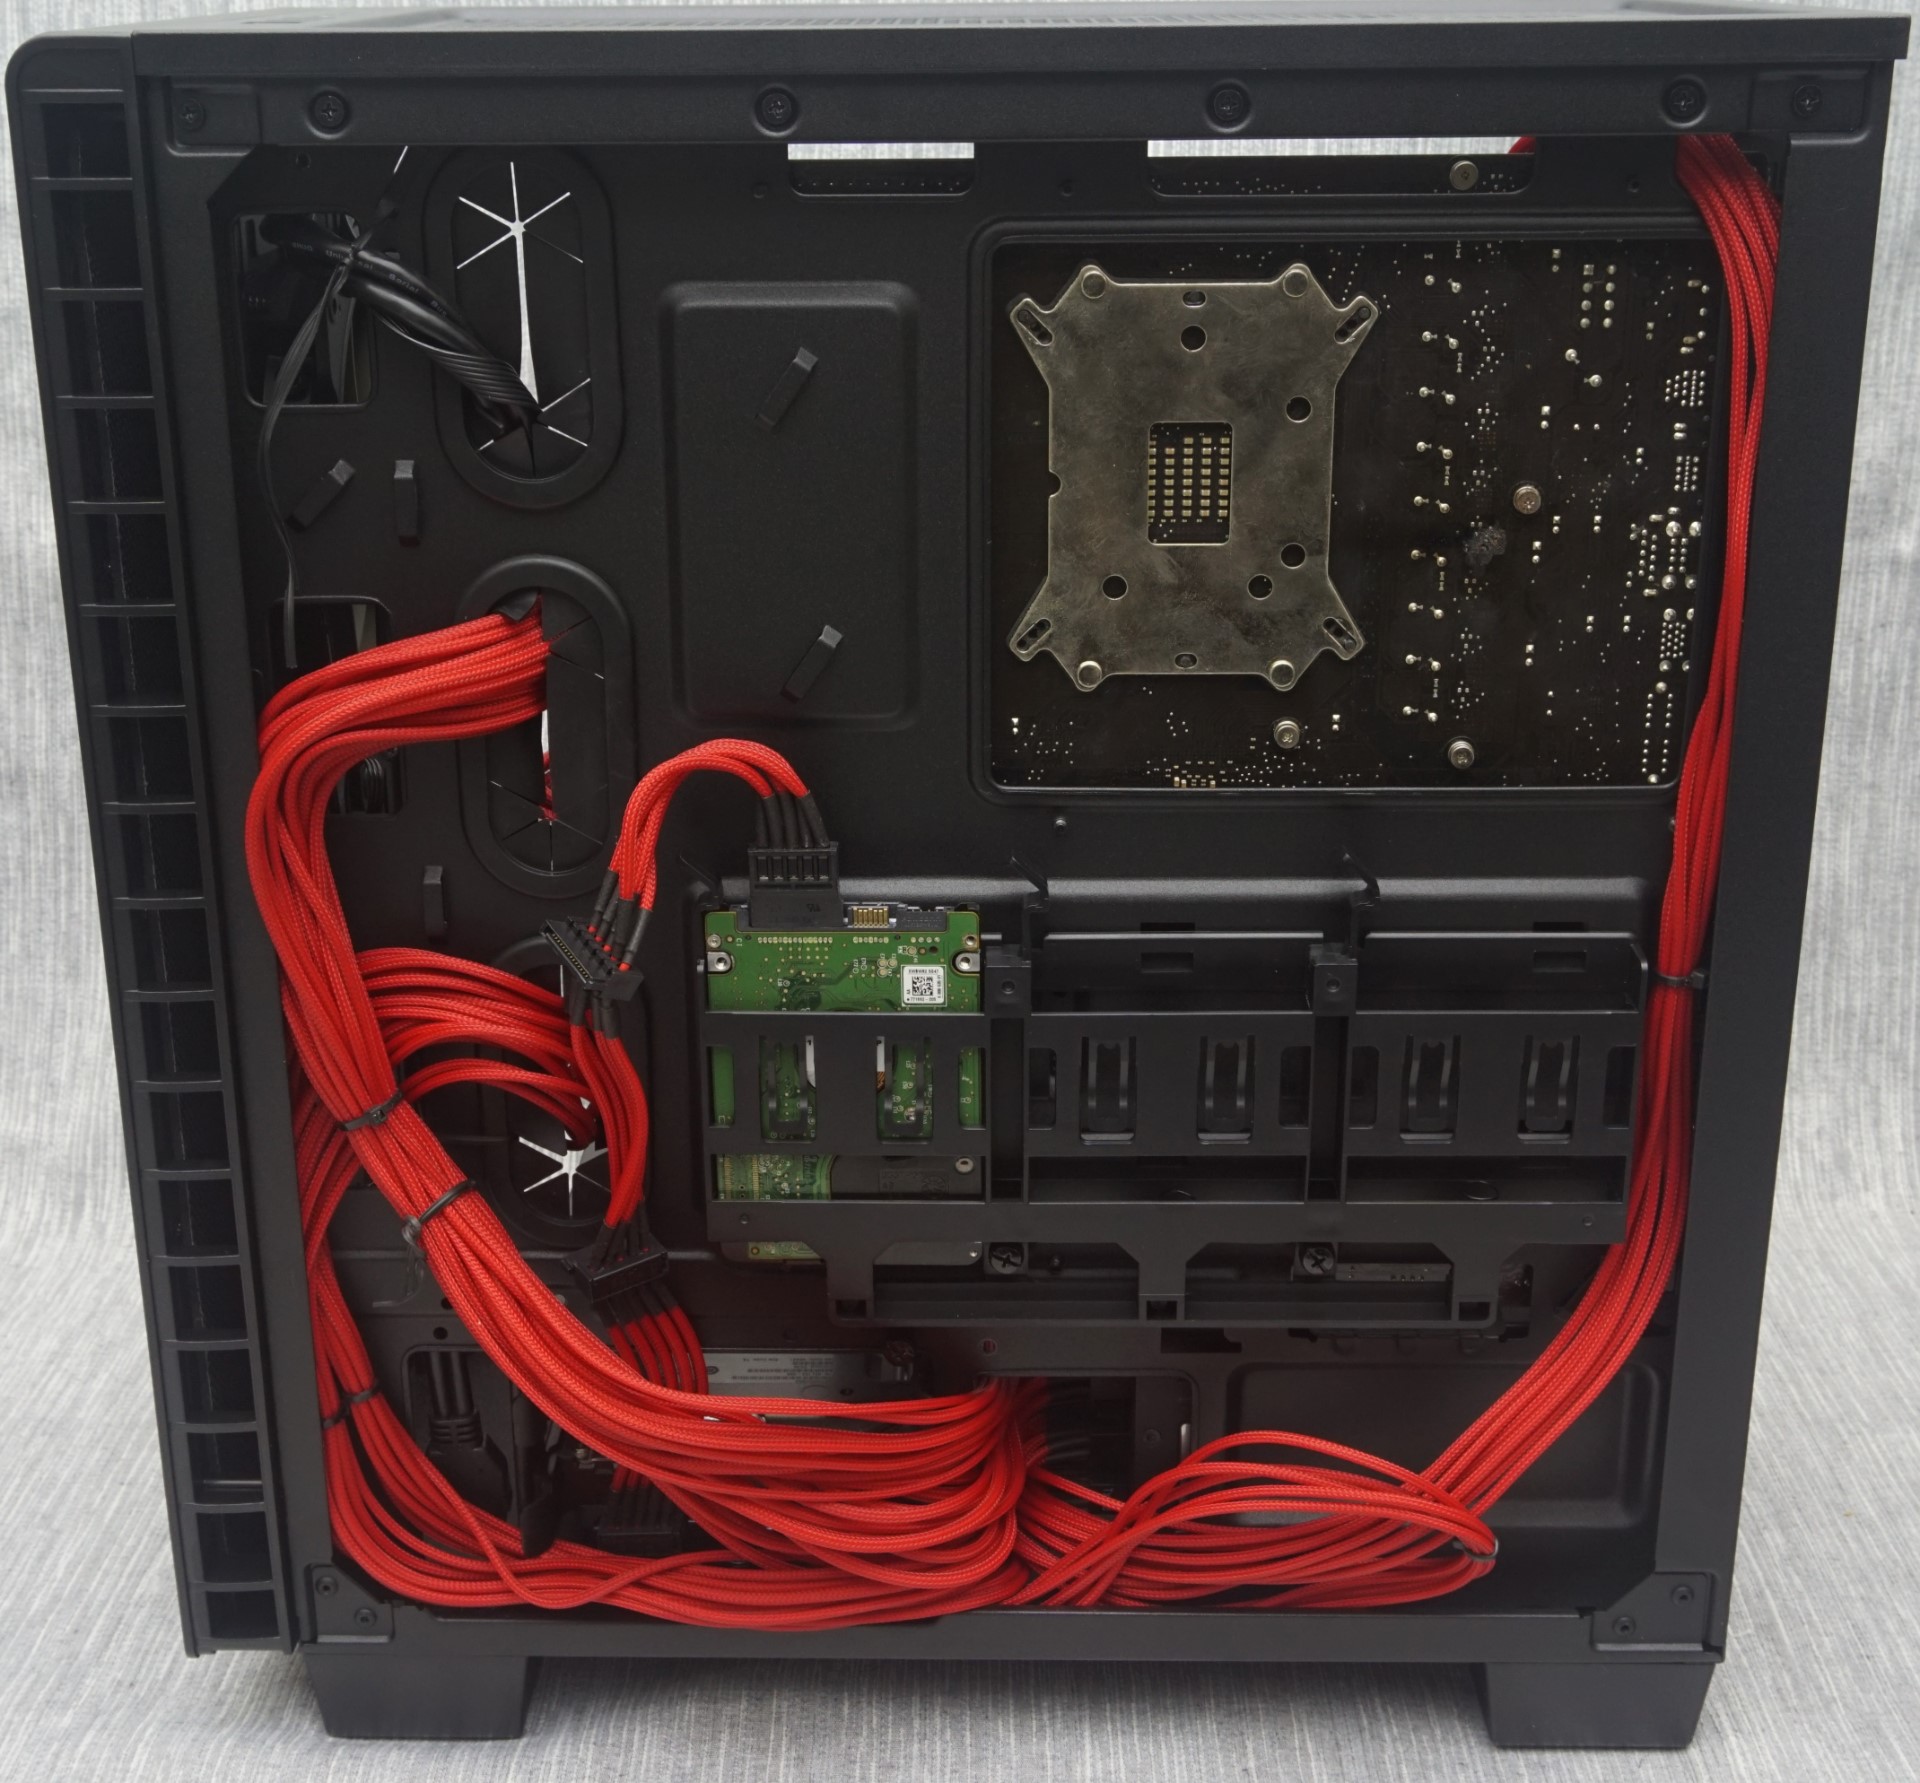
For the means of this review, we installed a Corsair AX760i with the red cable set, for strong visual contrast. The AX760i fits tightly inside the Carbide 400Q without moving the HDD cage to its auxiliary position, with the installation of extra cables after the PSU has been installed being all but impossible. The cables are long enough for a standard system and their routing across the rear of the motherboard tray and through the rubber grommets is very easy.
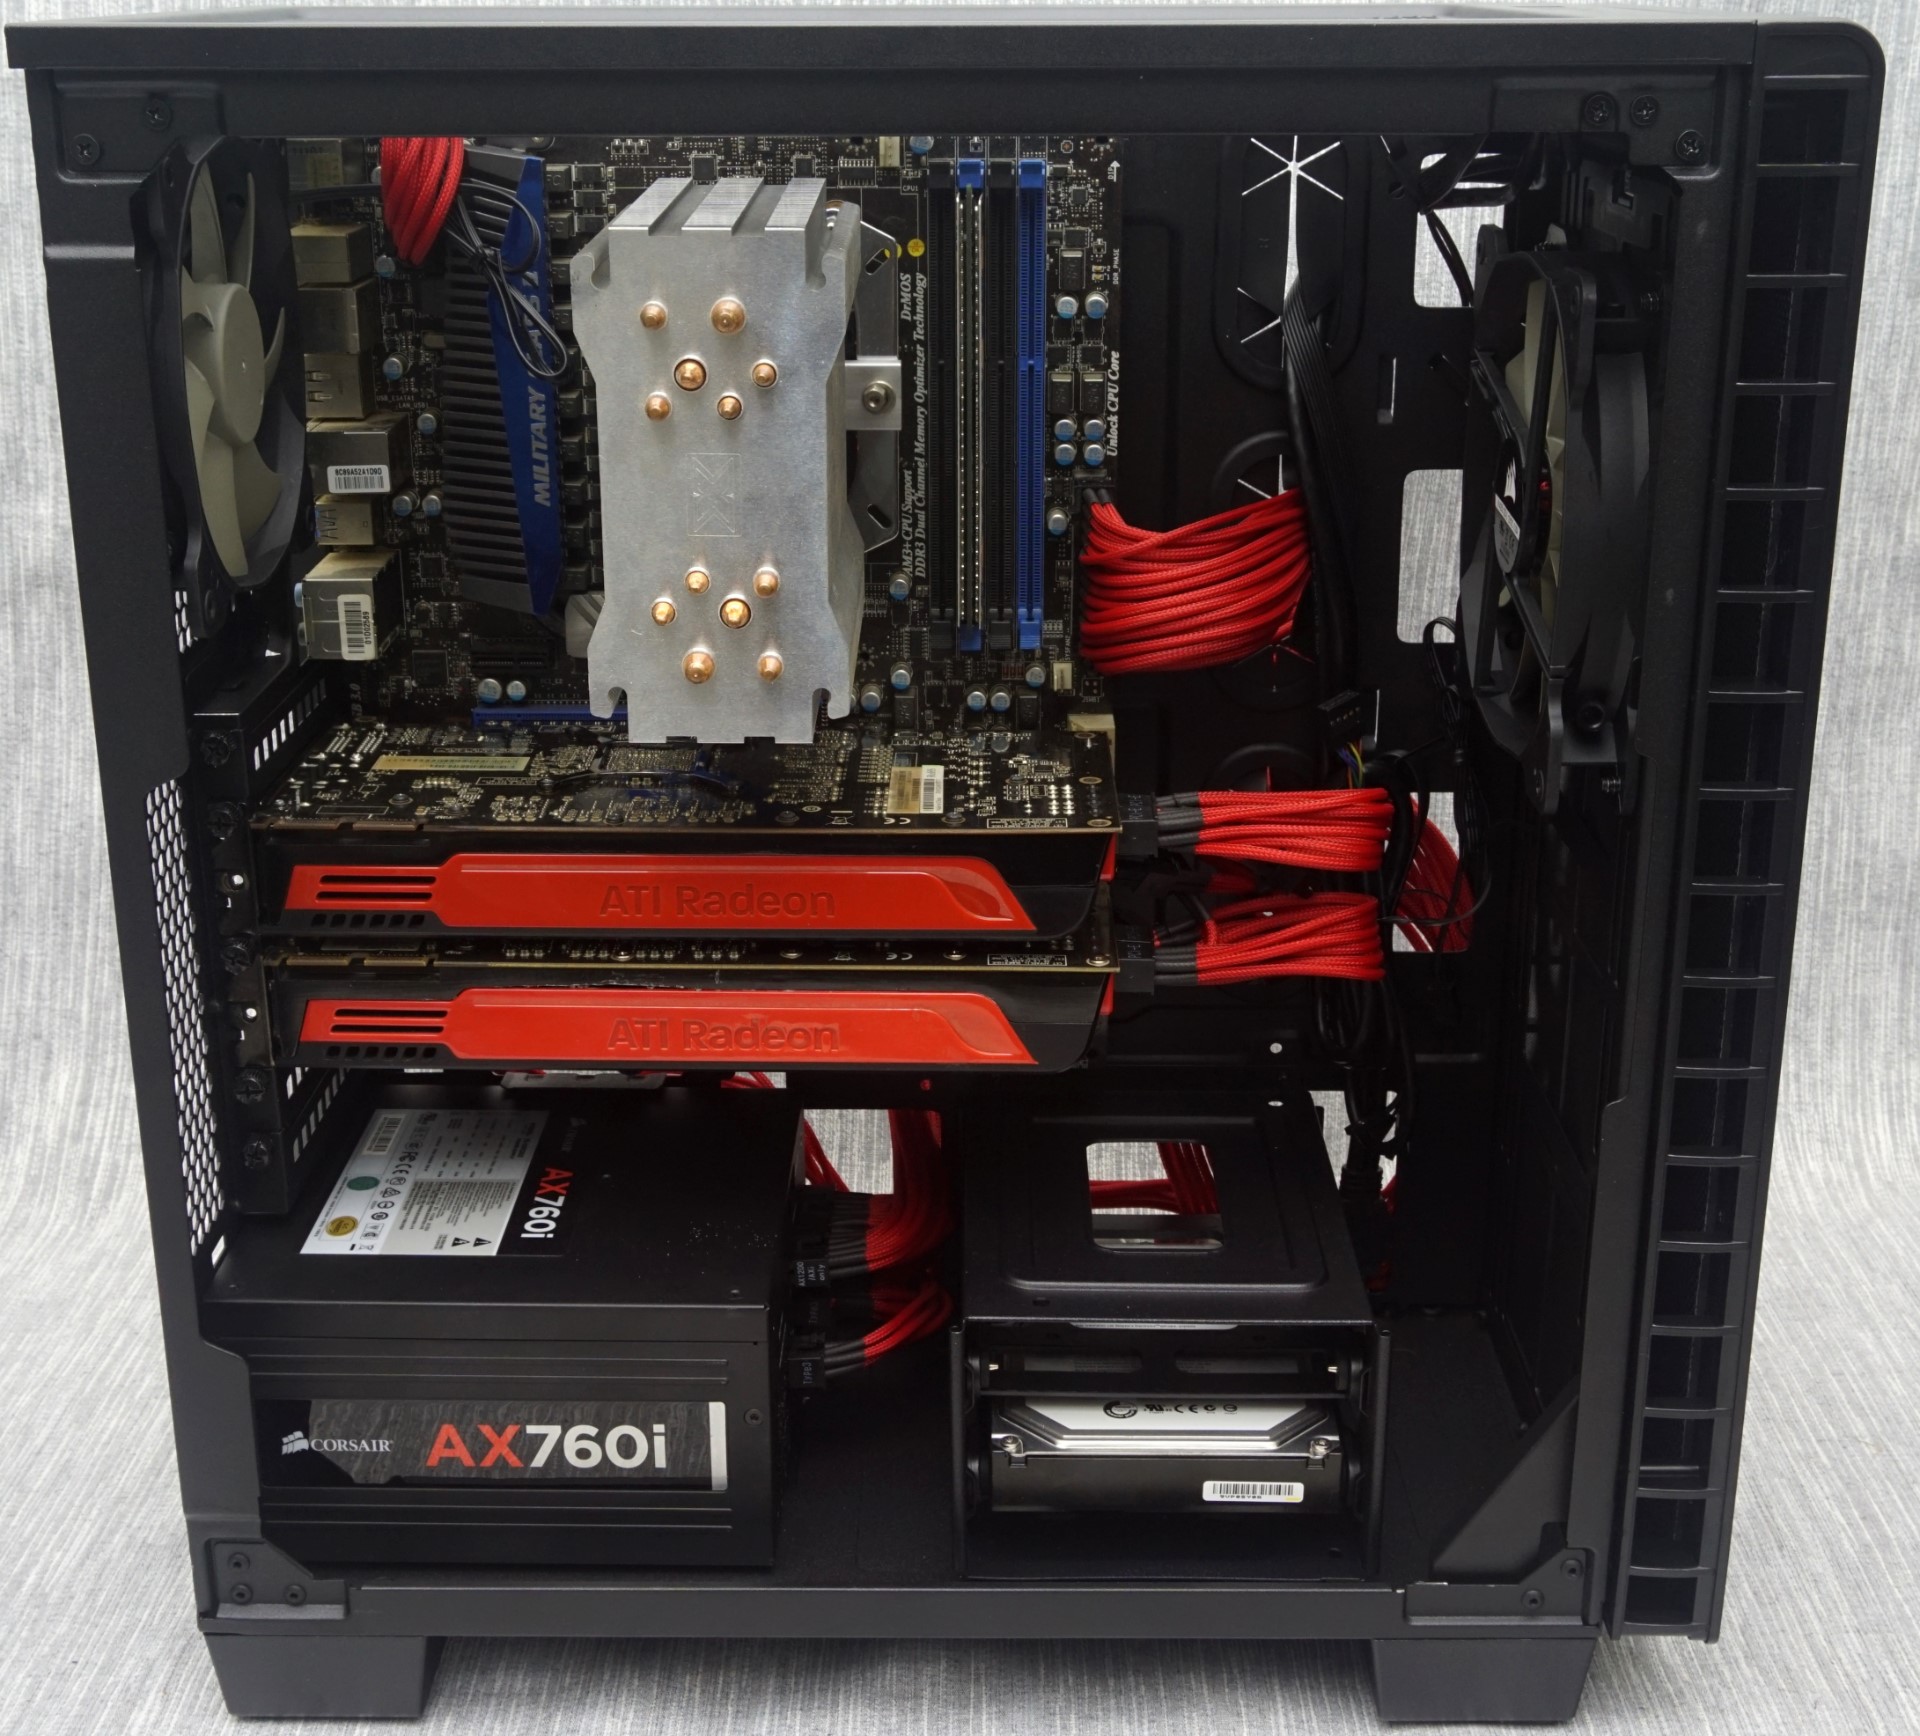
A standard ATX system comfortably fits inside the system area of the Carbide 400Q, allowing for easy upgrades and maintenance. Since the case is designed to hold up to E-ATX motherboards, the openings for the cables are a few centimeters away from the edge our standard ATX motherboard. There is more than enough space for long cards and most models should fit even if a radiator has been installed at the front of the case. The clearance above the motherboard is small but Corsair offset the top mounting slots towards the left side of the case, allowing for the installation of fans and radiators. Tall motherboard heatsinks and RAM modules however can create compatibility issues here.


63 Comments
View All Comments
ononhk - Monday, May 9, 2016 - link
VERY POOR CASE !!!!! (400Q)<a href="http://www.imagebam.com/image/b50845482435809"... target="_blank"><img src="http://thumbnails116.imagebam.com/48244/b508454824... alt="imagebam.com"></a>
skew88 - Wednesday, May 11, 2016 - link
That's very worrying. When did this problem start? Do you have an idea what might have caused it?I would also like to chime in with a piece of criticism: The latches of the front panel are just extremely prone to breaking off. In fact, I saw a Corsair employee manage to do it at a Corsair booth the day after I did it myself! How did this make it through quality control!?
Earl-J - Saturday, August 6, 2016 - link
* * *Okay, for those of us non-techies who very rarely get inside their own computers, let alone pry and snap things inside to get a better view, the direction. . .
"To remove the two plastic covers that separate the PSU and HDD area from the rest of the case, the HDD cover has to come off first, then the PSU cover."
means absolutely nothing.
I can see the one piece (HDD) on the desk and the second piece (PSU)
still attached to the inside of the main box... I know which one comes out
first just by looking at the picture.
I see the snap-latches that need to be pushed in order to get the covers out.
The HDD latch has a cover of some sort on it that cannot be pushed, slid, or lifted...
I can feel the pins under the chassis... once I get them to a position where I can pull the front up from the bottom, do I yank it up... push something else... or slide it...?
LOL
I've considered myself a logical person for many, many years...
but this box has me stumped...
(sigh)
LOL