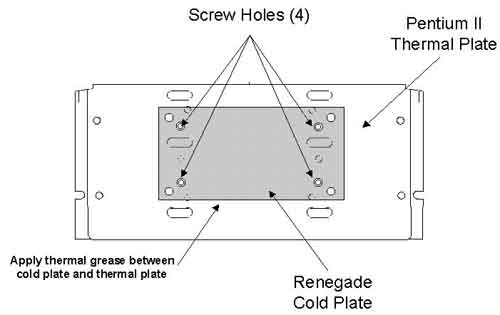
| The cooling plate features two sets of screw holes (the final version will boast another set for SECC2 cartridge support), the outer set for Celeron SEPP processors and the inner set for Pentium II SECC processors. | |
| All that is required is to use the proper set of holes to attach the plate to the processor, with the Celeron you'll have to use the heatsink clips to attach the cooling plate, while the Pentium II requires the 4 provided 3/8" (#6) screws to connect itself to the plate. In the case of AnandTech's experience with the setup, only three of the four screws would actually go in to the cartridge without damaging it, however the cooling plate made complete contact with the back plate of the Pentium II processor (where the processor itself is located), which is what truly matters. | |

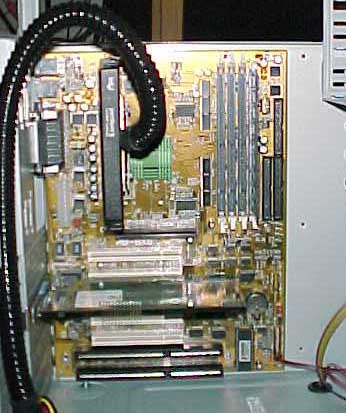
| The thermal bus on the Renegade is much more pliable than the one on the Cool K6-3, simply because it isn't carrying as much back and forth and it must be flexible to adapt to any sort of motherboard design that may come its way. The processor took a little shifting to get into place on the BX6 test motherboard AnandTech used, however after it was properly seated the thermal bus was pushed out of the way and the system was ready to crank on. The cooling plate/processor combination was so much cleaner and easy to work with than the clunky, noisy and oversized heatsink/fan designs we're all used to. | |
| There were no messy wires to mess with, and the beauty of the design, unlike Peltier coolers, is that there is no heat generated by the cooling plate itself and since the heat is channeled completely out of the system case, the ambient case temperature decreases as well. | |
A simple power connector hookup was necessary before the system could be fired up, a 5-pin power cable must be available to plug into an empty socket near the entry point of the thermal bus into the system case. Unfortunately the connector does not include a y-splitter so you lose a power supply connector unless you want to pick up a y-splitter of your own and split a single power supply connector into two depending on how desperately you need that connector. Next, the power switch connector had to be plugged into a two-pin connector which lead down into the cooling compartment of the case, leaving another cable coming up out of the "floor" of the system case to plug into the motherboard as the power switch connector. The purpose for that little manipulation was to allow for the cooling device to have the control over when the computer turns on and off if necessary (i.e. in the case of an emergency - too hot/too cold).


0 Comments
View All Comments