Original Link: https://www.anandtech.com/show/2264
Apple's iPhone Dissected: We did it, so you don't have to
by Anand Lal Shimpi on June 29, 2007 10:17 PM EST- Posted in
- Smartphones
- Mobile
We have only had the phone for a few hours but we needed to get inside its casing, what follows is our dissection of the Apple iPhone. Please note that we're doing this so you are not tempted to on your recent $500/$600 expenditure, while it is quite possible to take apart using easy to find tools we'd recommend against it as it will undoubtedly void your warranty and will most likely mar up the beautiful gadget's exterior. Do whatever you wish to your iPhone, but do so at your own risk :)
This is the iPhone that most of Apple's customers will be seeing:

Special thanks to Olivia Marsh and Manveer Wasson for help with the disassembly and photographs for this article
And this is one of ours, on the operating table:
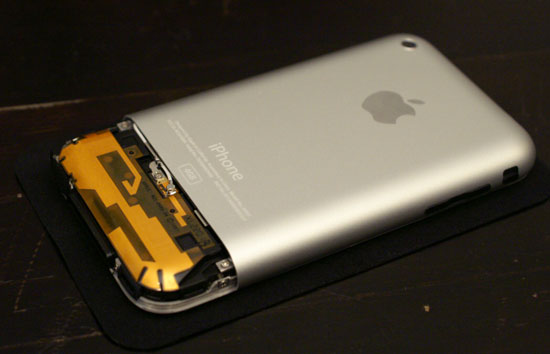
Chances for survival? Slim
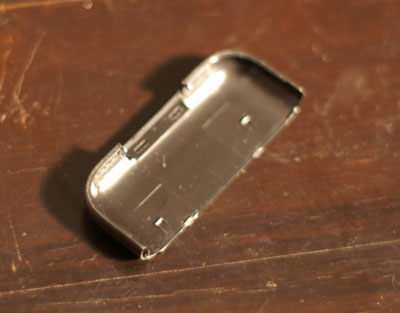
The first step to disassemble the device is to remove the lower black plastic piece; heating it up and squeezing a razorblade in there made it not only possible, but easy:
Then came the process of removing the brushed aluminum cover, which wasn't nearly as easy. After a lot of bending, pulling and other unfathomable things one would do to a brand new iPhone we were left with this:
Ignore the slightly bent iPhone casing, we swear it came this way
The First Date
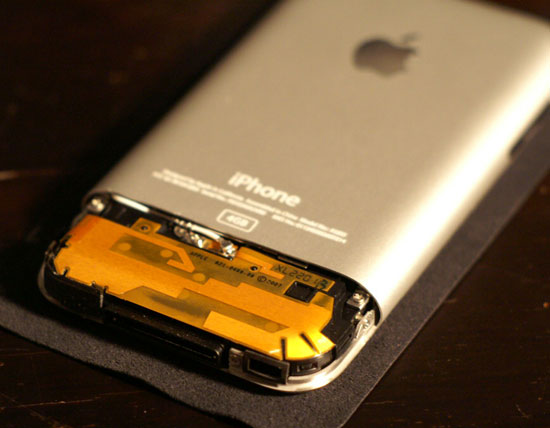
The lower part of the iPhone, covered in black, is where the GSM and WiFi antenna reside:
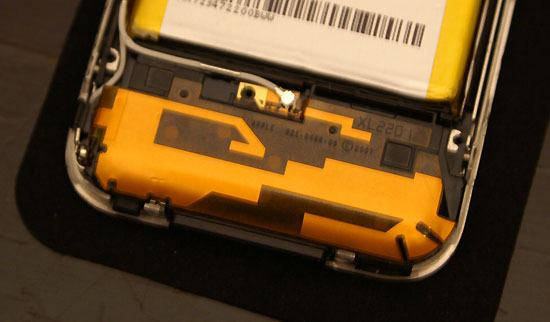
The yellow membrane above is common among GSM mobile phones.
The black circle at the lower left of this picture is the camera, and the two white cables are antenna interfaces to the motherboard:
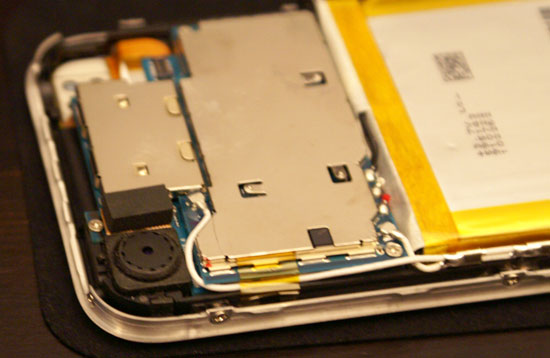
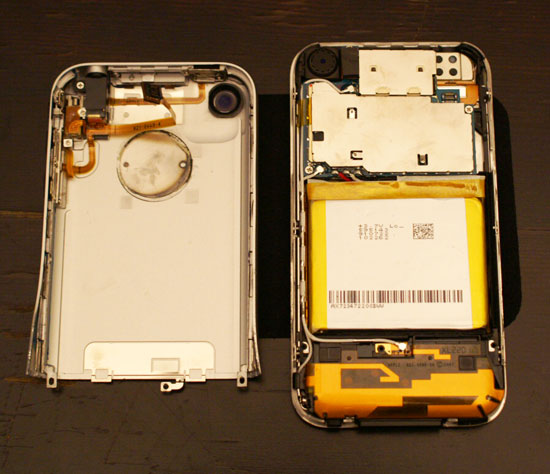
The PCB that the two white wires run to is actually the top layer of the iPhone's entire motherboard, it is incredibly compact. The rest of the phone is basically a battery and the GSM and USB interfaces.
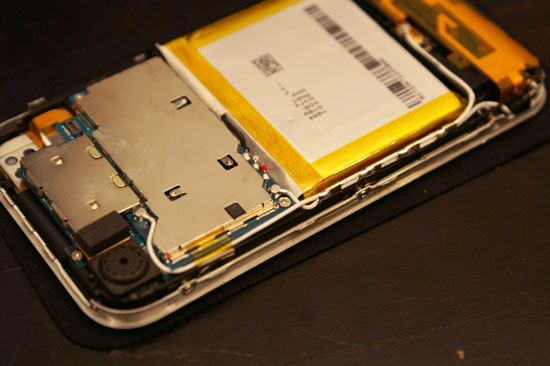
The big yellow thing in the middle is the iPhone battery; you're definitely not replacing this thing on your own
The iPhone's Motherboard(s)
The motherboard in the iPhone is very compact; it is actually composed of two separate PCBs that are sandwiched together.
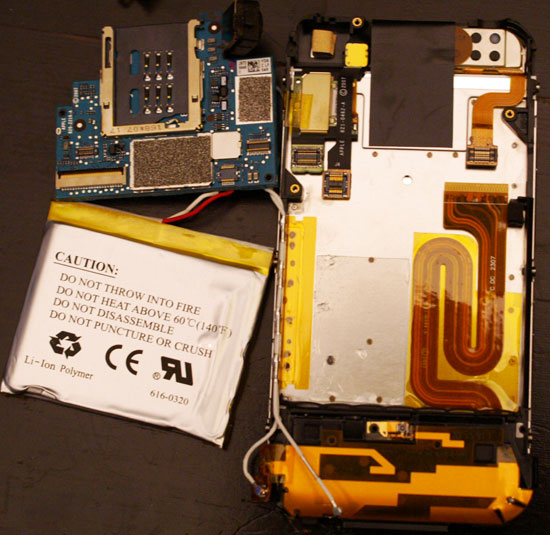
The upper left hand corner of the picture is the PCB sandwich that makes the iPhone tick; the black slot you're seeing here is for the SIM card; the cable port on the lower left of the motherboard appears to be the LCD interface.
The topmost PCB appears to have the 802.11b/g wireless controller as well as most of the other microprocessors necessary for the cell phone aspects of the iPhone:

Note that we've removed the EMI shield from the top of this PCB layer in order to show off the individual components.

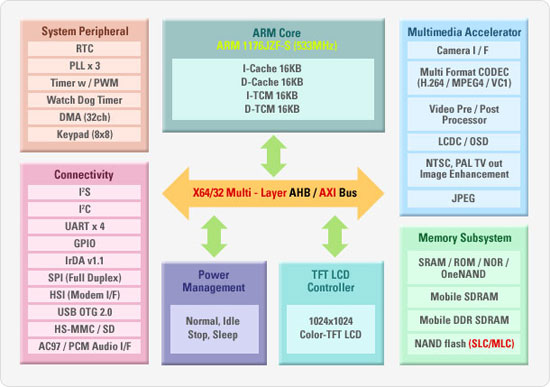
The lower PCB layer features the 4GB MLC NAND Flash (made by Samsung), as well as the iPhone's main processor. Two of the chips on this board have Apple logos on them, the larger of the two appears to be the iPhone's ARM processor manufactured by Samsung.

We suspect that it may be Samsung's S3C6400 based on the ARM1176 core, however some readers have written us stating that it's more likely to be the S3C2460; judging by the model numbers on the chip itself, the ARM processor may be a part of a multi-chip package that includes 1Gbit of system memory, for running the iPhone's OS. The K4X1G153PC-XGC3 is a Samsung part number, indicating a 1Gbit memory device, but it is placed on the same package as the ARM processor itself.
Say Goodbye to the Screen
With the motherboard itself pulled apart and inventoried, we turned to the multi-touch screen:
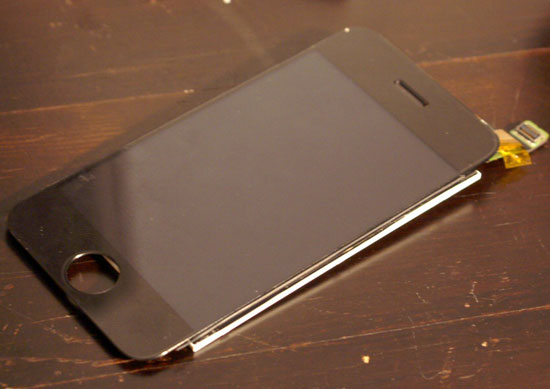
Will it ever work again? The picture below has this part flipped over as the first stage of dissection
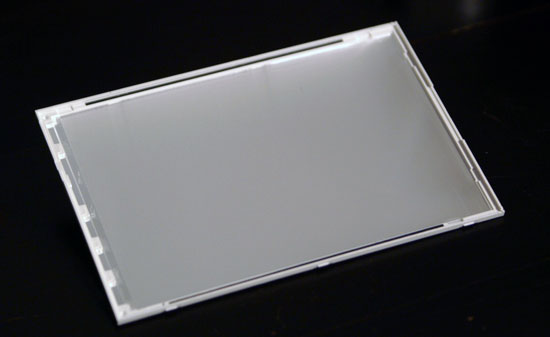
Below is a depiction of the stages of dissection:

The leftmost picture is the LCD and layer immediately behind it, followed by the middle two layers and then the final piece of the screen assembly.
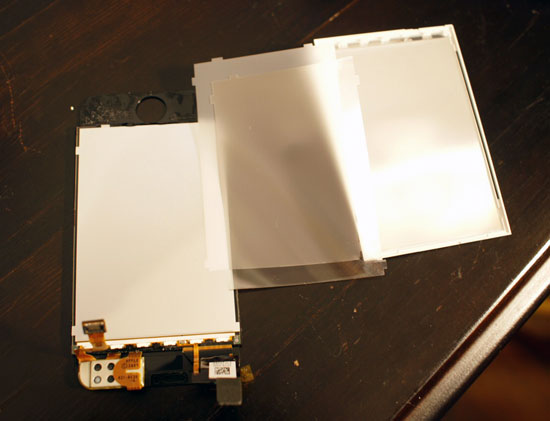
From left to right, the parts of the screen starting with the piece closest to the user and moving further away
Here's a closer look at the backside of the iPhone's outer screen layer:
A closer look at the middle layers of the iPhone screen setup:

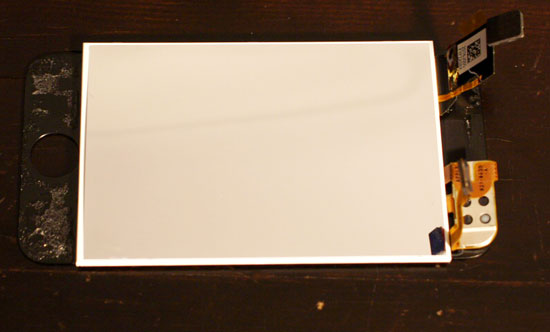
The final piece, the one closest to the motherboard, has a faint pattern of dots laid out in a grid which you can sort of see in the picture below:
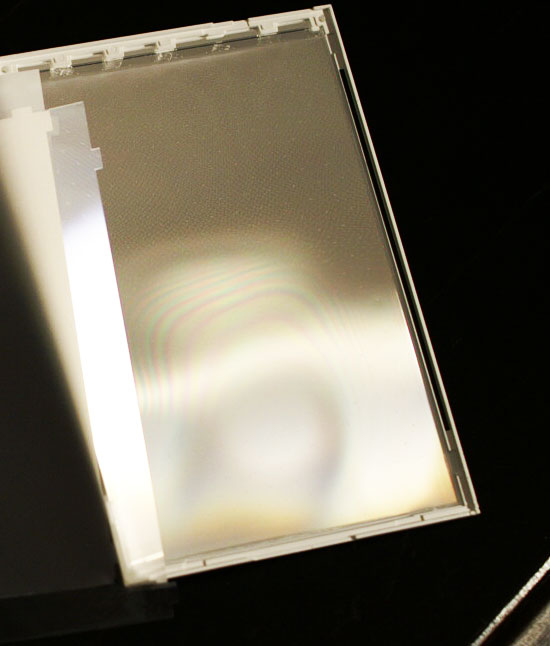
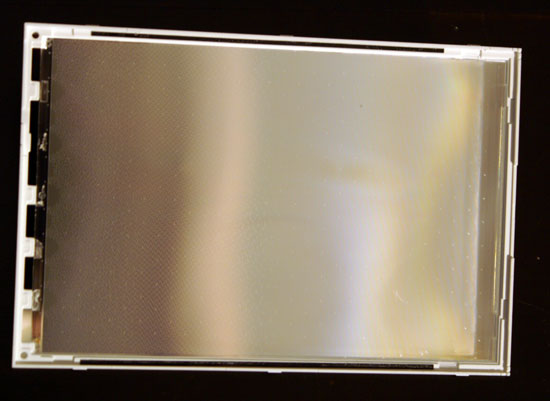
The grid continues down the entire panel, once again necessary for the multi-touch screen.
The Aftermath
Taking apart the screen left us with this (don't worry, this isn't the iPhone we're reviewing :)...):
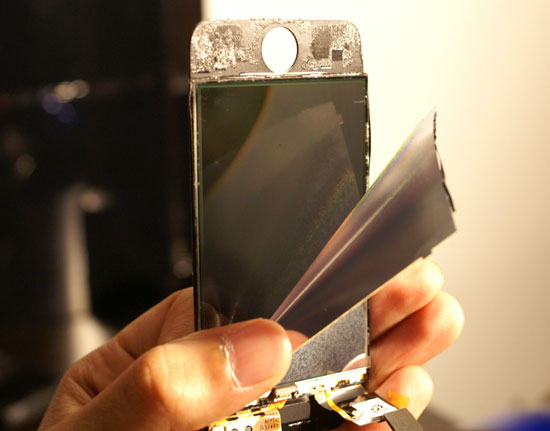
The screen we're pulling away is a somewhat translucent surface, behind it is the touch screen surface itself.
With the screen removed, here's all we're left with on the other side of the iPhone:

We had to cut through a lot of glue to get that screen off
With the dissection out of the way, our full review is up next...


