The Cougar QBX Mini ITX Case Review
by E. Fylladitakis on November 13, 2015 8:00 AM EST- Posted in
- Cases/Cooling/PSUs
- Mini ITX
- Cougar
- Case
The Interior of the Cougar QBX Case
Removing the side panels of the Cougar QBX is a simple matter of undoing four thumbscrews. However, the top panel also needs to be removed for the installation of the PSU and that requires the use of a typical Philips PH2 screwdriver. For small upgrades and tweaks, removing the top panel should not be necessary.
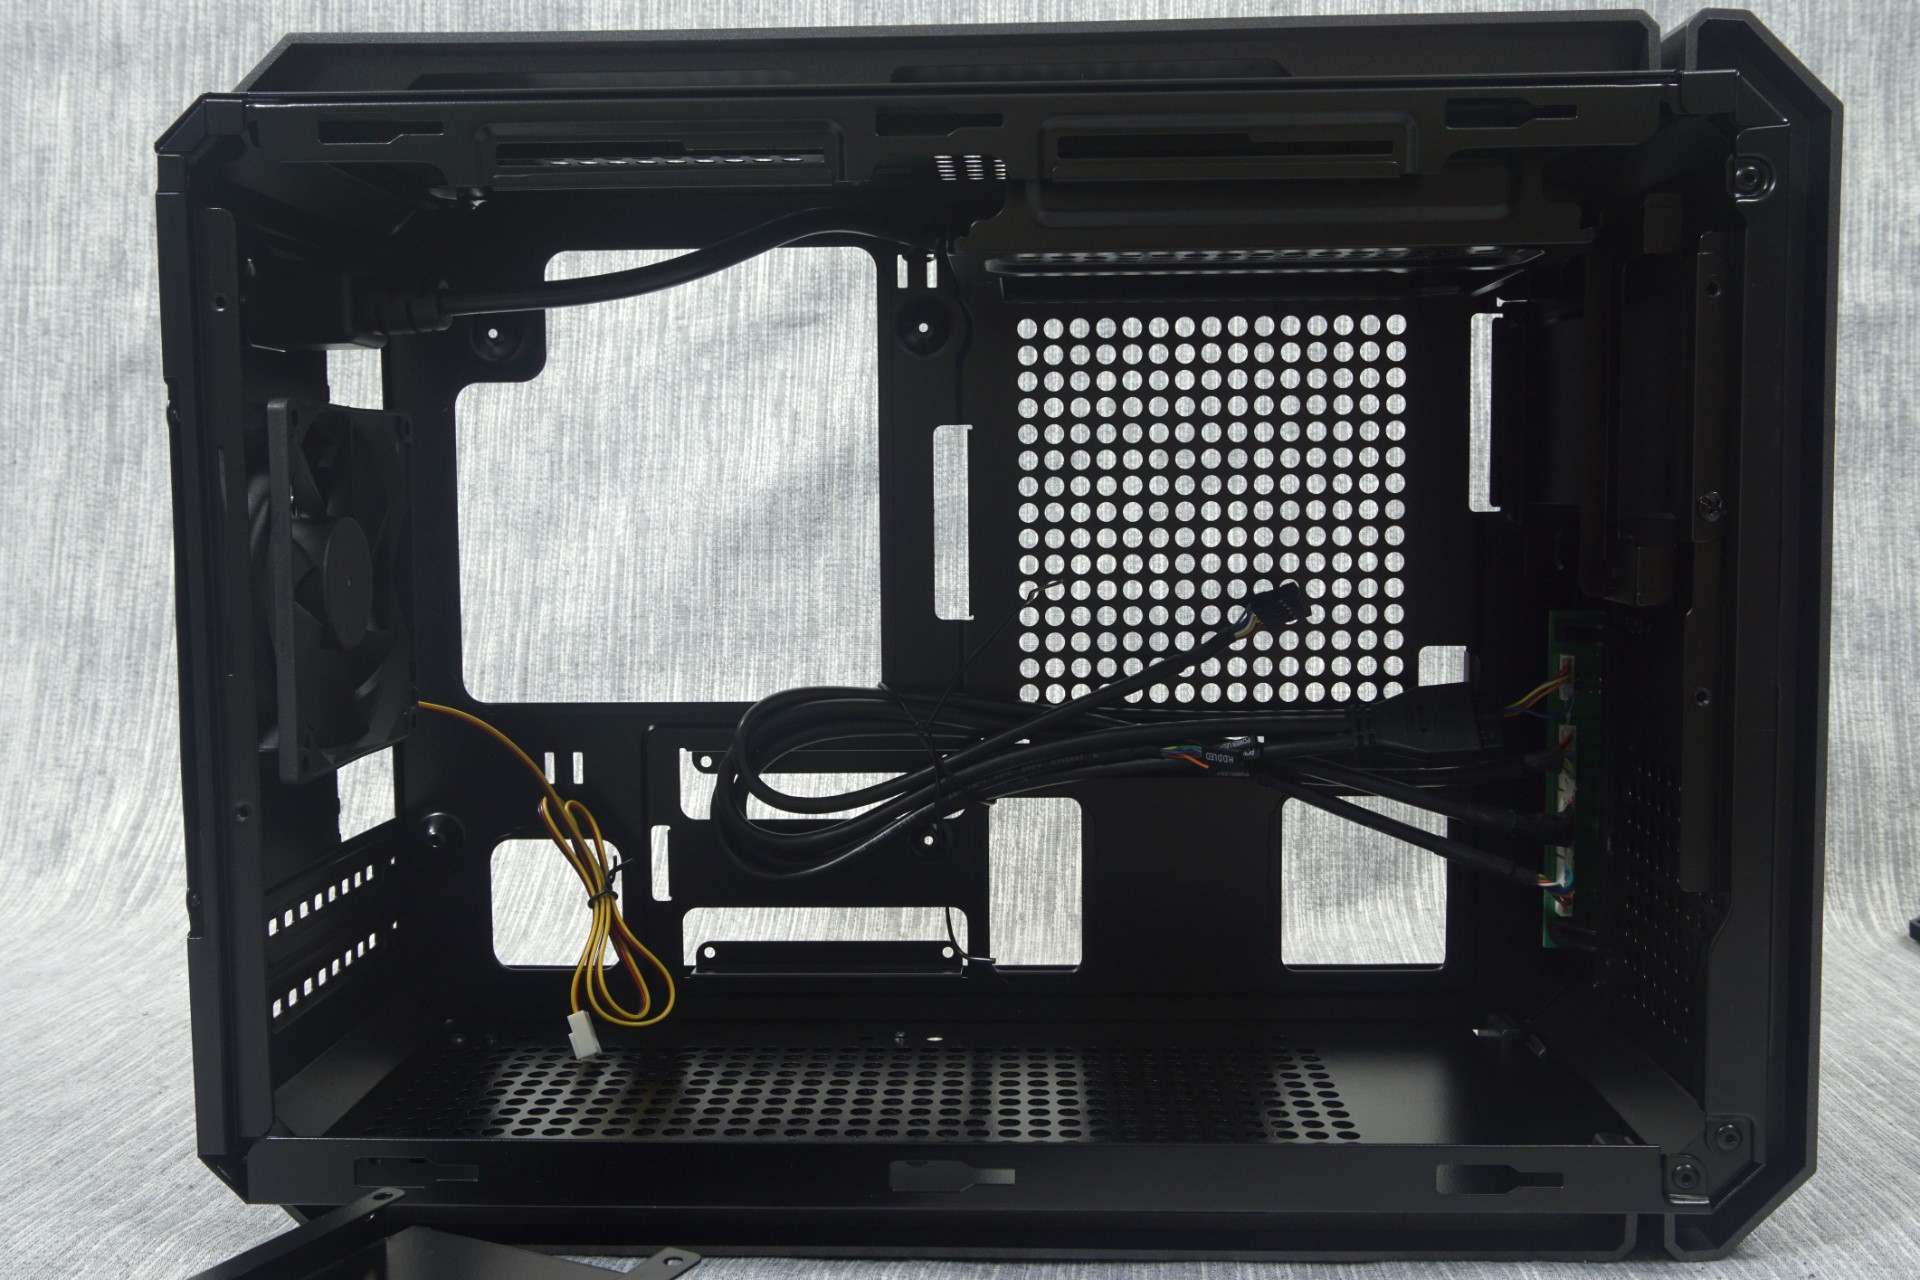
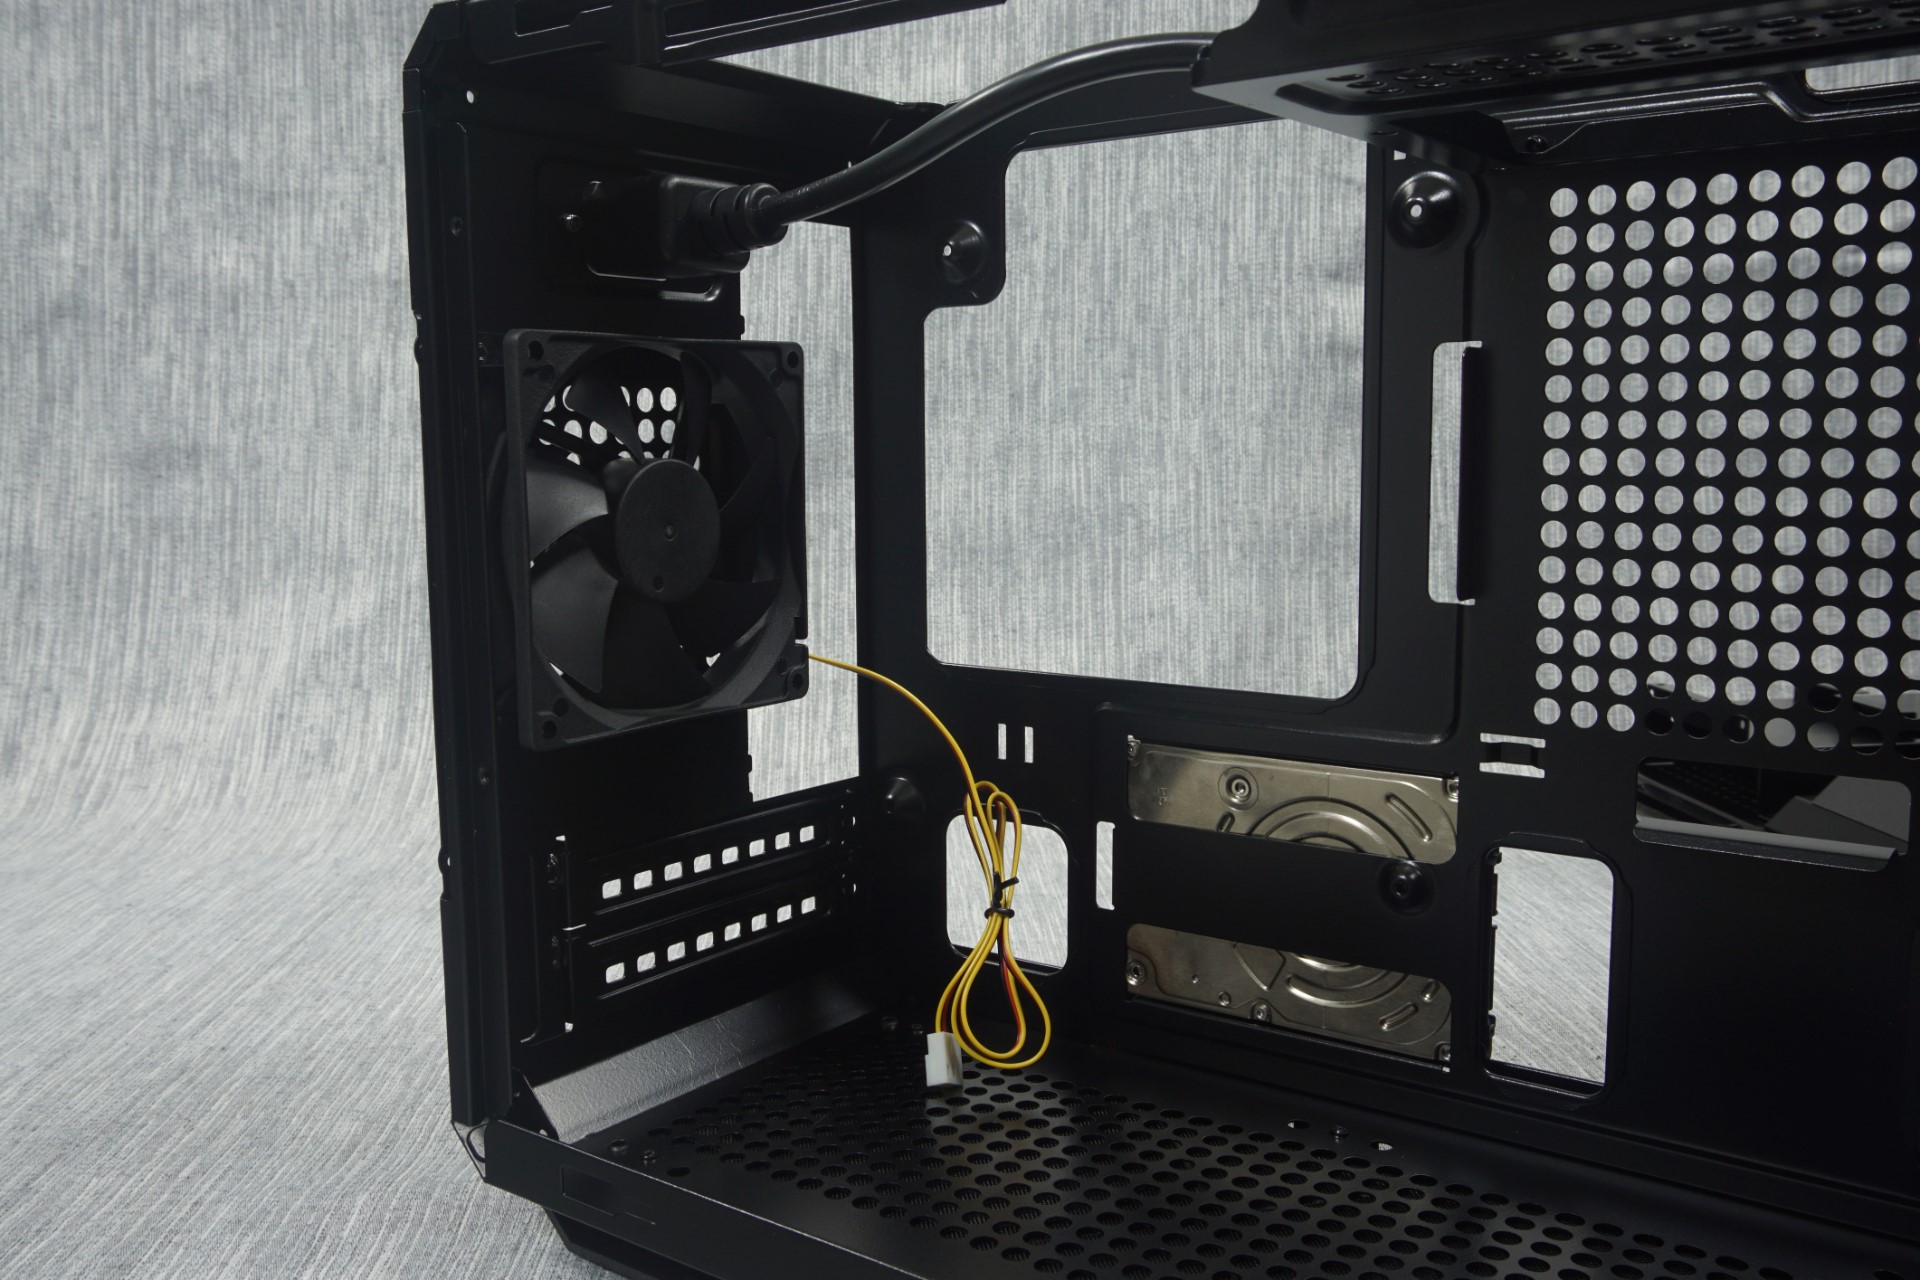
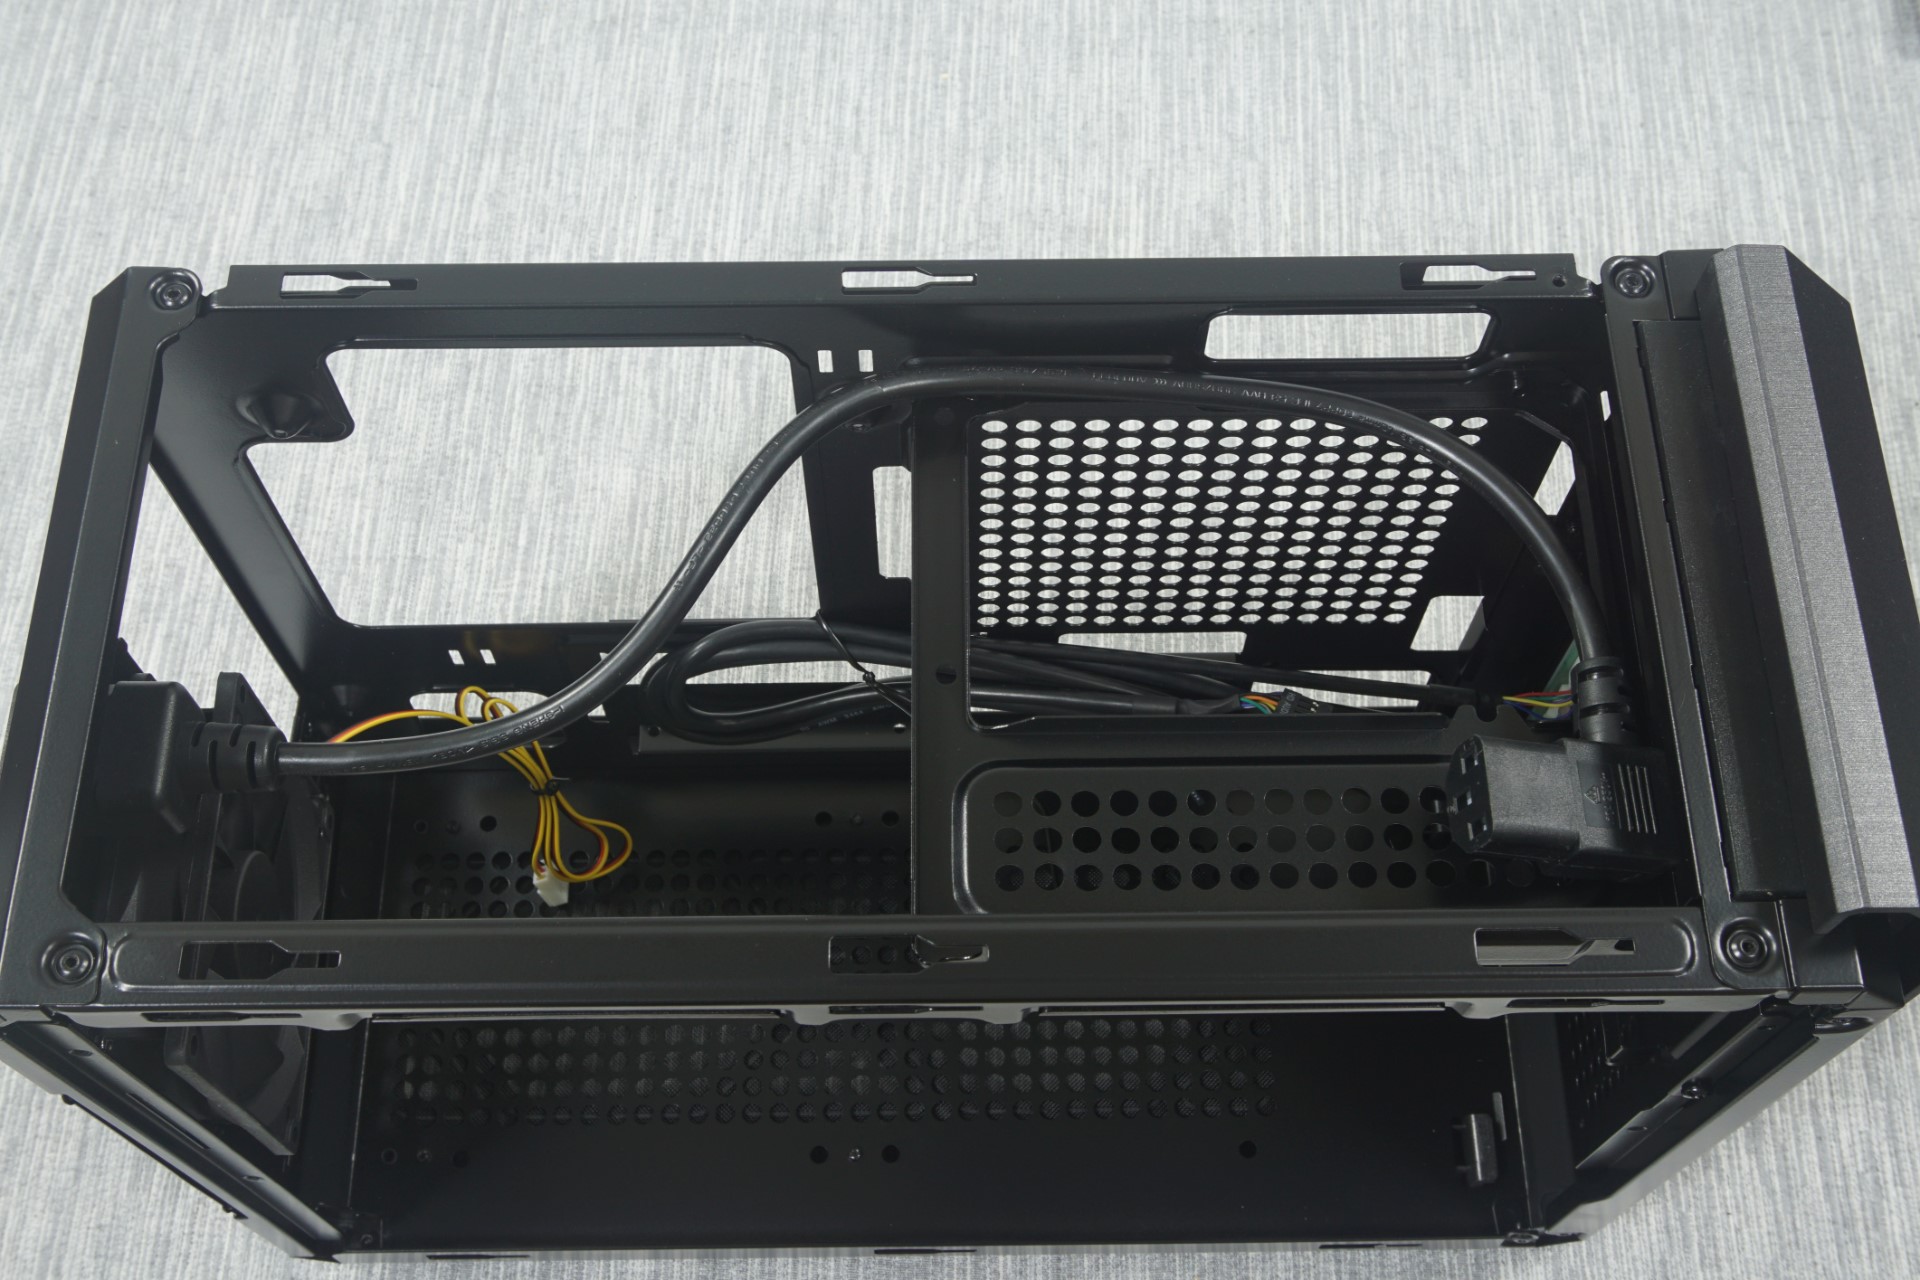
There is also a secondary, removable metallic tray mounted on the left side of the case. This tray can be flipped upwards or removed entirely for the easier installation of components. It has a slot for one 120 mm fan and a cage that can accommodate one 3.5" drive and two 2.5" drives. If the cage is removed, a 240 mm liquid cooling radiator will fit but only one fan can be installed. Otherwise the cables needed to power the drives and fans that may be installed on this tray may create a little bit of a mess.
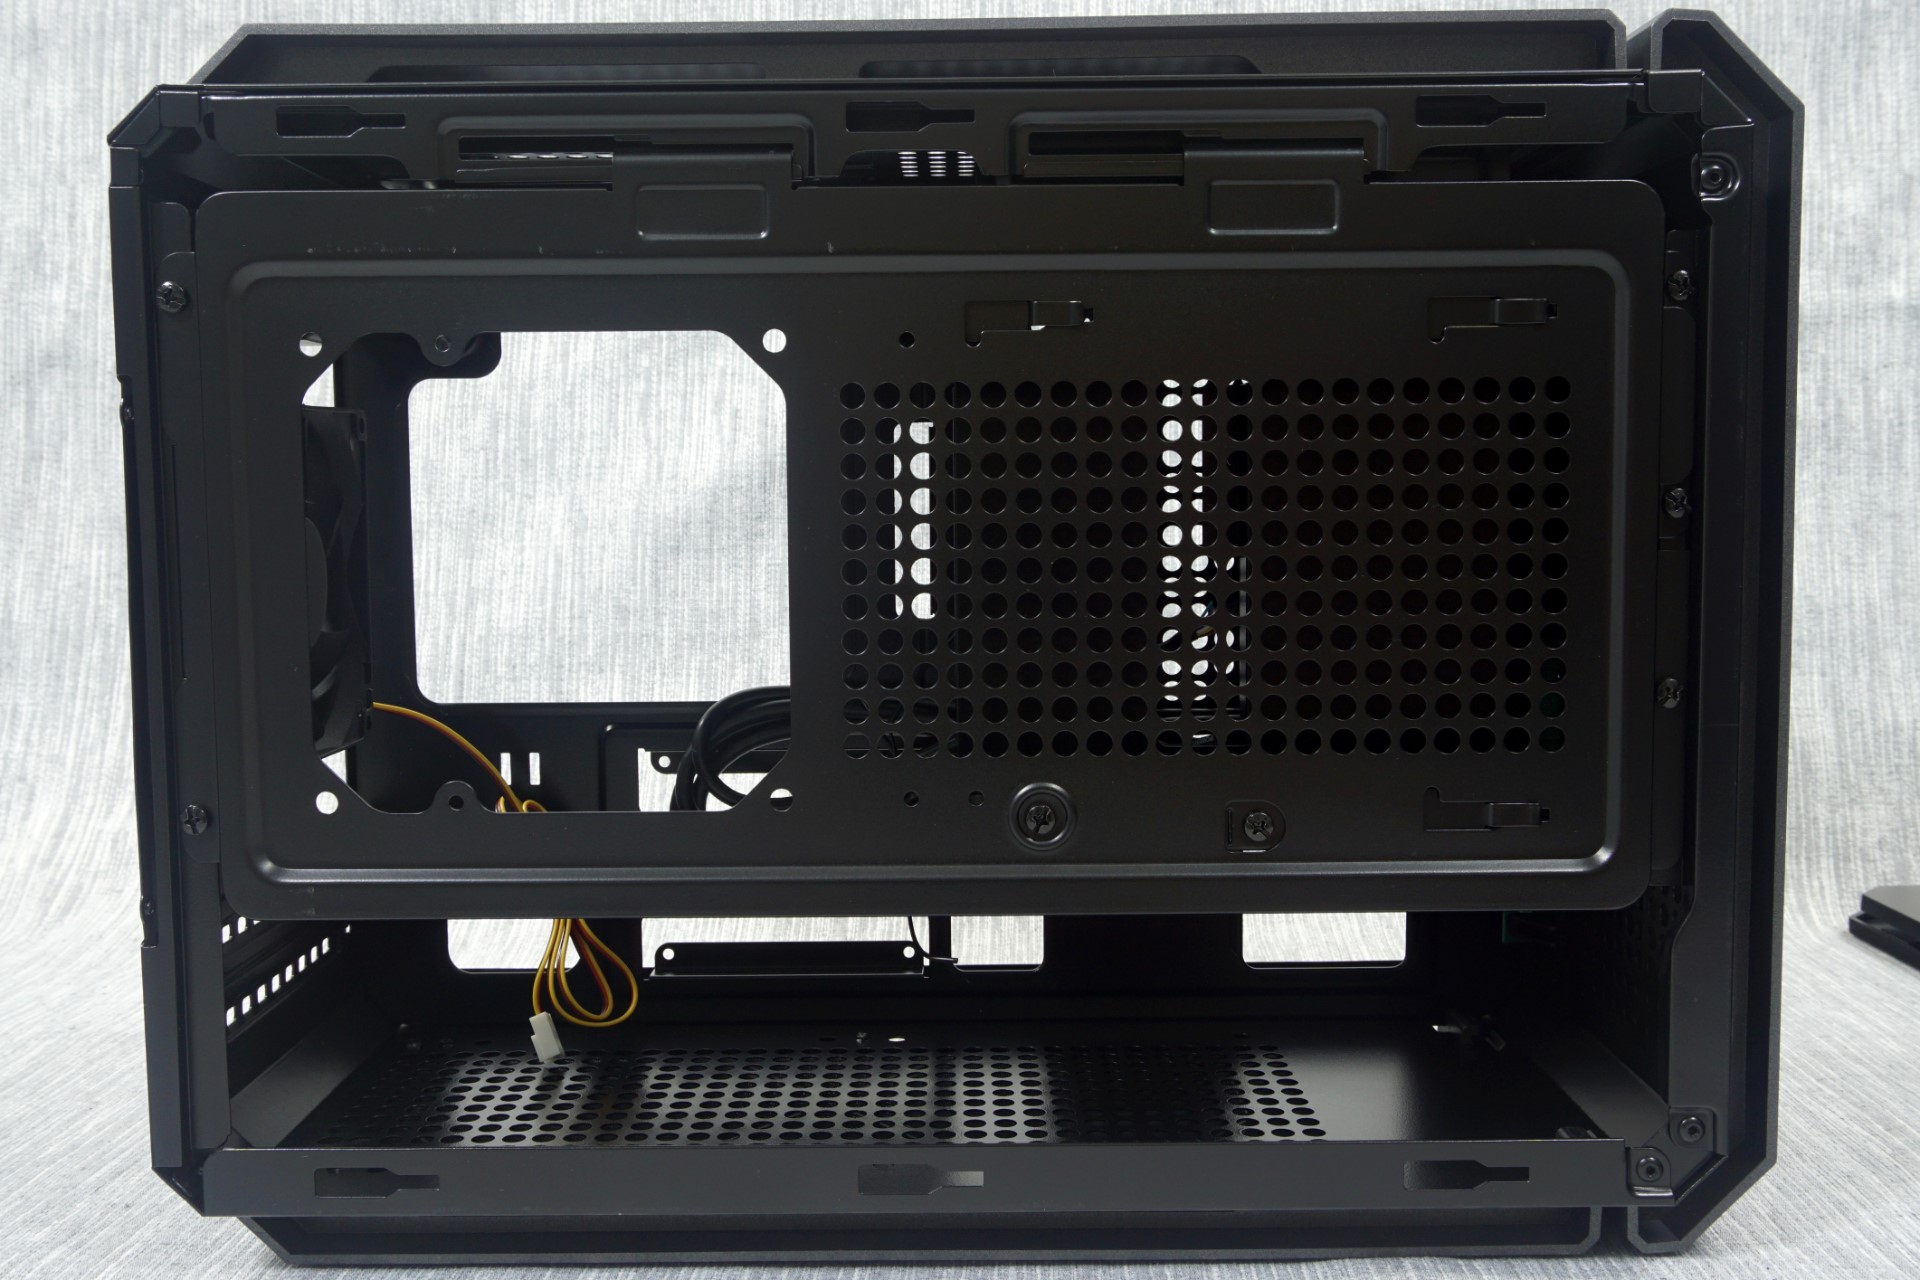


The interior of the QBX deceptively looks very spacious because of the case's length. Only the left half of the main tray is reserved for the motherboard. A large opening allows for the installation of coolers without having to remove the motherboard from the case. The large opening extends beyond the top end of the motherboard for the routing of cables. Smaller openings also exist to the right and bottom of the motherboard area for the same purpose, none of which is covered with a rubber grommet. The right half is almost entirely taken by the PSU, with a narrow strip reserved for the slim ODD drive.
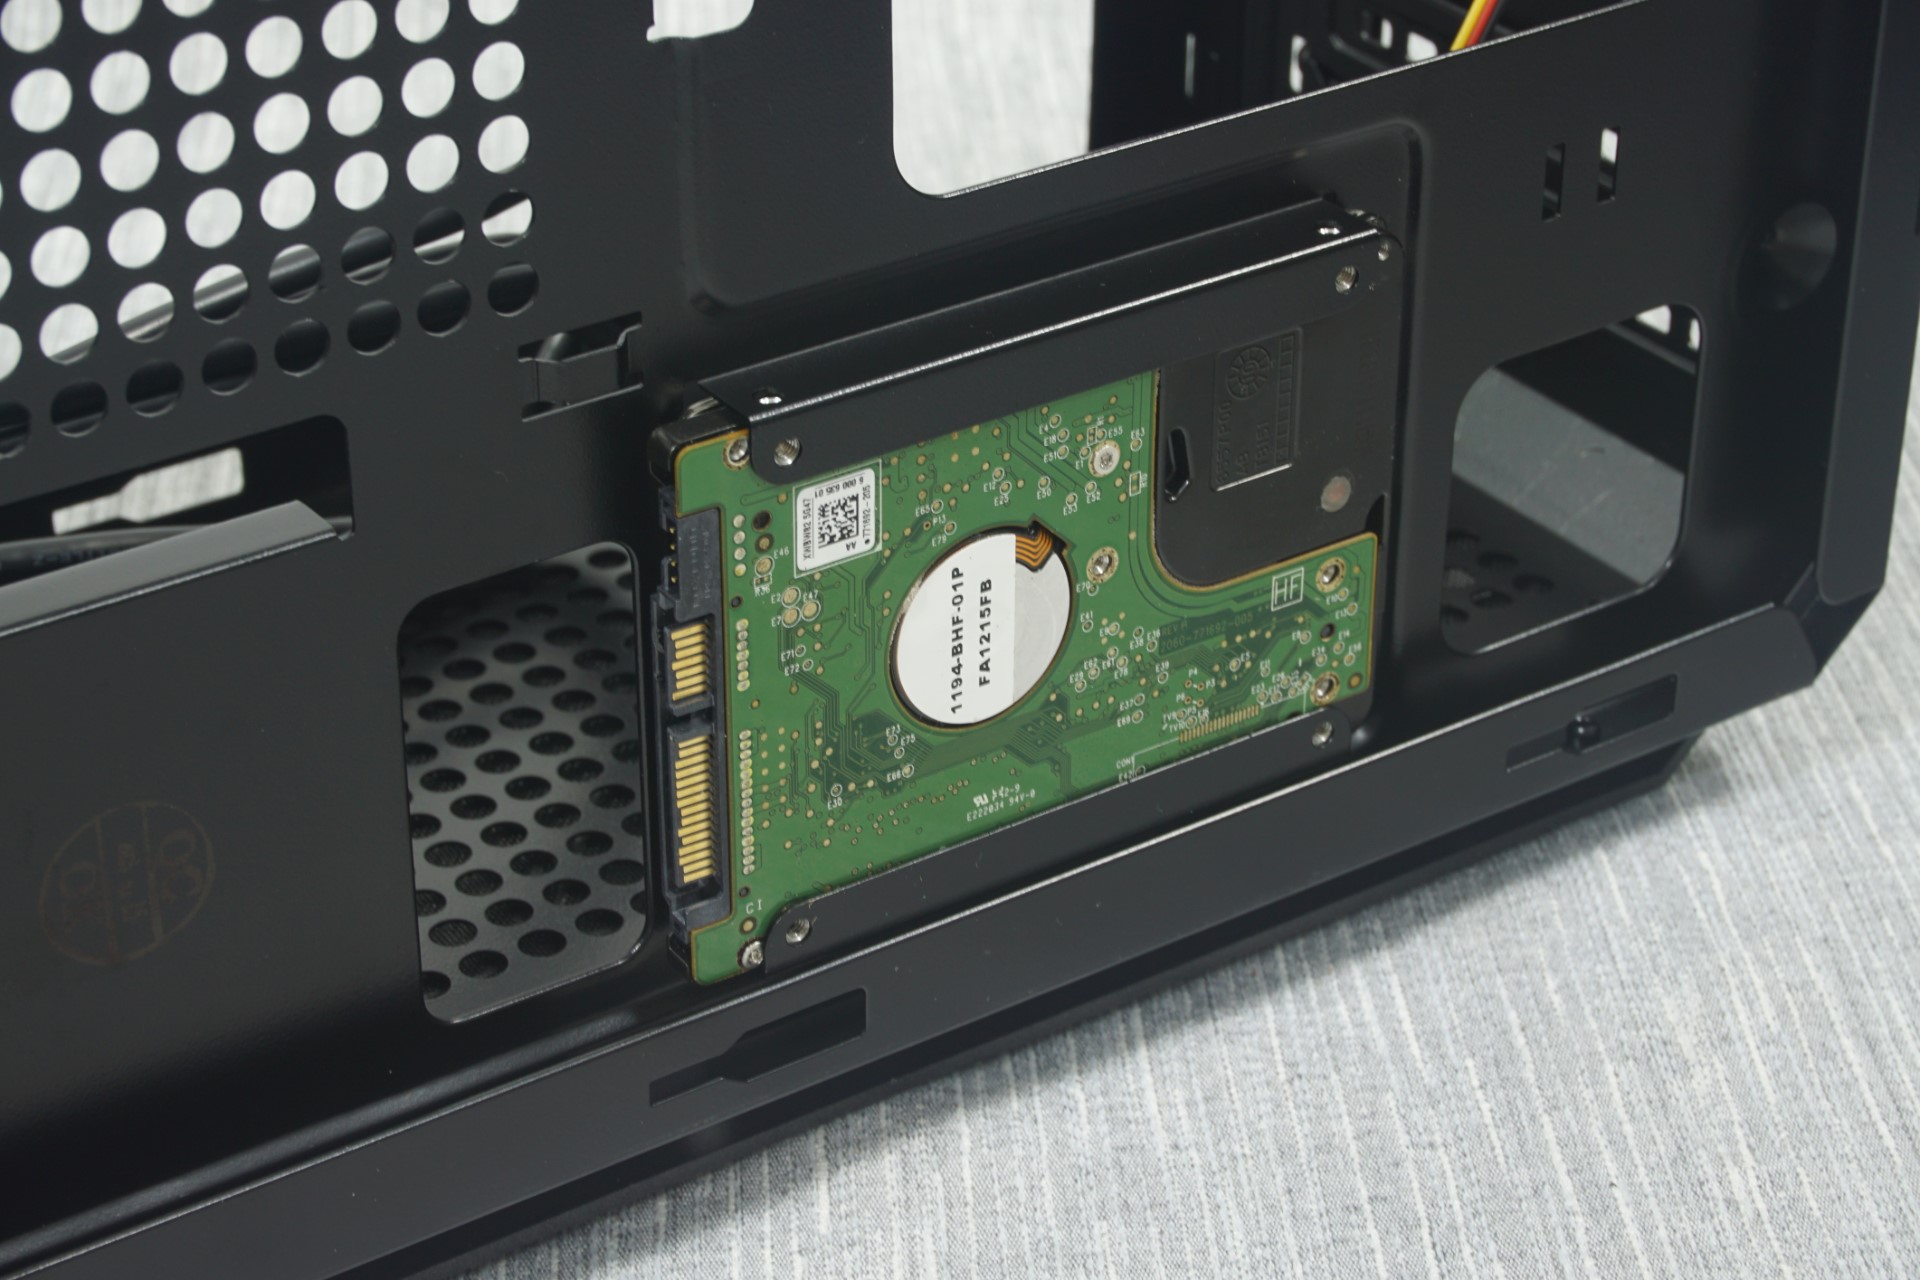
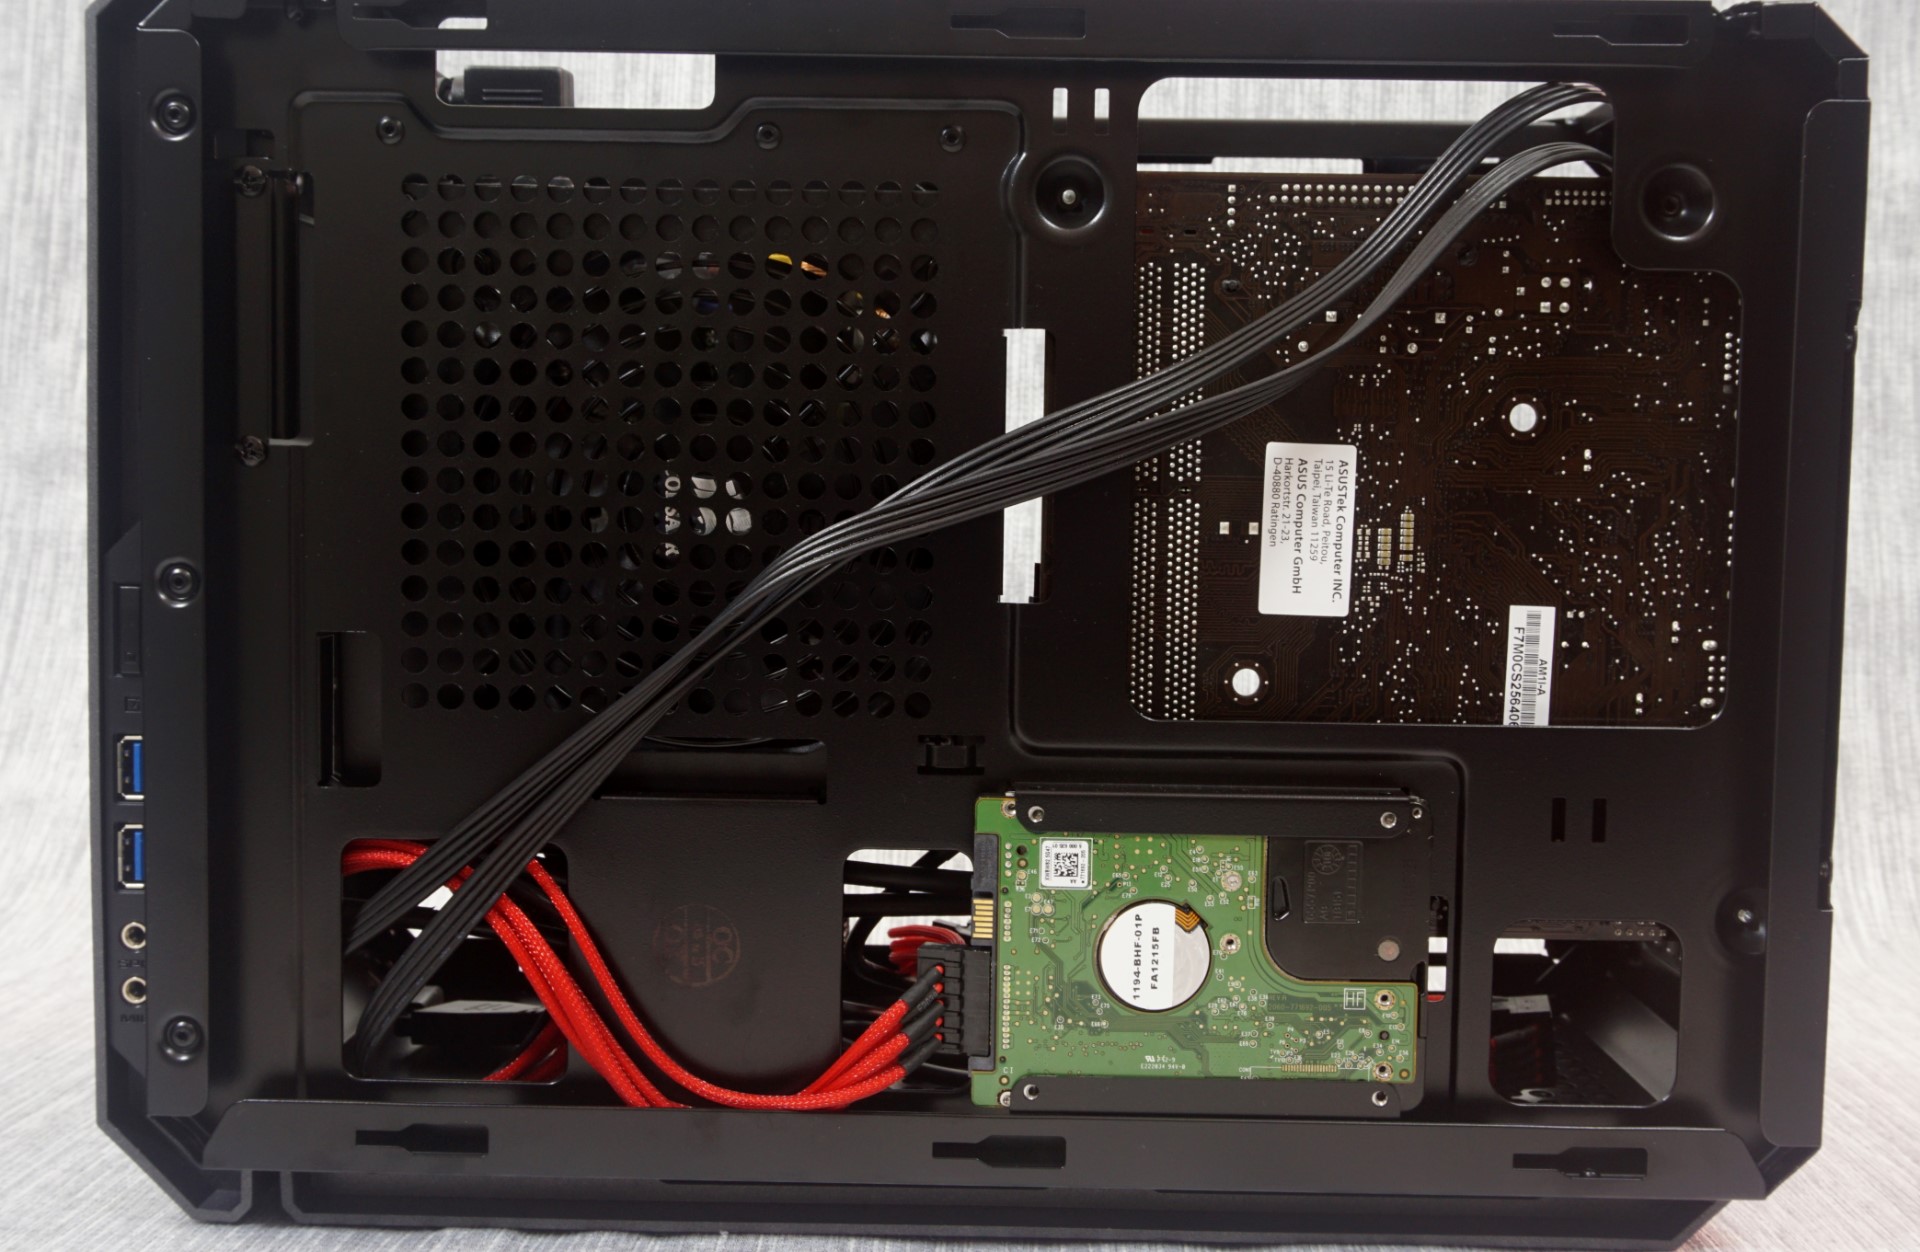
The back of the motherboard tray is spacious enough for the routing of the few cables. There is also one slot for a single 2.5" drive, strategically placed next to an opening. This way the first SATA power connector of a PSU cable can power this drive and the rest of the connectors will continue right through the hole.
To the back of the case we can see the stock 92 mm fan. It is a simple, black and slow fan with a sleeve bearing. Although not much of a performer, it is very quiet. There are also two expansion card slot covers, with the second slot in place to allow the case to support your typical double-wide video card.
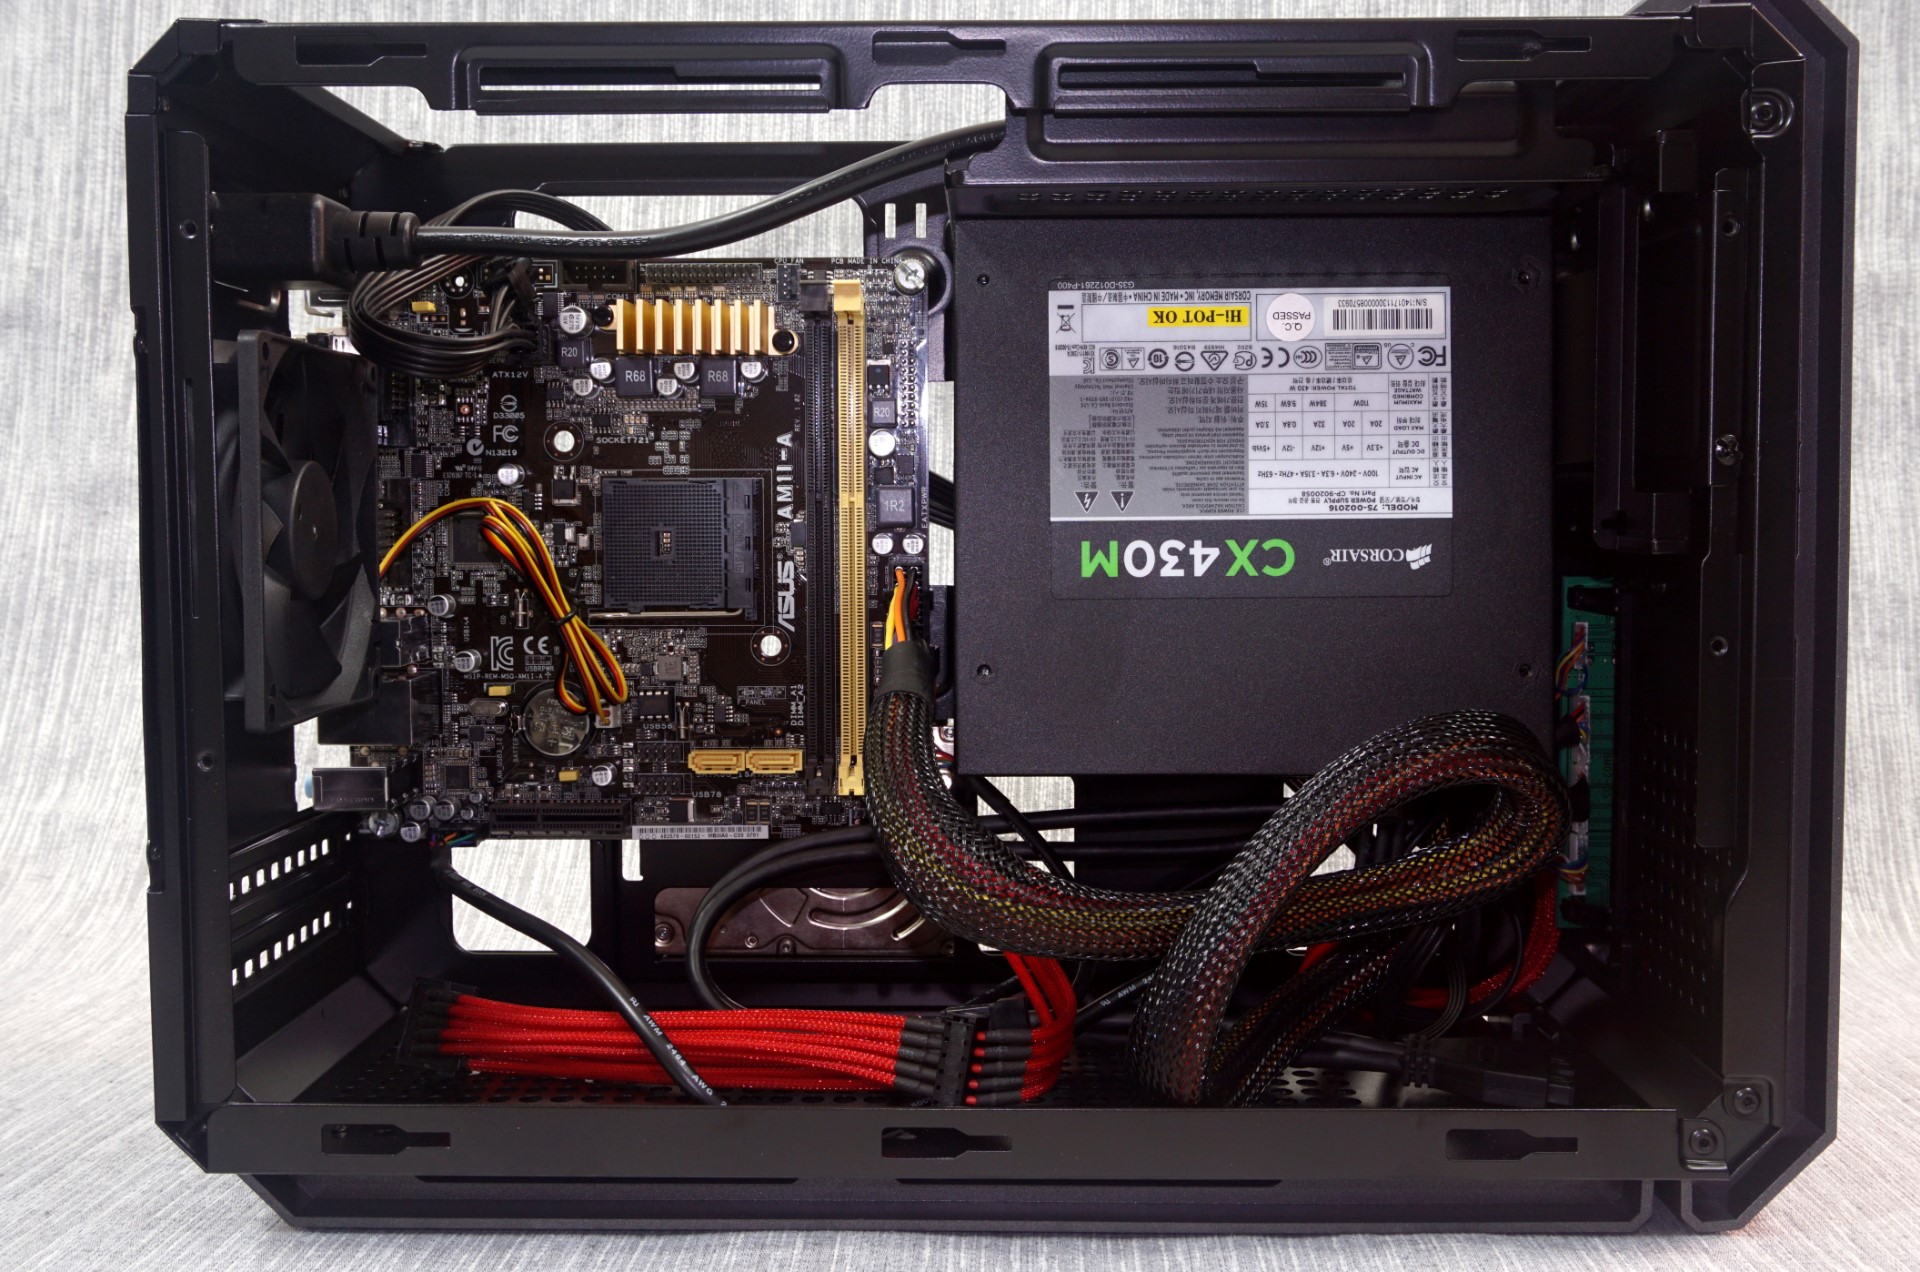
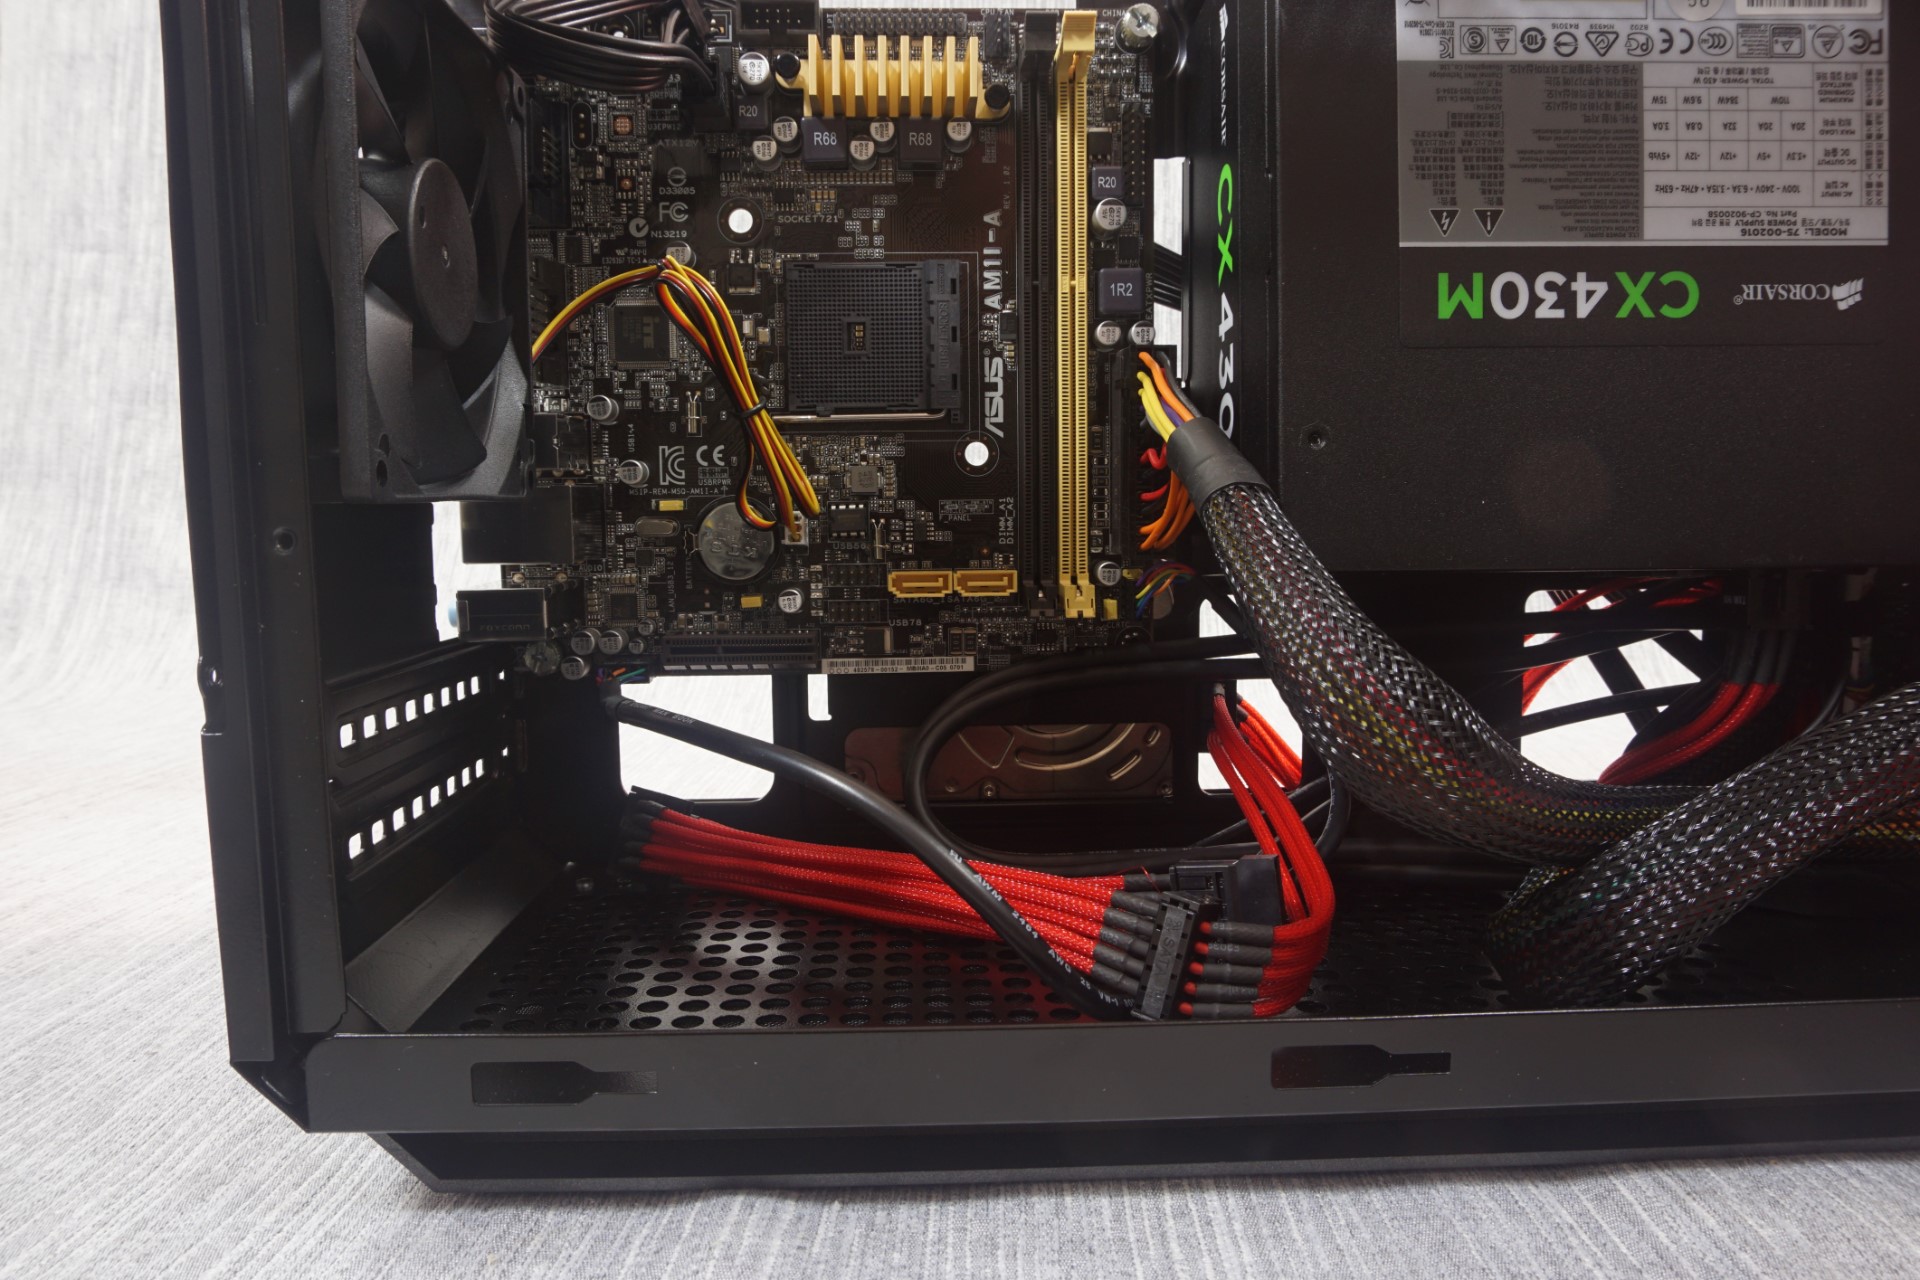
Moving on to the build test portion of this review, we installed a Corsair CX430M with the red cable set in order to give the cables a strong visual contrast. The components easily fit inside the QBX and the modular cables help with the limited space, but the stiff ATX cable could not be easily routed behind the motherboard tray. A standard Mini-ITX motherboard fits like a glove, with enough space to the top, right and bottom for the routing of cables. A CPU cooler up to 105 mm tall will fit if there is nothing installed on the secondary tray. The installation of a side panel fan will reduce the CPU cooler clearance by at least 25 mm.
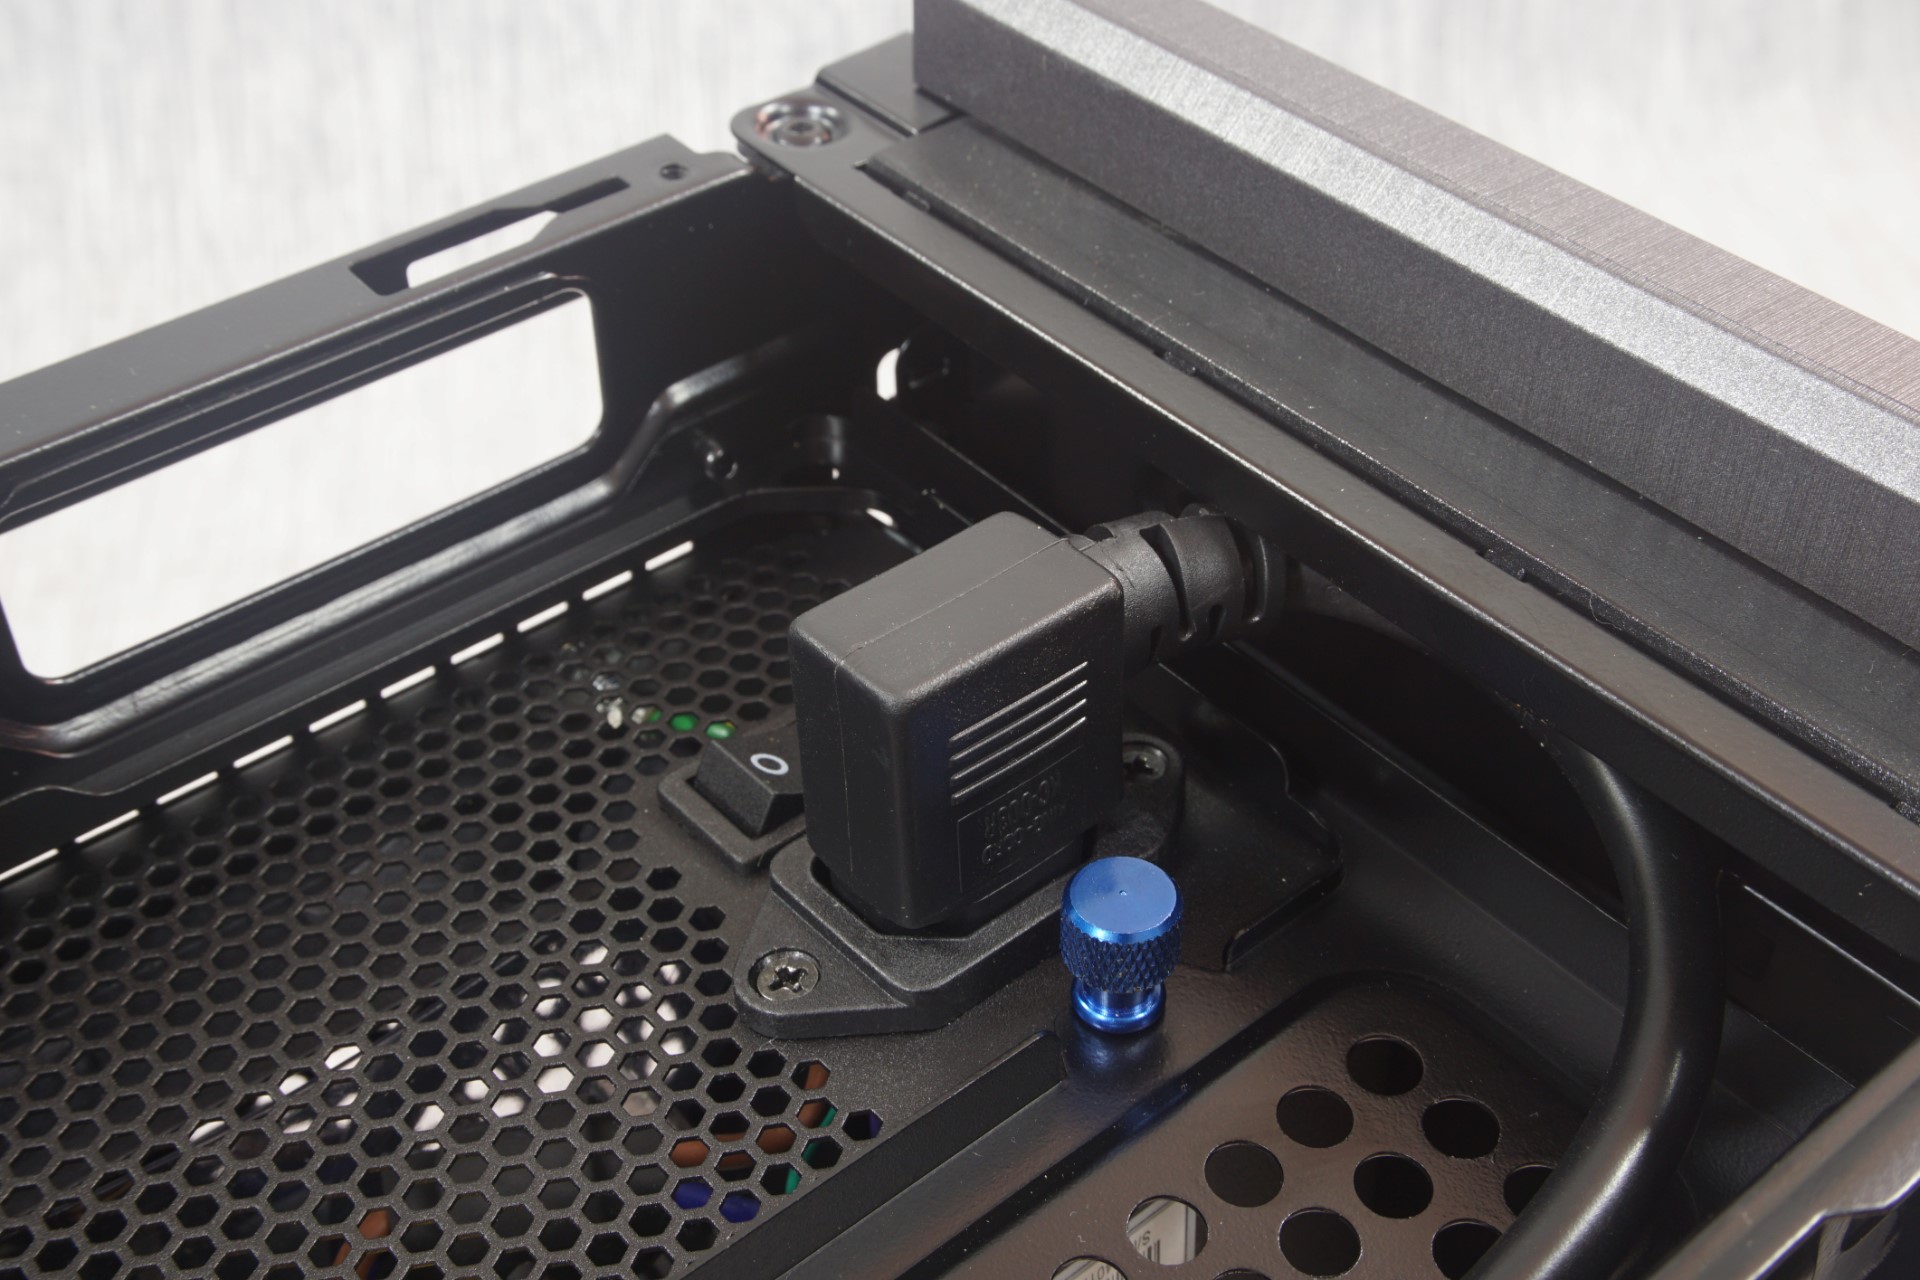
Although the Cougar QBX can take a full size ATX PSU, there is a catch – only PSUs up to 140 mm long will fit and they need to have their AC cable receptacle oriented in a particular way. According to the company's documentation (below), PSUs with the receptacle facing upwards are not compatible with the QBX.

The reason for this is the PSU's position towards the front of the case and the resulting need for an extension cord, which is built in to the case. Simply put, the extension cord would not fit into the receptacle if it had to turn 180°. Or at least, that's the theory. We installed the Corsair CX430M PSU into the case, a PSU that would be incompatible according to Cougar's descriptions, and it does fit just fine. The extension inserts a little tightly into the receptacle, but fits. The only issue is that the extension cable now blocks the ODD slot. Therefore, if you are not planning on installing a slim slot-loading ODD, all ATX PSUs that are up to 140 mm long should fit.
Technically, PSUs longer than 140 mm fit as well. The holes for the routing of the PSU cables are large enough to accommodate PSUs a couple of centimeters longer. However doing so will block the installation of long graphics cards, reducing the available space to just 175 mm. Meanwhile even if the PSU is exactly 140 mm long, as recommended, if there are modular cable connectors near the left side of the PSU, they will limit the length of the graphics card. If you want to install a graphics card up to 350 mm - the maximum length card this case officially supports - then you'll need to install a non-modular PSU with a chassis no more than 140 mm long.
Overall, the installation of components inside the Cougar QBX is a relatively easy process. It may not be entirely seamless, requiring at least one proper Philips PH2 screwdriver and some prep work in advance, but it is not difficult. However the proper selection of these components should be a priority, as the small size of the case means that there's not much room for error when using larger components.


42 Comments
View All Comments
zodiacfml - Monday, November 16, 2015 - link
Good job. I also love the conclusion which includes this " one that experienced builders should find rewarding."akdubya - Thursday, November 19, 2015 - link
Very happy with this case. It's perhaps overkill for my ultra-low-power NAS/Media Server/HTPC project but I just couldn't resist. The internal power cable comes in handy when you're going the PicoPSU route and want to mount the power brick inside your case. My original plan was to buy some econobox to hide away in my media center but this beauty sits right out in the open.