Averting Disaster - A Guide To Computer Backups (2014)
by Brett Howse on May 21, 2014 9:00 AM EST- Posted in
- IT Computing
- Mac
- Apple
- Windows
- Cloud Computing
- macOS
Built-in Backup Tools - Windows 7
The first method of performing backups is to use the built-in backup tools in Windows 7, 8.1, or OS X. These offer both image based backups, as well as file based backups. This is your first line of defense. If your budget is low, the bare minimum that you want to do is at least back up your files and system image to an internal or external drive, or a network share.
Windows 7
Windows 7 includes a built-in utility called Backup and Restore (formerly Backup and Restore Center in Windows Vista) which allows you to perform backups to internal or external disks on your local PC. If you have Windows 7 Professional, Enterprise, or Ultimate, Backup and Restore will also allow you to perform backups to a network share. Backup and Restore allows both file level, and image level backups. Windows 7 also has a built-in feature called Previous Versions, which will leverage both Windows Backups as well as restore points in order to allow you to restore files to a different point in time.
Backup and Restore, when configured to perform both file and system level backups, will actually perform both a file level, and a system level backup. Unlike more sophisticated backup software, it doesn’t leverage the system level backups for file level restores, meaning it is going to take up more space than a backup solution which does just system level. It does allow incremental backups and versioning though. The biggest issue with Windows 7’s built-in Backup and Restore is its inability to backup files and images to a network share for Starter and Home Premium – the two versions most people have. It also can’t backup files that are on a network share. That being said, it’s a great place to start for anyone who wants to back up to an internal or external drive for file and system protection. Let’s run through how to configure it:
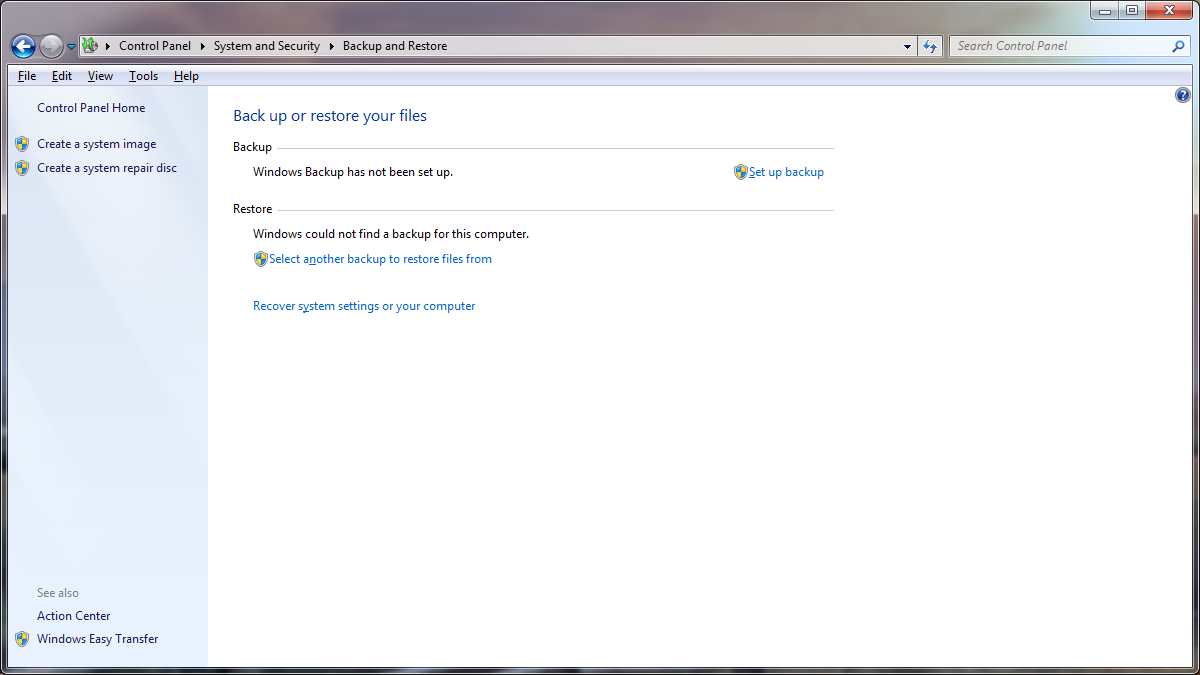
- Go to the Control Panel, then choose System and Security, and select Backup and Restore.
- On the Control Panel applet screen, choose Set up backup.
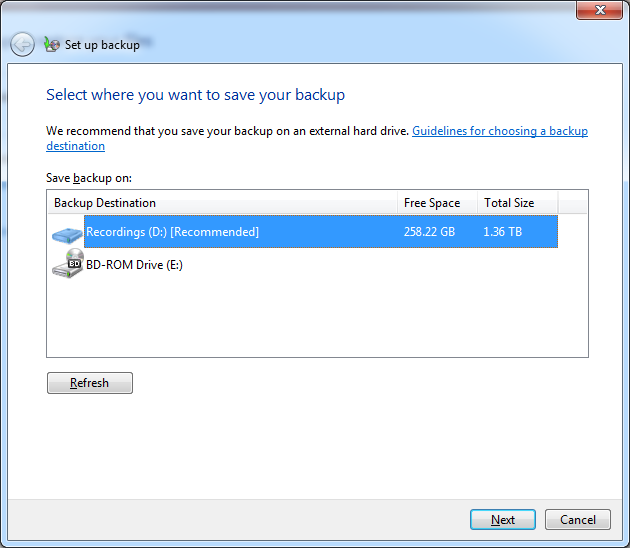
- First you will be prompted as to where to save your backups. Your options are any local disk, USB disk, or CD/DVD. If you have Windows 7 Professional, Enterprise, or Ultimate, there will be an additional selection here to choose a network share and enter the necessary credentials to access it. Choose your backup disk and click Next.
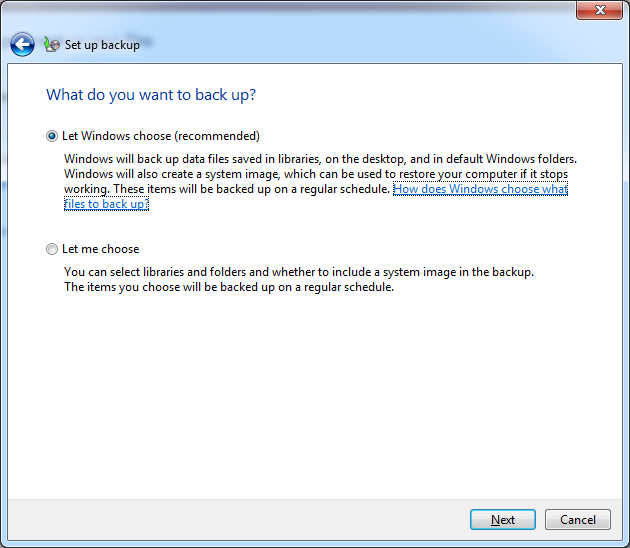
- Next, you will be asked what to back up. The default selection is to back up all user data saved in libraries and default user folders, as well as a system image. If you keep all of your data in your libraries, this should be fine for you so click Next. If you keep data in other folders, or only want to backup certain locations, select Let me choose and click Next.
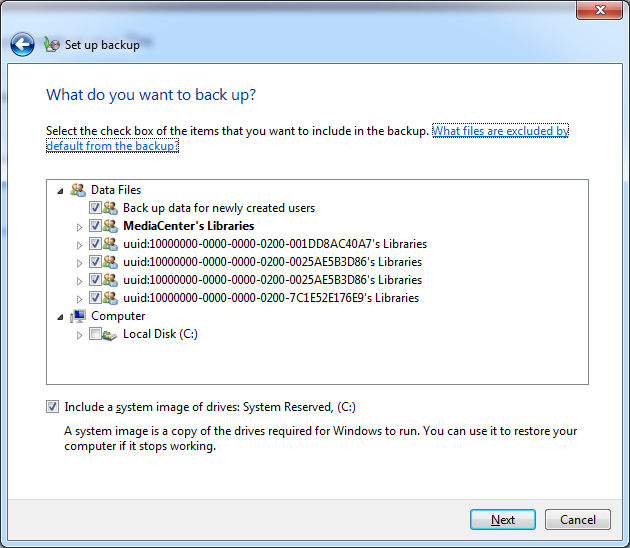
- If you’ve chosen Let me choose, you will be prompted to select what data files to backup. By default, all user Data files are selected, but you can also expand under Computer and choose what to backup, or just backup everything. Also there will be a selection to include a system image for restoring your entire drive. If you have space on your backup drive, it’s a great idea to include this. Click Next when you’ve selected everything you need to backup.
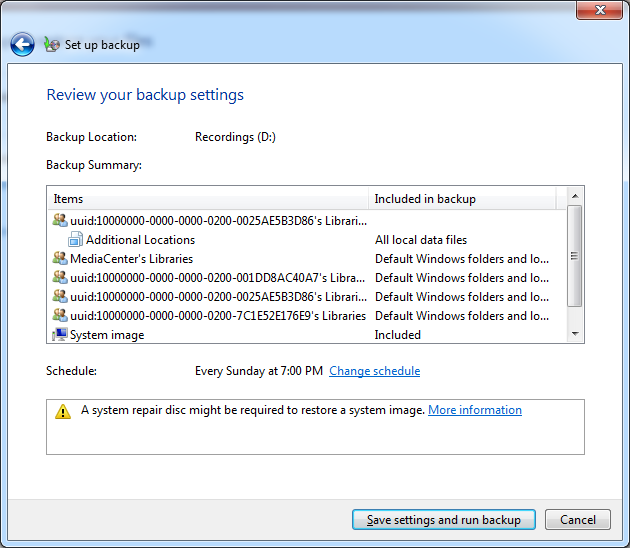
- Next, you will be provided a summary of the backup job which you can review. The summary page will display the default schedule (Sunday at 7pm) and you can change the schedule to perform backups more often. Weekly backups would be the minimum that I would perform. Since the backups are incremental, it’s probably a good idea to bump this up to daily. Choose a time where you are not likely to be using the computer. Once you are happy, click Save settings and run backup, and the system will perform the initial full backup.


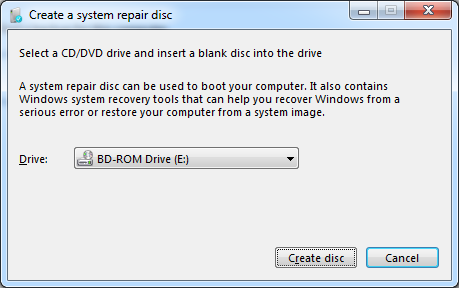
That’s it. Your computer is now backing up automatically at whatever schedule you chose. The next thing you should do, assuming you selected to create a System backup, is to create a bootable disk to recover your system. It’s easier to do this now, than when you need it. To do this, simply go to the Backup and Restore applet in the control panel, and choose Create a system repair disc. You will be prompted to place a CD or DVD in your drive and then just select Create disc. A small bootable disc will be burned which will allow you to restore a complete system image from a local disk, or a network share. If you do ever need this, bear in mind that a system restore will completely erase all files on the restore target.
If you want to restore individual files, you have a couple of options. You can use the Backup and Restore applet to browse for files and folders of your backups and choose which ones to restore. If you do a restore this way, and select restore to original location, it will do a standard file copy of the restored files to their original locations. If the original files are still in that location, the standard dialog will appear letting you select whether to replace the originals, copy with a new file name, or do nothing. Be careful if you do this as you will have a good chance of overwriting files you meant to keep.
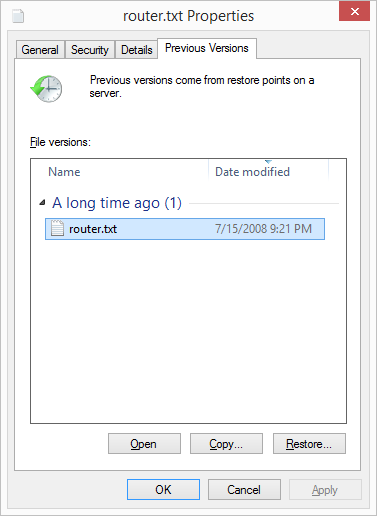
The other method for restoring files is to use the Previous Versions interface to select which file and folder, and from which date to restore. This is likely the preferred method since it will display graphically all previous versions of the file or folder. To invoke this method, simply browse to the file or folder you wish to restore, right click, and choose Restore previous versions. This will display all versions that are in the backups, and allow you to open the file to view it, copy the file, or restore the file.
Overall, the Windows 7 backup utility is fairly good. With both file level and image level backups available, you can recover from practically any scenario. Its glaring omission is the lack of network support on the home versions of Windows 7, which is really unfortunate. Many people would rather back up their files to a NAS, especially in any house with more than one computer. But if you are running Windows 7 and you just have a single computer, it is worthwhile using this for the price of a single hard drive to back up to. Unfortunately, almost no one used this backup system so it was replaced when Windows 8 was launched.


133 Comments
View All Comments
cgalyon - Wednesday, May 21, 2014 - link
Previously I used Dropbox to sync between three systems, including my file server, and then periodically do a manual backup to a dedicated backup drive. Recently this failed me for the exact reason stated early in this article: user error. After doing a restore on one of my computers, Dropbox then synced forward and wiped out one of my folders almost completely because the computer was restored to an earlier date. I didn't notice for a long time and the rollback period on Dropbox had elapsed. I would advocate a different solution or more frequent archiving.pirspilane - Wednesday, May 21, 2014 - link
Re. Windows 8.1: 'Unfortunately, you can’t add user defined folders here which you do want backed up.' True, but can't you add those folders to a library that gets backed up?peterfares - Wednesday, May 21, 2014 - link
Yes. You can also create as many libraries as you want and put whatever folders you want in them.Brett Howse - Wednesday, May 21, 2014 - link
Hi. I've updated the guide to reflect this and make it more clear. Thanks!jeffkibuule - Wednesday, May 21, 2014 - link
My system is a bit more complicated but it works for me:1) Office documents and such are stored in OneDrive.
2) OneDrive sync to my Synology NAS with BittorrentSync.
3) Time Machine Backup on my Synology NAS whenever I am home.
4) Synology NAS backup nightly to Amazon Glacier with Glacier Sync.
This provides multiple local backups as well as a cloud backup that's mostly automatic. I don't directly back up to the cloud from my MacBook Pro simply because when I am out an about, internet connection usually sucks too much to bother.
Brett Howse - Wednesday, May 21, 2014 - link
I didn't really mention Glacier, but it's easily the most cost effective cloud storage. Obviously it has it's drawbacks but price sure isn't one of them. Are you happy with Glacier?SeanFL - Friday, May 23, 2014 - link
some have found Glacier pricing difficult to figure out. I have about 100 gig in pictures that I wanted to backup but was warned on some photo forums that the per item pricing can get costly and I should zip by year or some other form so not as many individual files were transferred. Sounded like too much human interaction so I passed on Glacier inside my Synology NAS for now.dado023 - Wednesday, May 21, 2014 - link
how come nobody mentioned https://copy.com?r=uABGaD ?You get so much space, especially if you invite people to it, atm i have 62GB, and i will get more if you use link above, plus you get 5GB via referral link.
I use it for my photos, this way i deliver photos to my client via public link.
kmmatney - Wednesday, May 21, 2014 - link
I use Windows Home server, with DrivePool to duplicate data across random drives. The automatic backups work great - and it stores backups for the last 3 days, a backup from 3 weeks ago, and one from 3 months ago, for each PC in the house. it works perfectly, and I never have to think about it, and pulling out data from a backup is easy.ander111 - Wednesday, May 21, 2014 - link
Okay, let me see if I understand this clearly: A "backup" is when you copy your important data to a different storage device, so that if anything happens to your original device, you still have a copy of your data, right? And there are various ways to do this, but they all basically involve copying your data from one device to another. I think even I can understand that.Still, it's important to have articles on things like this. It keeps writers busy and off the streets—so naturally, crime goes down... Good thinking!