ASUS P8Z68-V PRO Review: Our First Z68 Motherboard
by Ian Cutress on May 11, 2011 3:13 AM EST- Posted in
- Motherboards
- Asus
- Z68
ASUS P8Z68-V PRO: UEFI
The ASUS UEFI hasn't changed much since we reviewed the P8P67 PRO, of big help to me is the addition of a screenshot button which saves a BMP of the current screen to USB stick. I found out that you can't save it to an NTFS USB stick—it has to be a FAT based file system.
One big departure from other motherboard manufacturers is that by default, ASUS have AHCI mode enabled for the SATA ports, which helps take advantage of AHCI capable SATA drives. Most motherboards default this to IDE for backwards compatibility, but most users do not check the BIOS for IDE/AHCI mode, and thus could be losing valuable performance (15-20% in sequential) if not enabled. Interestingly, ASUS note this in their manual and suggest that Windows XP users currently in IDE mode download a driver and install via floppy disk—despite this motherboard not having a Floppy port available...
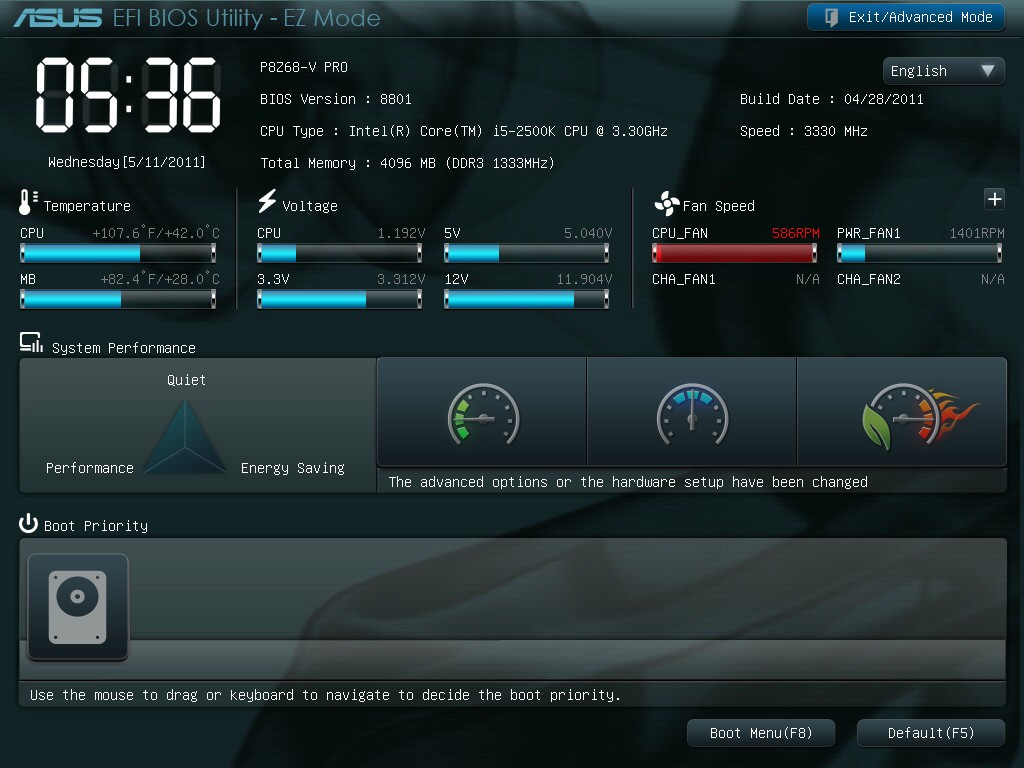
The main screen is the ASUS EZ mode. This is the one screen that puts ASUS ahead of the field in terms of UEFI development—on this one screen, I can see my CPU, the BIOS version, temperatures, fan speeds and the boot priority. If I did not want to venture further into the UEFI, I also have handy options for lower power or high performance modes at the click of a button.
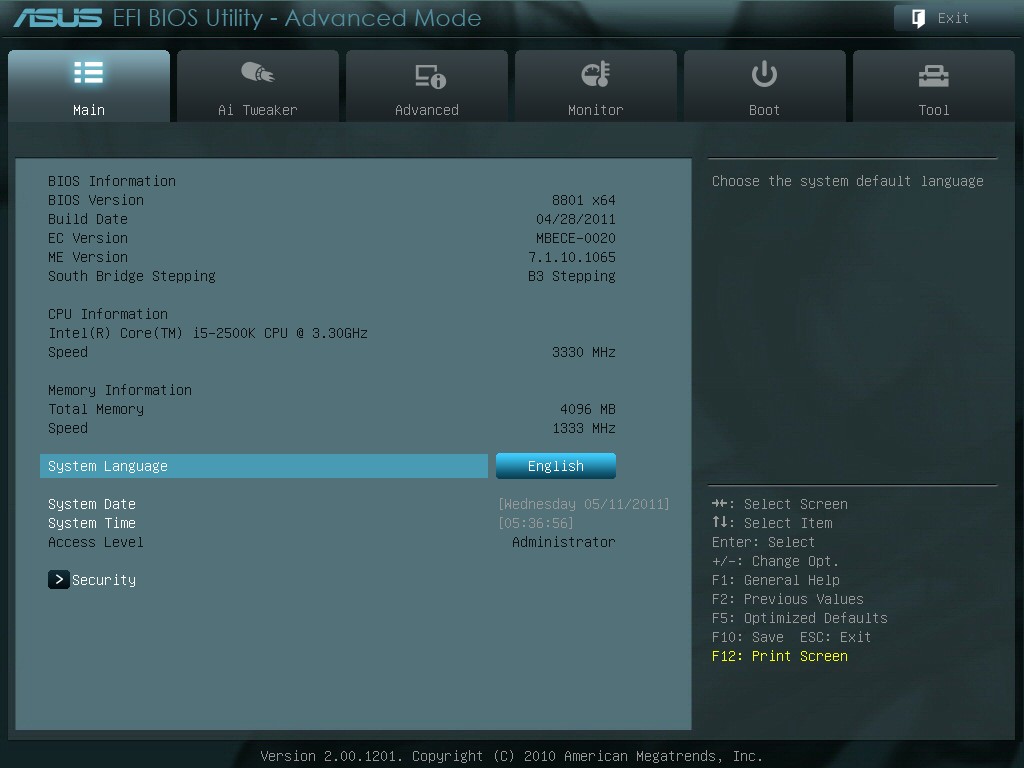
First step into the main BIOS utility gives a lesser amount of similar information, typical of any first screen for a non-graphical BIOS.
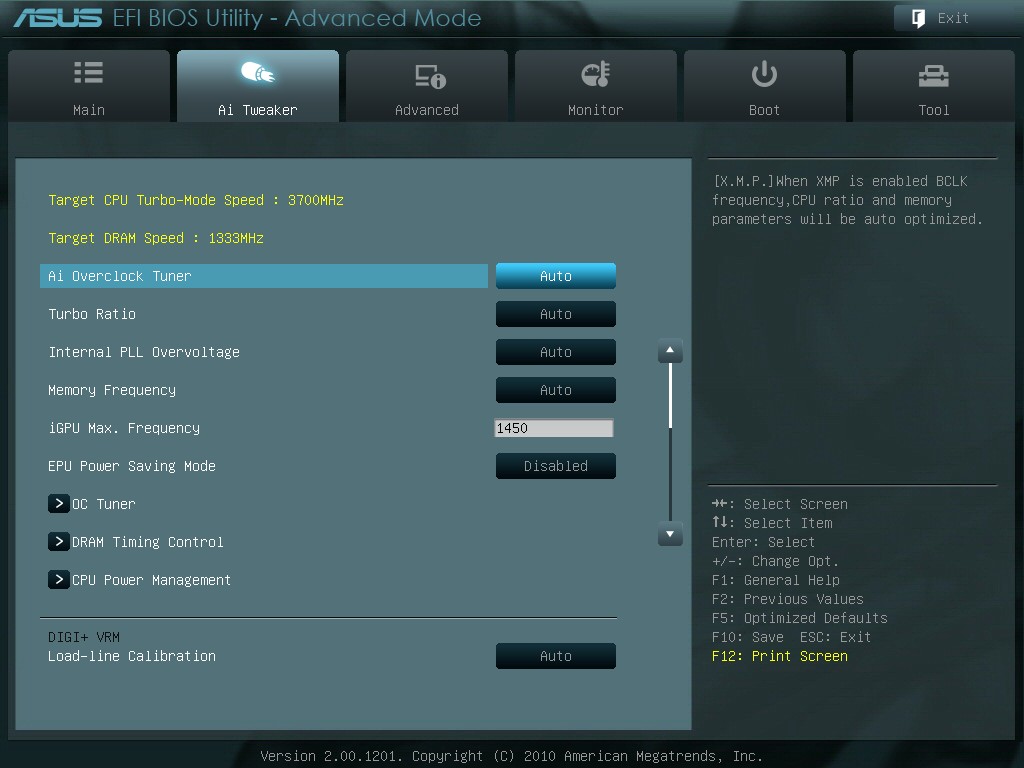
The main set of overclocking options here haven't changed from the P8P67 PRO, apart from the inclusion of the iGPU overclock settings when the iGPU is in use. If only the dGPU is in use, the iGPU settings do not show up here. The main screen of interest in the UEFI is the System Agent Configuration:
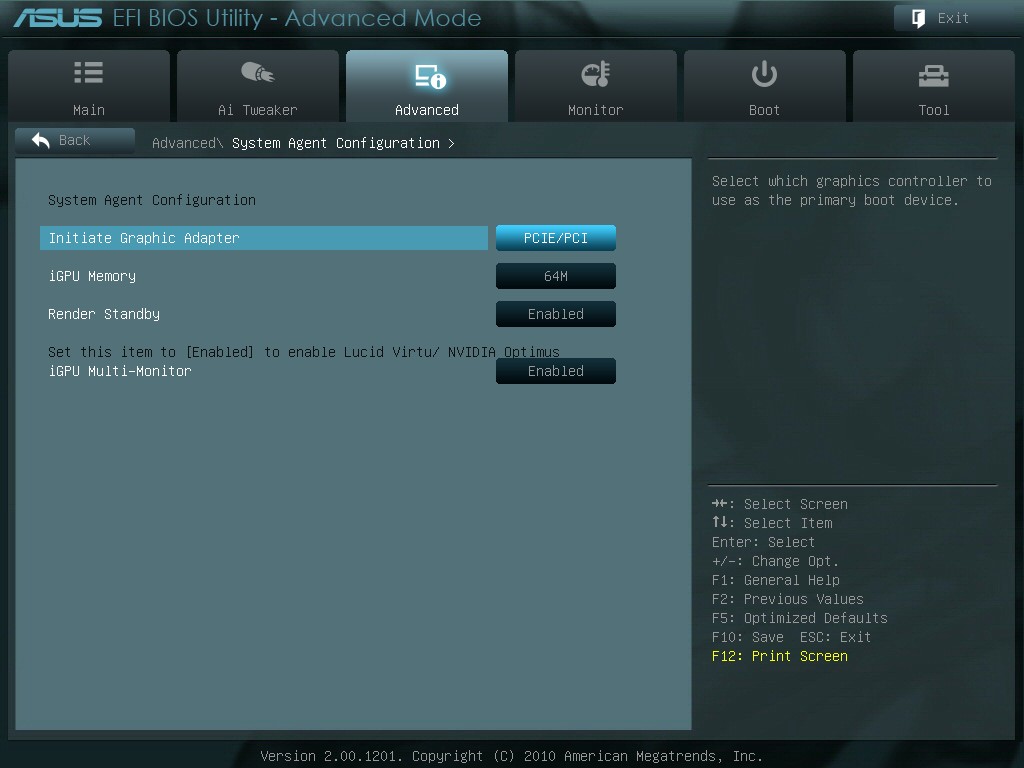
This is how we select/deselect Virtu. To enable Virtu, the iGPU Multi-Monitor option must be set to 'Enabled'. For d-Mode, the 'Initiate Graphics Adapter' should be in the PCIe/PCI option, and the monitor connected to a dGPU. For i-Mode, change the option to 'iGPU', and on reboot connect the monitor to the integrated graphics connectors on the IO Panel.
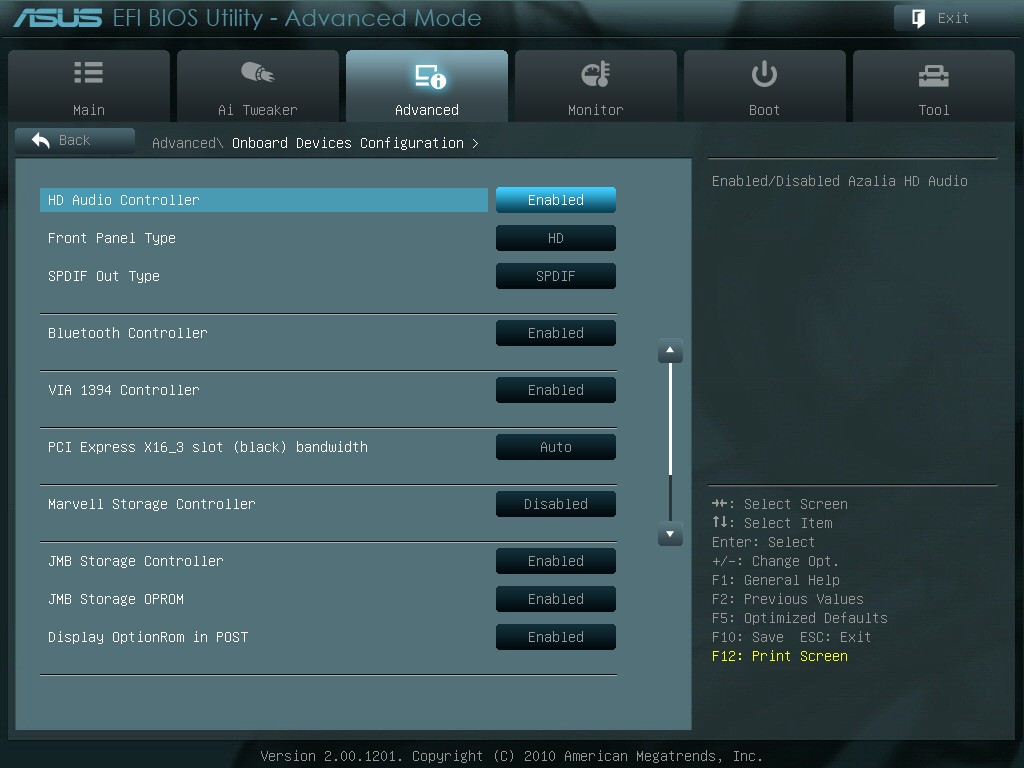
As always with motherboards using the Marvell SATA 6Gbps controller, if you're not using it, save some boot time by disabling it in the BIOS.


ASUS P8Z68-V PRO: Overclocking
As we have the option of CPU and iGPU overclocking, I'll go through my process of doing each one individually. Combining both overclocks is a grey area, as increasing the overclock for one could decrease the overclock for the other. For the most part, people using a dGPU will overclock the CPU, and those using the iGPU may want the iGPU overclocked instead.
CPU Overclock
As the ASUS system has its OC Tuner, I gave that a spin first. It has two modes—Fast and Extreme. Fast looks for the best overclock at boot time with coarsely grained values—on this board it gave a 42x multiplier and 103.5 BCLK for a 4347 MHz overclocked speed. This is better than what we got on the MSI P67A-GD65 at the touch of a button. The Extreme mode initiates the fast mode first, then in the OS attempts to increase the multiplier and the BCLK by stress testing each option until it fails. Unfortunately, it could not increase either before giving the blue screen of death, giving another overclock of 4347 MHz.
With this in mind, I jumped into the TurboV section of the AI Suite II software, and started adjusting some sliders. I upped the voltage to 1.42 V (my self-imposed safe OC limit for these reviews on a Corsair H50-1), reduced the BCLK to 100.0 and set the multiplier at 48x. The OS didn't crash, so I slowly increase the multiplier to 50x which successfully ran the multi-threaded 3D Movement benchmark, but gave load voltage readings of 1.544 V. On upping the multiplier to 51x, the OS crashed and rebooted.
On entering the BIOS after this, I noticed it was set at 42x and 103.5 MHz, meaning that the TurboV software did not apply my overclock in the BIOS. I adjusted the overclock to 46x and 100MHz and the OS booted and was stable, and it was at 47x as well, but 48x crashed and rebooted. Back at 47x, I achieved a 101.1 MHz BCLK (4750 MHz overall), which gave a multi-threaded 3D Movement result of 483.61. Above 101.1 BCLK resulted in a crash to reboot.
I decided to reduce the multiplier to 46x and see if we could increase the BCLK to match the overall frequency. 103.5 MHz was the best stable BCLK, giving an overall overclock of 4764 MHz.
For the 4764 MHz OC results using the 3D Movement benchmark, in single threaded mode, for a 28.8% OC (from 3700 MHz to 4764 MHz), a 30.1% increase in the score was observed (112.95 to 146.90) In multi threaded mode, for a 40.1% OC (from 3300 MHz to 4764 MHz), a 39.4% increase in the score was observed (347.68 to 484.81).
iGPU Overclock
Going back to a stock CPU frequency, I applied the OC Tuner to the iGPU, and it came back with 1450 MHz. The integrated graphics on this processor have seen 1800 MHz, so I used TurboV to increase the frequency.
TurboV allows a frequency change and an iGPU voltage offset. I upped the speed to 1700 MHz, and the system required a reboot to apply the new frequency. The TurboV came back with an automatic voltage offset of +150 mV, and the board successfully ran the Metro 2033 benchmark at 21.00 frames per second. The iGPU speed was only able to be increased in steps of 50 MHz, and the following results were observed:
- 1700 MHz, +150 mV offset, 21.00 FPS
- 1800 MHz, +250 mV offset, 22.21 FPS
- 1900 MHz, +250 mV offset, 22.81 FPS
- 2000 MHz, +250 mV offset, 22.62 FPS
- 2100 MHz, fail
Similar to what we saw on some of the H67 boards, after a certain iGPU speed, no actual improvement occurs in terms of performance. I had attributed this to some form of throttling, but after disabling that feature in the BIOS, statistically similar results were obtained. Thus for the benchmarks, I settled on a 1900 MHz overclock, which is technically the best iGPU overclock for a motherboard we've seen on this chip. This could be down to the power delivery—as Z68 has to cater for both CPU and GPU overclock, a better power delivery system is in place.


95 Comments
View All Comments
BernardP - Wednesday, May 11, 2011 - link
A practical question: If one wants to use i-mode or d-mode, is it necessary to install both the Intel video driver and the AMD or Nvidia video driver?Could this be a source of conflicts or other problems?
AnnihilatorX - Thursday, May 12, 2011 - link
Yes you need to install both. Not really on Vista and Windows 7, new driver models mean you can install multiple GPU drivers. I don't think Virtu supports older OS.BernardP - Thursday, May 12, 2011 - link
Thanks for the reply. Noted for future. After taking everything into consideration, including my usage pattern, I would simply deactivate intel IGP, not install Virtu and add an entry-level Nvidia videocard, such as the fanless Asus GT 520.The noteworthy other Z68 feature is SSD cache, but after reading the detailed article about this, I would prefer to go with a 120 GB SDD plus mirroring HDDs.
For me the single plus of the Z68 platform is that I would have Intel IGP as a temporary backup in case of failure of the discrete GPU. This is only worth a very small premium over P67.
vol7ron - Wednesday, May 11, 2011 - link
When you refer to BIOS, do you mean the UEFI BIOS Utility, or is there a dual BIOS/UEFI boot option?risa2000 - Wednesday, May 11, 2011 - link
I noticed in test setup description three different memory modules. Did you do some tests on memory throughput? Was there any difference?I wonder if it makes sense to go for faster memory beyond DDR3-1600.
AnnihilatorX - Thursday, May 12, 2011 - link
You are looking at about 2-5% performance increase from going DDR 1600 to DDR 2133No point buying expensive RAM unless you spot a bargain
L. - Thursday, May 12, 2011 - link
"expensive RAM" -- on the other hand there's quite a lot of relatively cheap around 2k mhz -- sticking to 1600 isn't that great nowadays.cyklonman - Wednesday, May 11, 2011 - link
P67 Asus looks much better, why did I wait for this one?fr500 - Wednesday, May 11, 2011 - link
Will this work?Hook up a monitor with two inputs and connecting a spare input to the motherboard's connector? As far as I know all you need is a display hooked up to one of the motherboard connectors, so if you have a display with 2+ inputs you could get one to your IGP, one to your GPU and switch to the IGP input when you want to do transcoding.
Best of both worlds, intact GPU performance and Quicksync.
Even if Virtu works 100% it still won't let you use your GPU control panel and any crashes might be harder to diagnose (ie: who should I blame, Lucid or NVidia/AMD)
Ryan Smith - Thursday, May 12, 2011 - link
Sure, that should work. Windows may or may not have quirks though, based on past experience.As for the control panel thing, I have not used Virtu in dGPU mode, but based on how Hydra works I'm sure the AMD/NV control panels work in dGPU mode. I wouldn't expect any crashes in that mode either since Virtu isn't intercepting the dGPU, but again I classify that with the fact that I haven't used dGPU mode yet.