Noctua NH-U12P: Top Performance AND Silence
by Wesley Fink on March 20, 2008 8:00 PM EST- Posted in
- Cases/Cooling/PSUs
Installation
The installation instructions for the Noctua are so good they should be a model for other cooler manufactures. Details, drawings, and photographs are in the included manual and they are also available at the Noctua website. You first decide the mount kit you will use and then consider how you want the cooler to be oriented on the motherboard.
Noctua clearly spells out that the motherboard needs to be removed from the case to mount the cooler. Unfortunately, there is no way around this. In fact, the best way to mount the heatsink is to completely remove the motherboard and completely install the heatsink and fan before mounting in the case. This is not a problem with a new motherboard, but it can be very frustrating if you are just adding the Noctua cooler to an existing system.
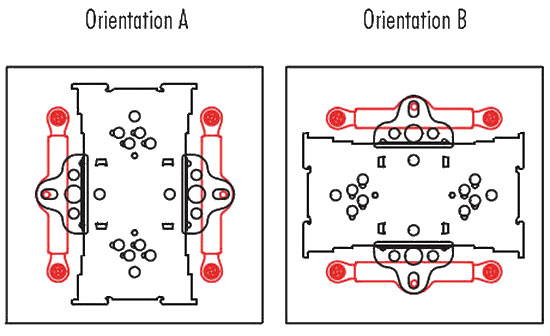
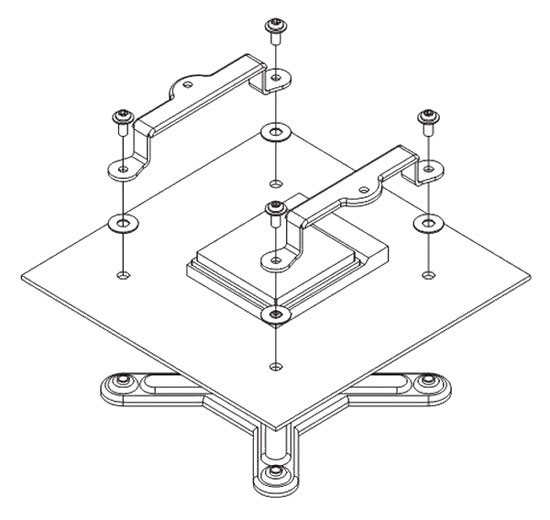
For Intel Socket 775, the adapter mount can attach with the mount holes in either direction. You can use whichever configuration fits your board best, since Noctua includes two sets of universal mount clips that allow any of the installations to be turned 90 degrees if desired.
Universal mounting clips, which work with all mount adapters, then screw into the heatsink base. Shown above are the standard universal mounts, but also included are optional horseshoe or u-shaped mounts, which install on the heatpipe sides and allow the Noctua cooler to be "turned" 90 degrees for mounting.
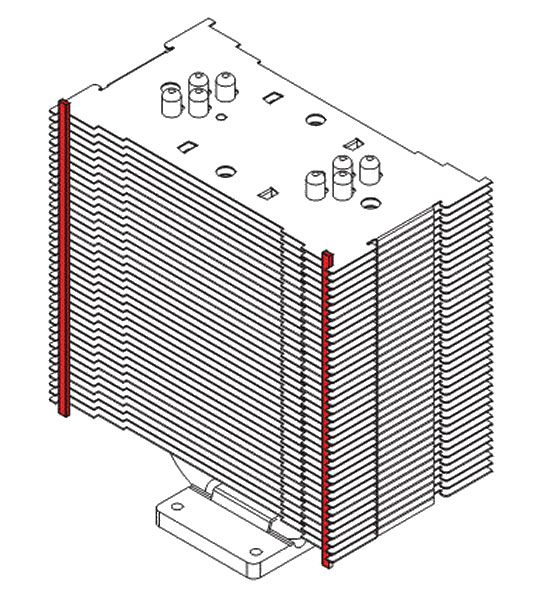
Self-adhesive elastomeric anti-vibration strips attach to the fan side mount(s) as shown.
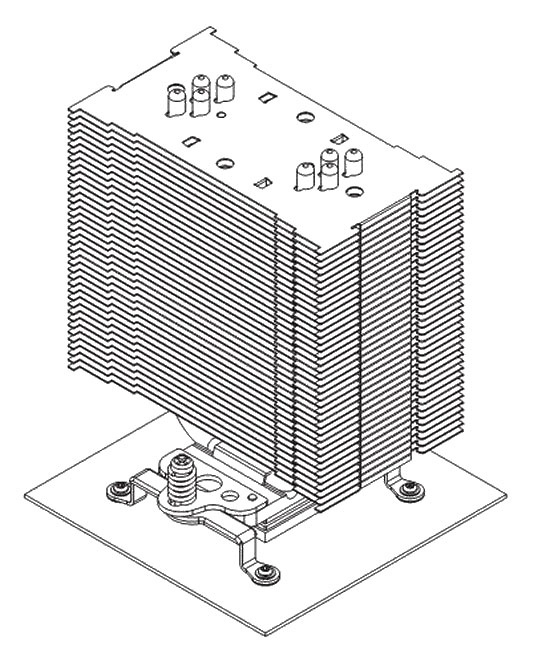
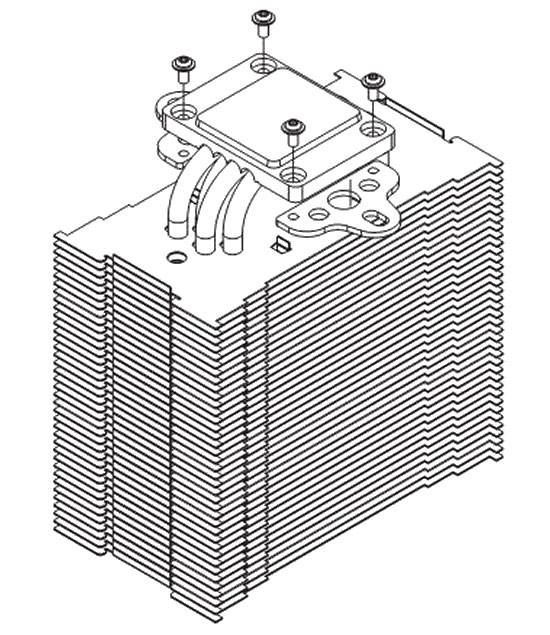
For most configurations, it is much easier to mount the heatsink to the motherboard before installing the fan(s). With the standard universal clips, the fan covers the screws used for mounting. With the "horseshoe" shaped mounts, the supplied screwdriver fits the round holes near the edge of the long direction of the heatsink if that configuration was chosen. This allows mounting the cooler even though the heatsink covers the mounting screws.
These are all thoughtful features, but they do not mean the Noctua is any easier to use than some other heatsinks. Manipulating and aligning the under-the-board brace and the aboveboard washers/clips/screws is frankly a pain. The good news is that the only thing you need to install at that step are the small clips - not the huge heatsink. However, the clear instructions make a difficult task more bearable with a little less urge to throw things out the window.
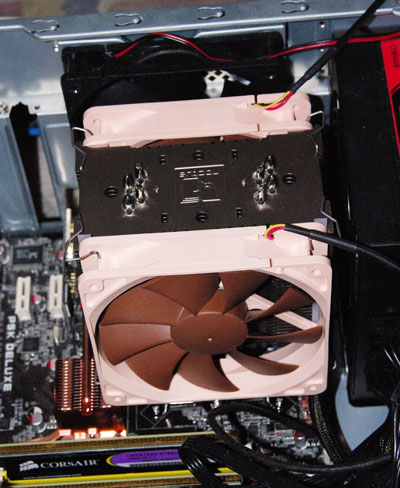
The Noctua NF-U12F is undeniably heavy and large, but the SecuFirm mounting system does provide what it promises. The finished install is very secure with no tendency at all to shift on axis. This does inspire confidence that the cooler is not going to fall off the motherboard. However, as with any large and heavy cooler, you probably should avoid moving the mounted cooler around a great deal, as it could stress the board. None of the large heatpipe towers are really designed for a LAN party computer that is often transported. (Ed: Wes must be talking about one of my AM2 systems. I had to jury-rig a vertical support contraption using zip-ties; otherwise, the HSF - an Arctic Freezer 7 Pro - causes some flex in the motherboard that causes the system to fail to POST.)


51 Comments
View All Comments
Conroe - Thursday, April 17, 2008 - link
It's not pink. It may be our TN monitors but it's really more of a tan-yellow off-white and brown--at least the one I have is.