Clash of the Titans - TT Tai Chi vs. CM Stacker 830
by Joshua Buss on February 23, 2006 12:05 AM EST- Posted in
- Cases/Cooling/PSUs
Thermaltake Tai Chi (cont’d)
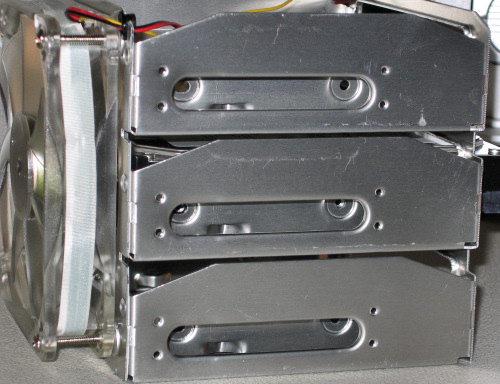
The Tai Chi doesn't really do anything too out-of-the-ordinary when it comes to its components, and, in fact, is very similar to the hugely popular Armor and Kandalf cases released previously. For instance, the hard drive cage with attached 120mm blue LED fan is identical; however, this means that it inherits the not-so-appealing trait of requiring either a magnetic screwdriver or simply a little patience to secure drives in the cage with standard bolts.
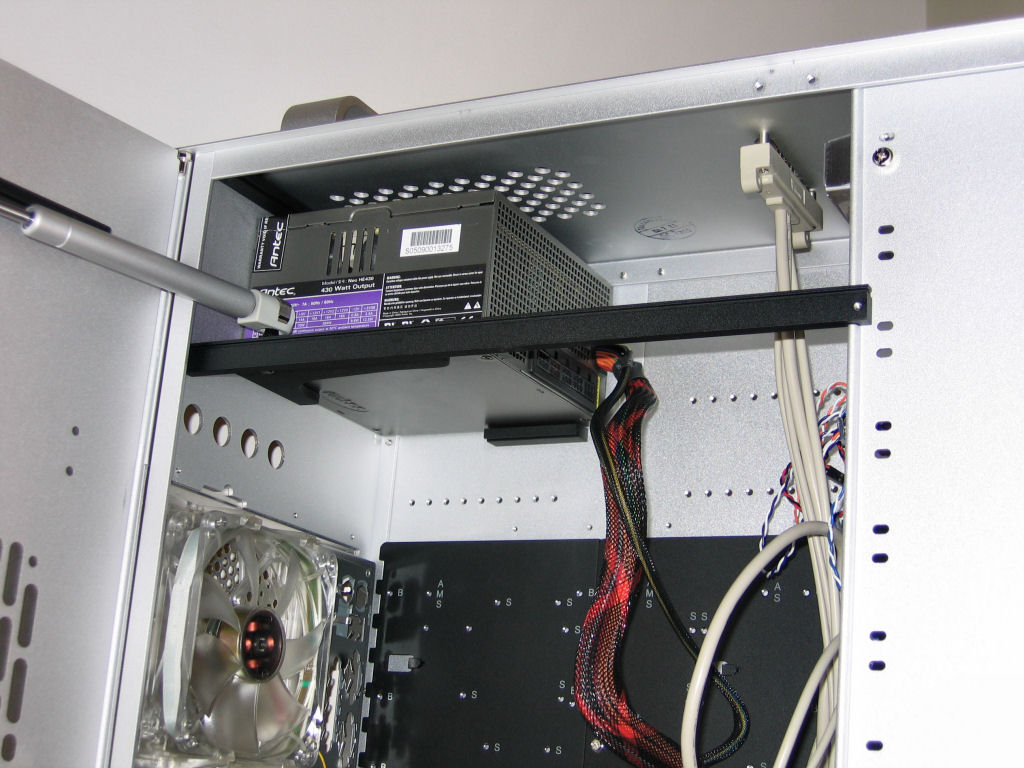
Moving downwards, we find the Tai Chi's motherboard tray. This concept is simple, but the Tai Chi executes it slightly differently than previous incarnations, with it only being the plate itself instead of the plate plus back of the case. This is what allows the change from an ATX to a BTX style to be relatively simple – only the rear needs to change.
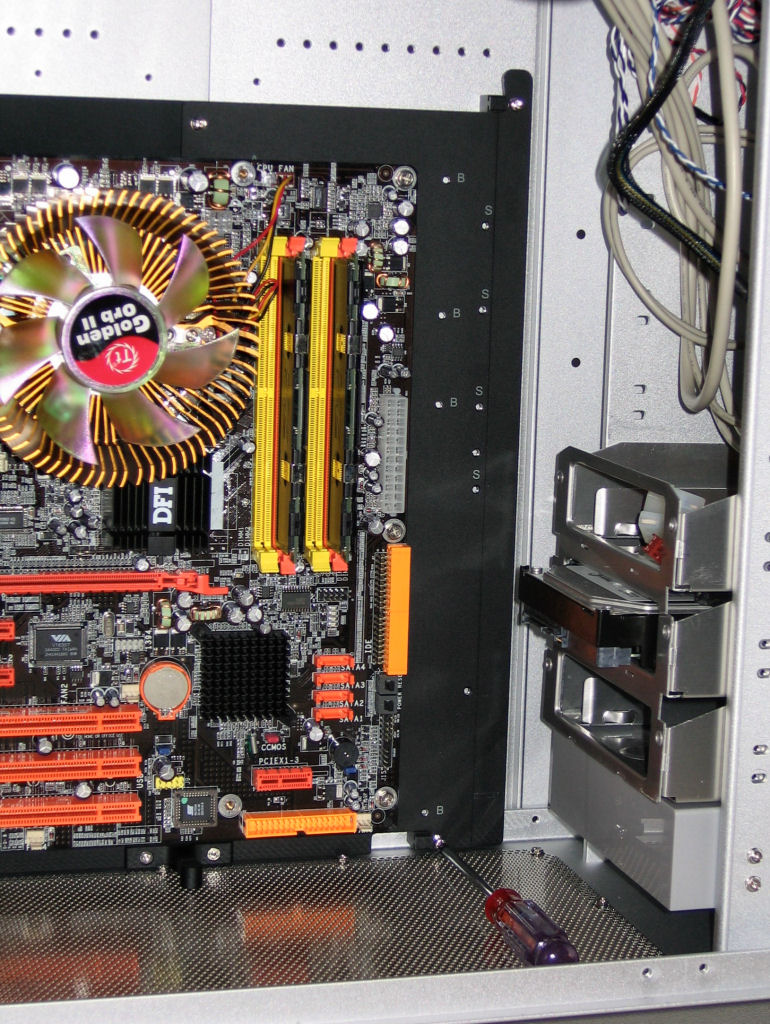
After putting the motherboard on the tray, putting it over the standoffs, and sliding it towards the back, two screws (one at the top and one at the bottom) are used to keep the tray from sliding forward.
The Tai Chi doesn't really do anything too out-of-the-ordinary when it comes to its components, and, in fact, is very similar to the hugely popular Armor and Kandalf cases released previously. For instance, the hard drive cage with attached 120mm blue LED fan is identical; however, this means that it inherits the not-so-appealing trait of requiring either a magnetic screwdriver or simply a little patience to secure drives in the cage with standard bolts.
Click to enlarge.
Moving downwards, we find the Tai Chi's motherboard tray. This concept is simple, but the Tai Chi executes it slightly differently than previous incarnations, with it only being the plate itself instead of the plate plus back of the case. This is what allows the change from an ATX to a BTX style to be relatively simple – only the rear needs to change.

Click to enlarge.

After putting the motherboard on the tray, putting it over the standoffs, and sliding it towards the back, two screws (one at the top and one at the bottom) are used to keep the tray from sliding forward.
Click to enlarge.


55 Comments
View All Comments
BubbaJudge - Thursday, February 23, 2006 - link
I was wafting between the Tai Chi and the Koolance PC3-725BK based on the Lian Li PC-V1000, it would have been great to include both watercooled versions for review, but great review regardless. I think I will go with the Koolance, as I agree the Tai Chi looks a little heat sink gimmicky. Hopefully I can stuff a PC P&C 850 in the Lian Li chassis.chynn - Thursday, March 2, 2006 - link
The PCP@C 850W might not fit in the Lian-Li V1000 case; however, it will definitely fit in the Lian-Li V1200 case. I have the latter Lian-Li case but will be replacing it with RC-830 Stacker case ... the RC-830 case is just that much better.mkruer - Thursday, February 23, 2006 - link
Call me old fashion but I like the simple designRip the Jacker - Thursday, February 23, 2006 - link
first.tuteja1986 - Thursday, February 23, 2006 - link
I am buying Cool Master Stacker now :) . its an awesome case and goes arround $200AUD in Australia. I am going to use 2 PSU 480W antec and 550W antec. Go full crossfire when i sell my Asus A8N SLI-32 and buy either a RD580 mobo from ABit or ASUS or DFI.