System Review – PC-Club Silencer
by Jarred Walton on March 28, 2005 12:05 AM EST- Posted in
- Systems
BIOS and Software Setup
For most people, the software and BIOS setup are going to be a non-issue. Yes, you can access the BIOS and tweak things as you see fit, but it really isn't necessary. PC-Club set up and installed the OS and software and everything was ready for use. Just plug it in and you can get to the important stuff (like running benchmarks) in a matter of minutes. Of course, we're not typical users, so we dug a little deeper. We've included pictures of all of the BIOS screens in our full set of images, although we'll only be touching on the major areas here. 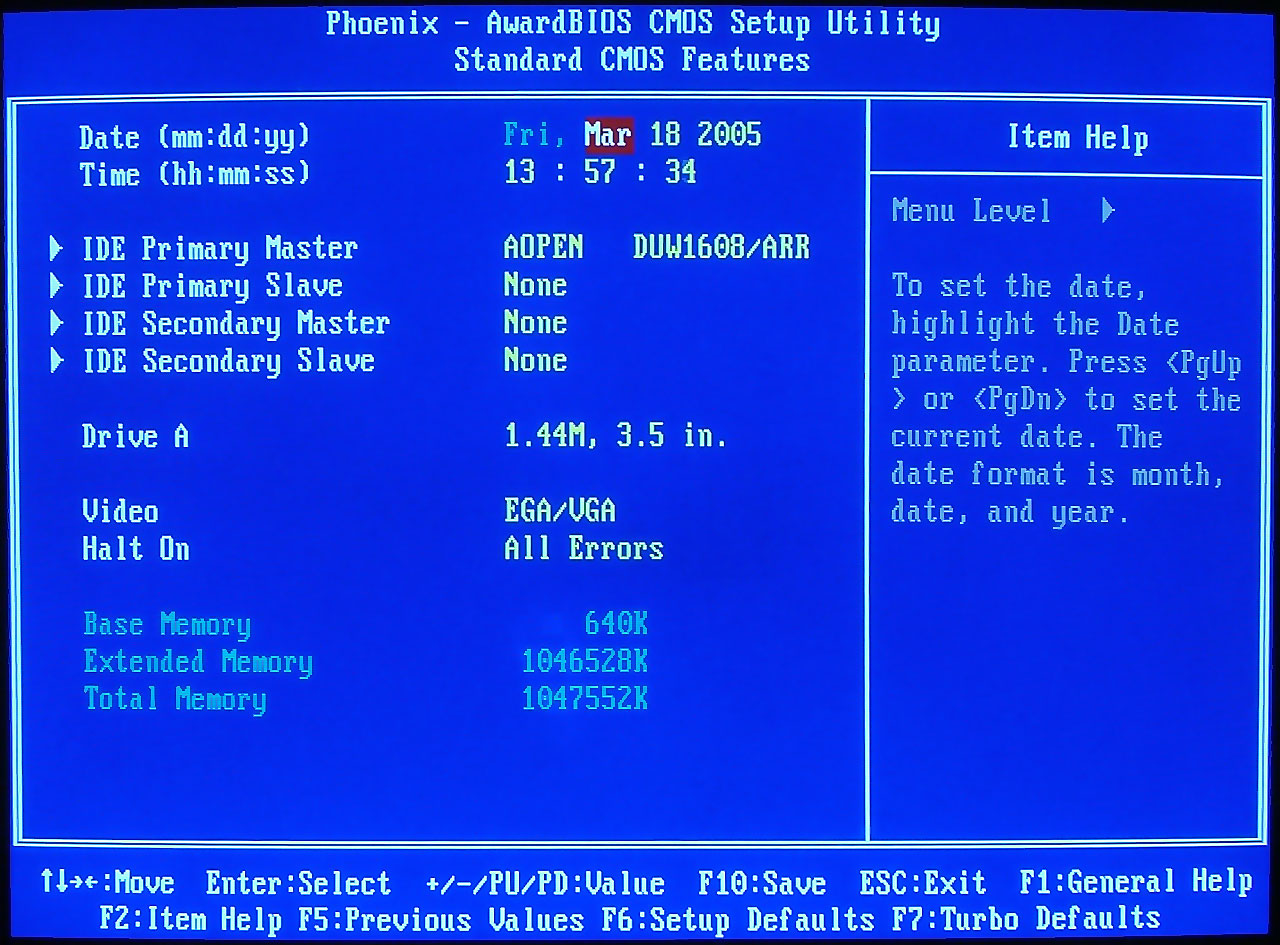 |
 |
| Click images to enlarge. | |
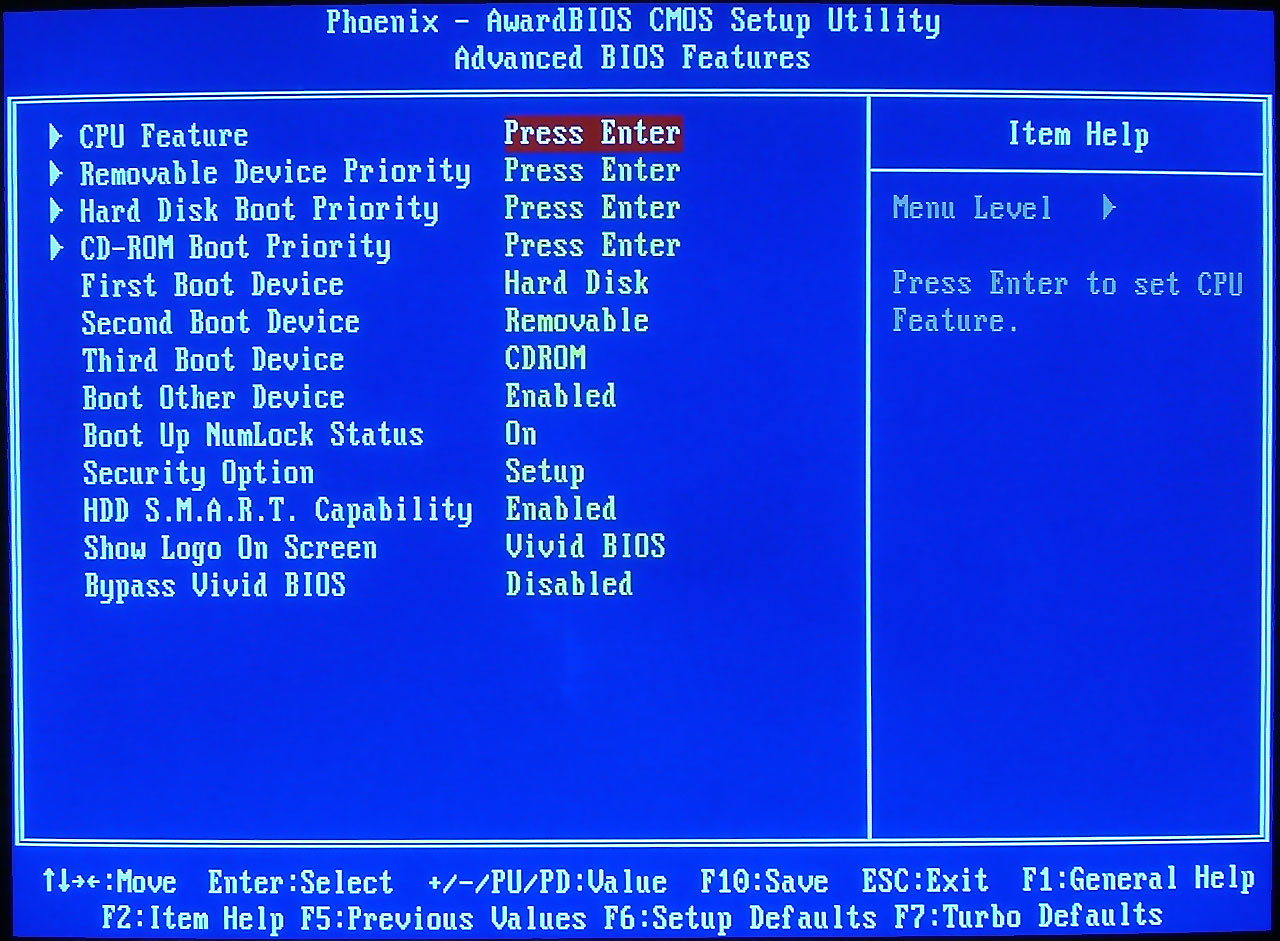
With the latest R1.07 BIOS revision, we are greeted with the standard Award/Phoenix BIOS screen. The Standard CMOS Features menu offers little in the way of interest as the auto IDE device detection is typically sufficient. Unless you're using IDE hard drives, all you'll find there are the floppy and optical drives as well as a few other miscellaneous items like the time, date, and error notification. Moving on to the Advanced BIOS Features menu, we have a few areas that might need tweaking, were you building such a system yourself (or upgrading the PC-Club components). Specifically, changing the boot order, boot devices, and perhaps the HDD S.M.A.R.T. and BIOS logo settings are available. Some people say S.M.A.R.T. can cause issues – specifically with overclocking – but if it can potentially save you from losing data, we think that it's best left enabled.
Click to enlarge.
Click to enlarge.
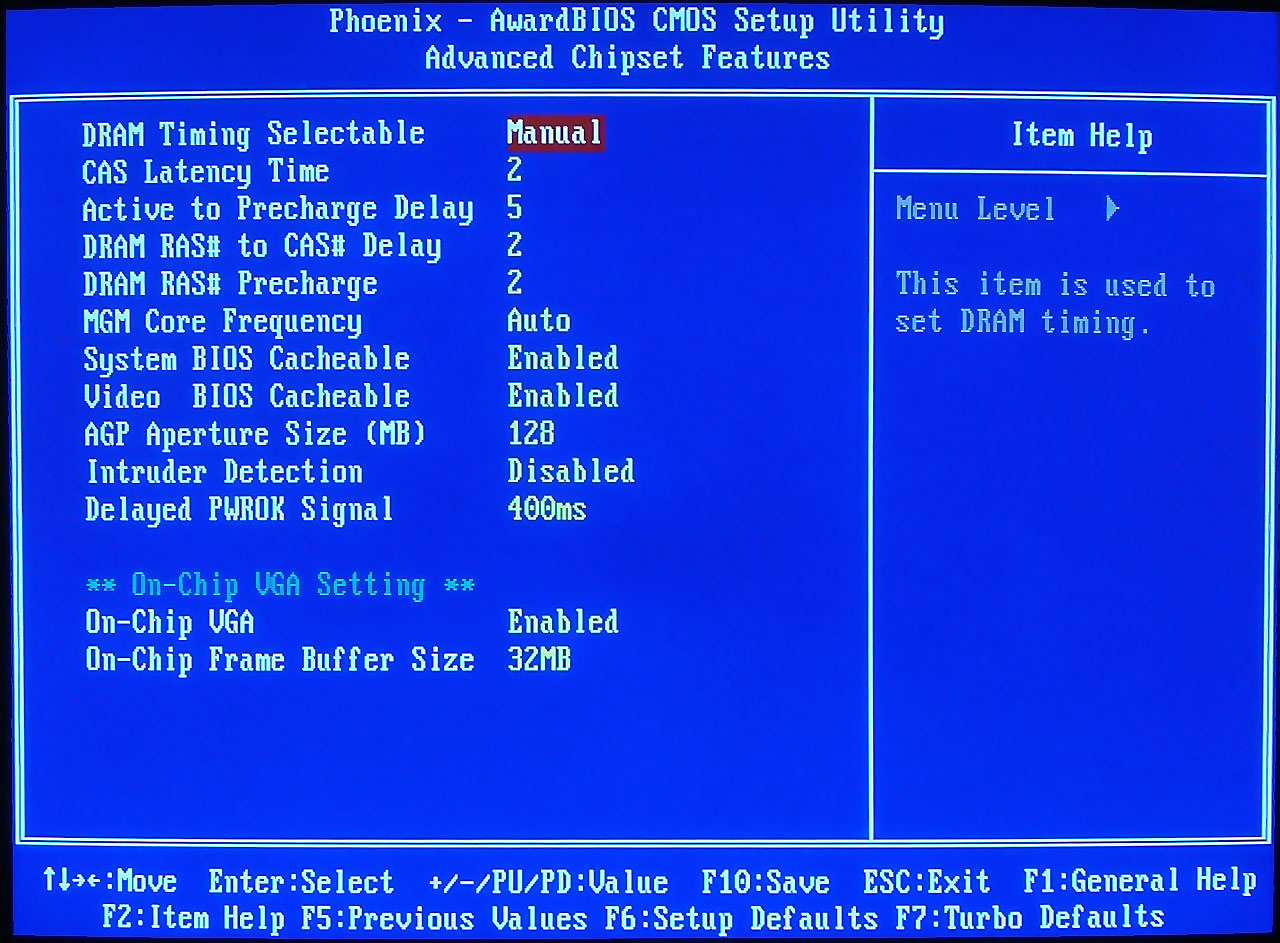
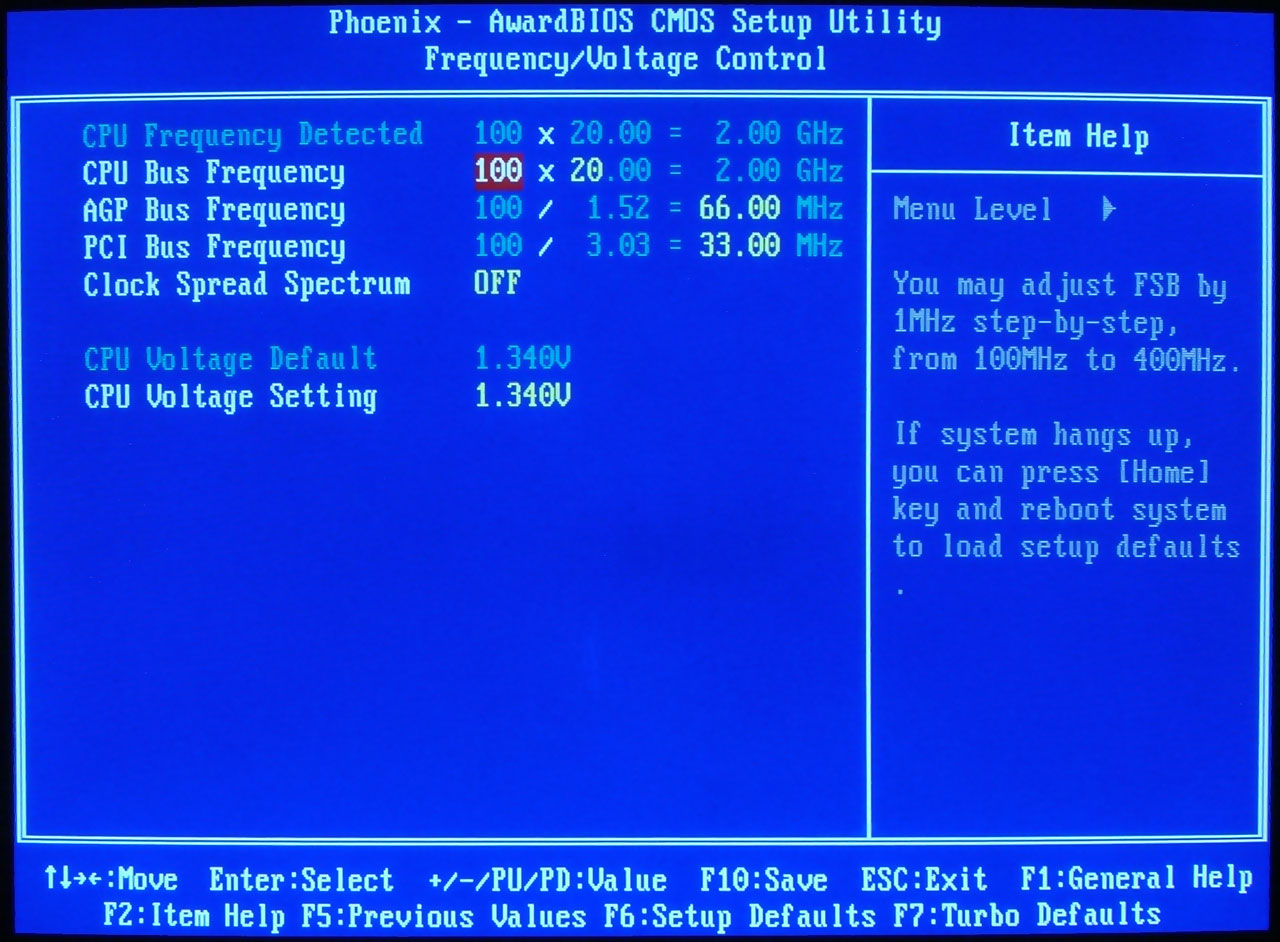
Most of the other menus don't offer much of interest, so we'll skip the Integrated Peripherals, Power Management, PnP/PCI, and Silent BIOS screens. You can store and retrieve your own custom settings using the last two menu items (Save/Load EEPROM Defaults), which can come in handy. Power settings are limited to enabling or disabling the smart fan mode, but we couldn't really tell any difference between the "Smart" setting and the "Full Speed" setting. Either way, the CPU fan was near silent. That's not too surprising, given the size of the heat sink and the low heat output of the processor – quite a change from the Pentium 4 and Athlon CPUs that we're used to dealing with.
That takes care of the main BIOS, but there's still another area that we need to talk about. Should you want to install your own OS (or reinstall the OS) , you will need the SATA driver disk for the Promise FastTrack controller (press F6 at the first screen of the XP installation). The SATA drive detection also adds several seconds to the boot time of the system, and when we swapped in our own Seagate SATA drive for "SFF compatible testing" , we were a little surprised at how the FastTrack controller works. Usually, SATA RAID controllers will run in either RAID or non-RAID modes. Since we were using a single drive, we expected the controller to simply run with a single drive and no RAID. However, it failed to do so.
We found that it was necessary to press Ctrl+F to enter the FastTrack setup menu and then define a RAID array that included the single hard drive. After that, we told the controller to simply store the definition, but not create the actual array on the drive, and the final configuration showed us as running a RAID 1+0 setup. We would prefer a solution that lists it as "Non-RAID" or something similar, as calling a single drive RAID 1+0 is odd. Still, once we exited the FastTrack menu, the system started to work as we expected, with a single non-RAID hard drive.
Besides the oddities in the SATA controller, installation was pretty typical, and the Aopen driver disk with its "EZ Install" option went smoothly. Again, PC-Club customers probably won't need to worry about any of this as the system comes pre-configured, but it's good to know how to proceed should you ever need to reinitialize your Windows installation.


22 Comments
View All Comments
QueBert - Monday, March 28, 2005 - link
In Russia, PC Silences you...QueBert - Monday, March 28, 2005 - link