The ASRock X399 Taichi Motherboard Review: Cost-Effective Threadripper
by E. Fylladitakis on October 26, 2018 8:00 AM EST- Posted in
- Motherboards
- AMD
- ASRock
- ThreadRipper
- X399
BIOS
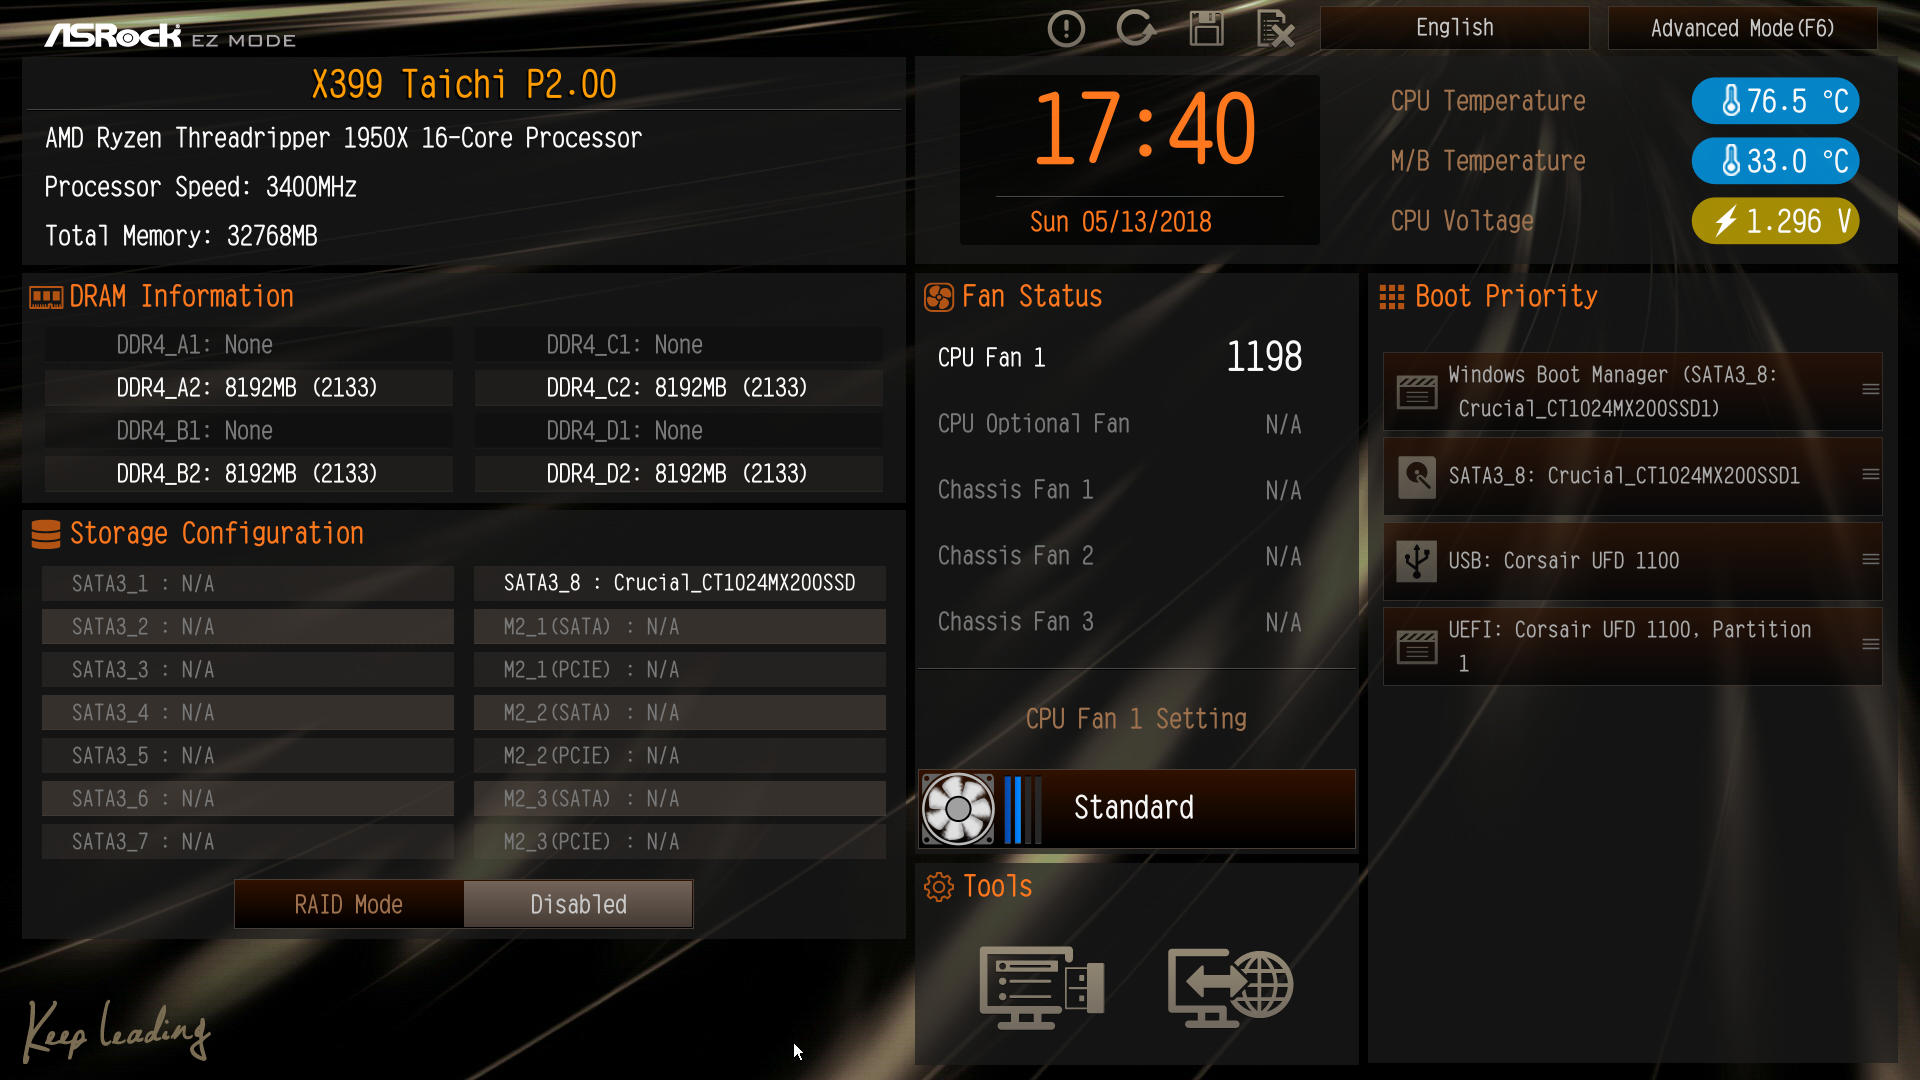
As with almost every modern motherboard, the ASRock X399 Taichi features a graphical BIOS with mouse input support. It defaults to the "EZ Mode", a single-page interface that only shows basic configuration settings and informative dials. All that a user can do from this page is to change the CPU's fan speed setting, configure RAID arrays, switch the boot device priority, and use BIOS flashing tools.
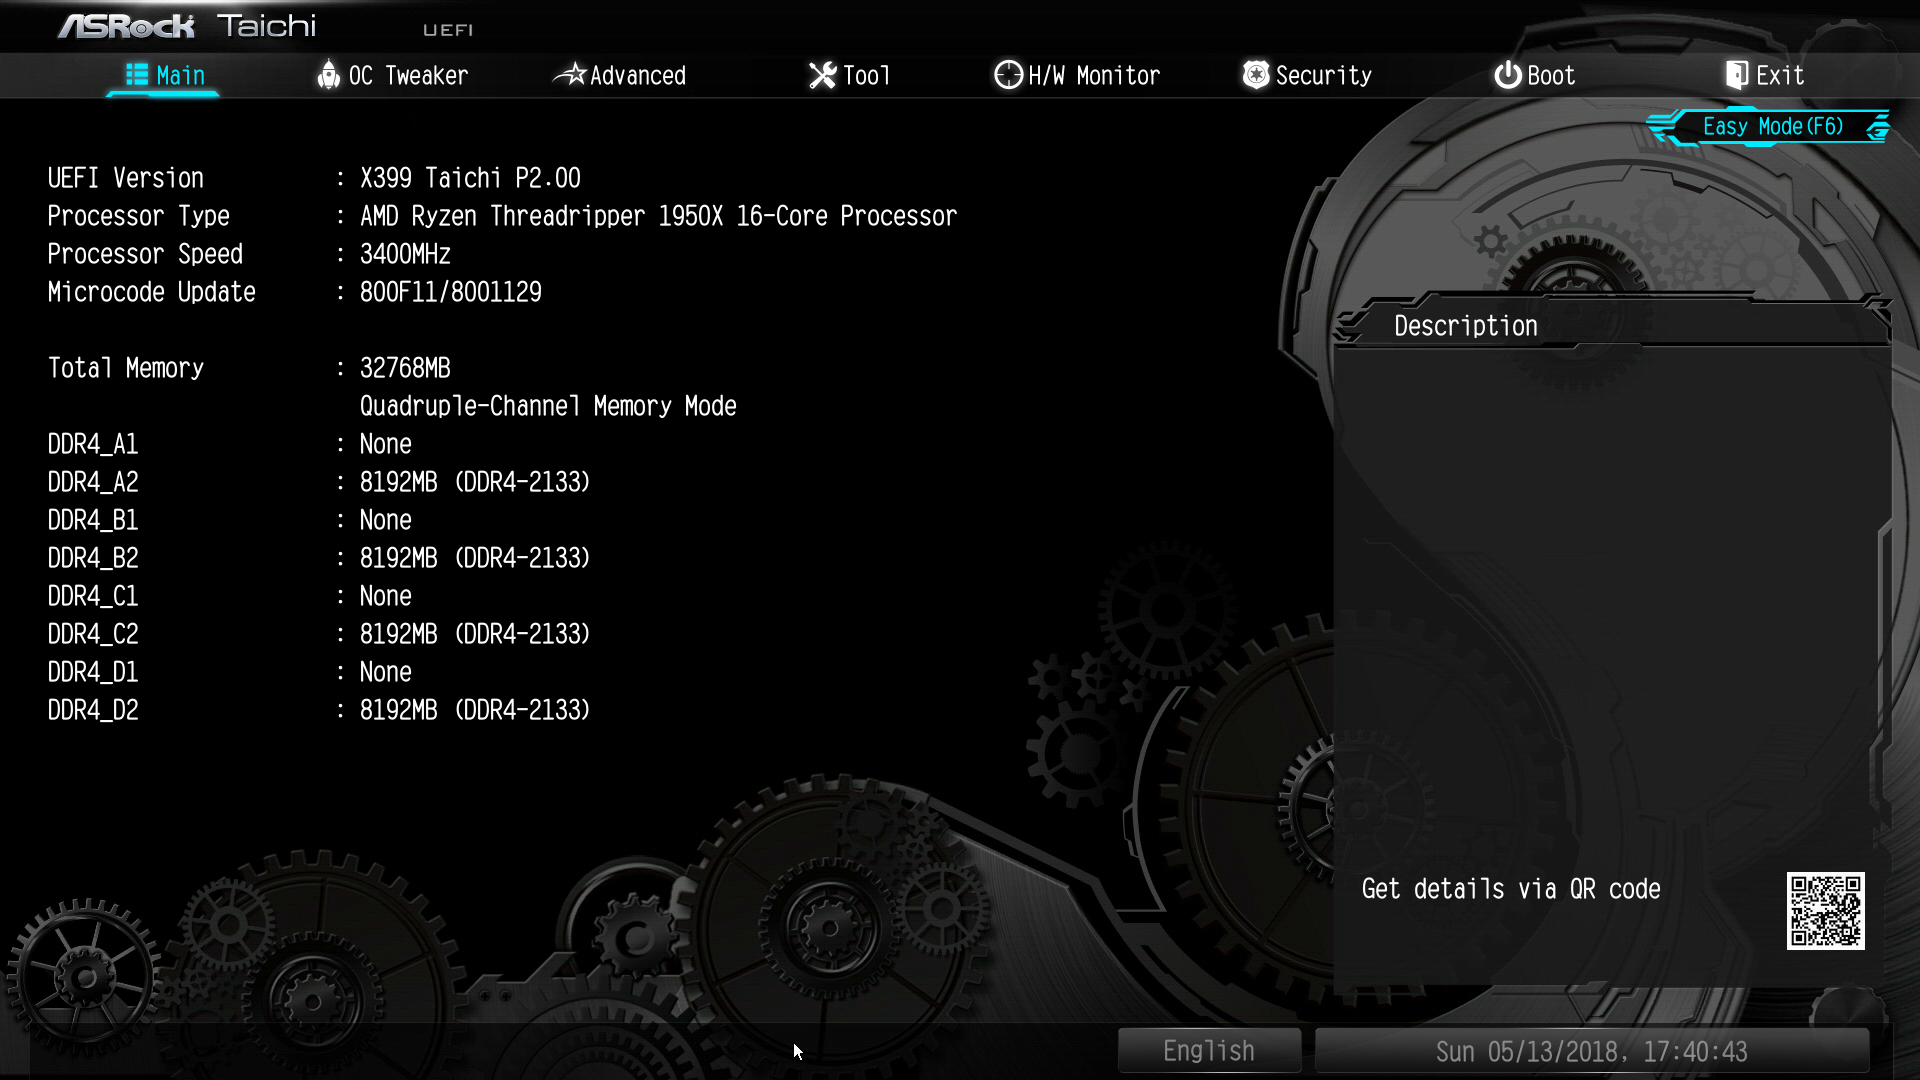
Pressing the F6 key brings up the full version of the BIOS, with a graphical theme that matches the gear works concept of the Taichi series. The settings are divided under eight main tabs but most of the important options can be found under two of them.
The "Main" tab is deceptively named and purely informative, without a single adjustable setting. Most of the BIOS settings can be found under the "OC Tweaker" and the "Advanced" tabs. The “OC Tweaker” tab includes the CPU, RAM, and Voltage settings. By default, the BIOS is set to the Auto CPU overclock, frequency, and voltage mode, temporarily boosting the Ryzen Threadripper 1950X up to about 4.0 GHz. Switching any of these settings to manual mode exposes new adjustable options. This approach can make the main page a little messy when everything is set to manual mode but the advanced settings for each device are organized into separate submenus, making it relatively easy to find and tweak specific options.
The “Advanced” tab includes all of the configuration options for the motherboard’s features and onboard devices. What is of interest here is the AMD CBS submenu that hides the Zen CPU settings, which includes the thermal throttling, fan control, and Core/Thread settings. A lot of advanced DRAM-related options can be found under the "UMC Common Options" submenu as well, including power options. The rest of the submenus hide advanced options that should be of no interest to most users.


The "Tool" tab holds the RGB configuration tool, the Instant/Internet BIOS flash tools and the RAID installer tool. The RGB LED configuration is very simple but at least each of the three channels (one for the motherboard's chipset area, one for each LED strip header) can be programmed individually.
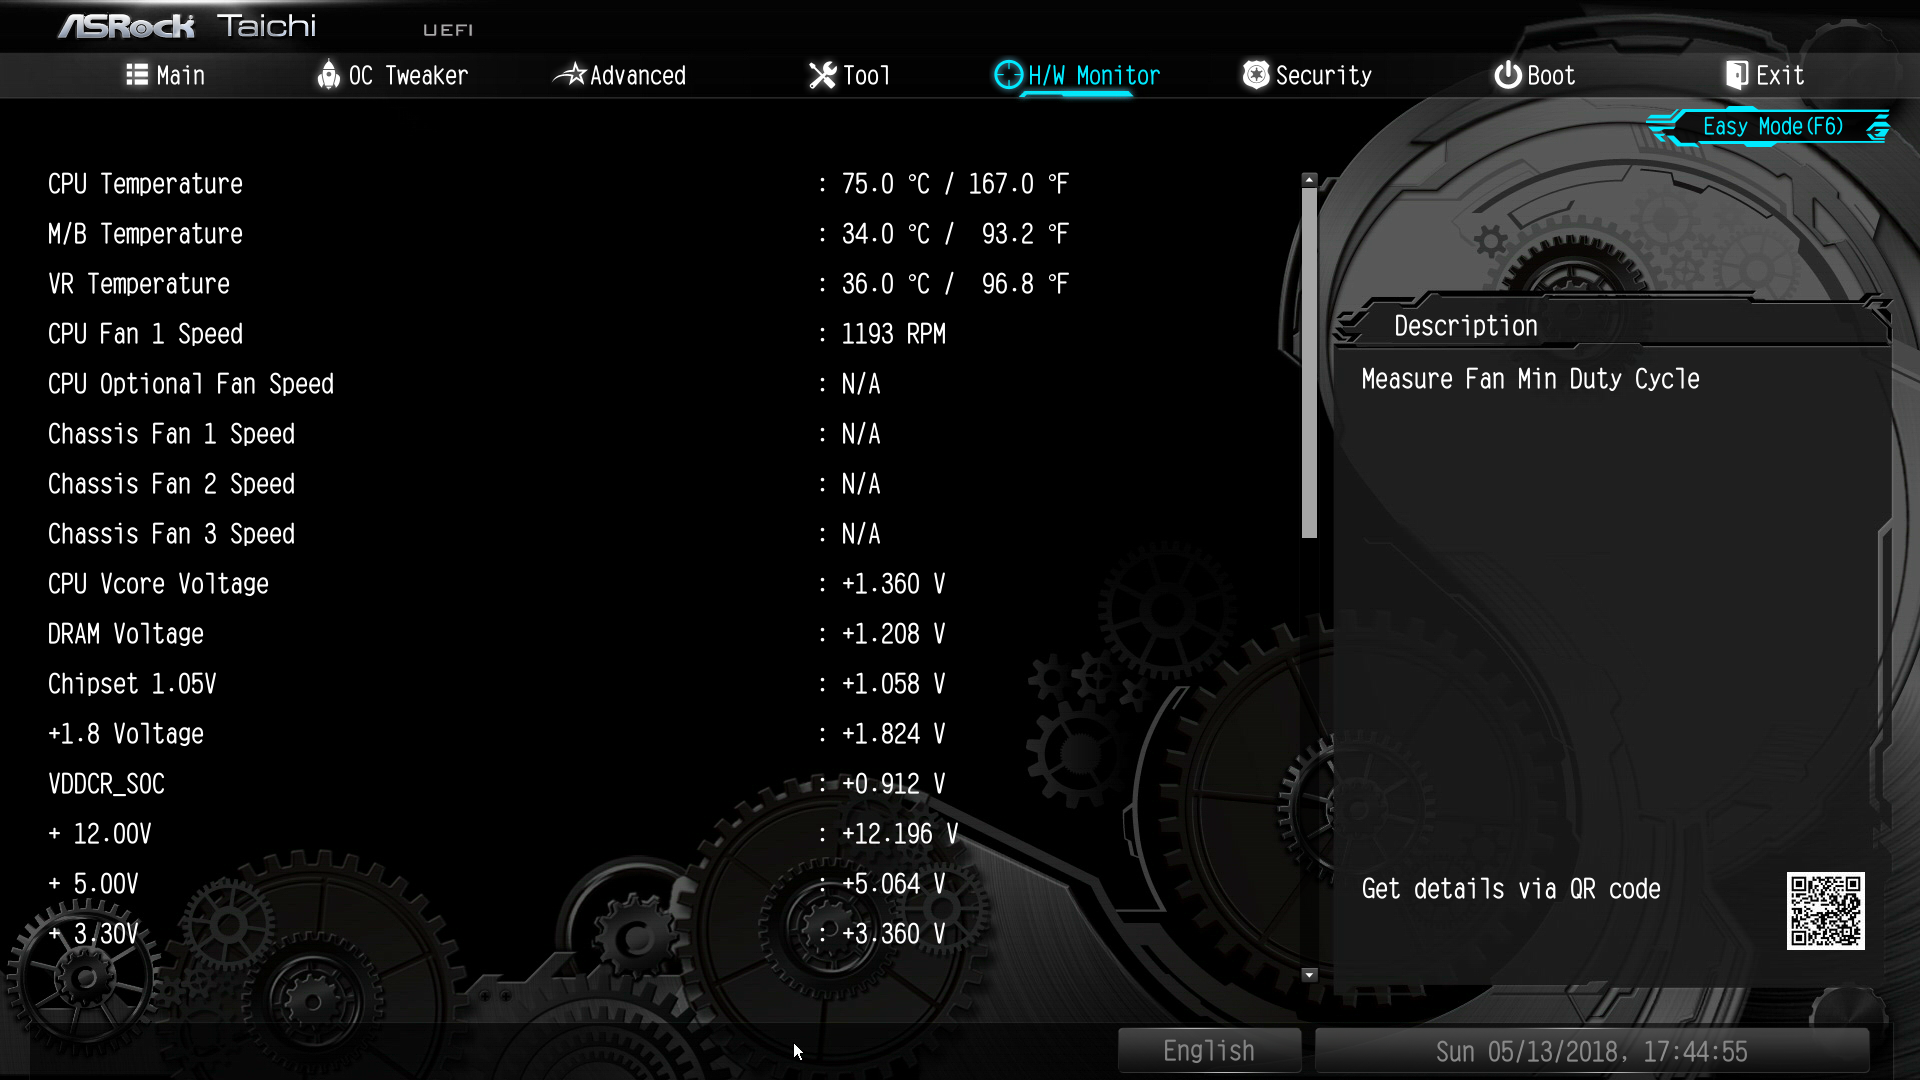
Another deceptively named tab is the "H/W Monitor" tab. Most users would be misguided to thing that it is a purely informative tab, listing the voltage and temperature sensor readings. Entering the tab brings up a long list of sensor readings but with a lot of fan control options hidden below them. Scrolling down the page, we find thorough control options per motherboard header. The user can also switch the two headers that support liquid pumps between PWM and DC control, maximizing compatibility with some liquid cooling pumps and certain fans. The user can also tie each fan header to any given temperature sensor of the motherboard.
The rest of the submenus are simple and without any hidden surprises. The "Security" tab contains the password and Secure Boot settings, and the "Boot" tab all boot-related options, except from the temporary boot override options that can be found under the "Exit" tab.


29 Comments
View All Comments
The_Assimilator - Friday, October 26, 2018 - link
Board Features/"In The Box" claims that you get Crossfire bridges with this board, but that's not reflected in the picture, plus bridgeless Crossfire has been a thing for years.Pretty luxurious of Asrock to include a 4-way SLI bridge, though... even if SLI is dead with RTX.
GreenReaper - Sunday, October 28, 2018 - link
I think the points just go through the board and the attachment plugs can go on either side, Maybe to store them in transit, or to discourage use of that slot because it gets disabled by the U.2 connector?Maryjohn0192 - Saturday, October 27, 2018 - link
good oneAntonErtl - Saturday, October 27, 2018 - link
I would have liked to see some information about ECC support. Does the board support it officially? Does the Linux kernel report that ECC is enabled if you supply ECC memory (and not if not)?kobblestown - Monday, October 29, 2018 - link
It does support ECC officially - that's what it says on the site and in the user manual. I have access to a TR machine with Asrock X399 Professional Gaming which is the same board as the Taichi but with a 10G Ethernet chip. The machine is equipped with 4x16GB ECC@2400MHz/s modules from Kingston. There are several BIOS options that seem related to ECC but there's no description of these options in the manual. Anyway, the kernel seems to be aware of the ECC. Here's a snippet from dmesg:EDAC amd64: Node 0: DRAM ECC enabled.
EDAC amd64: F17h detected (node 0).
EDAC MC: UMC0 chip selects:
EDAC amd64: MC: 0: 0MB 1: 0MB
EDAC amd64: MC: 2: 16383MB 3: 16383MB
EDAC amd64: MC: 4: 0MB 5: 0MB
EDAC amd64: MC: 6: 0MB 7: 0MB
EDAC MC: UMC1 chip selects:
EDAC amd64: MC: 0: 0MB 1: 0MB
EDAC amd64: MC: 2: 16383MB 3: 16383MB
EDAC amd64: MC: 4: 0MB 5: 0MB
EDAC amd64: MC: 6: 0MB 7: 0MB
EDAC amd64: using x8 syndromes.
EDAC amd64: MCT channel count: 2
EDAC MC0: Giving out device to module amd64_edac controller F17h: DEV 0000:00:18.3 (INTERRUPT)
EDAC amd64: Node 1: DRAM ECC enabled.
EDAC amd64: F17h detected (node 1).
EDAC MC: UMC0 chip selects:
EDAC amd64: MC: 0: 0MB 1: 0MB
EDAC amd64: MC: 2: 16383MB 3: 16383MB
EDAC amd64: MC: 4: 0MB 5: 0MB
EDAC amd64: MC: 6: 0MB 7: 0MB
EDAC MC: UMC1 chip selects:
EDAC amd64: MC: 0: 0MB 1: 0MB
EDAC amd64: MC: 2: 16383MB 3: 16383MB
EDAC amd64: MC: 4: 0MB 5: 0MB
EDAC amd64: MC: 6: 0MB 7: 0MB
EDAC amd64: using x8 syndromes.
EDAC amd64: MCT channel count: 2
EDAC MC1: Giving out device to module amd64_edac controller F17h: DEV 0000:00:19.3 (INTERRUPT)
EDAC PCI0: Giving out device to module amd64_edac controller EDAC PCI controller: DEV 0000:00:18.0 (POLLED)
AMD64 EDAC driver v3.5.0
CyrIng - Sunday, October 28, 2018 - link
What about Linux and FreeBSD?Can we have a review of Threadripper motherboards with some Kernel build benchmark for example?
kobblestown - Monday, October 29, 2018 - link
If you are interested in running Linux on TR you should check phoronix.com - they have benchmarks that are much more varied than what they do here.There is something else to note though - the experience has not been flawless for me. I snatched a 1920X at the time the 2990WX was announced a couple of months back for a great price that is no longer available and married it to an Asrock Fatal1ty X399 Professional Gaming with 4x8GB G.Skill 15-15-15-sth@3000MHz (not the machine from my post above). First of all, it takes ages to boot. That seem to be common for TR builds and is a bit annoying. But what annoys me the most is that the BIOS resets all settings every time you plug, unplug or change any PCIe/NVME device (not sure about the SATA since I rely on NVME entirely). The best approach is to save your settings (there are several save slots) and recall from there. Otherwise it's too much trouble because there are tons of options and most are not documented anywhere. I'm not even talking about overclocking - the machine is a beast even at stock freqs.
Also, you'd want to make sure that you run the latest BIOS/AGESA - for example the one the board came with did not allow for 3000MHz - only 2933 and 3066 (among others). The latest AGESA fixed this and my G.Skill which not validated for Ryzen works just fine. However, this latest version has some problem with the latest Linux kernels - for instance I couldn't run the Ubuntu 18.10 installer because of this kernel problem that can only be solved with custom compiled kernel (i.e. not with a boot option IIRC). OTOH, 18.04 runs just fine. I want to experiment with VGA passthrough and I have the hardware but haven't got the time yet. One thing to note is that all four network adapters (2x1G + 10G + WiFi) are in the same IOMMU group. It would have been nice to have the wired adapters in separate groups so I can assign them to different VMs but I think virtio-net will not break too much sweat on such a powerful machine.
CyrIng - Monday, October 29, 2018 - link
Thanks a lot for sharing this Linux experience.Phoenix is indeed a good Foss source but less hardware gifted as Anandtech.
As a System programmer, I would enjoy too see benchmarks dealing with Buildroot, FS squashing, cryptography support, big project compilation time and so on
Buying such hardware for a total of 1=3 $K claims à lot of details...
Regards
cyberguyz - Wednesday, October 31, 2018 - link
I have one of them. It works ok. Has problems running my GSkill TridentZ 3200 CL14 memory at XMP speeds without boosting memory voltage to 1.45v. Also it is a pain in the a$$ when it comes time to try out different settings since the only way to reset cmos is to open the system up and push a tiny little easy to miss button hear the onboard reset & power buttons. An external button like many of the competitors use would have been a real relief from that hassle.