Overclocking The AMD Ryzen APUs: Guide and Results
by Ian Cutress & Gavin Bonshor on April 16, 2018 2:30 PM ESTHow to Overclock With AMD Ryzen Master
The AMD Ryzen Master overclocking software utility is specifically designed for the overclocking of AMD Ryzen processors, which includes the high-performance desktop variants such as the Ryzen 7 1700, as well as the Ryzen 2000 series APUs and the HEDT Ryzen ThreadRipper processors. It is highly recommended to download the latest available version directly from the AMD website before continuing. AMD also provides a Ryzen Master Software PDF Guide, which gives the following:
The AMD Ryzen processor supports an operating mode allowing enthusiast users to directly control the operating condition of the processor to precisely tune the performance and power consumption to the extent of their specific and unique system capabilities (current and cooling) and environmental conditions (ambient temperature). This is done by allowing the user to program or run utilities to directly set the precise voltage and frequency at which the CPU operates so that the maximum performance can be achieved. This is called the Overclocking Mode. This mode still uses the processor’s control methods for the external power supplies and internal clock generators and divisors thereby simplifying the implementation and eliminating any needs for voltage regulator overrides or external clock generators. This mode allows overclocking-capable motherboards to use the same voltage regulator controllers and the same BIOS to support normal operation and overclocking.
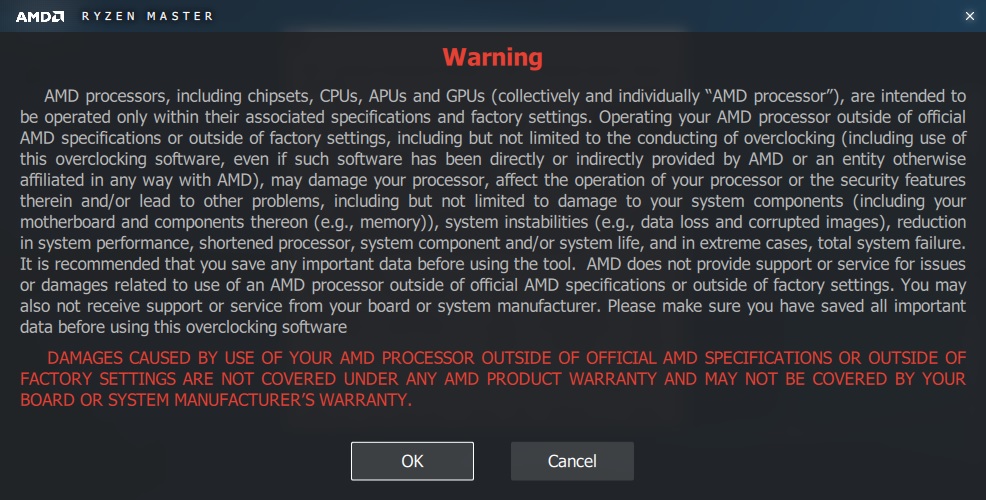
Once the disclaimer has been accepted, everything is ready to go.
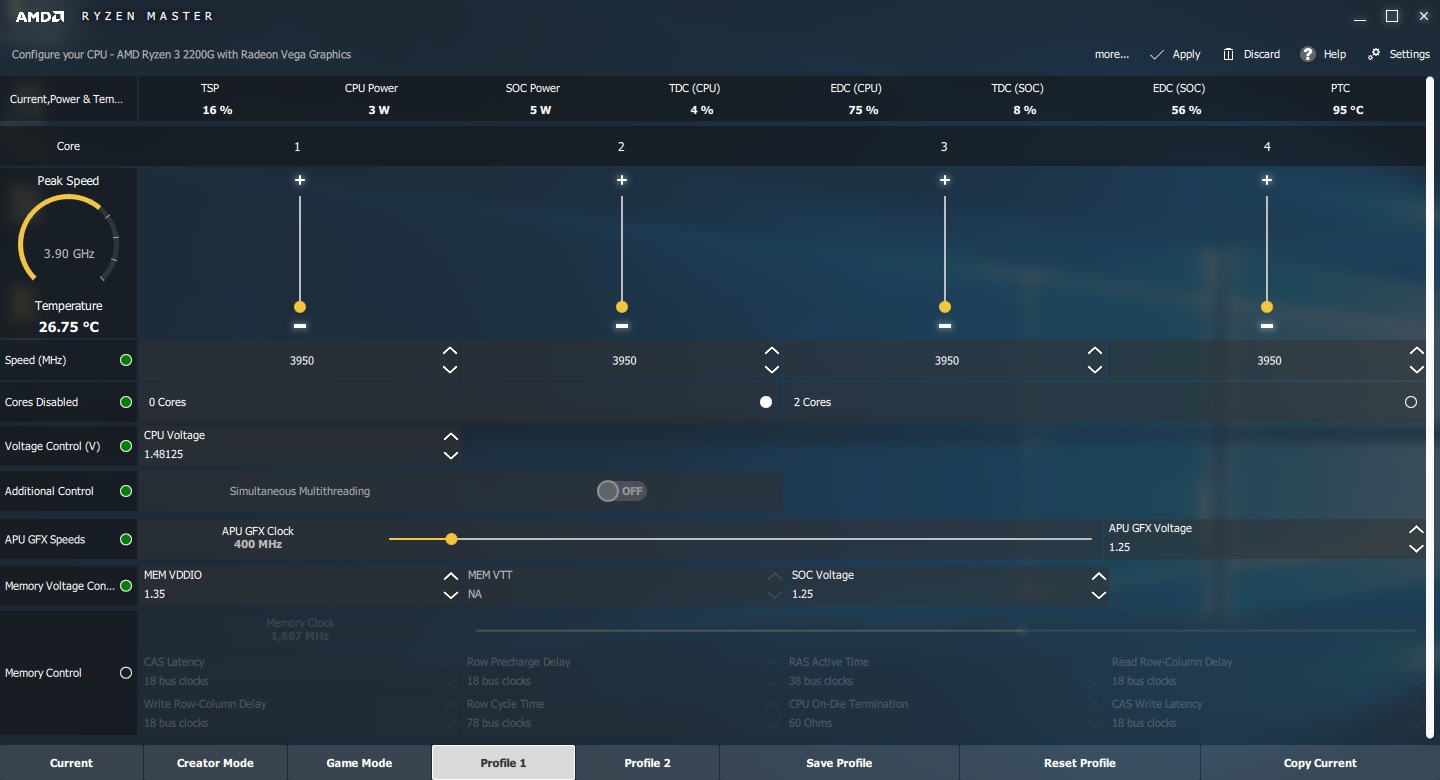
The entry screen looks something like this for Ryzen Master 1.2. Starting with the bottom, and from left to right, the menu tabs are 'current' (shows the already applied settings), Creator and Game modes, Profiles for the user to create and customize their own overclocks, and then options to save/reset/copy the profile.
Along the top of the display are the outputs of various onboard sensors, such as power and limits. Below this, each of the cores on the processor has a slider up and down for users to change the frequency, with the peak speed and temperature shown on the left. The third/fourth option down is the CPU voltage, adjusted with up and down buttons, and two below this are the integrated graphics options, followed by the memory voltage controls and then the memory frequency controls. Adjusting the memory typically requires a reboot.
For the purpose of overclocking to match the settings in our testing methodology, we used Ryzen Master on the MSI B350I Pro AC motherboard to set 3.90 GHz on the CPU core, 1360 MHz on the Vega based iGPU cores and DDR4-3333 on our dual channel kit of memory. All of the basic and principle settings can be changed within Ryzen Master, without even having the need to enter the BIOS, although one thing that Ryzen Master cannot do is enable an XMP profile: you can manually enter the relevant settings to match the rated speed. The SoC and APU GFX voltage share the same rail for both uncore and graphics, so setting both is paramount to ensuring stability when overclocking integrated graphics on your APU; 1.25V is AMDs maximum recommended safe SoC voltage.
On the top section of the Ryzen Master Utility main screen and after clicking settings, a completely new panel opens offering a couple of new options with a couple of switches. Here a user can turn off live monitoring (the setting isn’t always recommended if other software is in play). Users can also individually turn off the speed, temperature, and adjust the live monitoring functions. Disabling PROCHOT is not recommended as this removes the thermal safeguards and is more commonly associated with extreme overclockers; disable at your own risk!

Once all the settings and values have been selected, clicking apply will bring up an option requesting that Ryzen Master will need to reboot your system to apply the settings. This is mainly focused for voltages, memory settings and grpahics parameters. Slight changes to the settings shouldn’t trigger this, although anything that will require a reboot will bring this up.

Once the system has rebooted, assuming all is stable, Ryzen Master will pop up as part of the Windows loading sequence asking to be enabled. Clicking OK will run the utility and will then apply and finalize the settings.
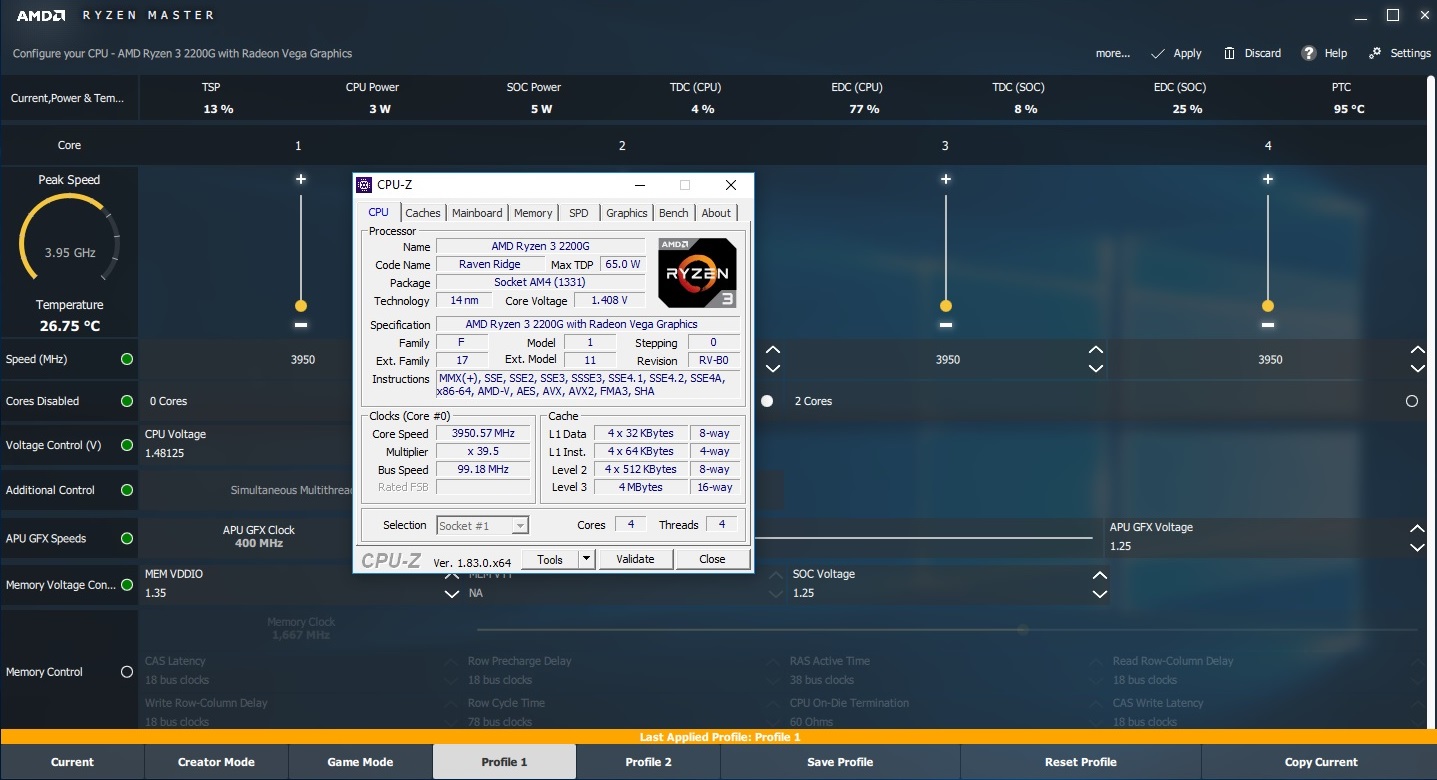
Having a utility such as CPU-Z by CPUID is a very handy tool which will show Realtime information regarding CPU Frequency, although actual voltages can sometimes be a little off to what it’s set. This can be for many different reasons such as power states including AMDs own Cool’n’quiet feature being enabled. Once the settings are in place, stress testing is required. Providing everything is stable and temperatures are within the recommended values and no close to hitting the TJMax, everything should be good to go.
This would be a good time to save your profile, although saving them at intervals and overclocking each component such as memory, iGPU, and CPU, one at a time and running some form of stability test in-between is recommended.


63 Comments
View All Comments
0ldman79 - Wednesday, April 18, 2018 - link
Setting the multiplier manually automatically disables Cool'n'quiet, can it be reenabled afterwards while keeping the higher multiplier?I plan on overclocking mine the same as my FX 6300, keep Cool'n'quiet, keep turbo and just push it all higher. I like the idle dropping down to nothing and I prefer to keep my turbo so single threaded apps (still have a few) get everything they can possibly get.
gavbon - Wednesday, April 18, 2018 - link
You can re-enable it no problem, I only found it to automatically disable Cool'n'Quiet on MSI boards, there's absolutely nothing stopping you enabling it again :)YoloPascual - Wednesday, April 18, 2018 - link
Should have oced the gpu to 1600 instead of the cpu.krazyfrog - Wednesday, April 18, 2018 - link
Image compression is making my eyes bleed.PeachNCream - Wednesday, April 18, 2018 - link
The images in the article are fine and your eyes are working well enough for you to broadcast your whining to the rest of the world. Besides, the value in the article is in the written content, not the pretty pictures. If you want pictures as the primary content delivery mechanism, go buy a bunch of pre-literacy board books like The Very Hungry Caterpillar.dromoxen - Friday, April 20, 2018 - link
thess were my exact thoughts as many people here ... underclock the CPU and overclock the GPU for gaming (spend your heat budget on the GPU) and then on other tasks overclock the cpu and underclock the gpu) BUT I expect this cannot be done on one windows session . Actually using ryzen Master , it probably could . But youd need some scripts to o switch.If i ever take the plunge (waiting for 4000mhz dram) will examine this...
John_M - Friday, April 20, 2018 - link
A few things trouble me about this article.Firstly, the charts for 7-zip and 3DPM are incorrect. If lower really is better, then they show the stock 2200G outperforming the overclocked 2400G. If they are so blatantly wrong, then can the others be trusted?
Secondly, DDR4 defaults to 2133 MHz (2 x 1066) if you "forget" to enable XMP, not 2400. This is not a good representation of stock RAM frequency. I would have preferred to see you set 2933 MHz, as specified by AMD.
Thirdly, the Thermaltake Floe Riing 360 is an unrealistically expensive choice of cooler for either of those processors. Who spends more on the cooler than on the processor?
Fourthly, you can overclock the iGPU and adjust the SoC voltage in the ASRock UEFI BIOS, but it's rather hidden away!
cpupro - Saturday, April 21, 2018 - link
ASUS have the best looking UEFI.Galatian - Wednesday, April 25, 2018 - link
Thanks for the test, but I hope you will test all parts separately? I mean the FPS increase probably stems from the huge increase from the faster RAM, but you make it sound like the CPU and GPU overclock take equal parts.ballsystemlord - Wednesday, April 25, 2018 - link
Where did you get your data from when you wrote?"ed: I'm in the sliding scale camp, for what it is worth. I find it amusing to note that DRAM bit-errors, unaffected by overclocking, can happen on the scale of one per GB per four years (or less). That's about a worse case scenario, but it translates to about one bit-error per three months in a system with 16GB. that is something that can't be controlled by stability testing. Hopefully it occurs in DRAM that isn't being used."
Thanks!