The MSI X299 Tomahawk Arctic Motherboard Review: White as Snow
by Joe Shields on November 20, 2017 8:00 AM EST- Posted in
- Motherboards
- MSI
- M.2
- USB 3.1
- X299
- Skylake-X
- Tomahawk
- Tomahawk Arctic
BIOS
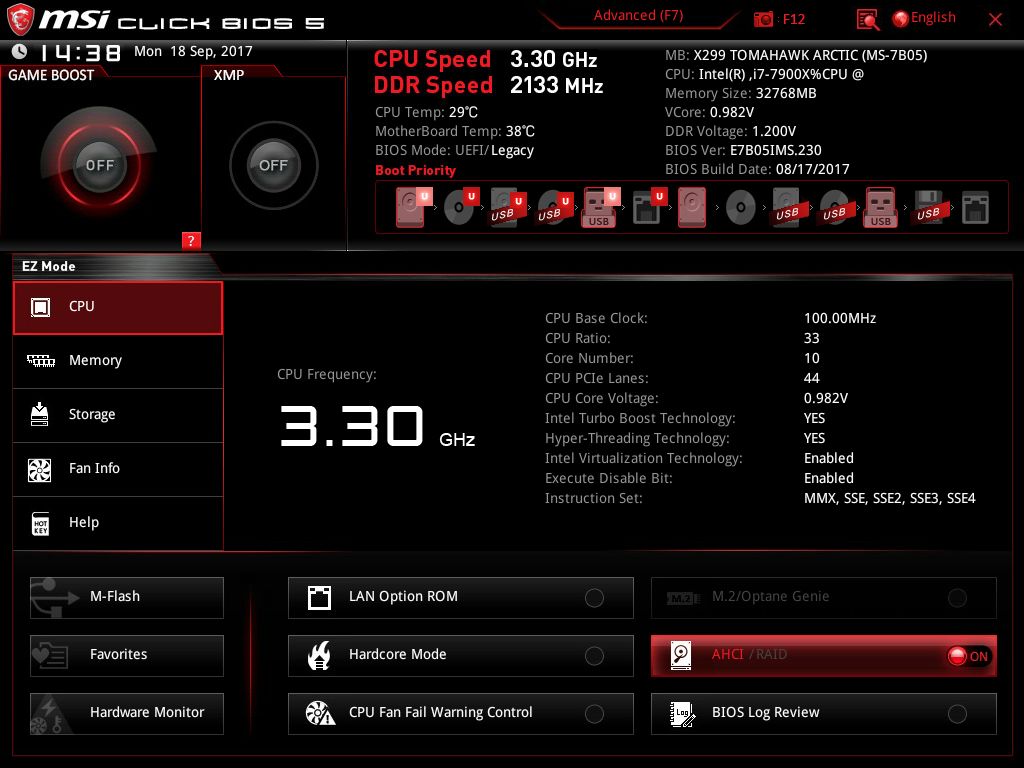
MSI's Click BIOS 5 is the latest version of their UEFI and what is used on their X299 based motherboards. The version for the Tomahawk is black and red, while others will change the color/theme depending on the motherboard. When booting to the BIOS users are greeted by the EZ-Mode version which displays high-level system information such as CPU and memory speed, motherboard and CPU temps, installed memory amount and speed, enough to have a complete 'state of the union' view of the system.
Users are able to change a few pertinent options from the EZ Mode. XMP profiles on RAM can be enabled, as well as the Game Boost function for one-touch overclocking. Boot order is also able to be changed by dragging the icons around in the boot priority list. Access to M-Flash for flashing the BIOS, access to Favorites, and access to the Hardware Monitor is found on buttons in the bottom left-hand corner.
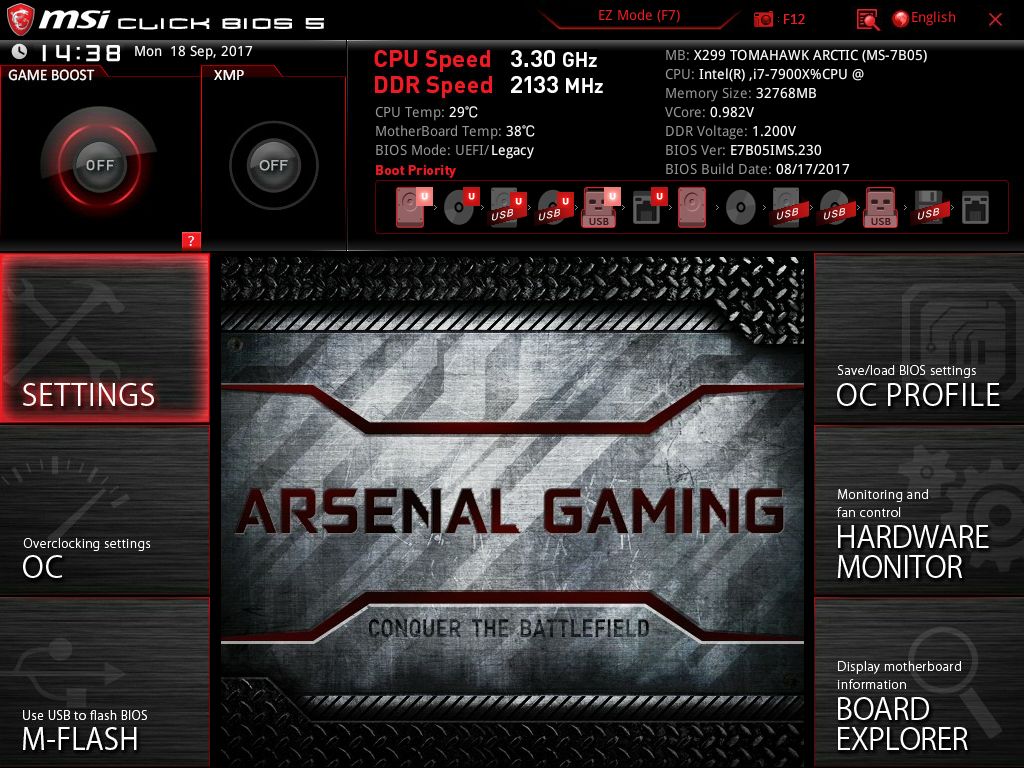
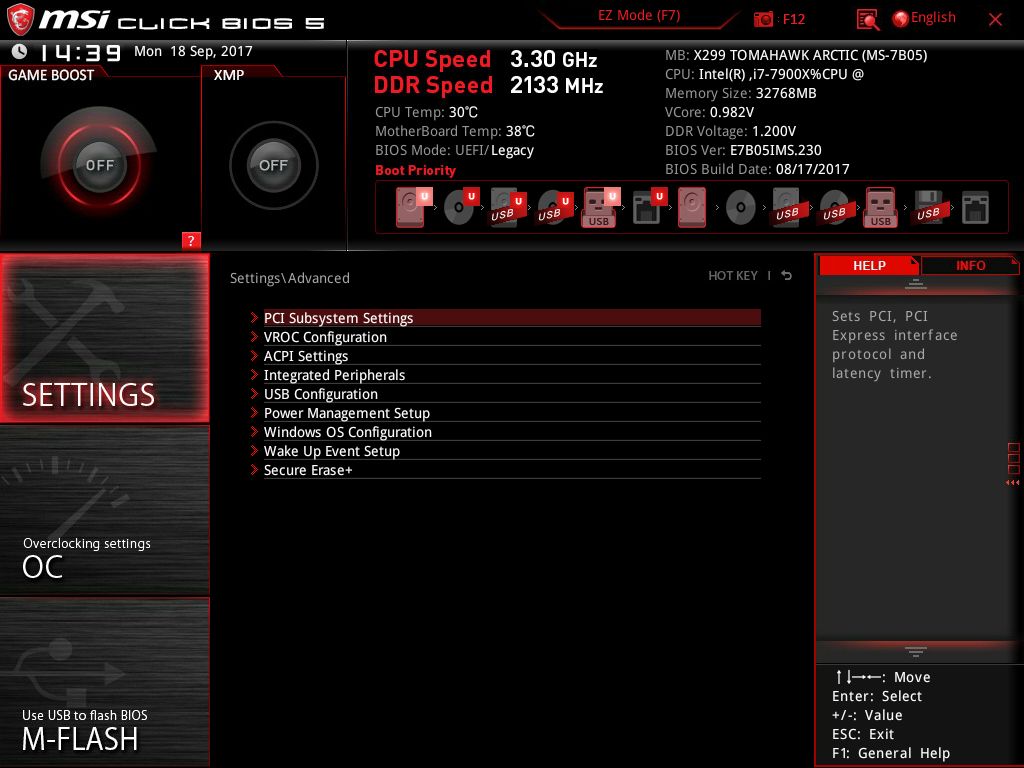
After pressing F7 to get into Advanced mode, we are greeted by an identical top 1/3 of the screen with the Game Boost and XMP buttons, high-level system information, and boot order. The bottom now gives users options to different sections of the BIOS. The Settings section gives access to view and change subsystem settings (PCIe modes), VROC Configuration (Intel NVMe RAID), Integrated Peripherals, USB Configuration, Power Mangement, Windows OS Configuration, and more. Settings like changing SATA modes, or enabling/disabling USB ports, will be found here.
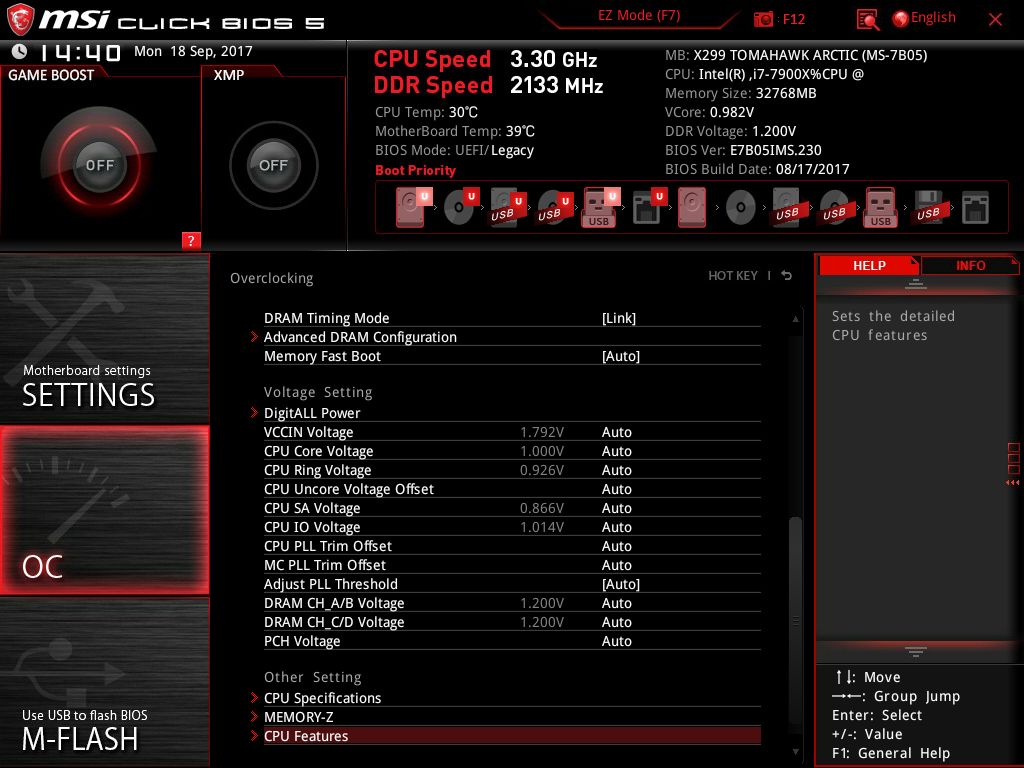
The OC section is where all the overclocking magic happens. Access to all the tools needed for ambient overclocking like CPU multiplier, Vcore, DRAM Voltage, DRAM Timing settings, and FIVR voltage control will all be found somewhere in this very deep section. By default, it starts off in Normal mode which hides more advanced overclocking options, but there is still plenty of tools available without the need to expand on options. Voltage control for all the relevant sub-systems is all found on the first page. In fact, all manual overclocking was done in normal mode since we do not use per core adjustments or need to adjust memory timings (can enable XMP with a button or drop down).
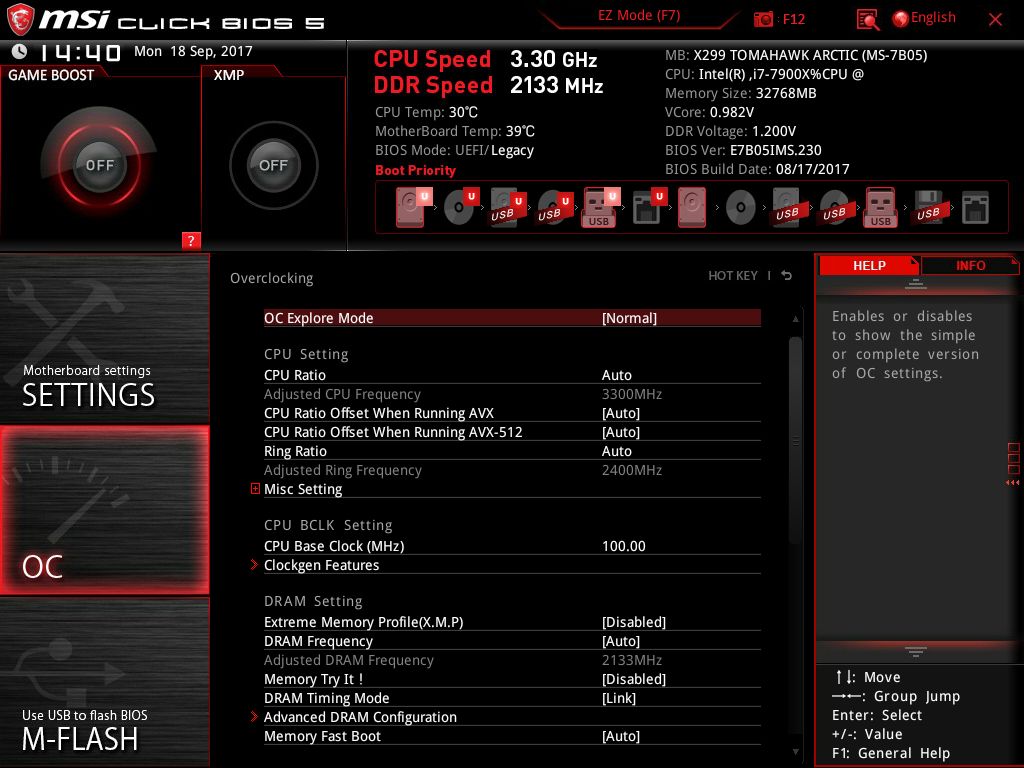
Within the OC section is the Advanced DRAM Configuration, where users can enable XMP, adjust memory speeds, and adjust a slew of primary/secondary/tertiary memory timings. The next major sub-section is the DigitALL Power where voltage options like Loadline Calibratio, Over/Undervoltage protection, VRM Switching frequencies, and more are found. Any CPU feature changes (HT enable/disable, number of active cores, C-States, and Power limits) are edited through the CPU Features section at the bottom.
The M-Flash section is the place users go in order to update the system BIOS. After entering the M-Flash section, a dialog box pops up letting the user know they are going into BIOS flashing mode and reboots to an 'explorer' of sorts pointing to a USB drive where the BIOS (should be) is located.
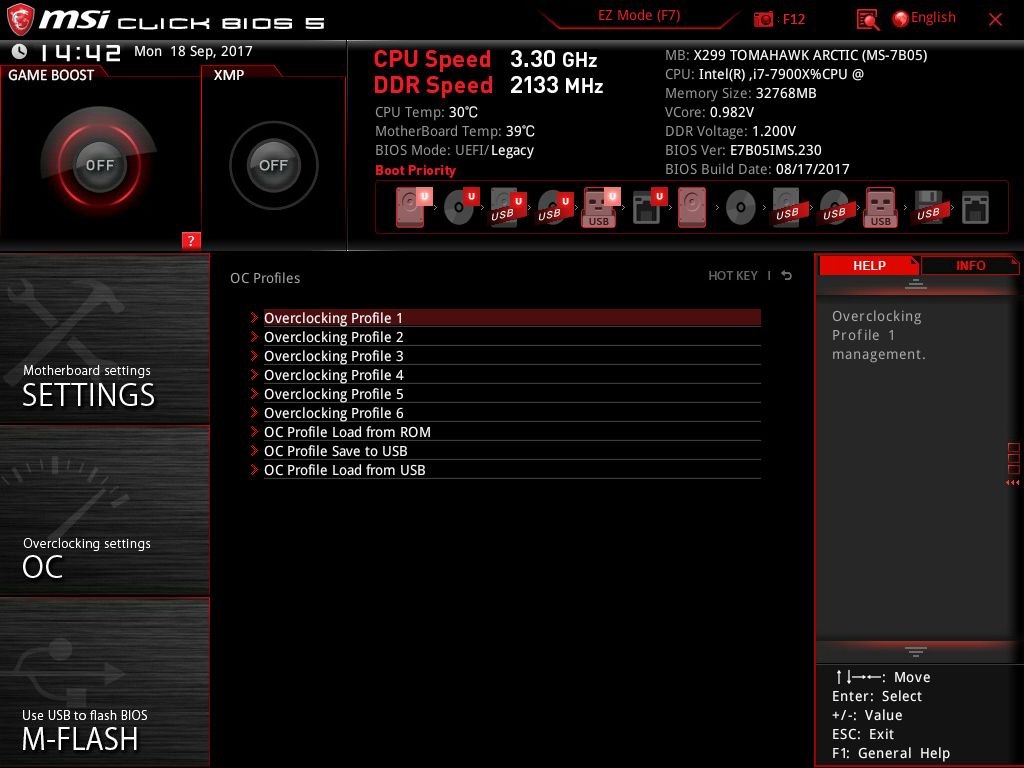
Once a stable overclock is found, users are able to save the settings in the OC Profile heading. Up to six profiles can be saved to the BIOS or externally to a USB device. I saved my manual overclocking results to a profile and was able to reset the CMOS, load the profile, and jump right back to it without issue. When flashing the BIOS, it will not keep the profile.
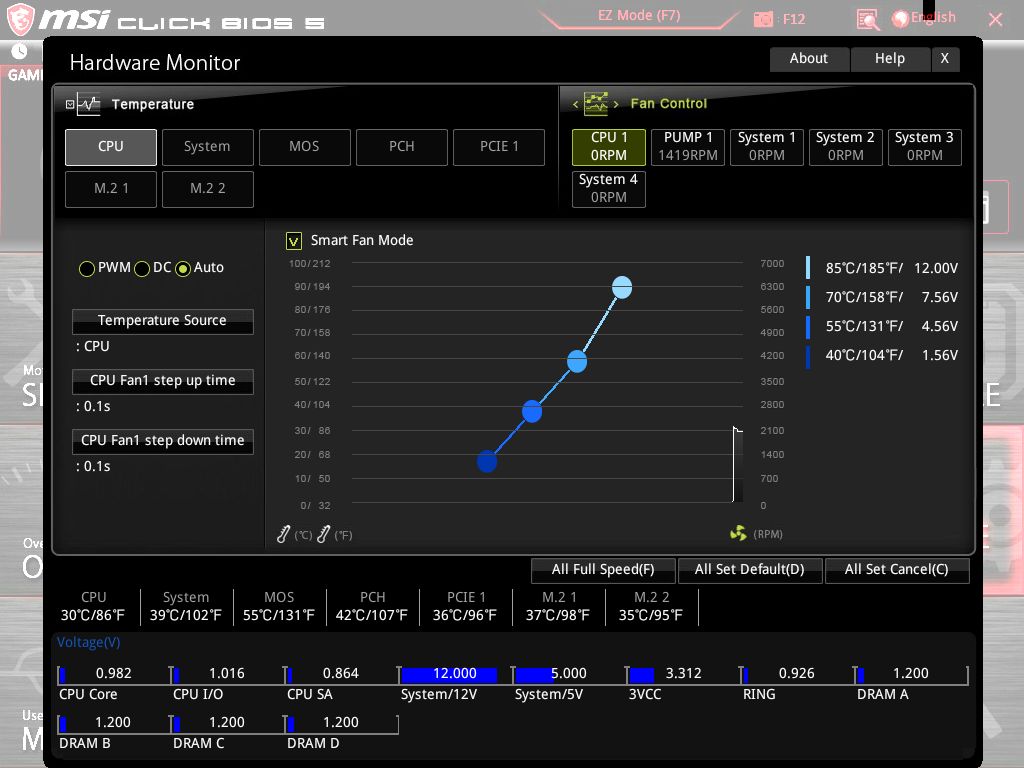
The Hardware Monitor section shows system temperature and fan speed information. Each fan header has its own profile that users can select and edit for their particular environment and preferences. All headers are able to be PWM or DC(Voltage) controlled; default is for auto-sensing.
In the time I had with the BIOS, I did not have any issues. Mouse movements were smooth and I had no issues maneuvering around with the keyboard. Though the layout isn't one of my favorites, the EZ Mode is good for high-level changes, and the advanced mode has a sufficient number of options.


Software
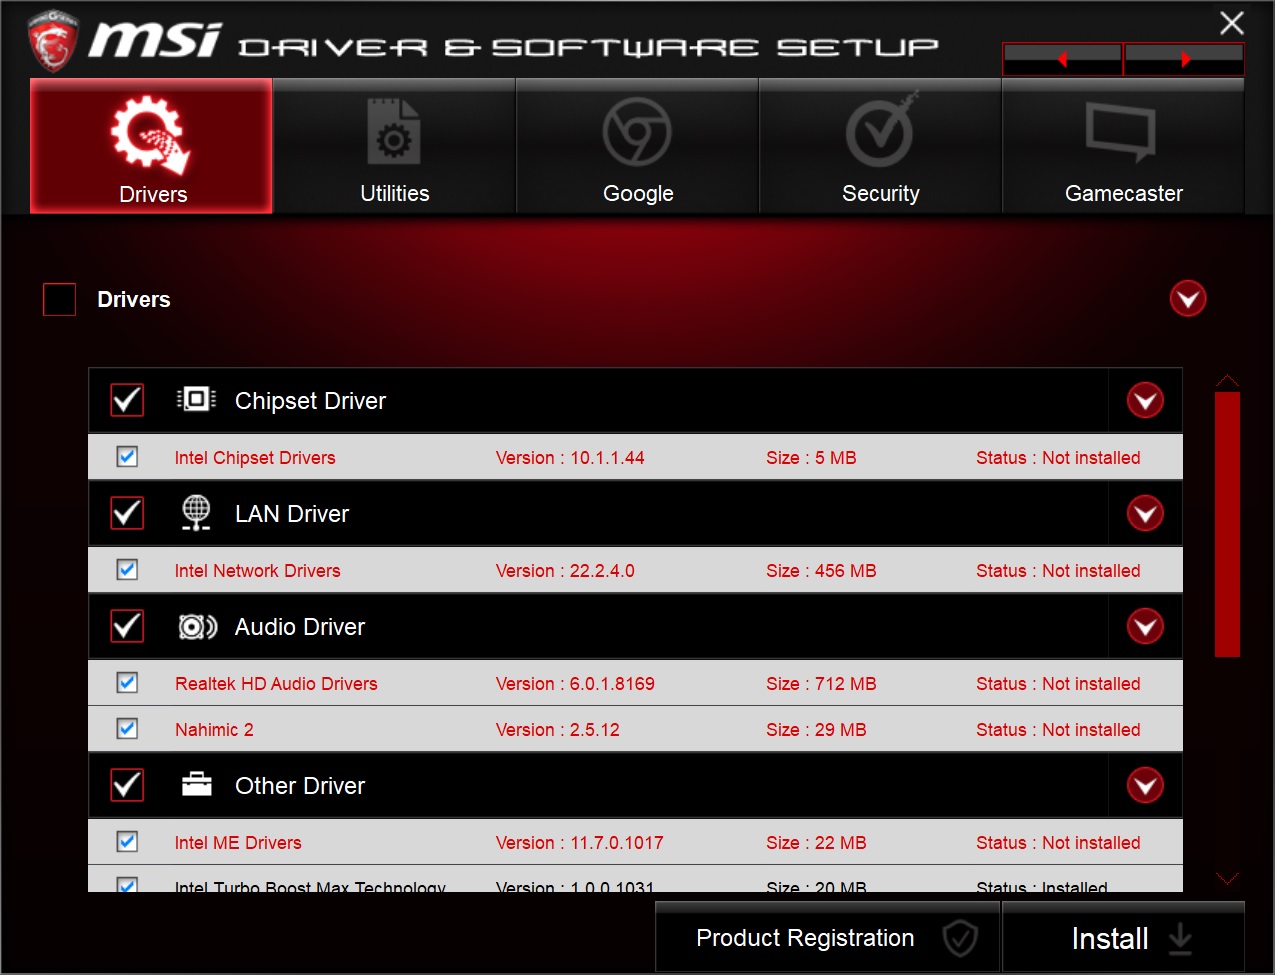
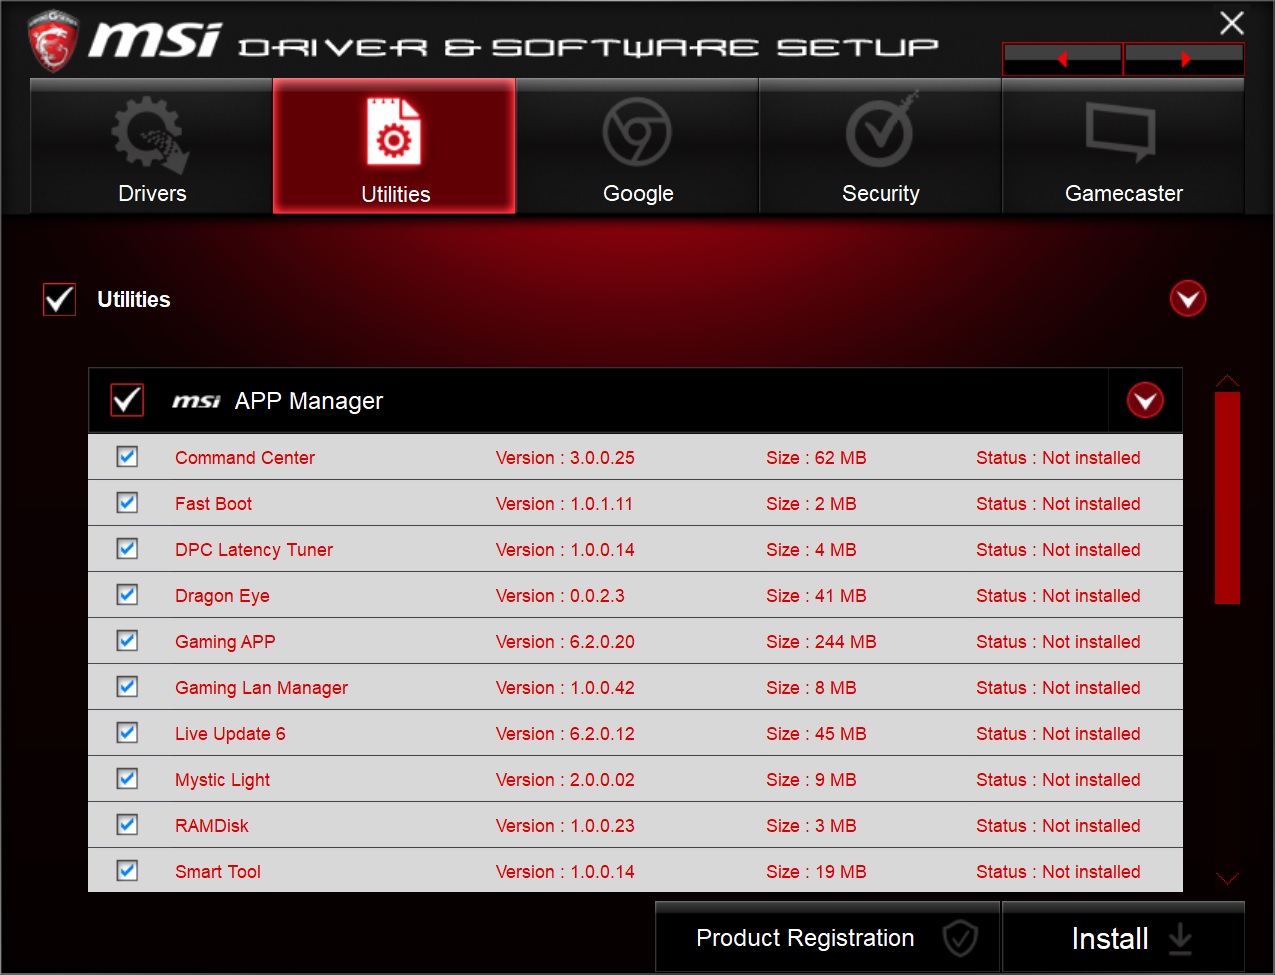
The first piece of software pictured is the included driver disk. Here, users are able to install all drivers needed. Simply check it off, press install and it should do its thing. I used this functionality on first boot and did not have any issues. It also includes a utility section where all MSI utilities can be found: Command Center, Live Update 6, Mystic Light, the Gaming APP and others are found on the disk.
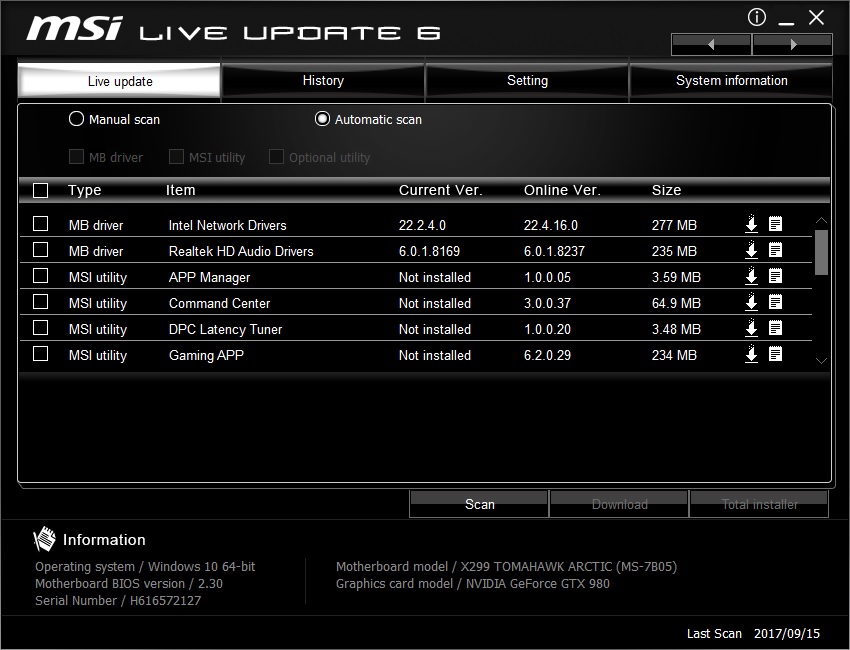
MSI's Live Update 6 software runs in the background and periodically checks the MSI website for driver and utility updates. Post installation, it picked up what drivers needed to be updated or utilities that were not installed. I was able to update the drivers listed as well as install Command Center without a problem.
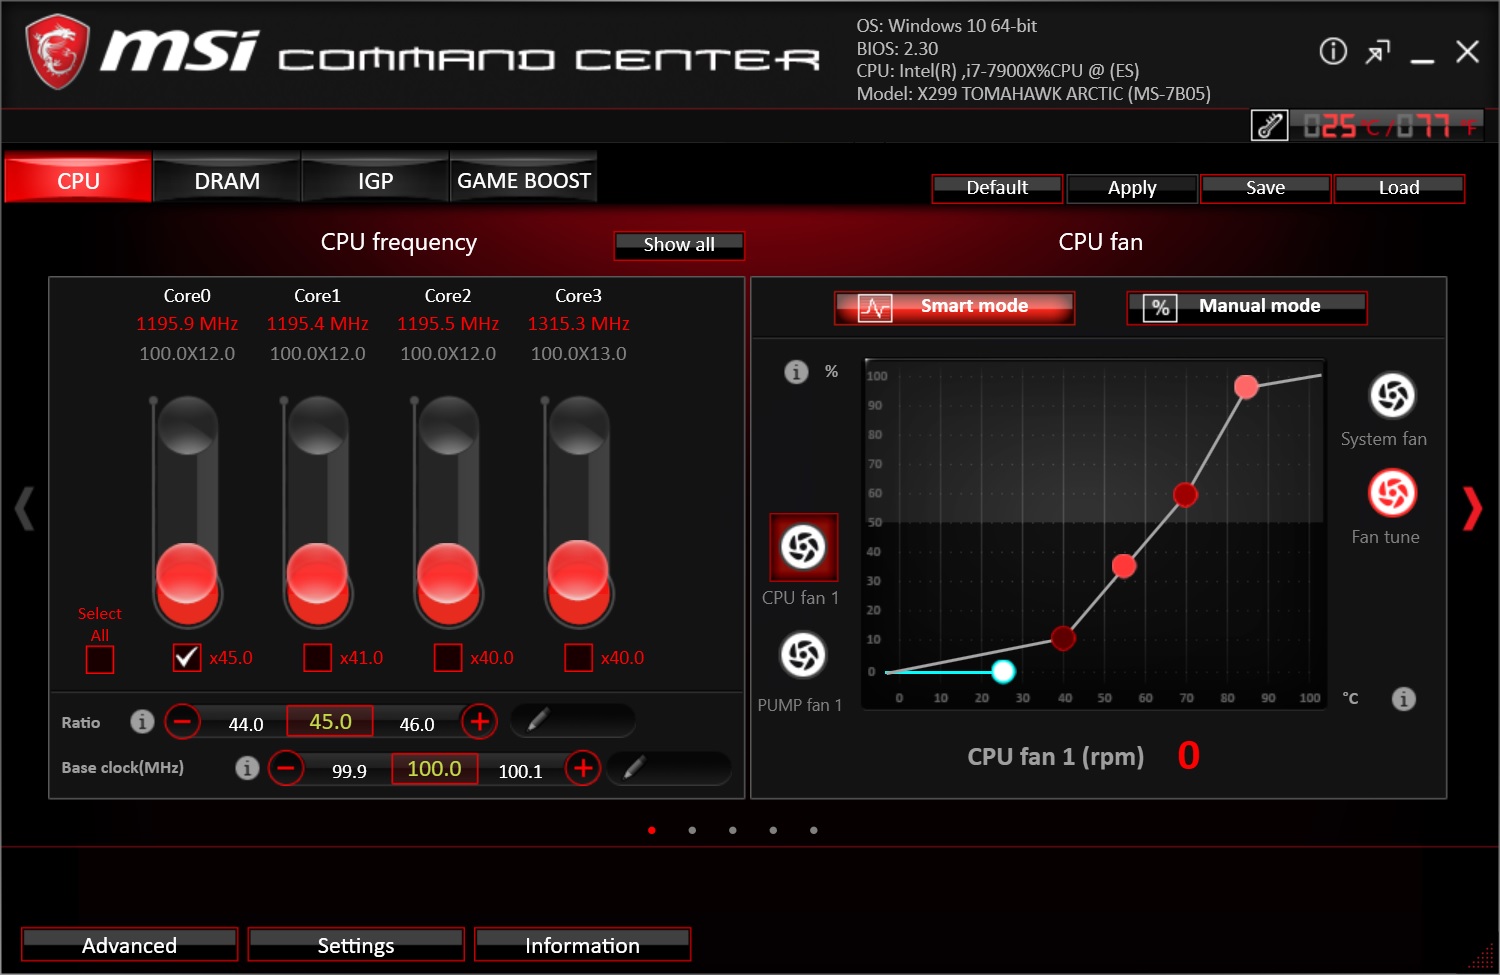
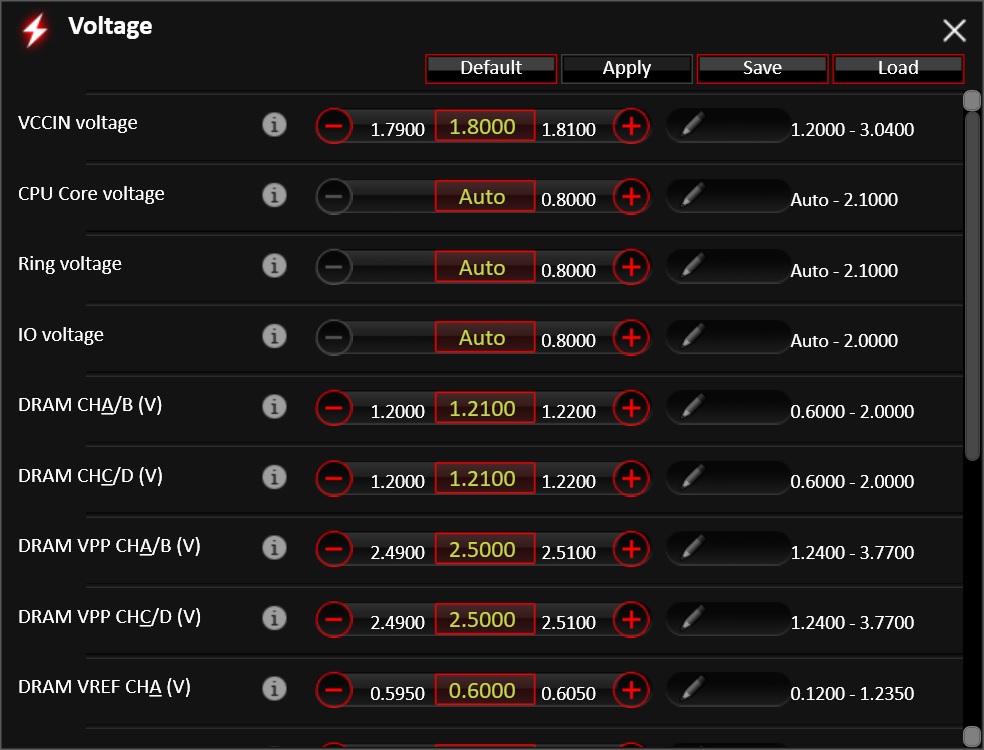
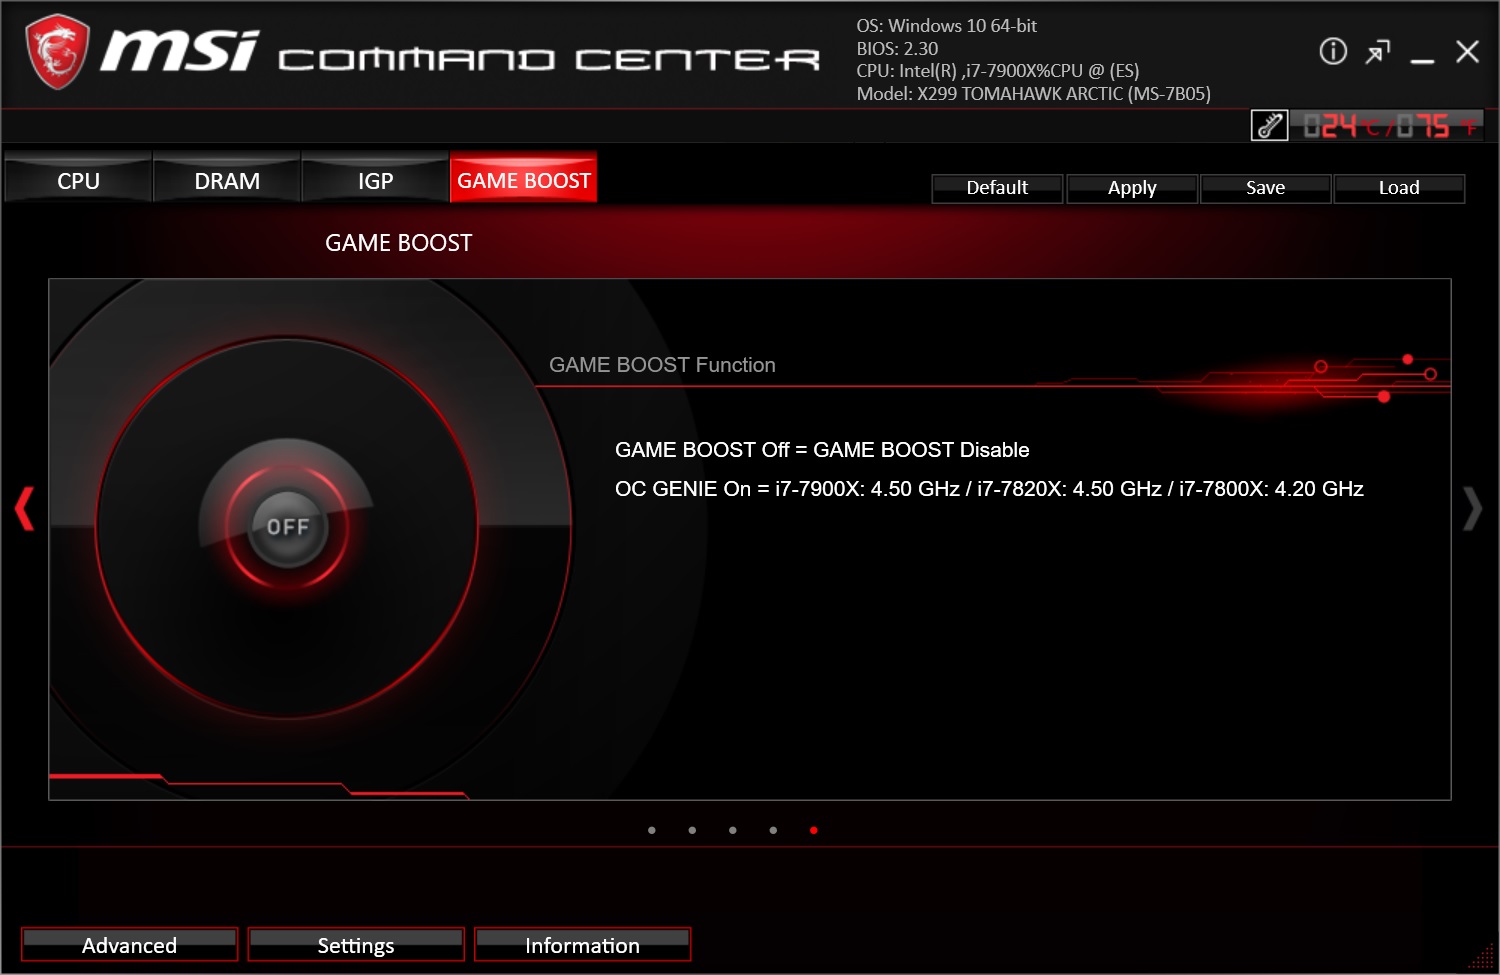
Command Center is MSI's Windows-based application allows users control over their CPU speed, CPU voltage, DRAM voltage, DRAM timings, fan speed control, integrated graphics clocks, and gives access to Game Boost for one-touch overclocking. I used the application for the manual overclocking portion of the review without issue. I was able to change voltages, and adjust the CPU multiplier and base clock from the application. When using Game Boost, it set the 7900X to 4.5 GHz and 1.26V on all cores and threads. This was closer to what I achieved manually (1.25V) at the same clock speed than the using the BIOS auto overclocking which set it at 4.4 GHz and 1.26V.
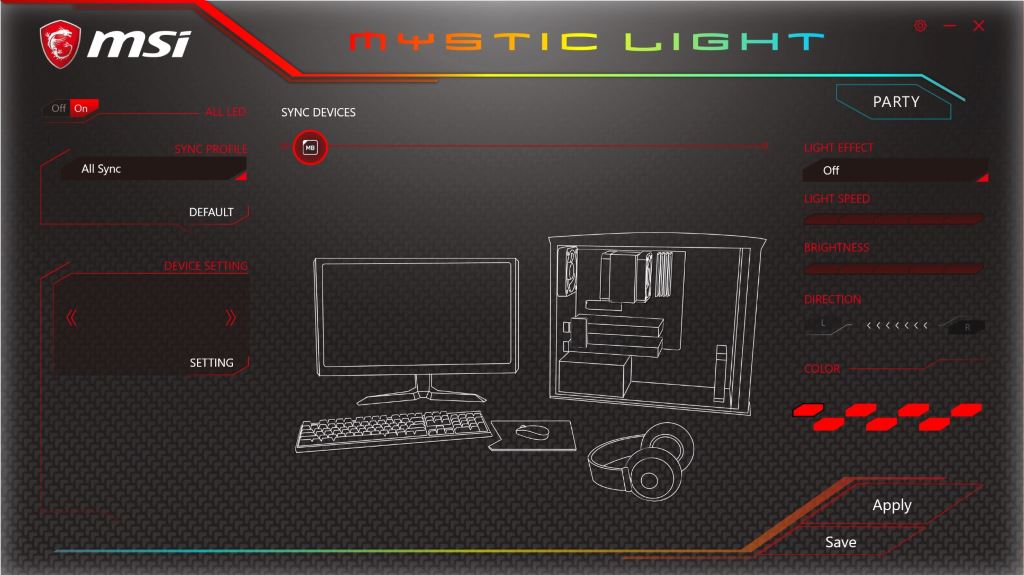
RGB control for MSI is handled under the Mystic Light application. It controls all integrated RGB LEDs as well as any attached to its internal headers. These can be synced together or controlled independently using a variety of different effects, as well as different speeds, allowing the user to control how bright they are and the direction of the effect.
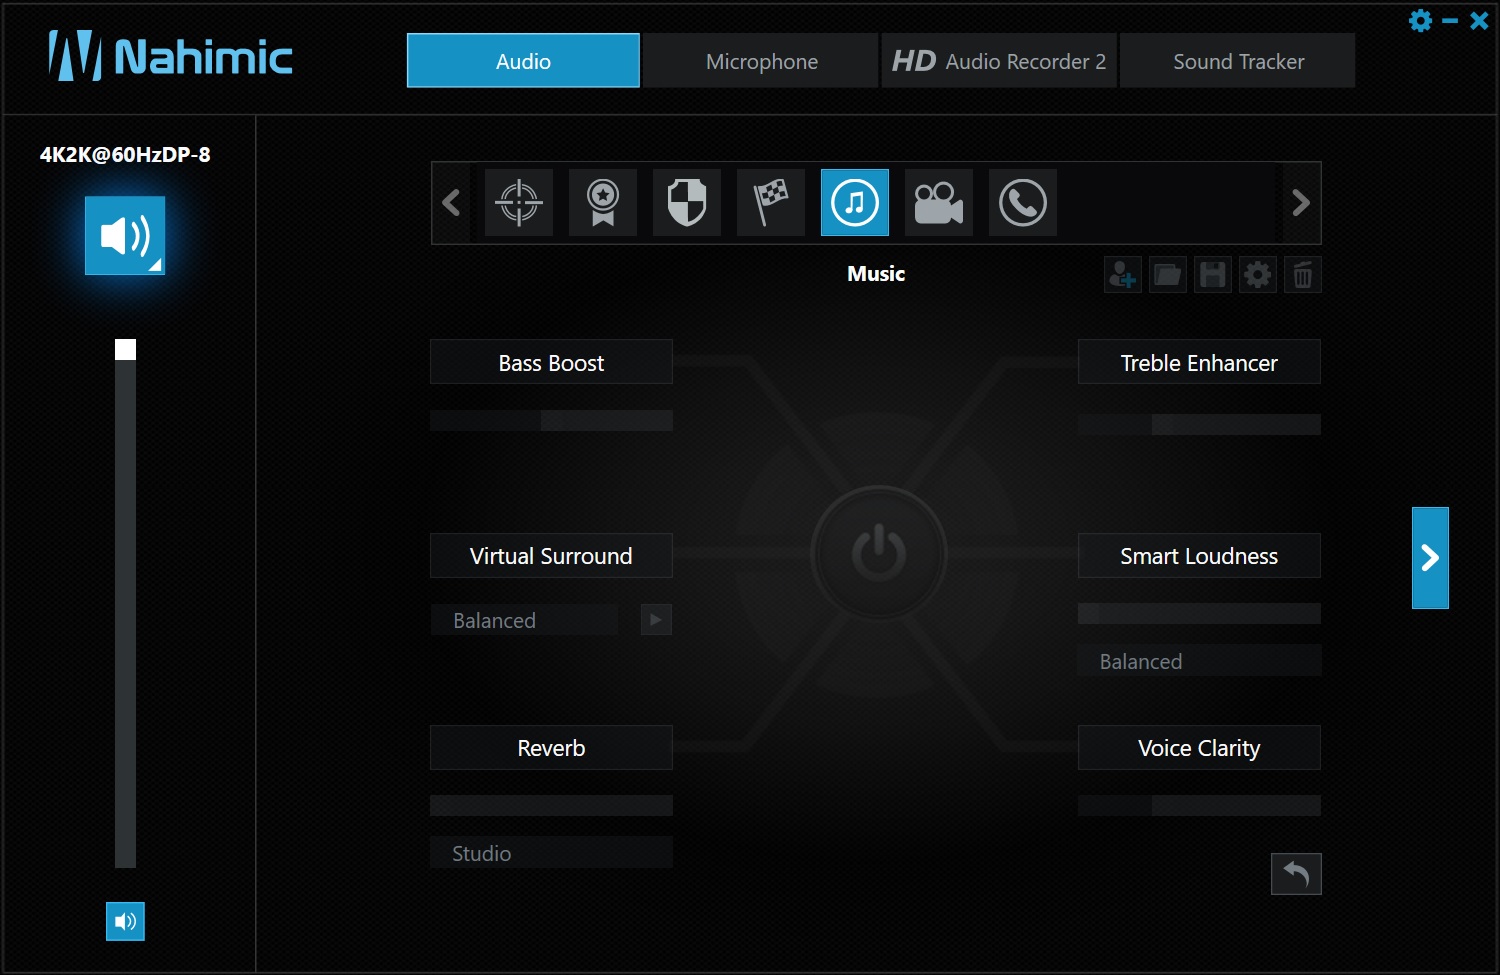
MSI's Nahimic Software aims to give the user more control over the onboard audio. There are generic EQ functions for bass and treble, functions for virtual surround and functions for 'smart loudness' for each type of setting. It also allows users to adjust the sound of their voice in the microphone section. Gamers can also enable Sound Tracker for compatible games which tells the user where sounds are coming from through on OSD. The aim of this software is to help users trying to hear where those gunshots are coming from, similar to software found on ASUS gaming boards.


21 Comments
View All Comments
blppt - Tuesday, November 21, 2017 - link
Believe it or not, I've had exactly zero issues with my ASRock Taichi X399---was kinda concerned about trusting a "budget brand" but after seeing all the issues with the MSI/ASUS/GB boards, I decided to give them a try.I do NOT use custom fan profiles though---cant tell you if those work or not.
PeachNCream - Monday, November 20, 2017 - link
While the motherboard's price and features seem reasonable, the terminology used to describe the target audience seems weird to me. When I think of casual gaming, playing things like Candy Crush Saga or spending time on Pogo.com both come to mind. Maybe there's a few inexpensive titles or some occasional 3D stuff, but certainly nothing that needs a 6+ core CPU or even much more than a low end dGPU.inighthawki - Monday, November 20, 2017 - link
"Casual" in the realm of PC gaming pretty much refers to anything short of playing competitively or professional, which can essentially refer to anyone who just wants really high performance.PeachNCream - Monday, November 20, 2017 - link
That's a much broader use of the term than I've seen anywhere else. It's not like "casual gamer" has a formal definition someplace so you can get away with using it like that, but you and MSI are the only ones I know of that have done it. I think from MSI's view, its mostly wishful thinking to get people playing Farmville to buy a $280 motherboard and a Skylake-X CPU for it. I'm sure they'd like that and their marketing people are trying to encourage more casual types to move up the product stacks, but most of us causal types are playing games on our phones and tablets or on a very low-end notebook PC rather than a desktop put together from individual parts.Intervenator - Monday, November 20, 2017 - link
I appreciate how this board is the most aesthetically pleasing white board I have ever seen on the market, and one of the nicest looking boards of all colors and designs I have seen in a long time.nevcairiel - Tuesday, November 21, 2017 - link
The X299 Tomahawk has a particularly bad VRM implementation, so that should probably be noted somewhere. It has some VRM components on the back of the board with only a tiny heatspreader on them (and only a 4x2 design). The X299 Gaming Pro Carbon in comparison comes with a 6x2 power design using better components - and even those need to get cooled on high OCs.From the feature set alone, the Tomahawk looked like a board I might've bought, but alas the subpar VRM limiting the OC potential had turned me off of those quite fast.
Joe Shields - Tuesday, November 21, 2017 - link
It was mentioned below the specifications table that it wasn't 'great'. However, it handled all of our testing and overclocking just fine. You will likely run out of cooling first before there is a worry about the VRMs here. Also consider the board is marketed for the professional, so there really isn't a need in the first place considering the vast majority using the board will likely keep it at stock or mild clocks anyway.Joe Shields - Tuesday, November 21, 2017 - link
Apologies, that is the SLI Plus marketed towards the professional. Scratch that portion of the above post. :)notR1CH - Tuesday, November 21, 2017 - link
What's this?! An MSI motherboard without an integrated Killer NIC? I hope they've finally realized gamers aren't interested in sub-par Killer products and this trend continues.gammaray - Wednesday, November 22, 2017 - link
Why you say Killer NIC is sub par?