The ASRock Z270 Supercarrier Motherboard Review: 4-way SLI and 5 Gigabit Ethernet on Kaby Lake
by E. Fylladitakis on September 29, 2017 9:00 AM EST- Posted in
- Motherboards
- ASRock
- SLI
- Aquantia
- Z270
ASRock Z270 Supercarrier BIOS
The BIOS of the ASRock Z270 Supercarrier is graphical, and features control via the mouse, and direct internet access for updates or contacting ASRock’s support department. It defaults to the “EZ Mode", a simplistic single page that hosts only basic configuration settings and informative dials. From this page, the user can switch the boot device priority, engage DRAM XMP profiles, change the fan speed setting and engage pre-programmed CPU overclocking profiles. There is also a simplistic automatic overclock option, allowing the user to switch between “Off” and “Tubo”. No, we are not the ones who spelled this wrong.
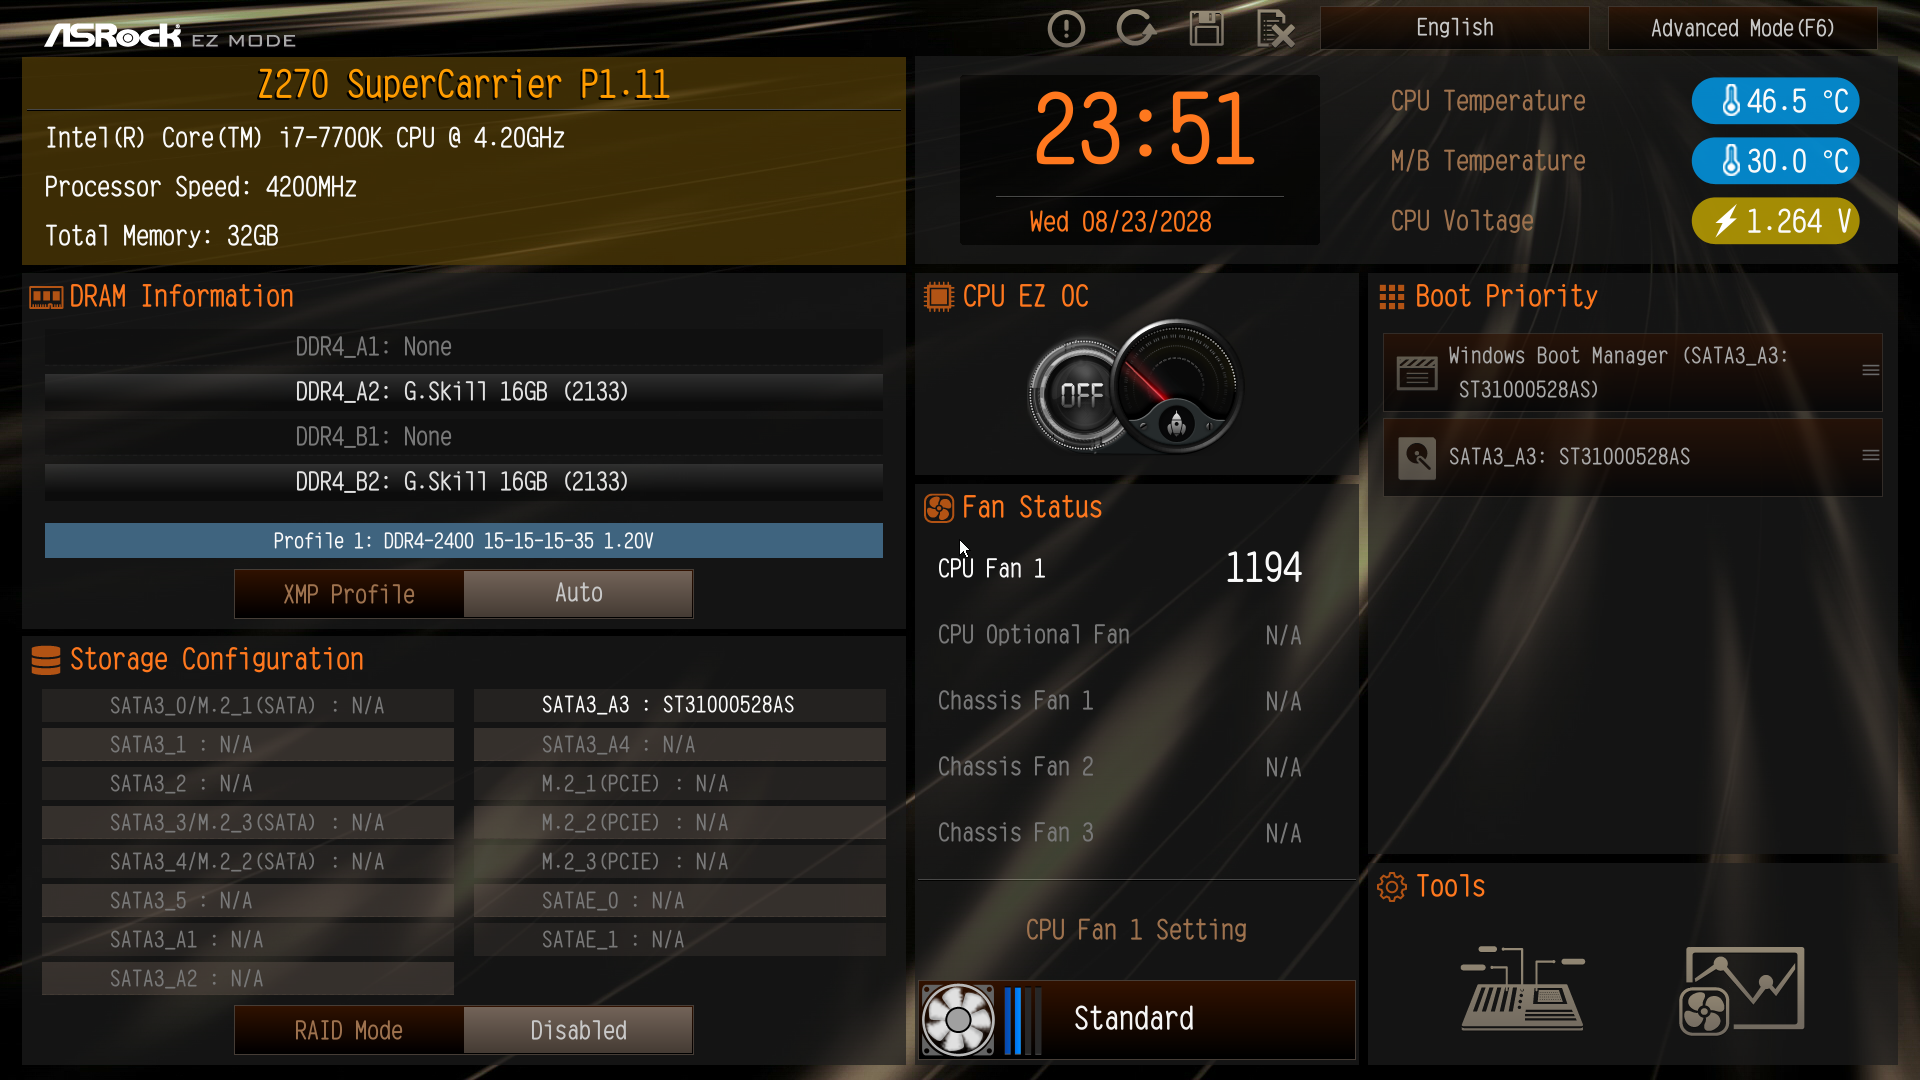
Upgrading the BIOS, device identification, and fan speed tuning tools are also accessible through the icons found at the bottom right corner of EZ Mode. The “Instant Flash” tool can be used to flash a BIOS that is already stored into a local disk drive and the “Internet Flash” will access and check ASRock’s servers for a newer BIOS version. The “System Browser” tool brings up an image of the motherboard and its rear I/O panel, where the user can “explore” the board using the mouse pointer. The tool will display information on the device that is attached/connected on the port or slot that the pointer is placed on. Finally, the “FAN-Tastic” tuning tool brings up a red screen where the thermal profile of the cooling fans connected to the motherboard’s headers can be either selected from four pre-programmed presets or be manually programmed.
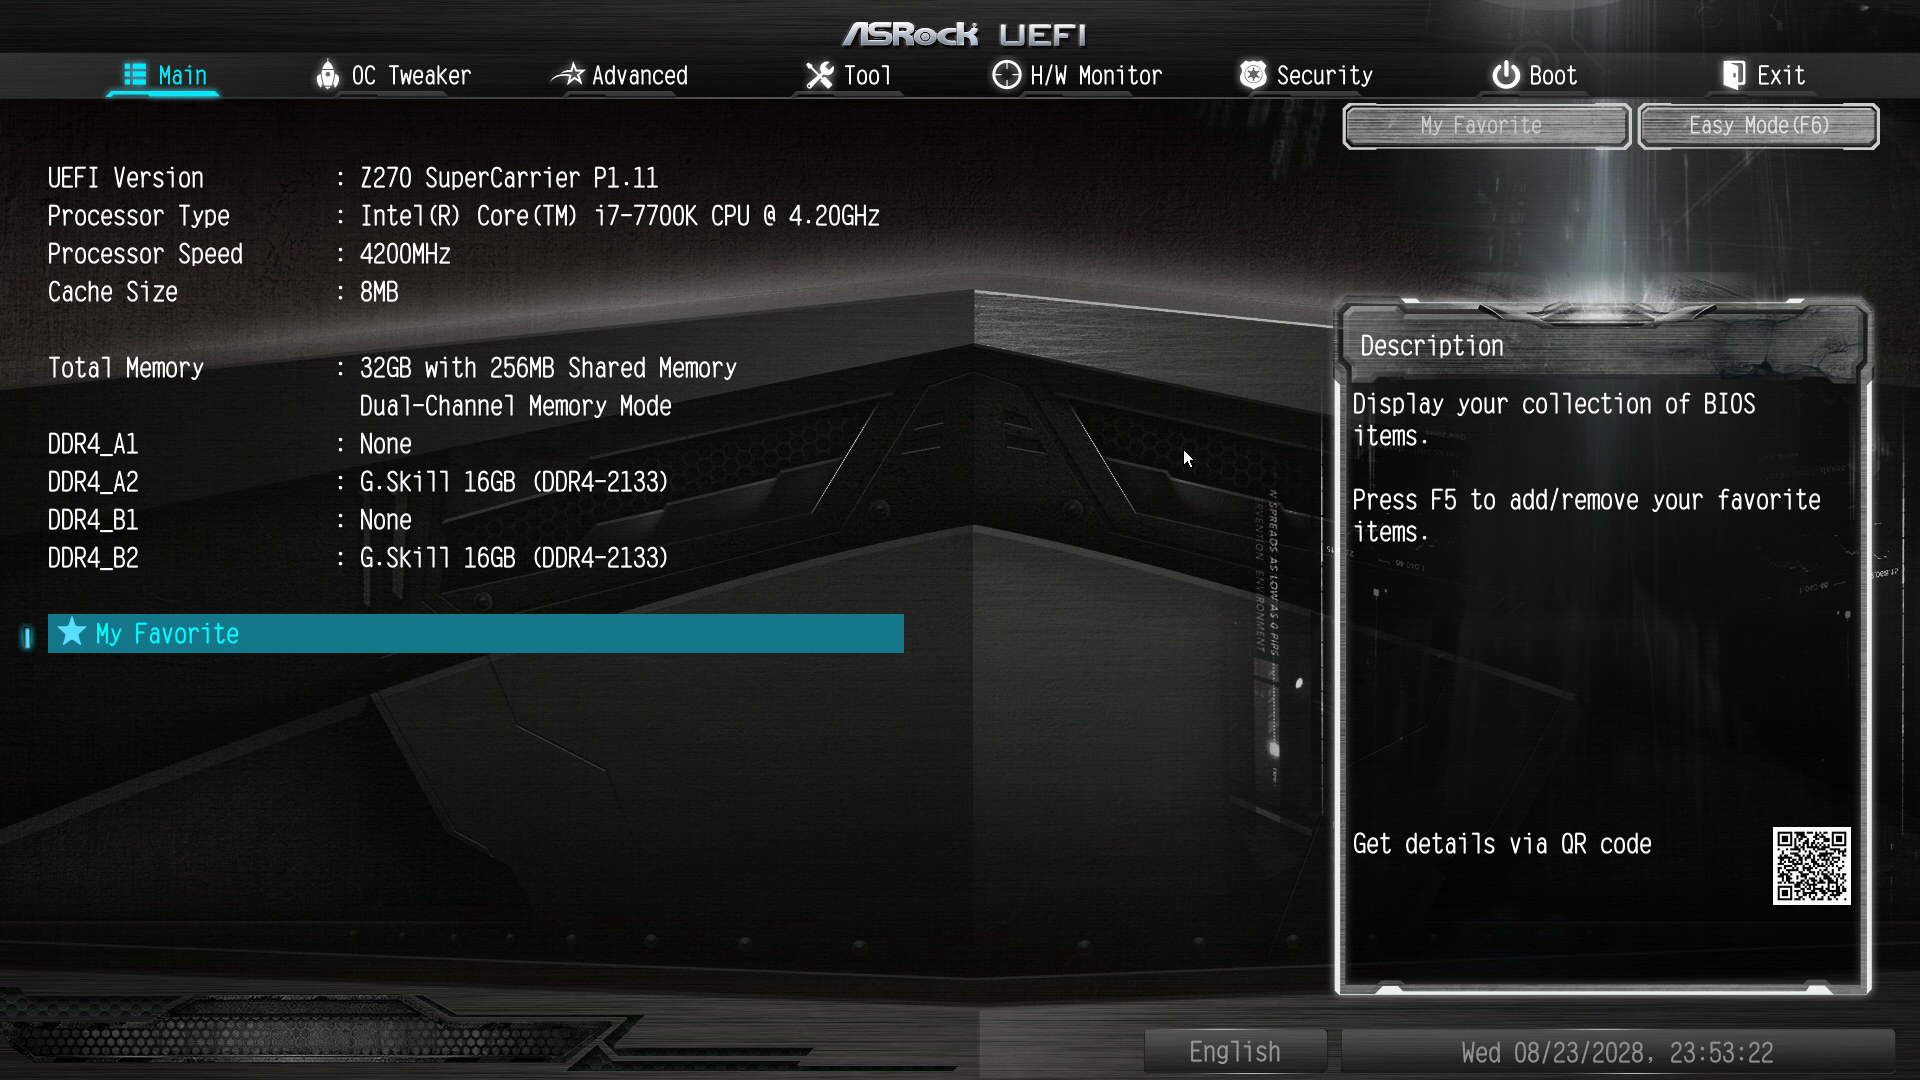
Users can enter the “advanced” mode that allows access to all of the BIOS options and features by pressing the F6 key. The full BIOS has all of its settings arranged under eight major tabs, with the bulk of the tweakable settings and options under the “OC Tweaker” and “Advanced” tabs.
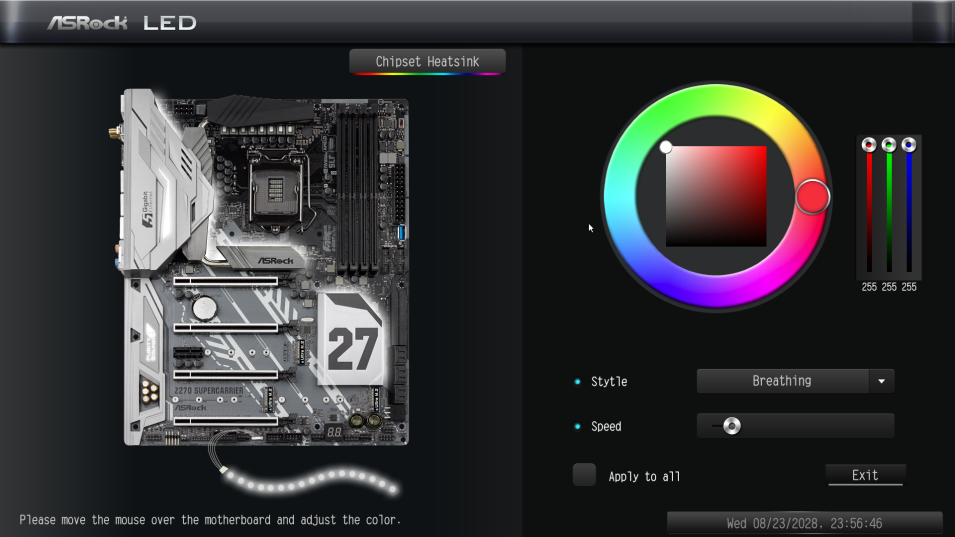
The first tab is the “Main” Tab and only includes system information and a list of settings that have been flagged by the user as “Favorite”. Skipping down to the fourth tab, the “Tools” tab that is, we find the same tools that are accessible via the “EZ mode” screen, plus a few more: the “UEFI Tech Service”, which is practically sends a direct message to ASRock’s customer support from inside the BIOS, the “AURA RGB LED” that allows for the programming of both the onboard LEDs and the optional strip connected to the motherboard’s header, and the “Network Configuration” submenu that allows the user to manually set up the system’s IP rather than having DHCP do it automatically. There is also an option to backup the BIOS from the main to the auxiliary memory chip, which can be useful for the users who want to keep both of the BIOS chips up to date.
The fifth tab, dubbed “H/W Monitor”, initially appears to be a purely informative screen. However, scrolling down the page reveals the fan settings, allowing the user to choose pre-programmed or program new thermal profiles for the cooling fans connected on the motherboard’s headers. The “FAN-Tastic” tuning tool is also accessible via this screen. In the three last tabs, we find typical BIOS options that have to do with the system’s security and boot options, options that we do typically see programmed into any motherboard BIOS. That leaves us with just two tabs, the “OC Tweaker” and the “Advanced” tabs, each of which holds many submenus and numerous sub settings.


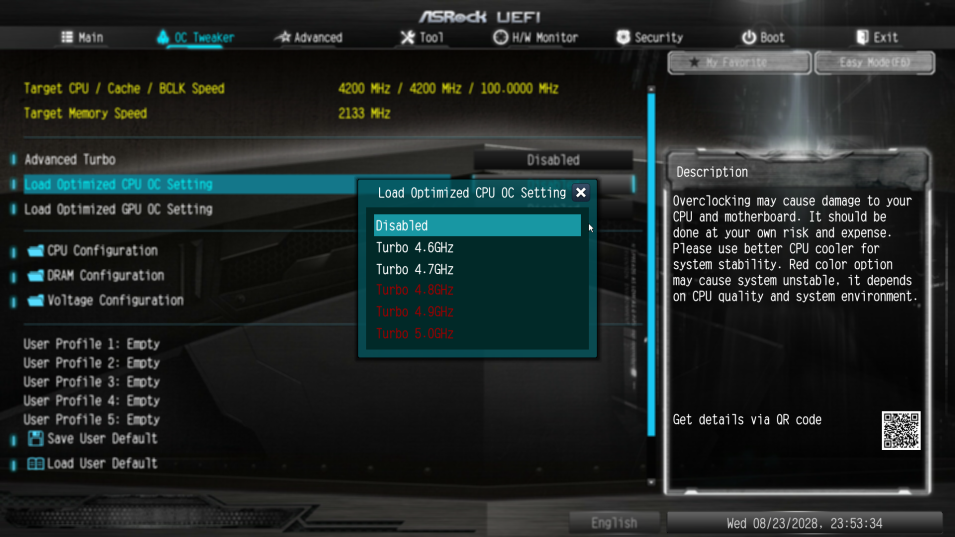
The “OC Tweaker” tab initially offers only three tweakable options. The first is the “Advanced Turbo” mode that concurrently overclocks the CPU and GPU via presets. The other two are the “CPU OC setting” and “GPU OC setting”, which offer the same presets as the “Advanced Turbo” option does but only affect the CPU or GPU respectively. Up to five manual configuration profiles can also be saved/loaded through this screen.
A host of frequency, timing and voltage settings can be found under the three submenus here. The first submenu hosts all of the CPU settings, the second the DRAM settings, and the third all voltage configuration settings.
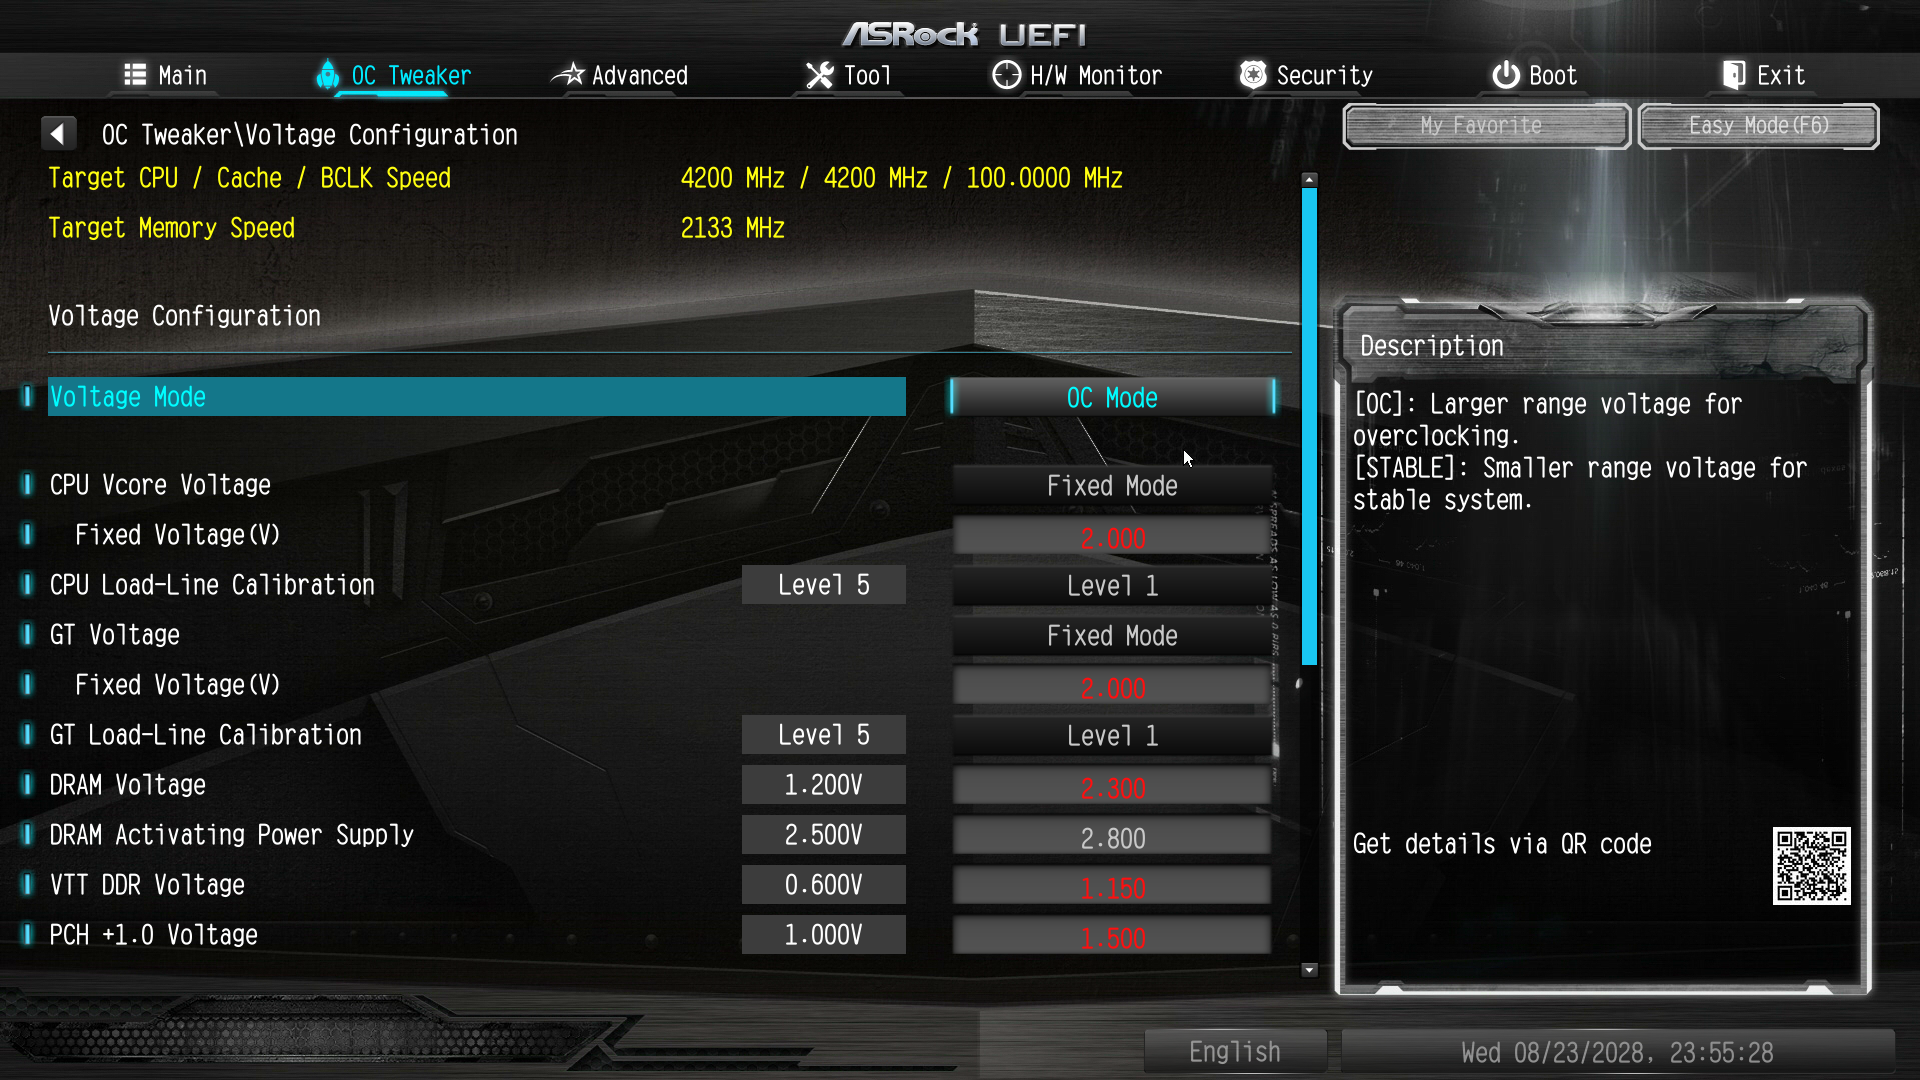
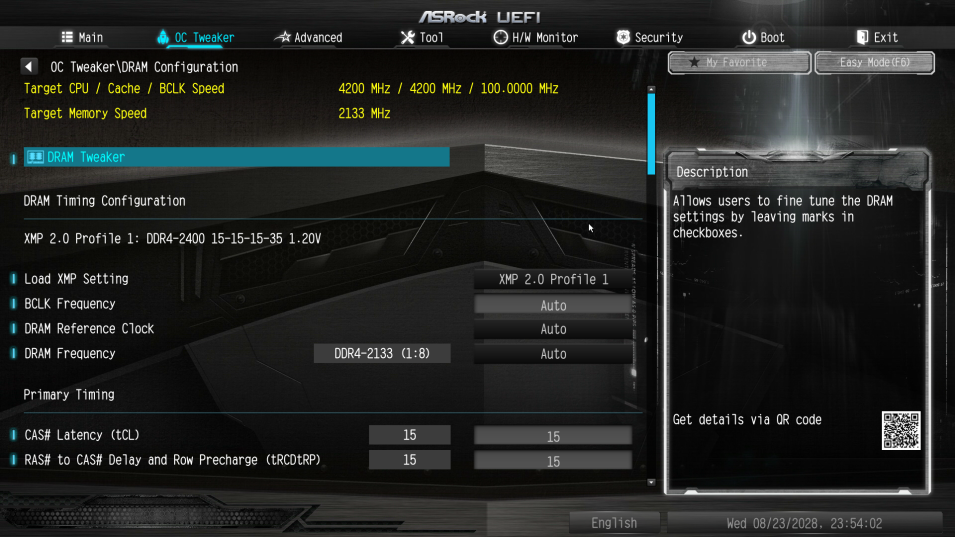
The “CPU Configuration” submenu includes all of the CPU-related options, such as the multiplier, BCLK frequency, Intel-specific features and power limits. The “DRAM Tweaker” begins with the XMP settings and basic RAM timings, but the BCLK frequency appears in this submenu as well. As the user begins scrolling down, the menu expands to “primary”, “secondary”, “third”, “fourth” and “advanced” timings, offering a ridiculous number of possible timing adjustments that even seasoned overclockers will not be fiddling with. Finally, the “Voltage Configuration” submenu allows for the manipulation of the CPU, DRAM, PCH and other voltage lines. The voltage adjustment steps are very fine, at 5 mV for most of the options here, and the range is exceptional as well. Actually, the range of most voltage options is so great that we do not recommend manual adjustments by users without at least some overclocking experience, as some of these settings could kill components outright.
The “Advanced” tab includes all of the configuration options for the motherboard’s features and onboard devices. Once again there is a “CPU Configuration” submenu, with the options that ASRock probably assumed that they are not relevant for overclockers. Most of these options control features of the CPU, such as hyper threading and virtualization, as well as power saving states. Among these options lies the disabling of thermal throttling, which may be used by experienced overclockers but can be very dangerous.
The “Chipset Configuration” submenu includes advanced options for the chipset’s link speeds and iGPU, and allows the disabling of the onboard audio and LAN devices. The rest of the submenus are straightforward, with the “Storage Configuration” including the SATA control options, the “Super I/O” the settings for the PS/2 and serial ports, etc. There is nothing out of the ordinary in any of these submenus.


50 Comments
View All Comments
wiyosaya - Friday, September 29, 2017 - link
I am confused! 4-way SLI? Am I living in a time bubble or something? I thought that nVidia announced some time ago that they were focusing on 2-way SLI due to scaling issues and that support for 4-way SLI would be minimal in the future.Besides, with 4-lane pci-e on this thingy, if anyone really wanted to do 4-way SLI, it seems like Threadripper (or sIntel's equivalent enthusiast parts) would be a much better platform for 4-way SLI.
Maybe ASRock is just trying to prolong the wave artificially.
MadAd - Friday, September 29, 2017 - link
there are other niche uses for 4 way, a hobbyist mining rig, a small render farm for blender, or the well off who just want to throw money at making a stonking pcBrokenCrayons - Friday, September 29, 2017 - link
Typical GPU mining on a large scale can work with a 1x PCIe slot so four 16x slots aren't really of any added value for that sort of situation.Notmyusualid - Friday, September 29, 2017 - link
4x SLI on Pascal works. I have 4x 1070 FTWs in my main rig. Search it out on a well-known video site.Due to installed PCIe switches, all four of my GPUs 'see' a x16 3.0 slot each, but they are multiplexed together to share 40 available lanes from the CPU, and this seems more than plenty, so I shake my head to comments fighting over how many lanes you have over this amount, because this works just fine. *Maybe* 28 would be too few, but 40 is just fine. Depends on what you are doing I suppose.
I won't be buying Threadripper due to what I see as confusion over different modes of operation, and possible latency issues (depending on application), and the multiple internal dies. Back in the day, it amused me to see people poking fun at the 'Core 2 Quads' for not being 'real' quad cores, but nobody I have seen has mentioned that TR is not just two - but FOUR separate dies on the same package, whilst the competition - Intel, has all its cores on a single die / package this time around (as far as I know).
I'm slightly impressed with TR, but not enough to buy it, given I already have 14c/28t Xeon.
supdawgwtfd - Sunday, October 1, 2017 - link
TR is 2 dies.The other 2 dies are just there to help support the IHS.
Perhaps if you weren't completely ignorant you would know this. And saying TR is confusing compared to Intel is a laugh.
Had a look at Intel's X299 line up at all?
Noticed that they have many different CPUs all with different pcie lanes?
Now THAT is confusing.
Notmyusualid - Sunday, October 8, 2017 - link
Well stone me. 2 / 4 dies? It still leaves the opportunity for increased latency, as some sites have mentioned. So my comment stands.But yes, recent Intel confusion with socket / chipset compatibility leaves much to be desired. No way I'm going to defend that. But you'll know when you build your Intel rig, core-core latencies will be lower.
rocky12345 - Friday, September 29, 2017 - link
Great review as always thanks.It seems weird that the MB makers are releasing so many z270 boards when it is basically at the end of life even before a year is up from when it was released. I guess Intel caught the MB makers off guard here as well and they are stumbling fast to get these boards out ASAP because of the R&D it cost to design them.
timecop1818 - Saturday, September 30, 2017 - link
This board was released months ago (like April 2017 or earlier), they just got around to reviewing itrpjkw11 - Friday, September 29, 2017 - link
I really like the three M.2 connectors. I have no need, yet, for U.2, but I long ago ditched HDDs and now run two SSDs.rsandru - Friday, September 29, 2017 - link
The NE5532 is an op-amp and not a headset amplifier.It's been first released in 1985 and has been found in all kinds of electronics since then because it's cheap. I'm struggling to find a reason why it's mentioned as some sort of feature...