Averting Disaster - A Guide To Computer Backups (2014)
by Brett Howse on May 21, 2014 9:00 AM EST- Posted in
- IT Computing
- Mac
- Apple
- Windows
- Cloud Computing
- macOS
Built-in Backup Tools Windows 8.1
While Windows 7 and Vista had the Backup and Restore applet, Windows 8 introduced File History as the default backup option. File History is a replacement for Previous Versions from Windows Vista and Windows 7. Unlike Windows 7, File History does allow backup to network shares for all versions of Windows 8 which is a good thing and makes the software far more useful. The downside is that scheduled System Backups have been removed from Windows 8 and 8.1. You can still manually create a system backup, and you can perform a system backup to a network share, but you can’t schedule this to be run. Also, File History only performs a backup of files in your libraries (Documents, Music, Pictures, Videos, and Desktop folders), as well as any files saved locally from OneDrive. Still, the most important information on your computer is your files, so let’s look at how to enable this feature to protect them:
- Windows 8.1 adds the ability to enable File History from PC Settings, however the options are just to enable File History and to select a backup target, so these instructions will focus on the Control Panel applet which offers more advanced options. To launch File History, right click the Start button and choose Control Panel. Next expand System and Security and select Save backup copies of your files with File History.
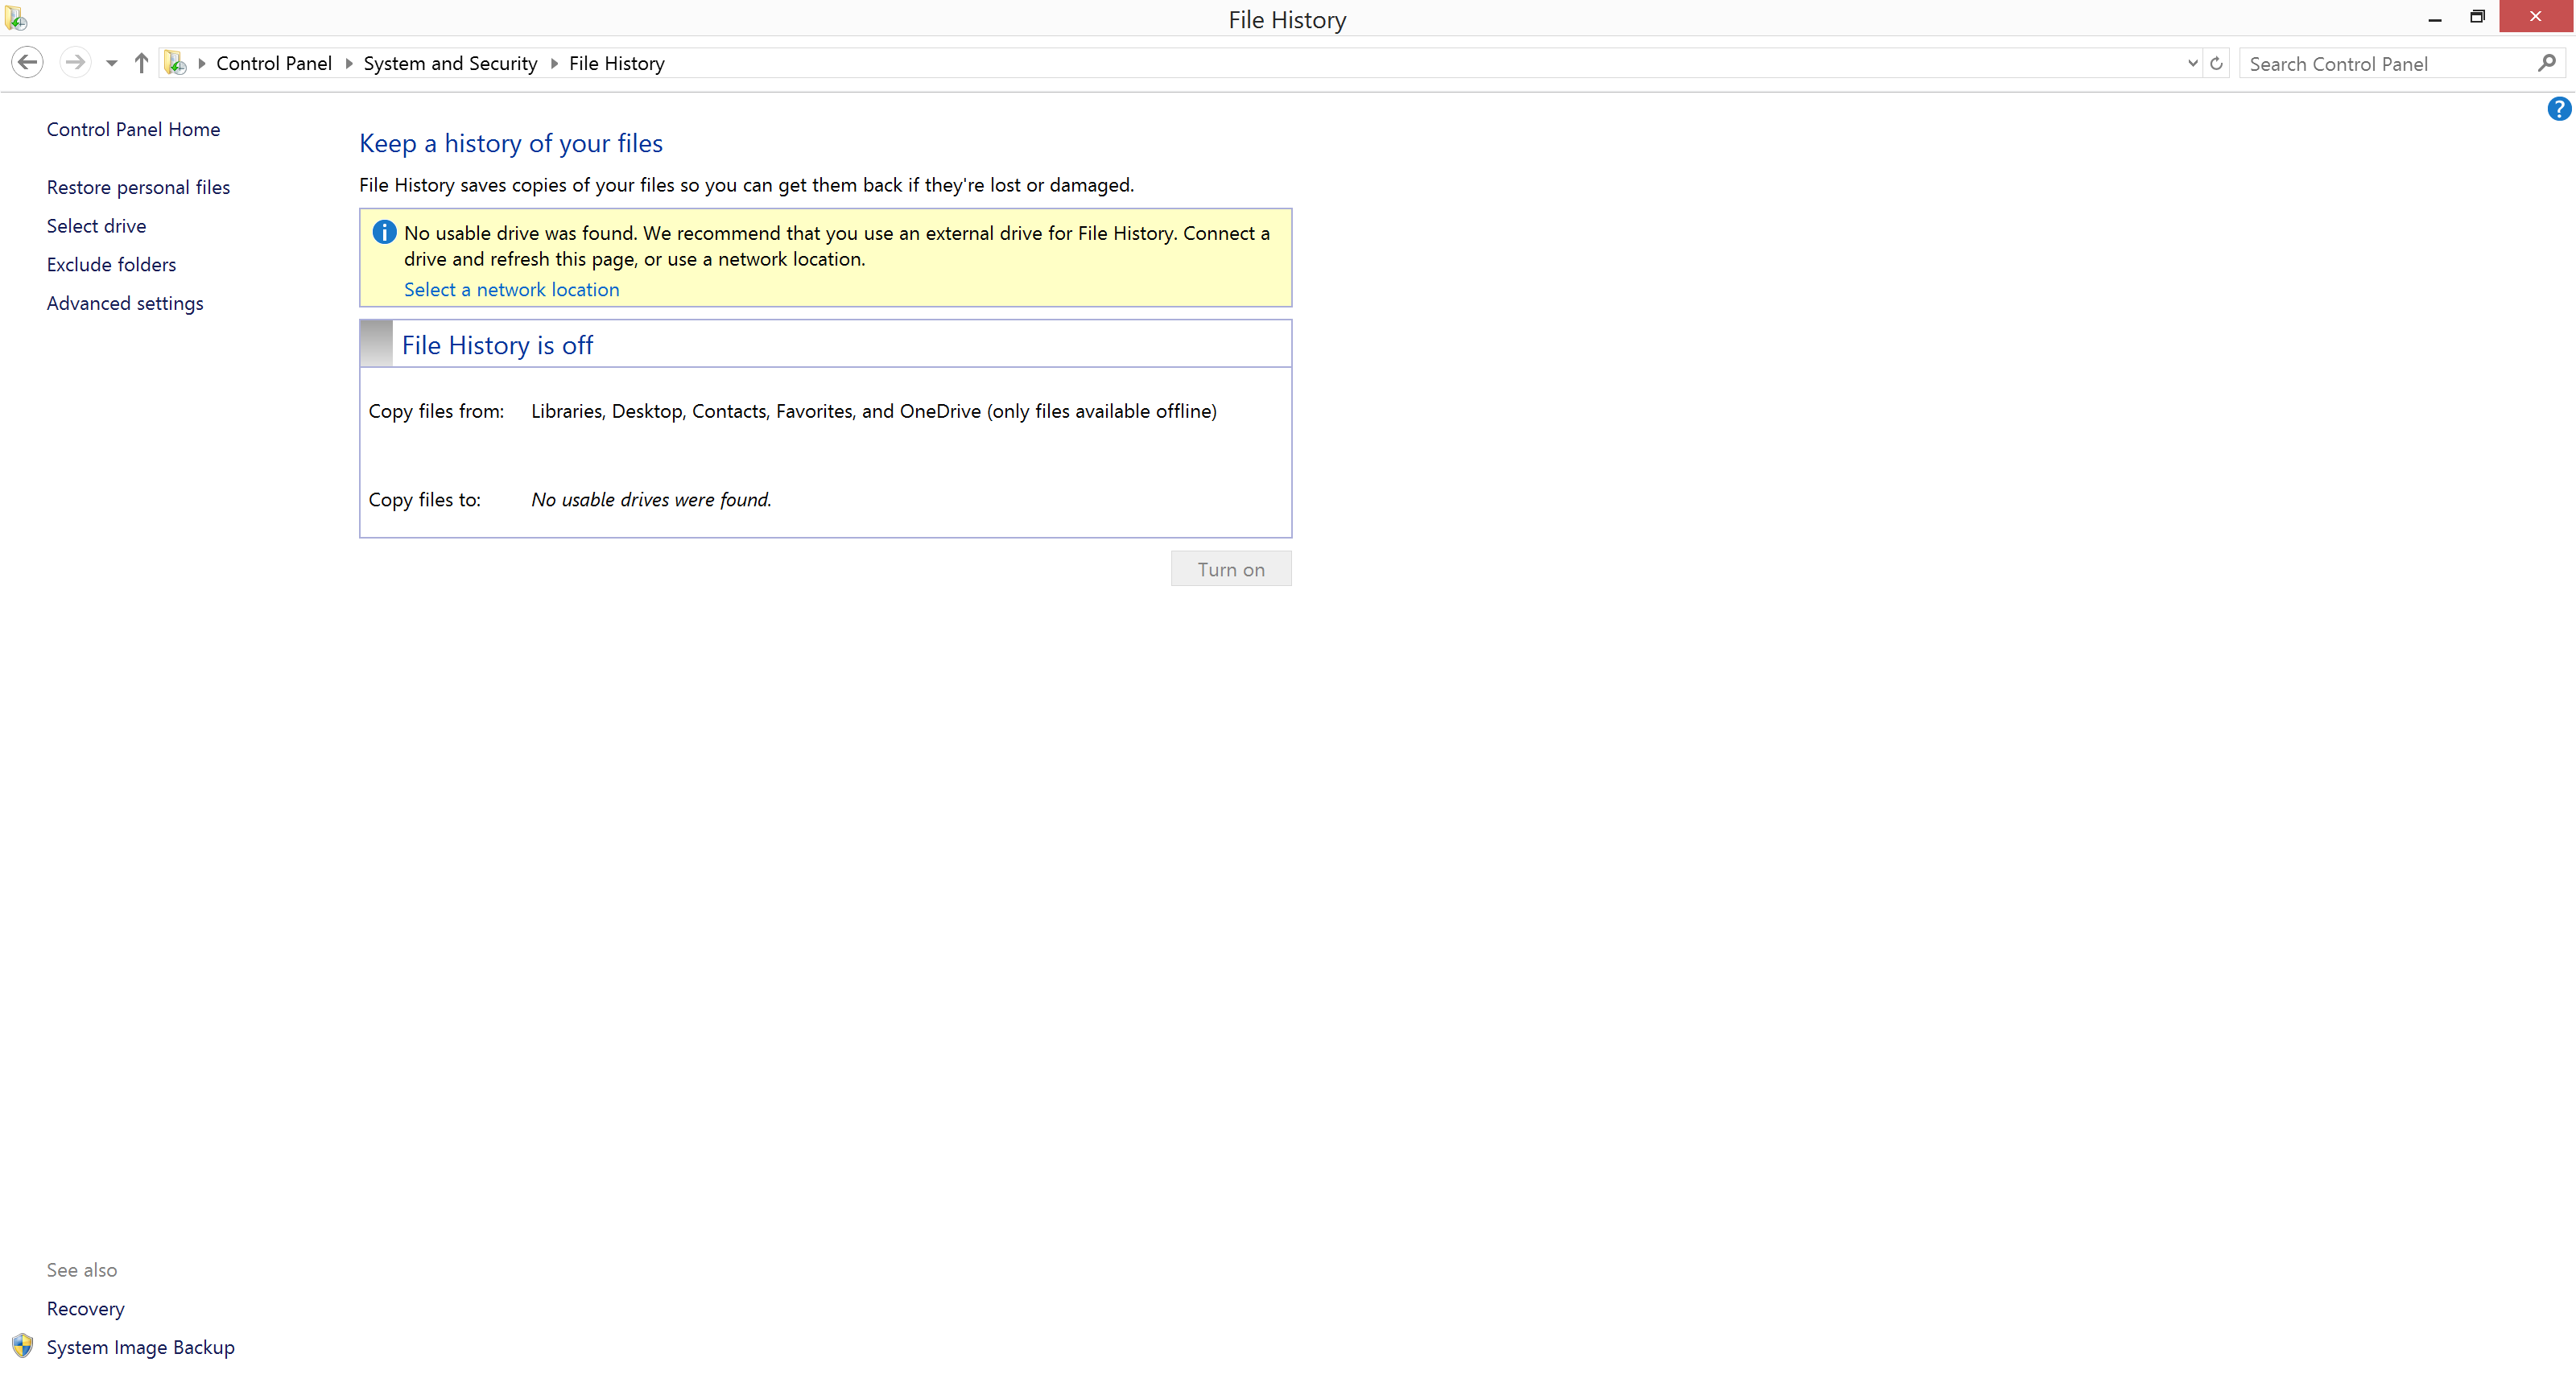
- If File History has never been configured before, the system will scan for available disks that it can back up to. You can choose the disk, or use the link Select a network location to configure the disk.

- Once configured, simply click Turn On, and File History is enabled.
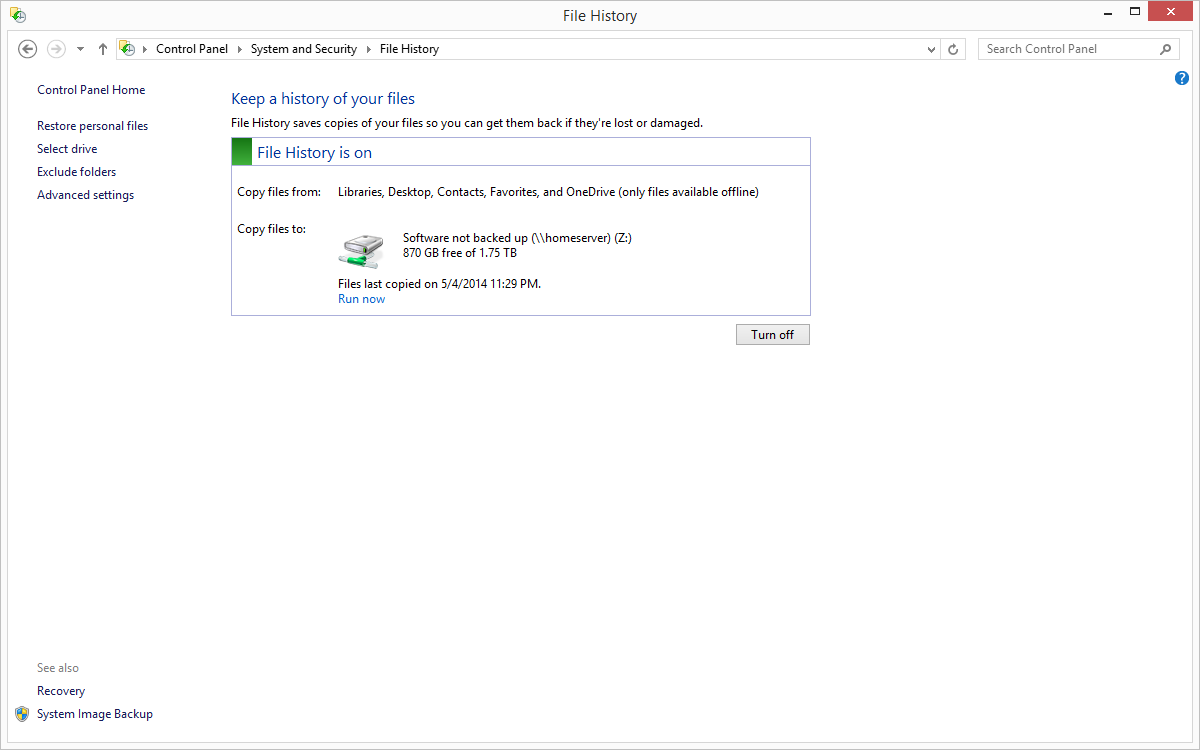
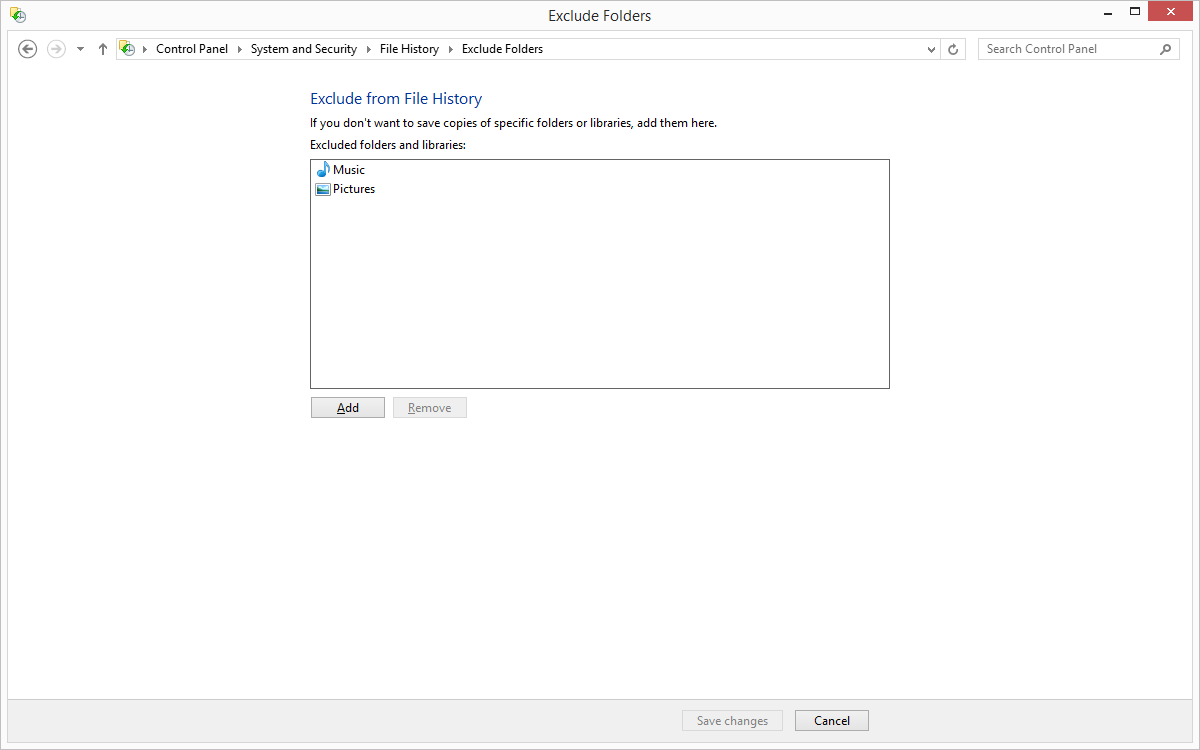
- If you’d like to modify your File History settings, that can be done in the File History applet. To exclude folders, choose Exclude Folders where you can select folders you wish to exclude from the backup. Unfortunately, you can’t add user defined folders here which you do want backed up. To add folders to be backed up, you either have to add that folder to an existing library, or create a new library.
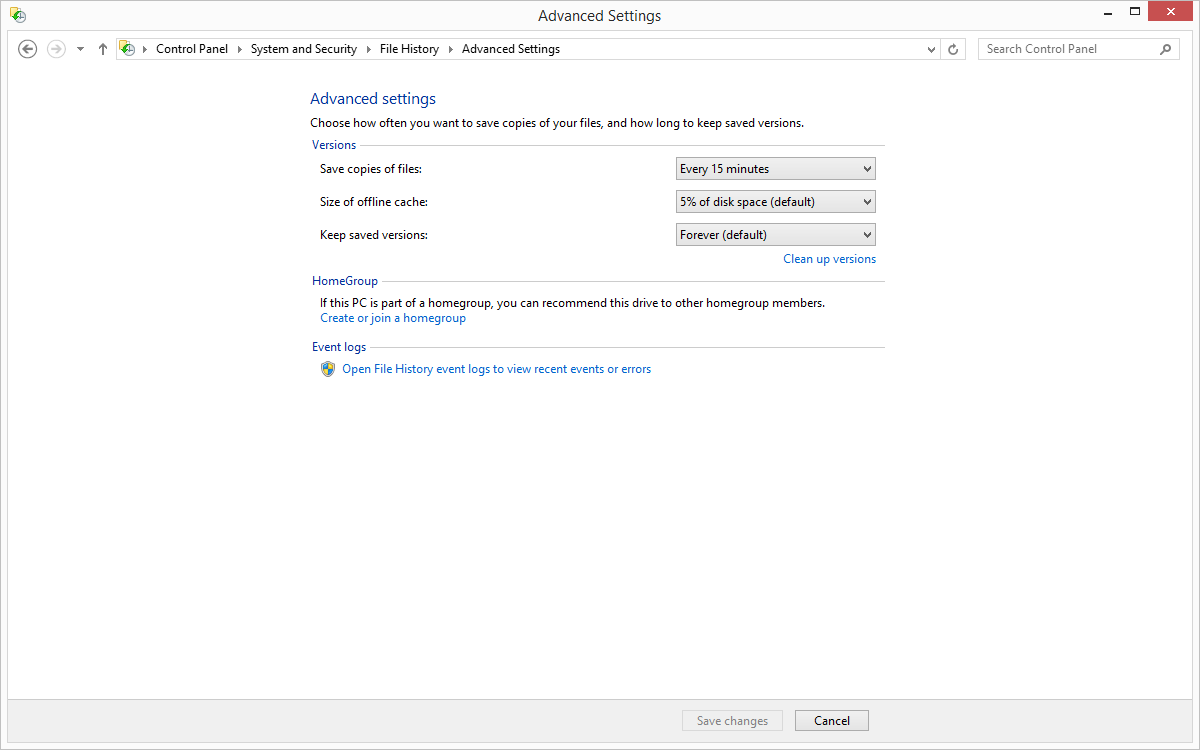
- Advanced settings are also available in the File History applet, and these allow you to specify how often to run the File History backup (from ten minutes to daily) as well as specify how much of the PC’s disk to use as an offline cache (2% to 20%) in the event you are travelling and not able to access your backups, as well as to specify how many versions of files to keep.


Unlike Windows 7, File History’s interface is all in the control panel. It’s not as elegant as Previous Versions was, where you could right click any file or folder and see a list of all versions, but the interface is fairly straightforward and does show you a list of all of the backups:
- Launch File History by right clicking the Start button and opening the Control Panel. Next expand System and Security and select Restore your files with File History.
- The interface that opens up will be a listing of the locations you are backing up. The most recent backup will be displayed by default. To restore a file, navigate to the folder it was in, select the file by clicking it, and then press the green Restore button to restore it to the original location.
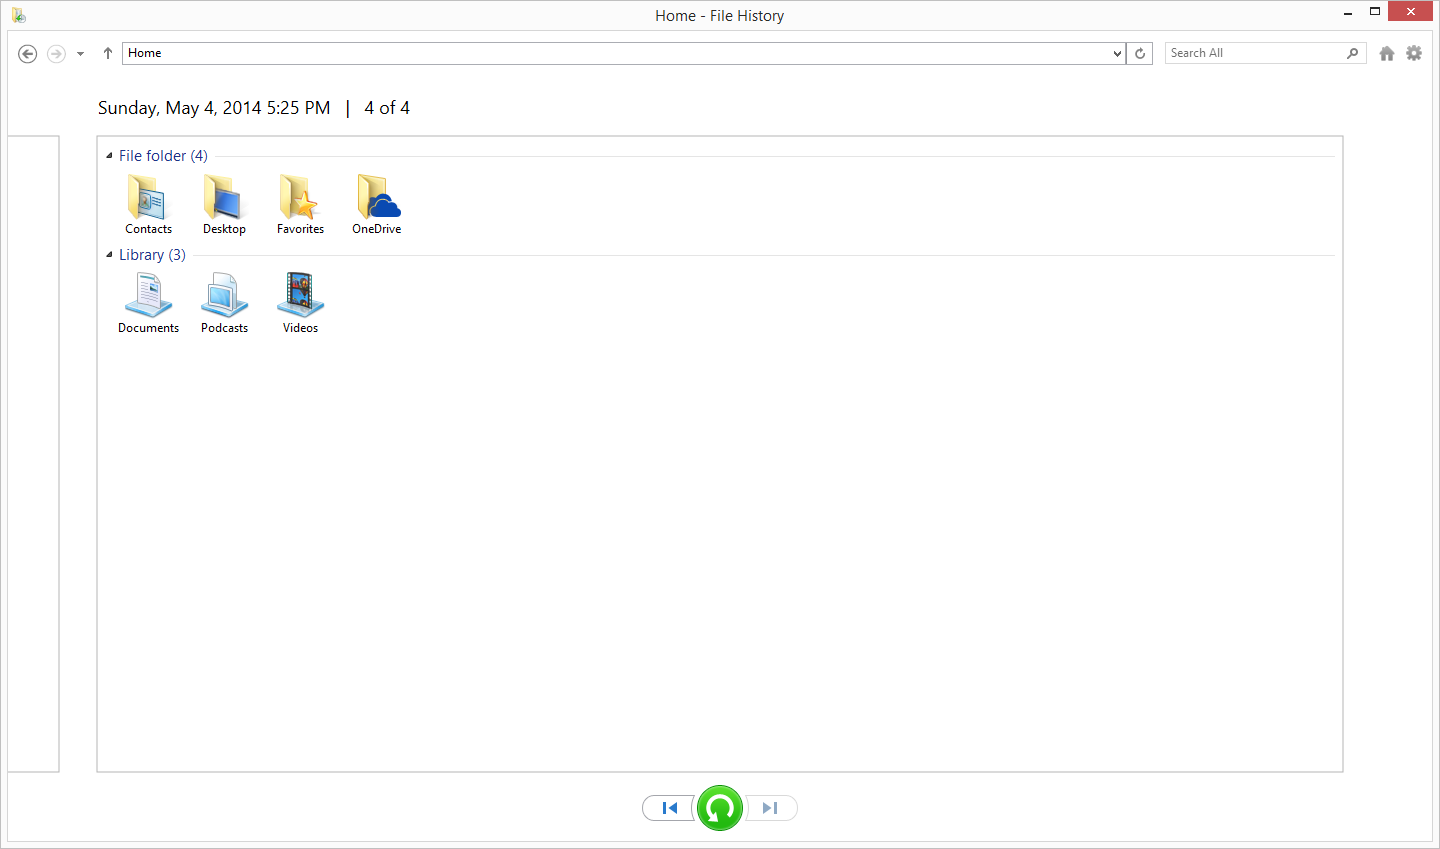
- If you’d like to restore it to a different location, right click the file and choose Restore To and then browse to your path.
- To navigate through your backups, you can use the skip buttons at the bottom of the page. The easiest way to sort though is to navigate to the folder where your file is (or was), and it will display only the backups that have changes in them. If a folder hasn’t been modified since you enabled File History, there will only be one backup for it. This is an easier method than trying to figure out which day you deleted a file.
Overall, File History is a decent built-in utility, but as is often the case, attempts to make the process easier to use often result in a system that is less powerful, and that’s certainly the case with this. Windows 7 lacked network backup for some versions, but overall the Windows 7 backup utility offered more features, especially with the automatic system backup. Previous Versions is also an easier way to find changes made to a file. File History also lacks a method of backing up files outside of your libraries and OneDrive folders which is not ideal by any means. Windows 8.1 forces you to make a system backup manually, and that can be done as so:
- Right click the Start button and open Control Panel. Expand System and Security, and then select Save backup copies of your files with File History which won’t actually be used, but is the shortcut to the System image backup.
- On the File History applet, click on System Image Backup in the bottom left corner.
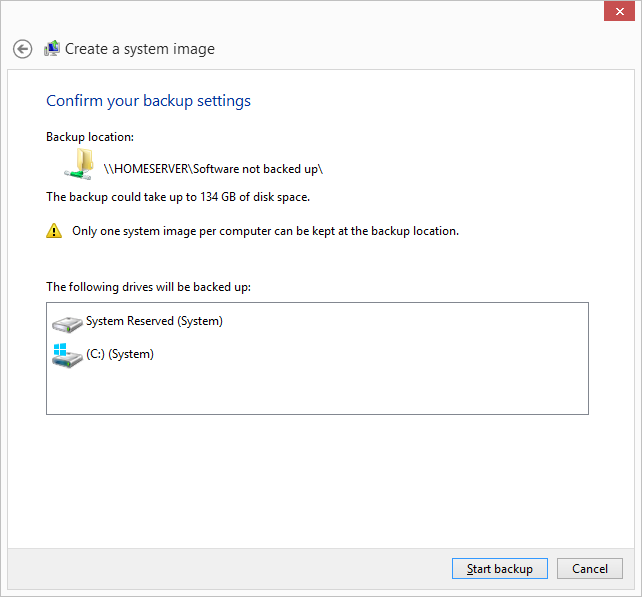
- Choose a location for your backup. If it’s on a network share, you can optionally enter login credentials if required. Click Next.

- Now you will be prompted to confirm, and if you are happy click Finish. The confirmation dialog will estimate how much disk space will be required, and warn you that only a single backup file will be kept. In other words, there is no versioning.
If you are using File History as your backup method of choice, you should definitely create at least one system backup to allow you to restore to a new hard drive or machine if necessary. If you ever need to restore this, you can create a recovery drive by choosing the Recovery option in the File History applet. If you don’t have another computer to create this on if needed, it’s a good idea to create one ahead of time.
It is possible to create full scheduled backups, but only from the command line using wbadmin but this is not something I would recommend for the average user.


133 Comments
View All Comments
Egg - Wednesday, May 21, 2014 - link
I understand why I need revision control for files, but what about say, my music collection, which I just transcoded from WMA lossless to FLAC? No hash based deduplication is going to realize that they're the same... if I had revision control working on that, I would have an extra 10 GB of stuff sitting around...Brett Howse - Wednesday, May 21, 2014 - link
Two things I guess. Hash based deduplication is awful on any media, other than to say the file is already copied, so it wouldn't really matter.Second, most of the backup systems listed allow you to control how many days you keep deleted files.
Mr Perfect - Wednesday, May 21, 2014 - link
For anyone using the Windows 7 built in backup, have you noticed if it re-schedules backups if it misses a time? My machine is typically powered off if I'm not using it, so hopefully Windows is smart enough to just do the backup as soon as it get the chance.Stanand - Wednesday, May 21, 2014 - link
From my experience, Windows 7/Vista built-in backup doesn't automatically delete old backups when the backup disk becomes full (and it fills up quickly). The user must manually delete old backups by clicking "Manage Space" and deleting the old backups.That's easy for everybody reading this Anandtech article, but not so easy for my computer novice grandmother.
For novices, I install the free version of Crashplan and set it up to automatically delete old backups every 90 days (Settings -> Backup tab -> Frequency and Versions -> Remove deleted files).
SenilePlatypus - Wednesday, May 21, 2014 - link
There is one way to get around the Windows 8.1 backup limitations. File History also allows you to backup Library locations. So... All you have to do is make any desired backup (folder, drive, etc...) into a library location (right click drive/folder -> Include in library -> Create new library [or choose an existing one]).johnthacker - Wednesday, May 21, 2014 - link
SpiderOak is another Consumer Cloud backup service that has unlimited versioning with no time limits. Multiplatform support. It is slower than some of these other services because, since your files are encrypted, they don't deduplicate across different users the way that, e.g., Dropbox does.DeathReborn - Wednesday, May 21, 2014 - link
I used to use Acronis for backups to external drives but late last year switched to Macrium Reflect and a File Server housing 24TB of storage inside and a NAS with 12TB.If you're good with MS-DOS scripts Macrium has a lot of functionality that you can get access to. Not exactly user friendly but very useful.
Jeff7181 - Wednesday, May 21, 2014 - link
You neglected to mention one of the best cloud backup solutions - SpiderOak. They ran a promotion earlier this year on "backup day" to give unlimited storage for $120 per year. They support Linux (GUI and headless CLI), Windows, Mac, iOS, Android, and Blackberry OS. And unlike a lot of cloud backup services, you can back up network locations - so you can run SpiderOak on one computer and back up data from other computers if they're on the same network and have shares accessible. They do versioning and deduplication (and pass the space savings of deduplication along to you). They also don't retain an encryption key to your data as part of their "zero knowledge" policy. They also allow you to specify a local target to use as a local repository so that when you need to restore something, it doesn't necessarily have to pull it down via the Internet, just that local device whether it's a NAS device or another hard drive in one of your computers. It doesn't do image backups, but if you're looking for image backups, just use the built in utility in Windows to create one and back up the location of those files to the SpiderOak cloud.MrX8503 - Wednesday, May 21, 2014 - link
I was wondering what backup strategy you were using and I'm happy to hear that its a WHS 2011 solution. I'm rocking the same setup and added time machine support to my WHS to backup macs.iwod - Wednesday, May 21, 2014 - link
What about Bit Rot? I heard RAID doesn't protect you with it and you will basically have two bad copy of the data.