Clash of the Titans - TT Tai Chi vs. CM Stacker 830
by Joshua Buss on February 23, 2006 12:05 AM EST- Posted in
- Cases/Cooling/PSUs
Thermaltake Tai Chi (cont’d)
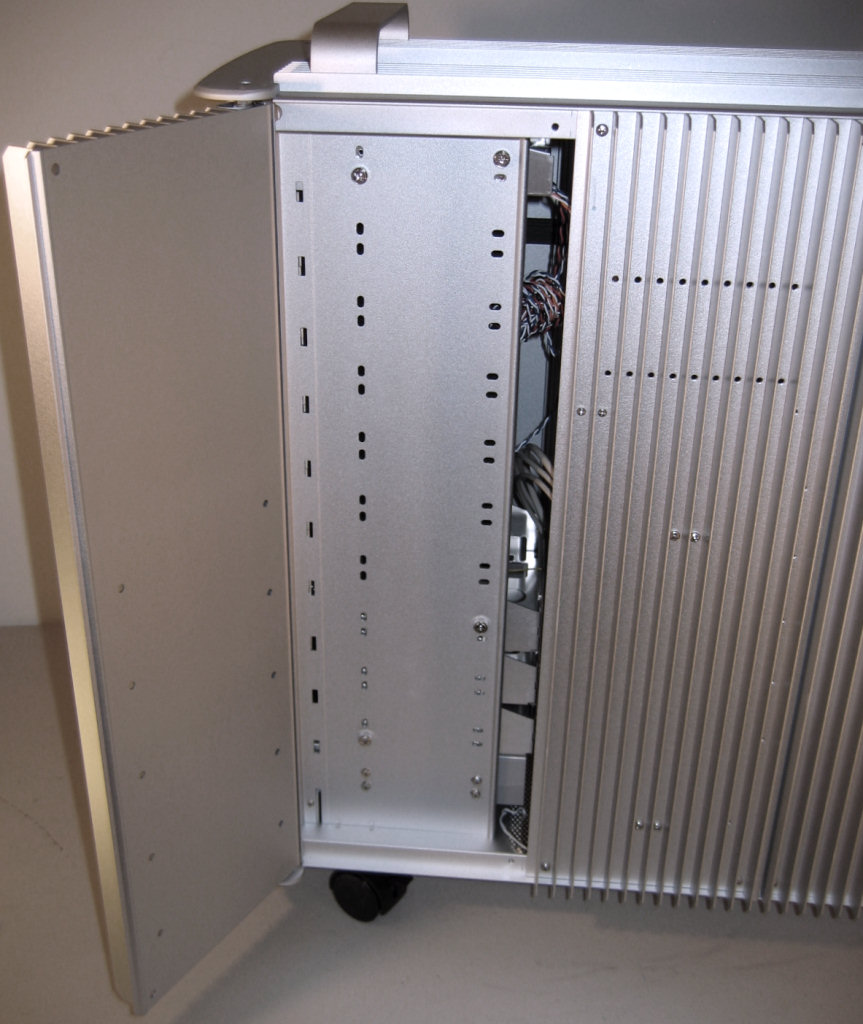
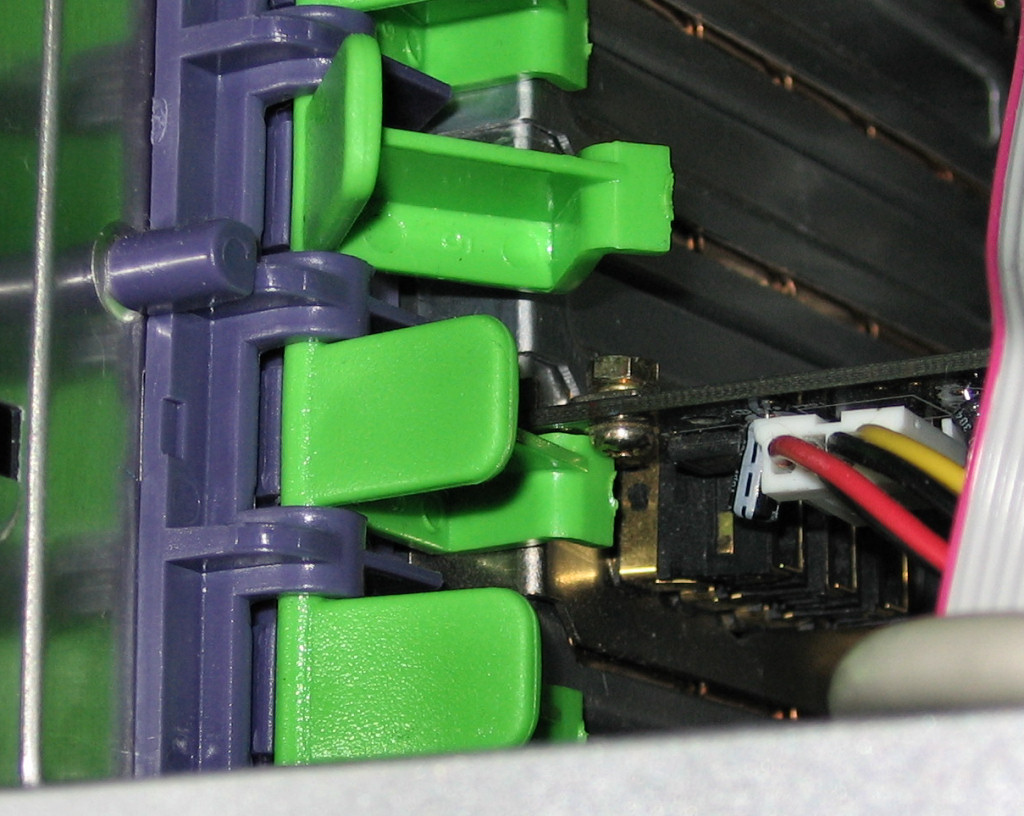
To keep the case as tool-less as possible, Thermaltake simply chose to use thumbscrews to secure drives into the 5¼” bays. While this requires opening the right side of the chassis, there are a couple reasons why this isn't as much of a problem with the Tai Chi as it is with most cases.
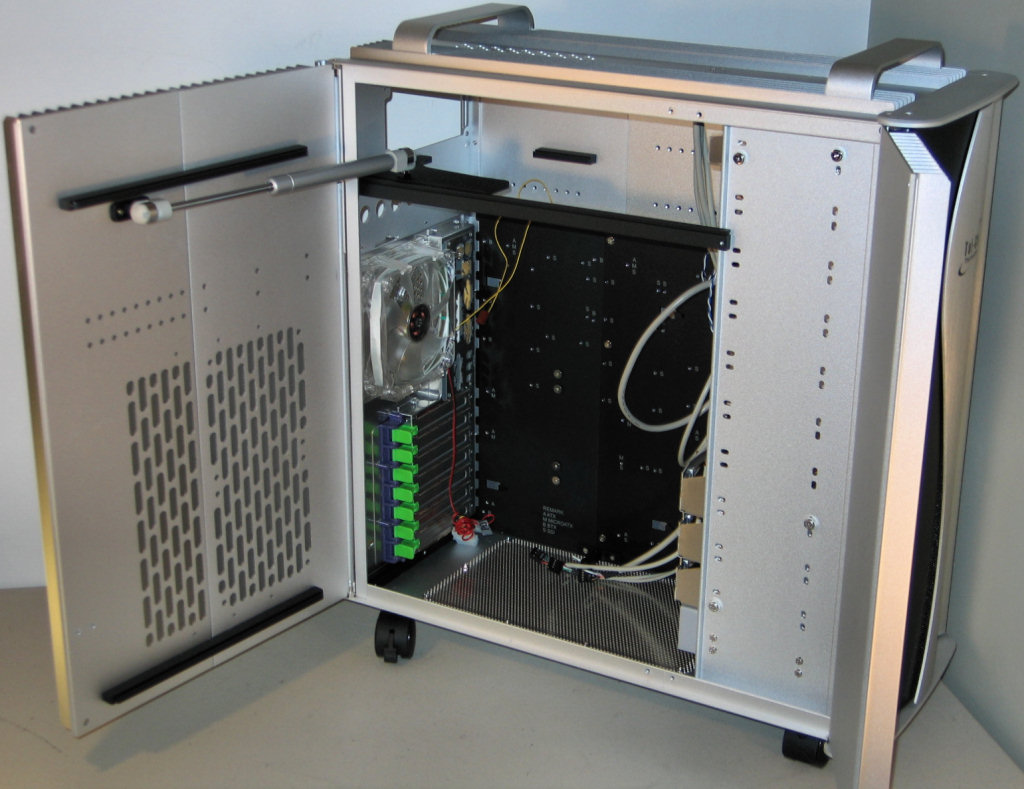
This active opening mechanism has its own benefits and drawbacks; in using the case, the main advantage to this approach that we've found is that it stays fully open when working inside. Besides that, and the “wow factor“ of showing off the case, there's not much of a reason to incorporate the arm; especially if lots of equipment are installed to the inside of the door, a forceful opening might not be what the user desires. However, if preferred, the entire hydraulic assembly can be removed without hurting any other functionality.
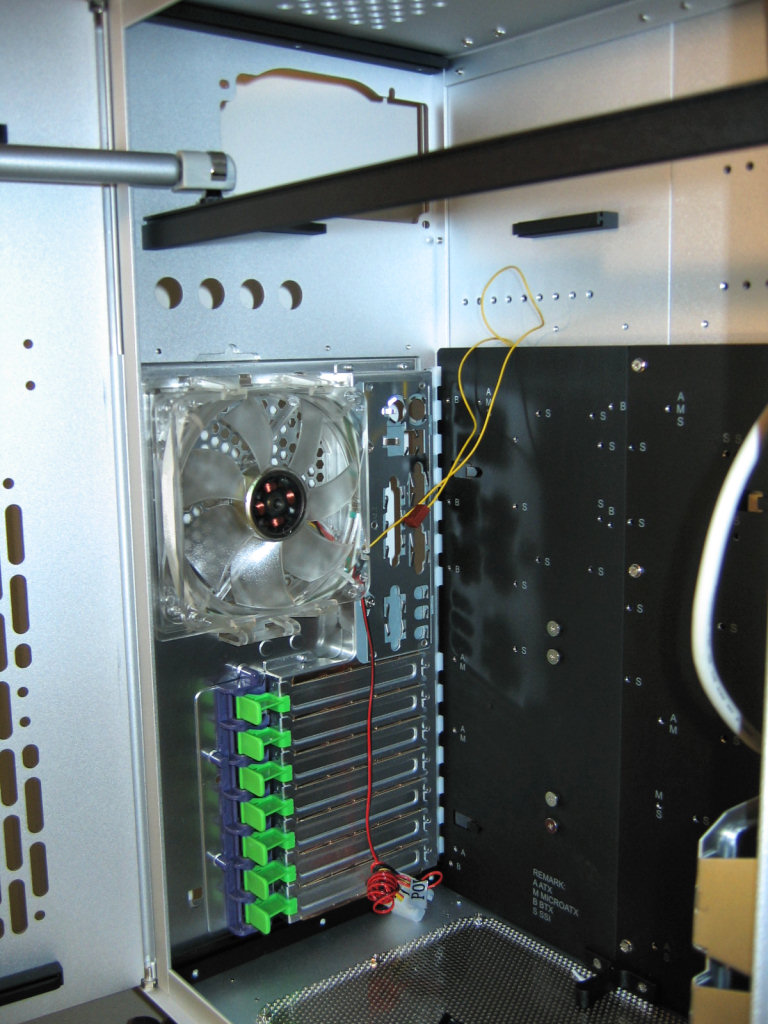
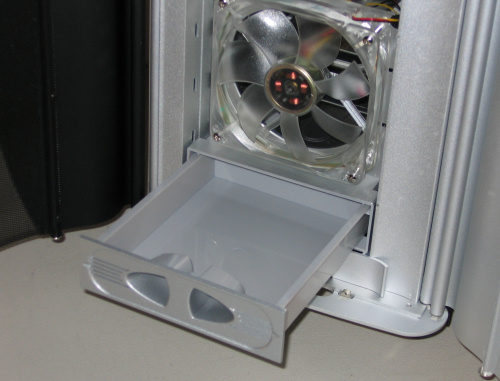
Focusing on the inside rear of the case, we find one of the only two main active cooling components, a Thermaltake 120mm blue LED fan. These fans move plenty of air without making enough noise to even really notice that they're on, especially if controlled to use slightly less voltage than the standard 12v.
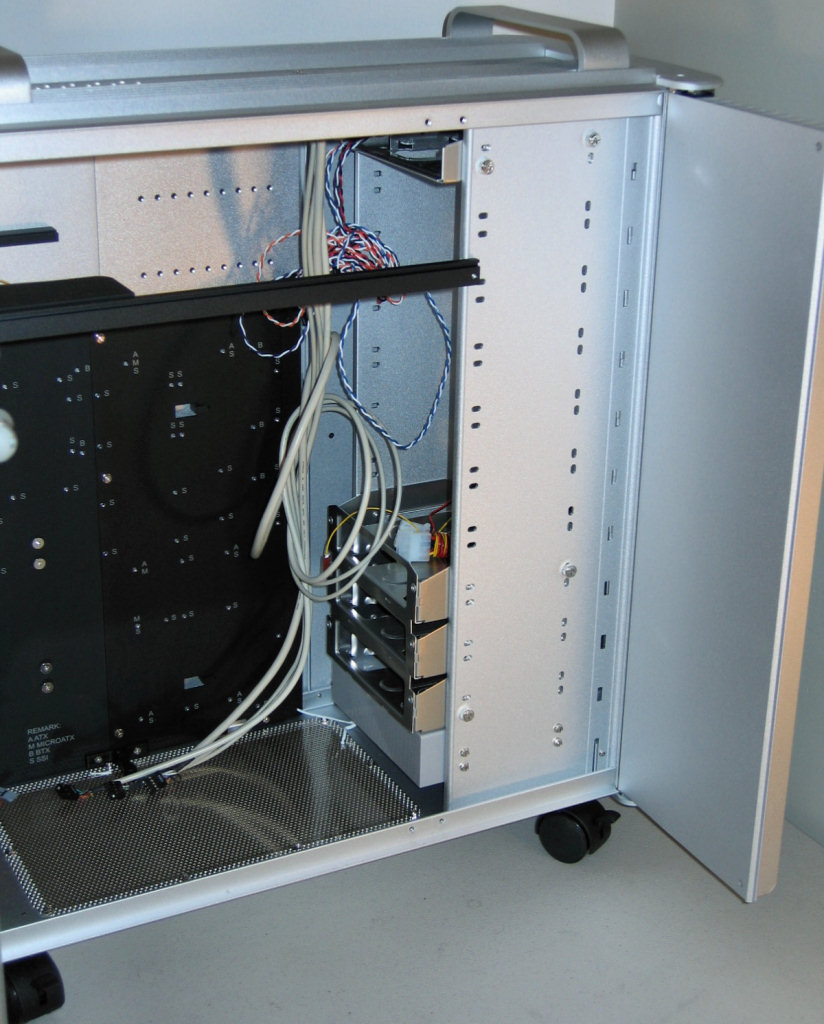
The spaces between the PSU area, crossbar, and motherboard assembly are all generous and, combined with the wide-opening dual doors, make working in the case a real pleasure. One last point of interest in this picture is the slots in the motherboard tray near the rear – they're not just at the bottom, indicating yet again that the case is truly designed and ready for BTX motherboards.
To keep the case as tool-less as possible, Thermaltake simply chose to use thumbscrews to secure drives into the 5¼” bays. While this requires opening the right side of the chassis, there are a couple reasons why this isn't as much of a problem with the Tai Chi as it is with most cases.
Click to enlarge.
Click to enlarge.
This active opening mechanism has its own benefits and drawbacks; in using the case, the main advantage to this approach that we've found is that it stays fully open when working inside. Besides that, and the “wow factor“ of showing off the case, there's not much of a reason to incorporate the arm; especially if lots of equipment are installed to the inside of the door, a forceful opening might not be what the user desires. However, if preferred, the entire hydraulic assembly can be removed without hurting any other functionality.
Click to enlarge.
Focusing on the inside rear of the case, we find one of the only two main active cooling components, a Thermaltake 120mm blue LED fan. These fans move plenty of air without making enough noise to even really notice that they're on, especially if controlled to use slightly less voltage than the standard 12v.
Click to enlarge.
Click to enlarge.
The spaces between the PSU area, crossbar, and motherboard assembly are all generous and, combined with the wide-opening dual doors, make working in the case a real pleasure. One last point of interest in this picture is the slots in the motherboard tray near the rear – they're not just at the bottom, indicating yet again that the case is truly designed and ready for BTX motherboards.


55 Comments
View All Comments
BubbaJudge - Thursday, February 23, 2006 - link
I was wafting between the Tai Chi and the Koolance PC3-725BK based on the Lian Li PC-V1000, it would have been great to include both watercooled versions for review, but great review regardless. I think I will go with the Koolance, as I agree the Tai Chi looks a little heat sink gimmicky. Hopefully I can stuff a PC P&C 850 in the Lian Li chassis.chynn - Thursday, March 2, 2006 - link
The PCP@C 850W might not fit in the Lian-Li V1000 case; however, it will definitely fit in the Lian-Li V1200 case. I have the latter Lian-Li case but will be replacing it with RC-830 Stacker case ... the RC-830 case is just that much better.mkruer - Thursday, February 23, 2006 - link
Call me old fashion but I like the simple designRip the Jacker - Thursday, February 23, 2006 - link
first.tuteja1986 - Thursday, February 23, 2006 - link
I am buying Cool Master Stacker now :) . its an awesome case and goes arround $200AUD in Australia. I am going to use 2 PSU 480W antec and 550W antec. Go full crossfire when i sell my Asus A8N SLI-32 and buy either a RD580 mobo from ABit or ASUS or DFI.