Clash of the Titans - TT Tai Chi vs. CM Stacker 830
by Joshua Buss on February 23, 2006 12:05 AM EST- Posted in
- Cases/Cooling/PSUs
Thermaltake Tai Chi (cont’d)
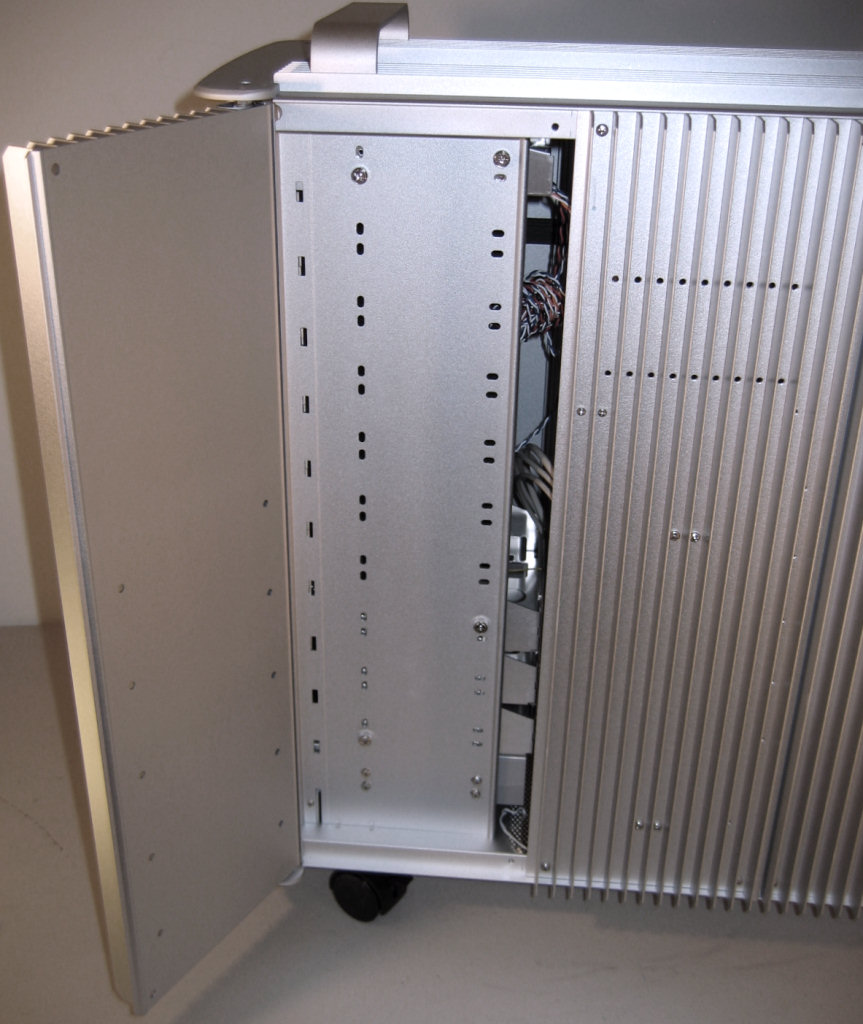
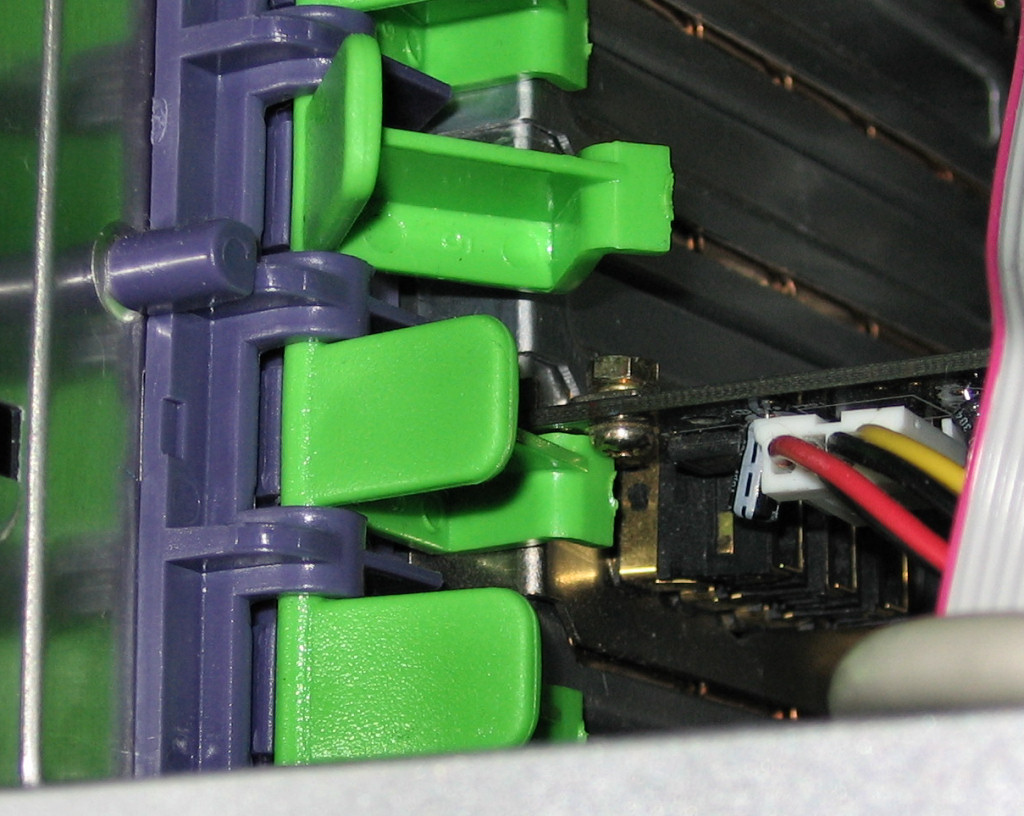
To keep the case as tool-less as possible, Thermaltake simply chose to use thumbscrews to secure drives into the 5¼” bays. While this requires opening the right side of the chassis, there are a couple reasons why this isn't as much of a problem with the Tai Chi as it is with most cases.
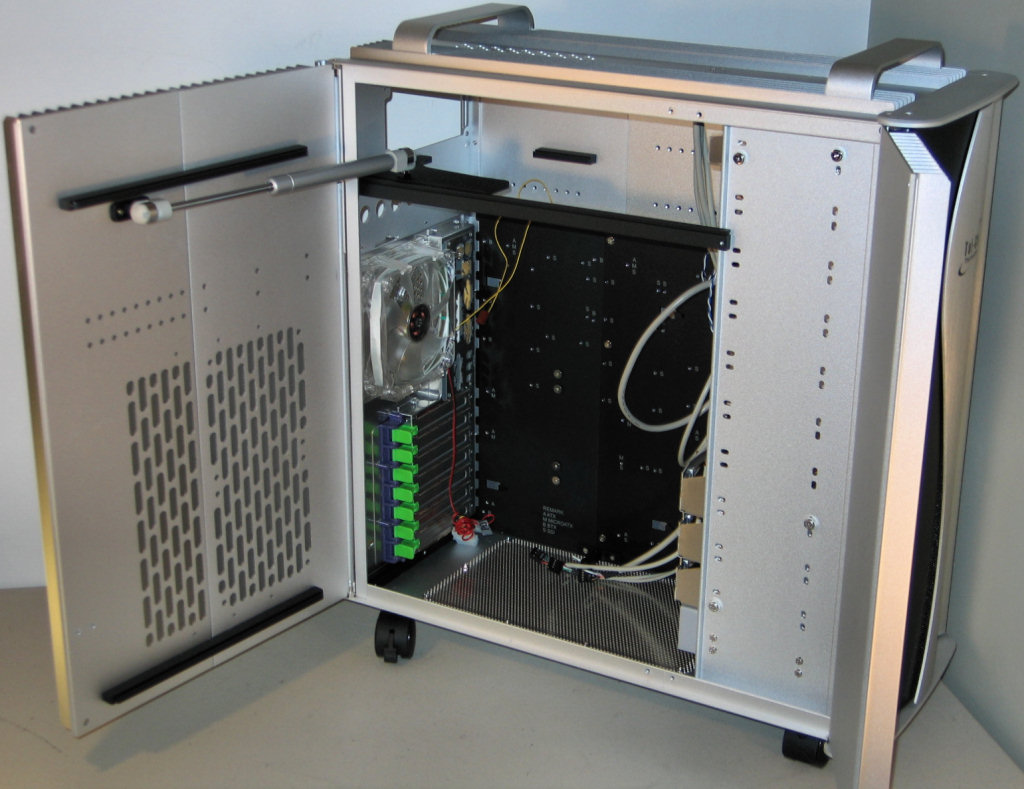
This active opening mechanism has its own benefits and drawbacks; in using the case, the main advantage to this approach that we've found is that it stays fully open when working inside. Besides that, and the “wow factor“ of showing off the case, there's not much of a reason to incorporate the arm; especially if lots of equipment are installed to the inside of the door, a forceful opening might not be what the user desires. However, if preferred, the entire hydraulic assembly can be removed without hurting any other functionality.
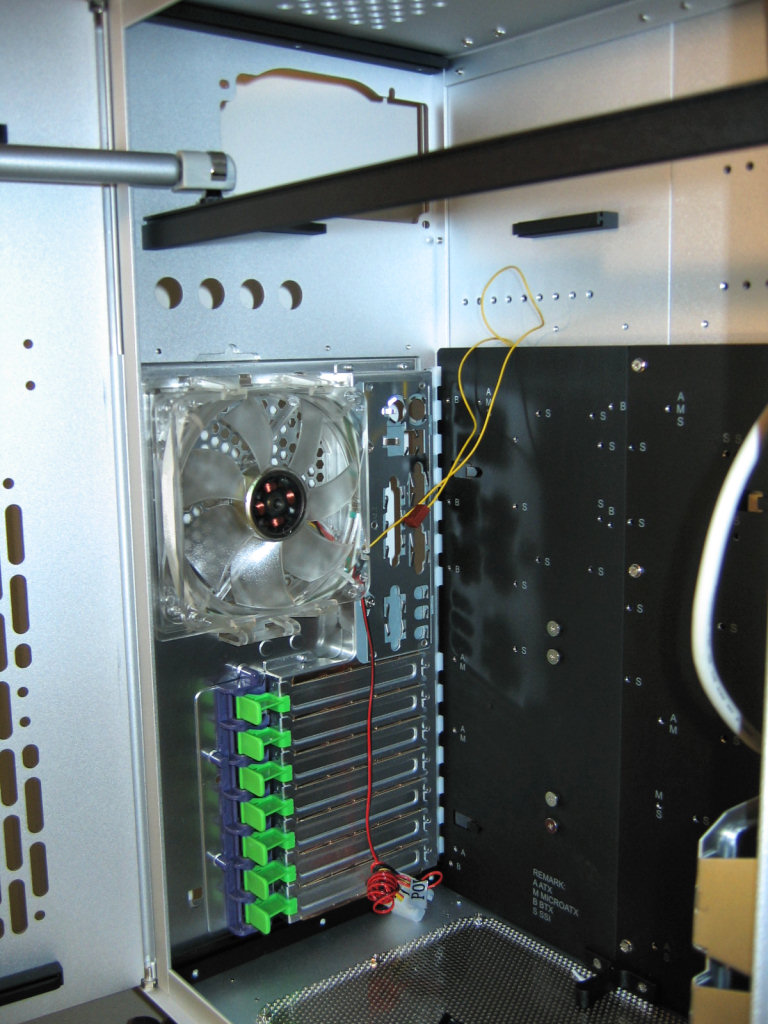
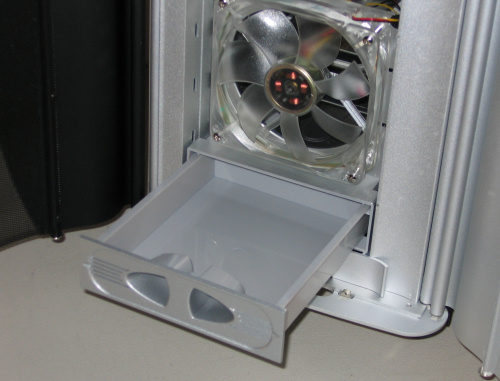
Focusing on the inside rear of the case, we find one of the only two main active cooling components, a Thermaltake 120mm blue LED fan. These fans move plenty of air without making enough noise to even really notice that they're on, especially if controlled to use slightly less voltage than the standard 12v.
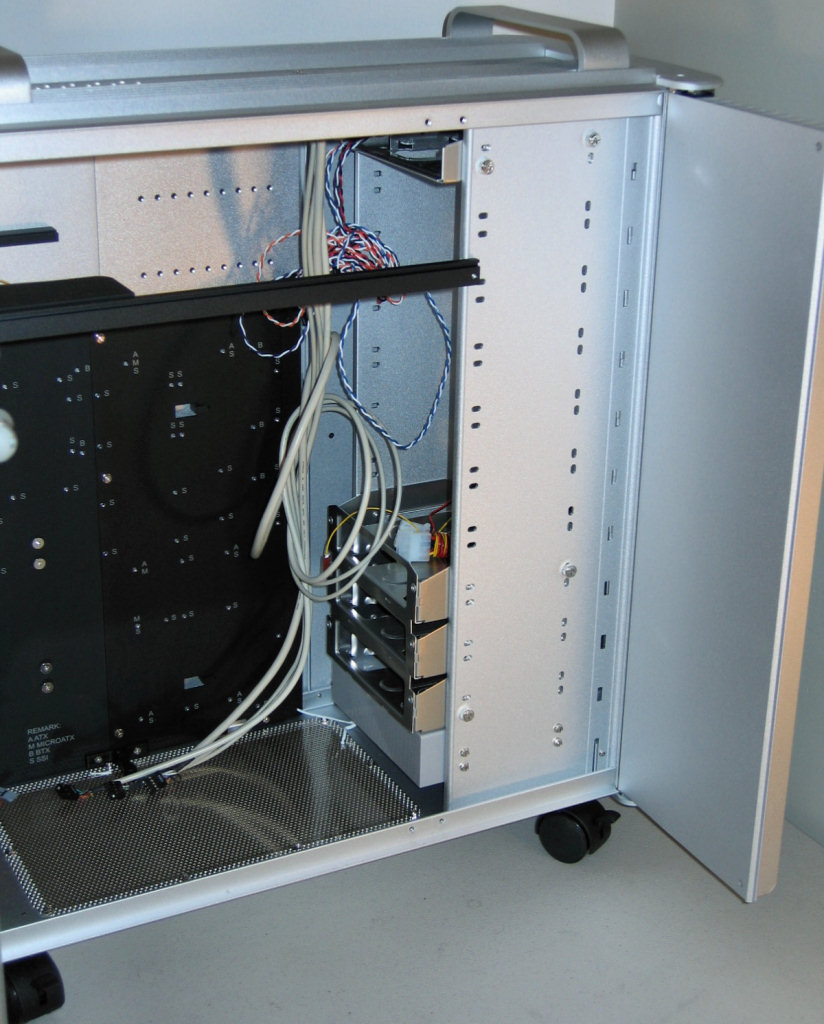
The spaces between the PSU area, crossbar, and motherboard assembly are all generous and, combined with the wide-opening dual doors, make working in the case a real pleasure. One last point of interest in this picture is the slots in the motherboard tray near the rear – they're not just at the bottom, indicating yet again that the case is truly designed and ready for BTX motherboards.
To keep the case as tool-less as possible, Thermaltake simply chose to use thumbscrews to secure drives into the 5¼” bays. While this requires opening the right side of the chassis, there are a couple reasons why this isn't as much of a problem with the Tai Chi as it is with most cases.
Click to enlarge.
Click to enlarge.
This active opening mechanism has its own benefits and drawbacks; in using the case, the main advantage to this approach that we've found is that it stays fully open when working inside. Besides that, and the “wow factor“ of showing off the case, there's not much of a reason to incorporate the arm; especially if lots of equipment are installed to the inside of the door, a forceful opening might not be what the user desires. However, if preferred, the entire hydraulic assembly can be removed without hurting any other functionality.
Click to enlarge.
Focusing on the inside rear of the case, we find one of the only two main active cooling components, a Thermaltake 120mm blue LED fan. These fans move plenty of air without making enough noise to even really notice that they're on, especially if controlled to use slightly less voltage than the standard 12v.
Click to enlarge.
Click to enlarge.
The spaces between the PSU area, crossbar, and motherboard assembly are all generous and, combined with the wide-opening dual doors, make working in the case a real pleasure. One last point of interest in this picture is the slots in the motherboard tray near the rear – they're not just at the bottom, indicating yet again that the case is truly designed and ready for BTX motherboards.


55 Comments
View All Comments
chynn - Thursday, March 2, 2006 - link
Yes, you can. I'm surprised AnandTech missed that option in their review. I like mounting inverted (BTX-style) ATX motherboards because that points the HSFs on my graphics cards (I run SLI) up to help dissipate heat.Googer - Thursday, February 23, 2006 - link
let me rephrase that.Is it possible invert the motherboard on the CM Stacker by installing the tray on the left side in place of the usual right side
By inverting the motherboard (insalling on the BTX side) it may allow for better CPU cooling sine the processor would be sitting on the bottome getting plenty of cool air and allowing hot exhaust to escape upwards.
kextyn - Friday, February 24, 2006 - link
I believe it would depend on which CM Stacker you get. I have the original and I run my ATX motherboard inverted on the opposite side just for this reason (cooling.) Also because I have an XP-120 on the CPU and don't have to worry about clearance issues with the PSU.If you're going to buy a Stacker I suggest looking at the specs on all of them before deciding. If I was going to buy another one I'd get the original again. It offers the full 12 5.25" bays in the front, dual PSU's, ATX/BTX/Inverted ATX/Inverted BTX, and I think more mod potential than this new one. The reason is because it's so basic that you can just cut and add stuff wherever you want. The only thing I like about this new one is that 4x120mm fan array on the side. But if I really wanted to I could mod the side of my case for that.
Googer - Thursday, February 23, 2006 - link
Also will a PC Power and Cooling Turbo Cool 850 or any other oversized PSU fit in to either the Thermaltake or Cooler Master?chynn - Thursday, March 2, 2006 - link
Yes, the PCP&C 850W PSU should fit in the Stacker. You might have to orient the PSU so the cables exit from the bottom side to clear the 120mm fan in the top center, but the Stacker will let you do that.Matthews316 - Thursday, February 23, 2006 - link
I own the Thai-Chi, and my PC Power and Cooling 1 KW (same size as the 850) fits just fine. I heard a rumor that oversized PSU's, such as the PCP&C 850/1KW, won't fit in the CM Stacker 830. Can anyone comment on this?JoshuaBuss - Thursday, February 23, 2006 - link
I would say that as long as there's nothing protruding from the sides, top, or bottom of the PSU, it'll fit in the stacker fine... length isn't the issue, it's the sides, top, and bottom you'd have to watch carefully.Googer - Thursday, February 23, 2006 - link
What a tough decision it would be to choose between those two cases, both are feature rich and well though out and designed. (if price was not a concern)yanquii - Thursday, February 23, 2006 - link
I love seeing case reviews on this site, especially considering how sparsely they are reviewed. What I would like to see are some reviews done on some cases that don't look like they came off they toy isle from the nearest Dollar General store. It would be sweet if you guys could do some reviews on the higher end offerings from Silverstone; especially the TJ07.yanquii - Thursday, February 23, 2006 - link
oh, and Lian-Li. I remember when Coolermaster was pumping out the sweetest cases you could buy. I love simplicity and elegance, and it seems that most companies are all about gaudy flash.