Overclocking The AMD Ryzen APUs: Guide and Results
by Ian Cutress & Gavin Bonshor on April 16, 2018 2:30 PM ESTHow to Overclock With GIGABYTE UEFI BIOS
The GIGABYTE AX370-GAMING 5 BIOS uses more menus than most other BIOS implementations. Upon POST, the M.I.T screen is the entry point and it is here where the overclocking sub-menus are located.
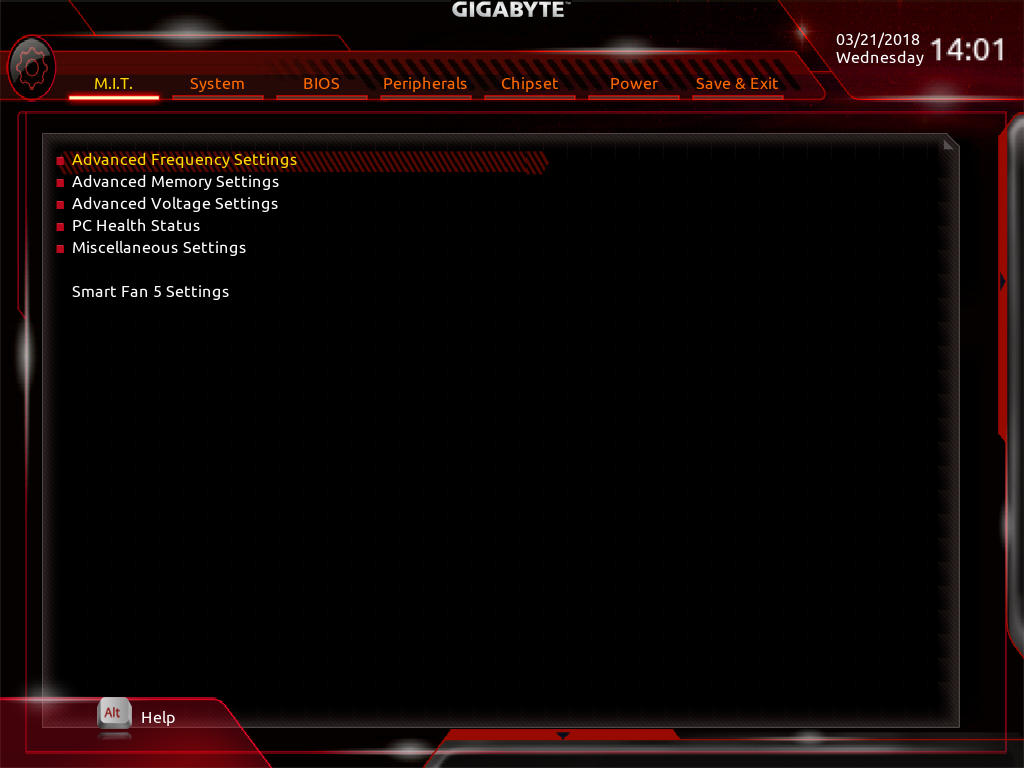
The main settings are in the top three sub sections; advanced frequency settings, advanced memory settings and advanced voltage settings.
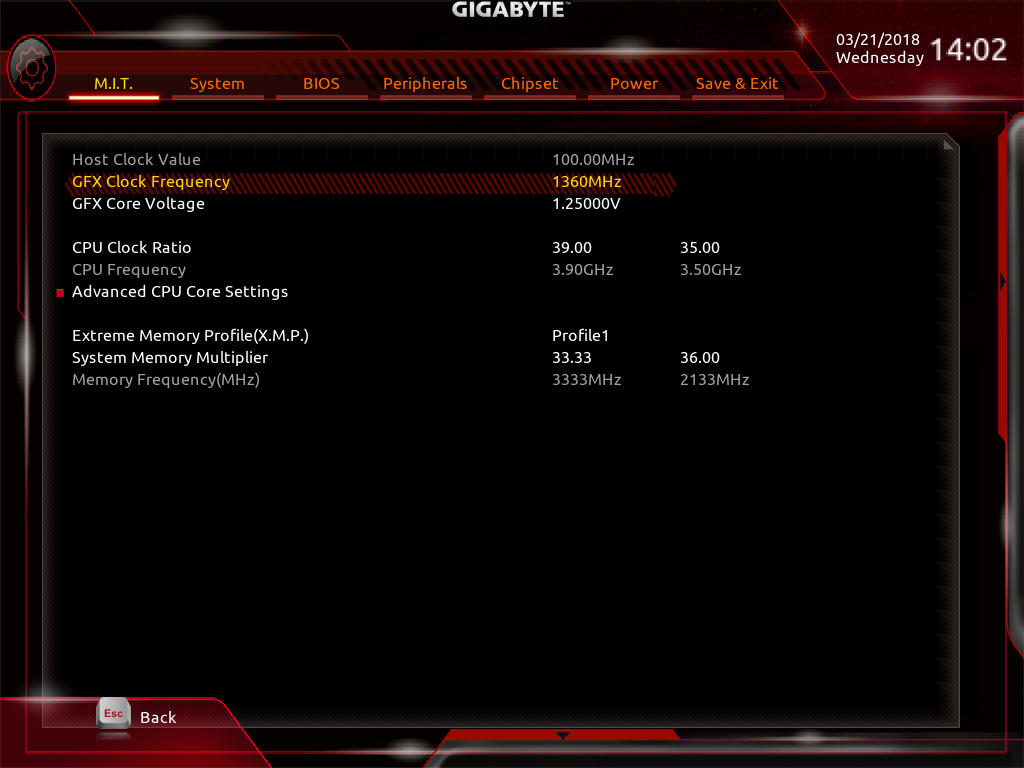
One thing I like (ed: I don't) about the GIGABYTE UEFI BIOS when overclocking is having the required settings to overclock one specific item in one particular area. In the advanced frequency menu, here is everything frequency related: CPU ratio, memory, and integrated graphics. Perhaps a little odd was also seeing the graphics voltage here as well, rather than only in the graphics menu.

The advanced voltage section provides all the voltages (except graphics), including the CPU and DRAM options. Users can also adjust the load line calibration. As with the MSI BIOS, once you adjust the voltage using the +/- keys it automatically sets it to 1.4V, which I feel is a tad too high for a 3.90 GHz overclock.
Even though the SoC voltage and GFX core voltage are essentially the same thing due to the fact that they are linked, they had to be set separately to the same value within this particular BIOS. Forgetting to change one doesn’t make any difference but setting both to the same value ensures peace of mind.

When applying the XMP profile in the advanced memory sub-menu, users can manually change the memory frequency (or strap) while keeping the latency timings applied as specified by the XMP profile.
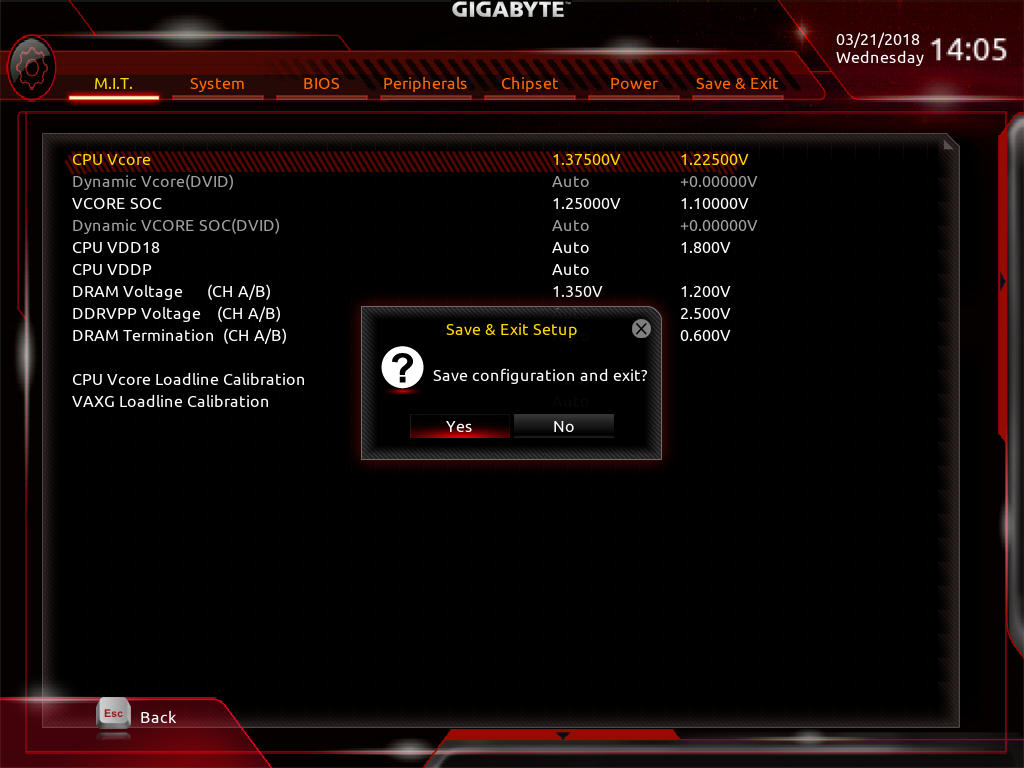
Once the settings are configured, pressing F10 brings up the pop up to save and exit. Unlike some of the other motherboards, there is no confirmation window with the settings changed here: it is just a click yes and go.


63 Comments
View All Comments
chitraqueen - Saturday, November 30, 2019 - link
https://www.hyderabadiqueens.com/banjara-hills-esc... Banjara Hills escort present best of there just click on the link and enjoy the sexiest pic of Banjara Hills escorts working for your pleasure and satisfaction try one.aradii - Tuesday, January 7, 2020 - link
The GIGABYTE team looks happy with their worksLaser hair removal https://www.tehranlaserclinic.com/
sonianextlevel - Saturday, February 1, 2020 - link
They understand professional to keep the outlooks to look stylish with the gaze of clients.https://www.hyderabadiqueens.com/