The Dell XPS 15 9550 Review: Infinity Edge Lineup Expands
by Brett Howse on March 4, 2016 8:00 AM ESTFinal Words
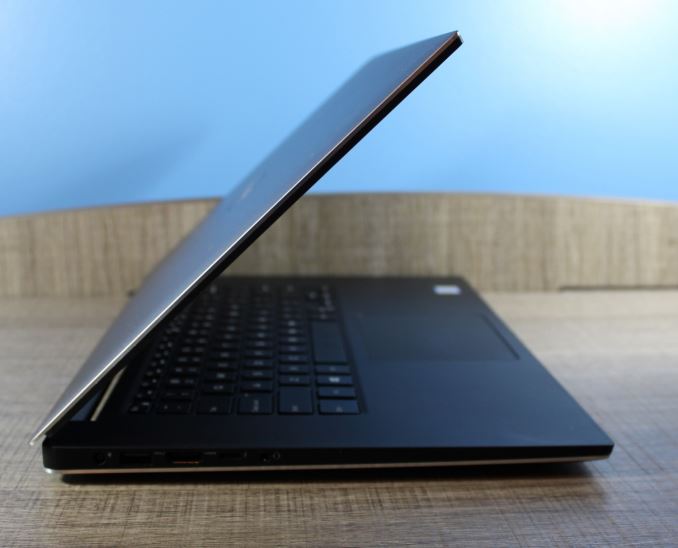
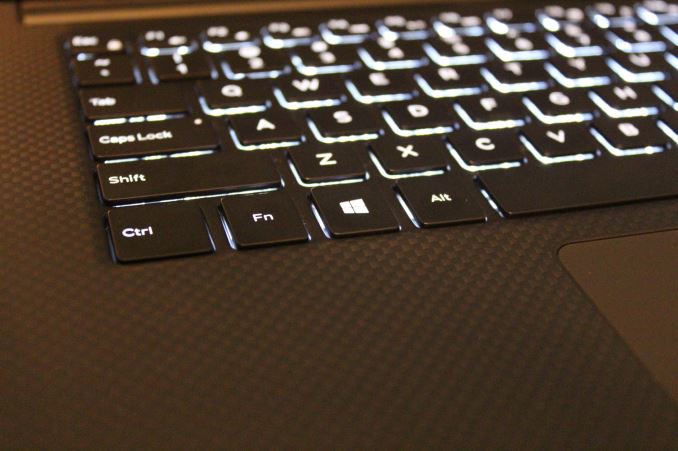
After everything we've seen so far, what is there to say about the XPS 15? As a pure exercise in style, mimicking the look and feel of the XPS 13 was definitely the right way to go. The same Infinity Edge display allows Dell to squeeze a 15-inch notebook into the space that most 14-inch models take up. The aluminum outside feels great in the hand, but the contrasting dark carbon fibre weave on the keyboard deck makes the keys easier to read, and it also does a better job resisting fingerprints. The soft touch coating makes typing on the XPS 15 very comfortable.
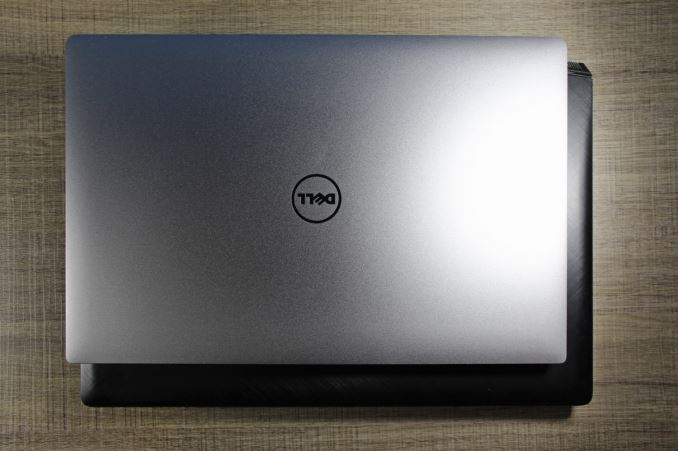
XPS 15 Compared to 15.6-inch Lenovo Y700
The keyboard is roughly (if not exactly) the same as the XPS 13 keyboard, which I liked. The 1.3 mm of travel is kind of shallow for a laptop this large, but overall it is pretty good. There are better keyboards around, but it would not take long to get used to typing on the XPS 15. The trackpad is excellent, with plenty of room to work, and nice smooth scrolling. The Microsoft Precision Touchpad drivers lack some of the customizability of other trackpad drivers, but the gestures available are enough for what I need.
Performance is very good, thanks to a quad-core Skylake processor and a NVIDIA GTX 960M graphics card. This isn’t a dedicated gaming system, but the GPU can hold its own and even allow you to play modern games as long as you are OK turning the graphics down a bit. The CPU performance is strong, although as with the Lenovo Y700, the Skylake quad-core didn’t bring a big jump in performance over Broadwell.
The display shipped on the review unit is the 3840x2160 UHD panel with support for the Adobe RGB color space, but the wider gamut can't make up for the disappointing accuracy out of the box. Once calibrated though, this display can hold its own with pretty much anything out there. Text is very crisp, and colors are very vibrant. It’s a shame that there’s not an easier way to use Adobe RGB, but with more devices starting to support this color space perhaps Windows will work on how it deals with different gamuts. We can hope.
The downside of the over 8 million pixels though is the less than amazing battery life. With a large 84 Wh battery, I was hoping for more than 7.5 hours on our light test, but that wasn’t the case. The efficiency is not fantastic, and it is also hindered by LED backlighting that supports a higher gamut, although we did run our testing on sRGB mode. Overall battery life isn’t much different than the XPS 15 9530 that we tested a while back, despite the IGZO display and latest generation processor. It’s hard to get around driving light through that many pixels. The 1920x1080 IPS panel offered in the base model would certainly help here, though not having tested that model it's hard to say just how much it would help.
Dell didn’t load the XPS 15 down with too much extra software either, which is nice. The Dell PremierColor application is great though, and being able to make improvements to the built in Windows Snap assist is a good move. Much of the time I’m not interested in extra software, but if an OEM can improve upon something that is built in, it’s hard to argue with them adding it in.
Overall, the XPS 15 is one of the sleekest 15-inch laptops on the market. If I was looking to purchase something of this size, the XPS 15 would be near the top of my list, thanks to the excellent build quality, great design, and compact size. When you work it, it does get loud, but the combination of good qualities in the XPS 15 are hard to ignore.





152 Comments
View All Comments
comomolo - Friday, March 4, 2016 - link
I agree with you. It takes little time to make things right. Especially wrong is the picture comparing the size of the XPS 15 to a "regular" 15 incher. They haven't even taken care of a proper shooting point so the comparison is useless.Kristian Vättö - Friday, March 4, 2016 - link
Comparing AnandTech to The Verge is not really fair. The Verge has millions of VC funds behind it, which is why they can have professional photographers and editors taking care of the visual side. They can also have a dedicated office, making it easy to pass devices to photographers and others.AT editors are practically freelancers as everyone works from their home. That means no fancy photo studio with +$10k of gear. Everyone takes their own photos and frankly the quality depends a lot on the equipment one has at hand and how experienced one is. I can speak from experience because I had major struggles with photos during my time at AT. Here's a few examples of the worst and best shots I took:
http://www.anandtech.com/show/7947/micron-m500-dc-...
http://www.anandtech.com/show/7594/samsung-ssd-840...
http://www.anandtech.com/show/9023/the-samsung-ssd...
http://www.anandtech.com/show/8979/samsung-sm951-5...
If you aren't really interested in photography, I can tell you that taking photos is not easy. It's not something you learn overnight. Frankly, taking photos of electronics is even harder because a ton of light is needed, and without proper professional lighting you'll get all sorts of reflections and tints (most house lights are not pure white in my experience, there's a yellow tint to make it "warmer").
All in all, I'm not saying that the photos can't be improve and I'm sure Brett will appreciate any and all tips. I just wanted to explain how AT operates as it's majorly different from The Verge for instance.
nathanddrews - Friday, March 4, 2016 - link
No disrespect to The Verge (and no attempt to brown nose AT), but their reviews are nowhere near the level of AT. It's such a massive divide as to be comical.If we're going to get picky about photography skills and not discuss the actual product, many of those linked Verge photos appear to be out of focus and the lightboxes used aren't exactly top of the line, so between the two reviews, I would say AT wins hands down.
To each his own, then?
pikatung - Friday, March 4, 2016 - link
Probably the best photography I've seen on a tech review site, done on a budget, is from TechReport. They even made a (couple) of blog posts detailing how they do it:http://techreport.com/blog/16645/let-there-be-ligh...
http://techreport.com/blog/22825/how-tr-gets-some-...
(Loyal Reader of AnandTech and TechReport for years)
pikatung - Friday, March 4, 2016 - link
And just to show how good shots can be done on a budget:http://techreport.com/blog/15857/who-needs-a-prope...
And I apologize, I don't mean to be whiny. I really do appreciate the in-depth reviews that you all do. Just hopefully some of these links will be helpful and encouraging.
Brett Howse - Monday, March 7, 2016 - link
Always appreciate tips and feedback. Thanks a lot! I'll check this out.Refuge - Friday, March 4, 2016 - link
I don't come here for the photos, I come here for the raw, cold, hard data.If I want glam shots before I put it in my office, then i'll google around. If I want an in depth, and educational review, I come to Anand.
Solandri - Friday, March 4, 2016 - link
And hopefully that raw, cold, hard data has been transcribed correctly? The photos aren't merely glamour shots. They can give you detailed information about layouts, colors, fonts, etc. A lot of times it's easier to just look at the pictures to see what ports a laptop has, rather than read a list of ports and *hope* they got it right. Other qualities like keyboard layout, trackpad size position relative to keyboard, size of Fn and arrow keys, etc. are much better conveyed via (undistorted) photos rather than a written description.Yeah you can waste time searching for pictures elsewhere. That doesn't mean the site can't be improved by including decent pictures here. (And the problems I see aren't only distortion. Several of the photos are just plain blurry. If you can afford a $800 camera, you can afford a $100 tripod.)
Zap - Friday, March 4, 2016 - link
One possible workaround for objects closer to 2D such as those SSDs are to just put them on a flatbed scanner. No distortion and super clear images.euskalzabe - Friday, March 4, 2016 - link
Here's a couple dead easy tips that improve electronics photography: 1) click the distortion correction checkbox on Photoshop or activate it in-camera. 2) Use bounce flash: if they can't spend lots of money on a decent flash, just use the regular one from camera, take business card, wrap it in tinfoil and place it in front of the flash at 45 degrees. That will bounce the forward light up at 90 degrees, effectively giving you a DIY bounce flash (there's tons of tutorials online).No need for professional photographers or tons of money. Just attention to detail and being a bit handy with DIY techniques. It's really not hard/costly, at all. I still appreciate the great analysis in AT... but I hold them to a higher standard, which shouldn't be regarded as a bad thing. I want them to be better at everything and succeed further in the future.