ClearPC, C3 and BeanTech: The Clear Chassis Comparison
by Kristopher Kubicki on March 15, 2003 3:14 AM EST- Posted in
- Cases/Cooling/PSUs
C3 Construction
The construction of the C3 case was very different from the ClearPC case. Rather than a single piece of acrylic folded around the exterior of the case from left to right, the C3 case employs a similar method along the center of the case (it is folded from the rear of the case around to the front). Two panels are then added to the sides of the case, one removable.
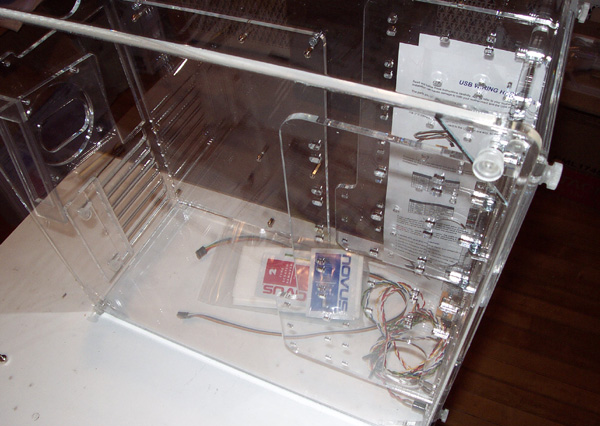
The process for construction on the C3 is very different as well. Almost all of the components are laser cut, unlike the ClearPC which is machine cut. The result is that there are very few edges with air bubbles or uneven cuts on them. In fact, the only edge we found that actually had any air bubbles visible was the leading edge on the front panel, along the forward removable bay.
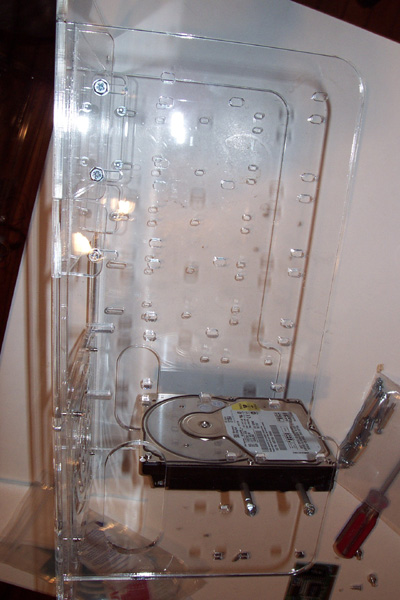
Like the ClearPC, the C3 comes with a 3.25” bay mounting kit for a Zip or floppy drive. Also like the ClearPC, if you decide to not put any 5.25” bay devices in front of the case, you will have a large two unit tall gaping hole in the front of your case. Although not a very significant item, we would have liked to see an additional acrylic 5.25” plate on both the C3 and ClearPC for those who do not enjoy floppy drives.


0 Comments
View All Comments