The Intel Haswell-E X99 Motherboard Roundup with ASUS, GIGABYTE, ASRock and MSI
by Ian Cutress on September 25, 2014 11:30 AM ESTMSI X99S SLI Plus BIOS
The basic outline of the MSI BIOS has not changed that much since the introduction of a graphical BIOS however its implementation has significantly improved. We do not get much more over MSI’s Z97 series - only those options related to X99 are added. The layout is such that a persistent top ribbon is present indicating the motherboard being used, the BIOS version, the CPU installed, the CPU frequency, the memory size, the memory speed and the system temperatures. There is perhaps some whitespace here for some fan speeds as well.
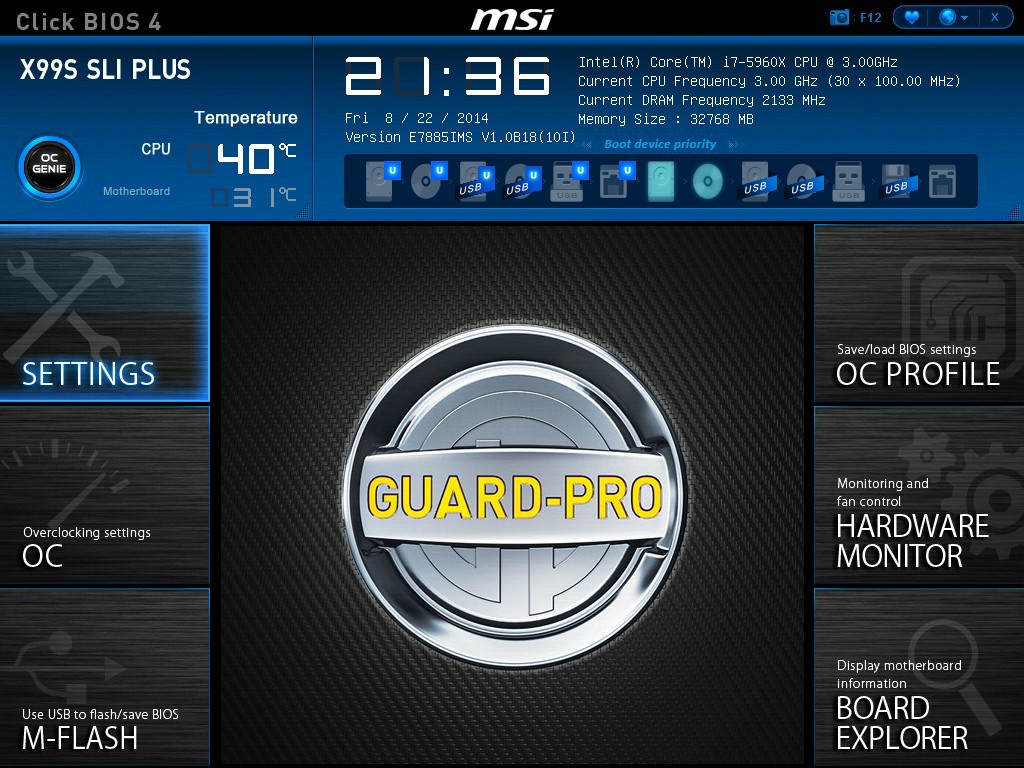
Note that we don’t have the XMP button similar to Z97. This is because when using a kit without an XMP profile, the button disappears. I would rather MSI still had the button present, but it was greyed out to indicate it was unavailable. I should add that MSI has perhaps missed a trick with the whole BIOS color scheme, as giving it a black aesthetic to match the motherboard would synchronize the user experience.
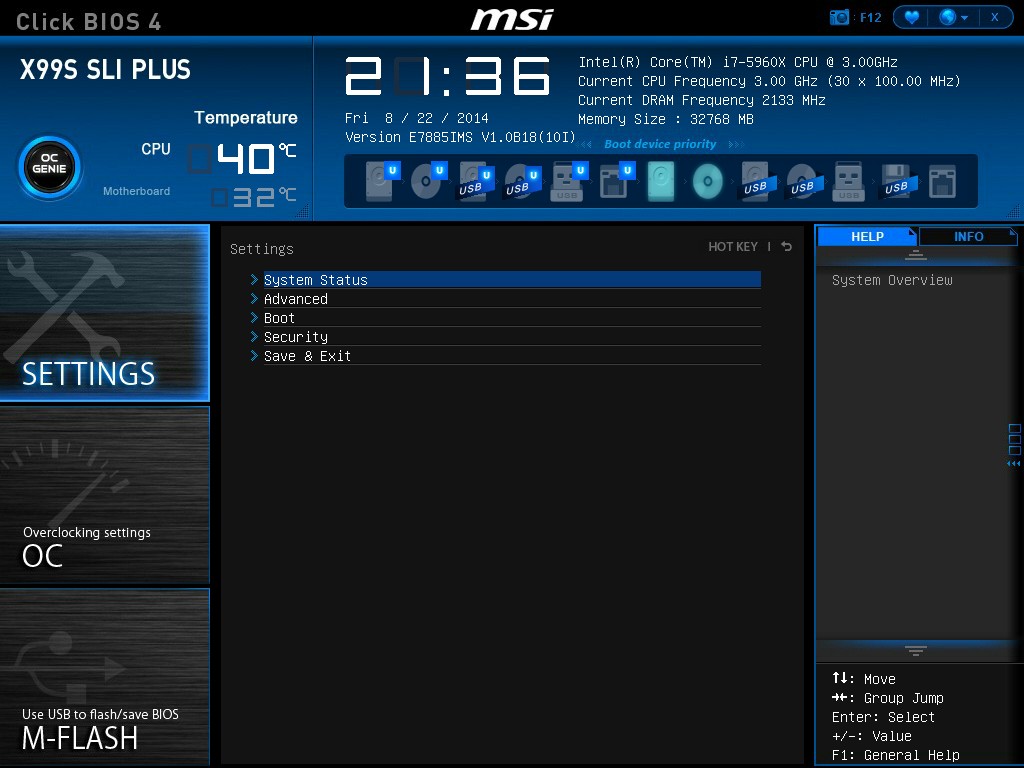
MSI’s system splits the BIOS up into two main areas – Settings and Overclocking. The Settings menu again subdivides into the System Status, Advanced, Boot, Security and Save & Exit.
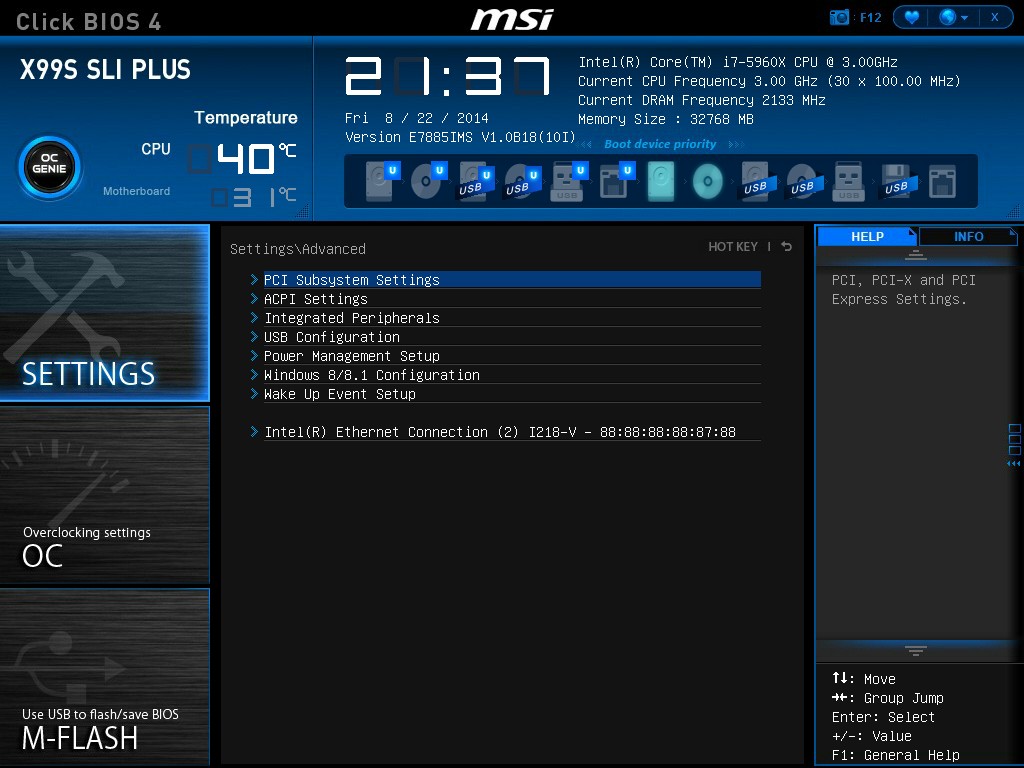
For users wanting to adjust the PCIe bandwidth or disable the extra controllers, the Advanced menu gives all these options in separate sub-menus.
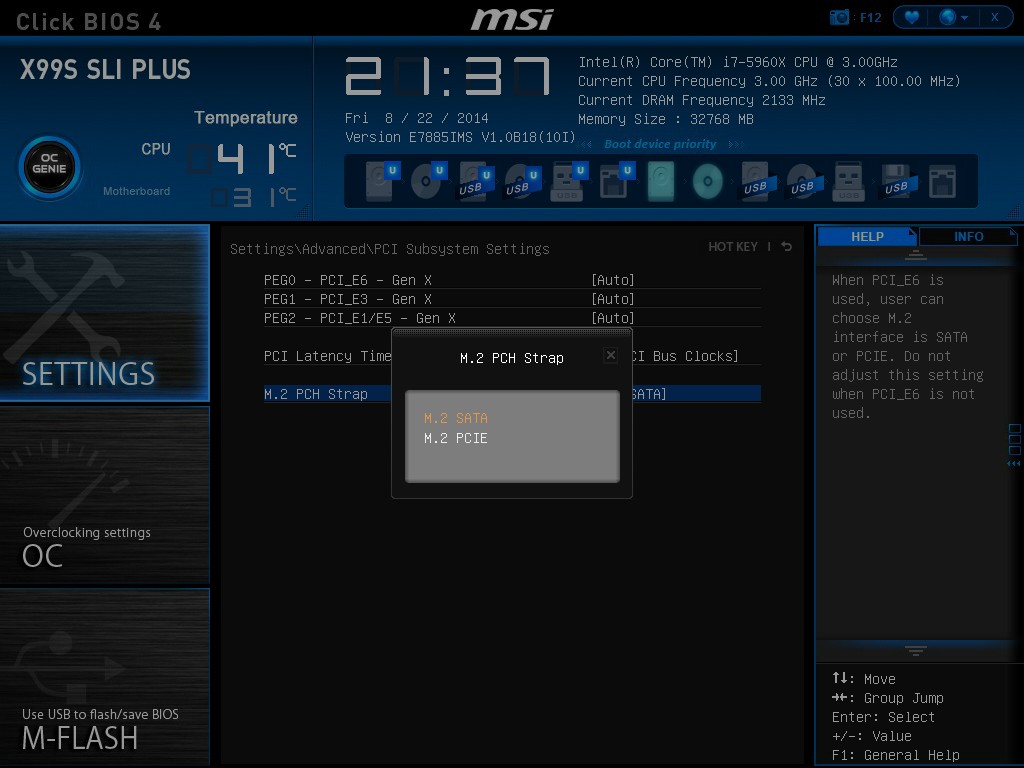
For example, in the PCIe Subsystem menu, the M.2 slot can be configured for both PCIe M.2 and SATA M.2 drives.
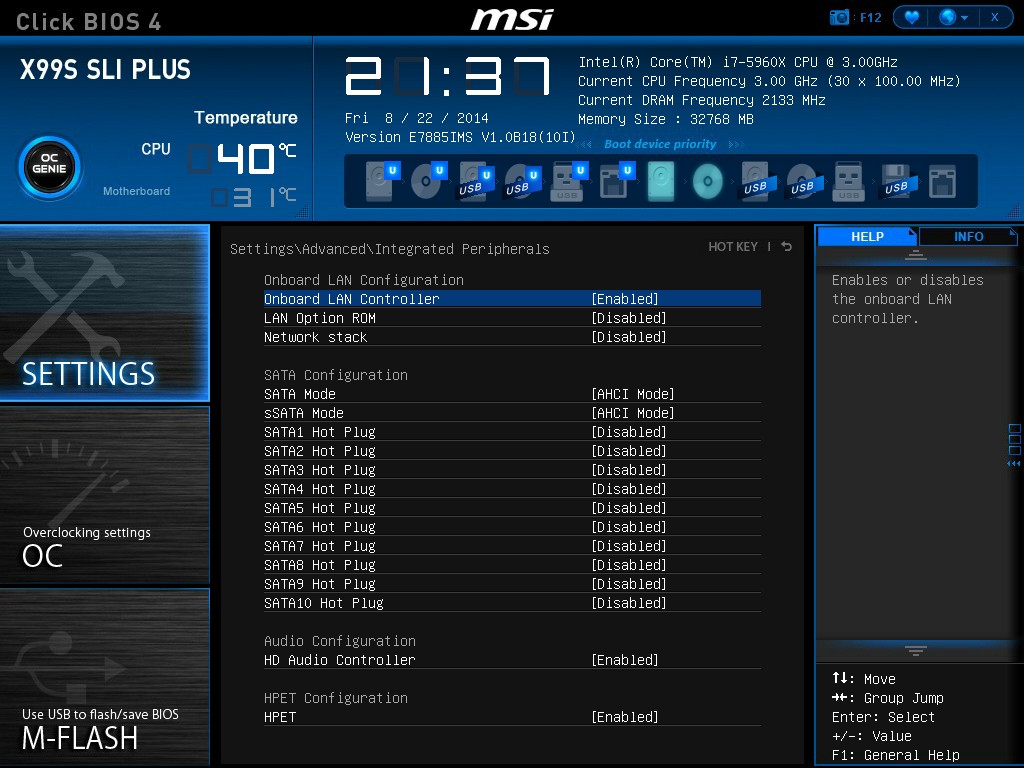
The Peripheral menu has the Hot Plug options for all the SATA ports. As with the other motherboards, the SATA ports are RAID capable but the sSATA are not, due to two AHCI controllers being present in the PCH with different functions. Unfortunately MSI does not distinguish here which are RAID capable and which are not – for reference SATA ports 1-6 allow RAID 0/1/5/10.
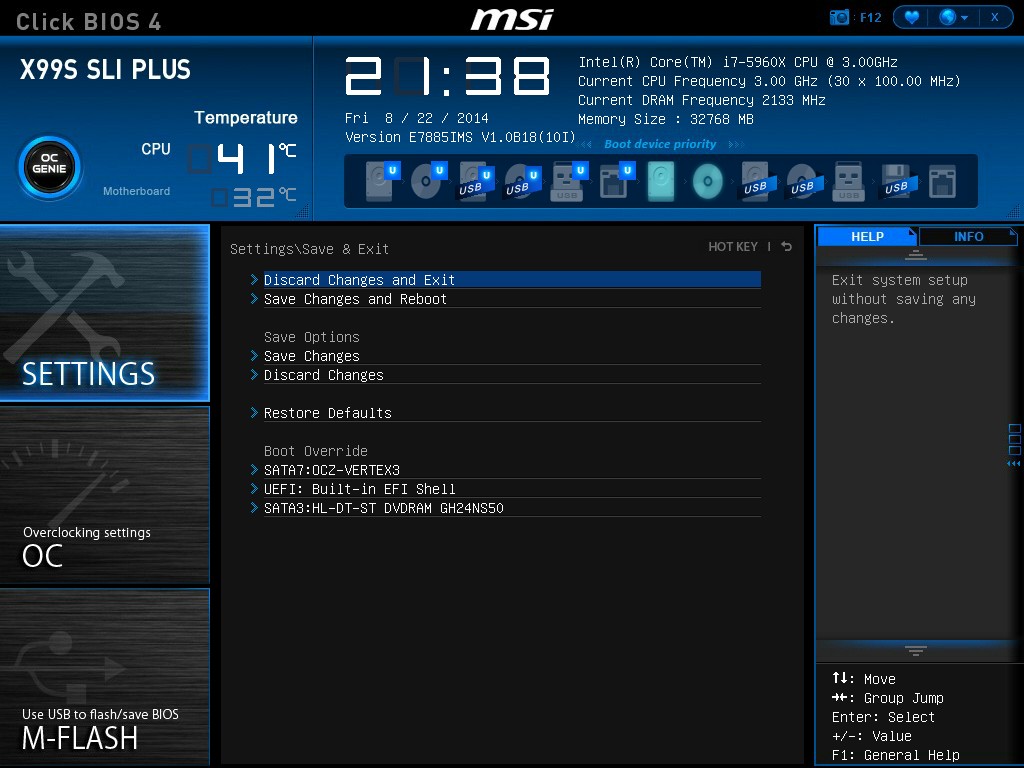
The other item of note in the Settings tab is that the user can issue a one-time boot override to a storage device of their choice:
The OC Menu is almost identical to Z97, allowing both a simple mode and an advanced mode:
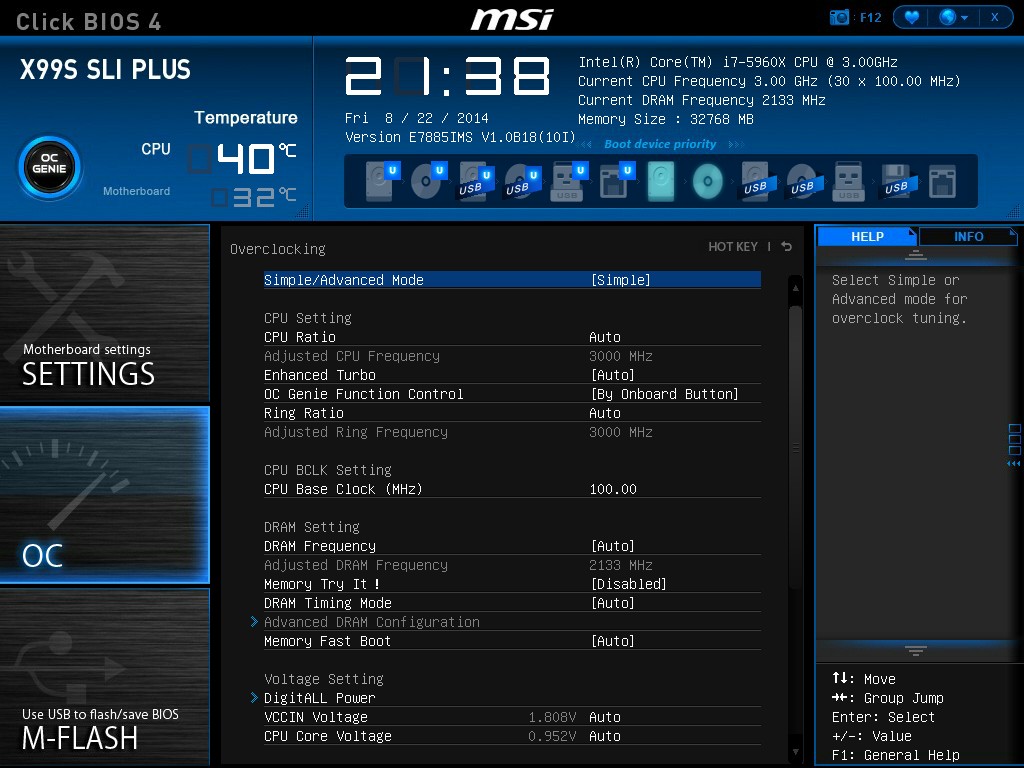
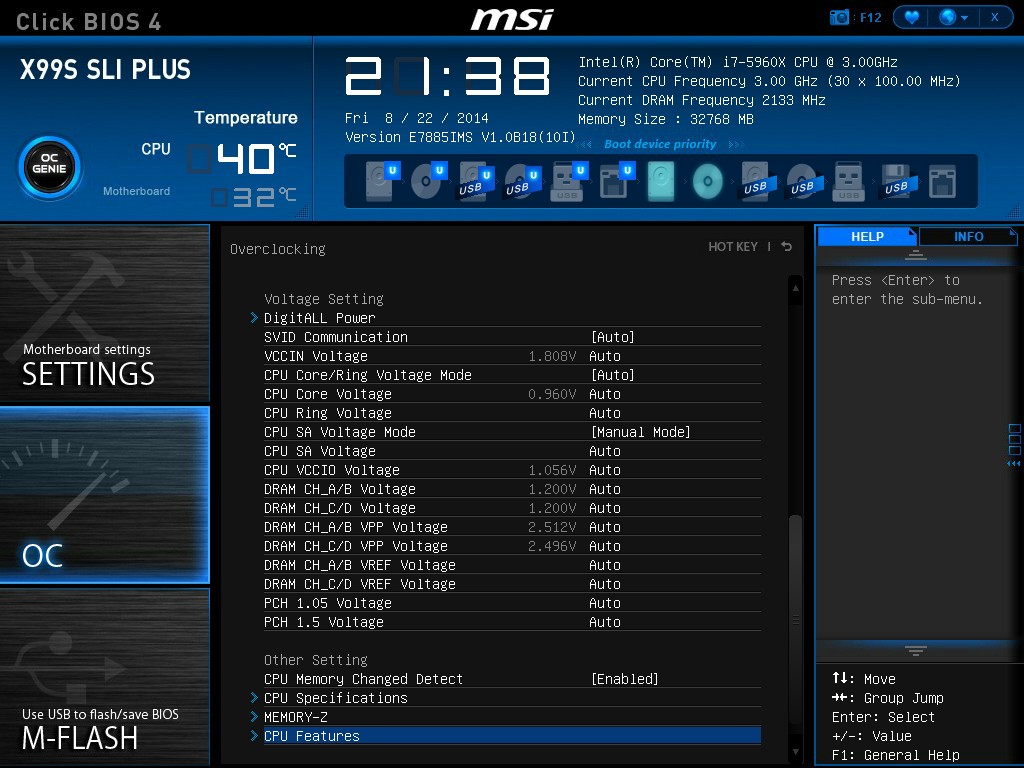
Thankfully MSI has decided to keep the new arrangement of overclocking options, starting with CPU/BCLK, DRAM, Voltage and then others:
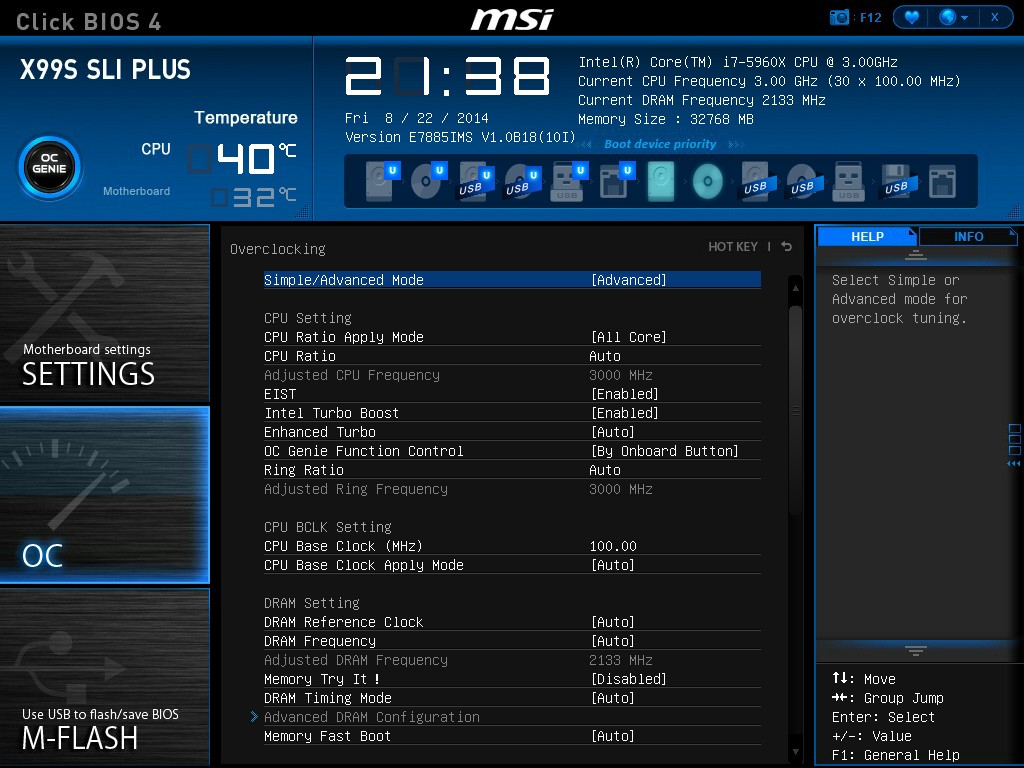
Advanced mode opens up a larger selection of options for experienced overclockers who are used to them. Users can also select when an enhanced BCLK overclock is applied (either before POST or after), and the Mem Try It option provides a couple of options for attempting to tighten up memory timings:

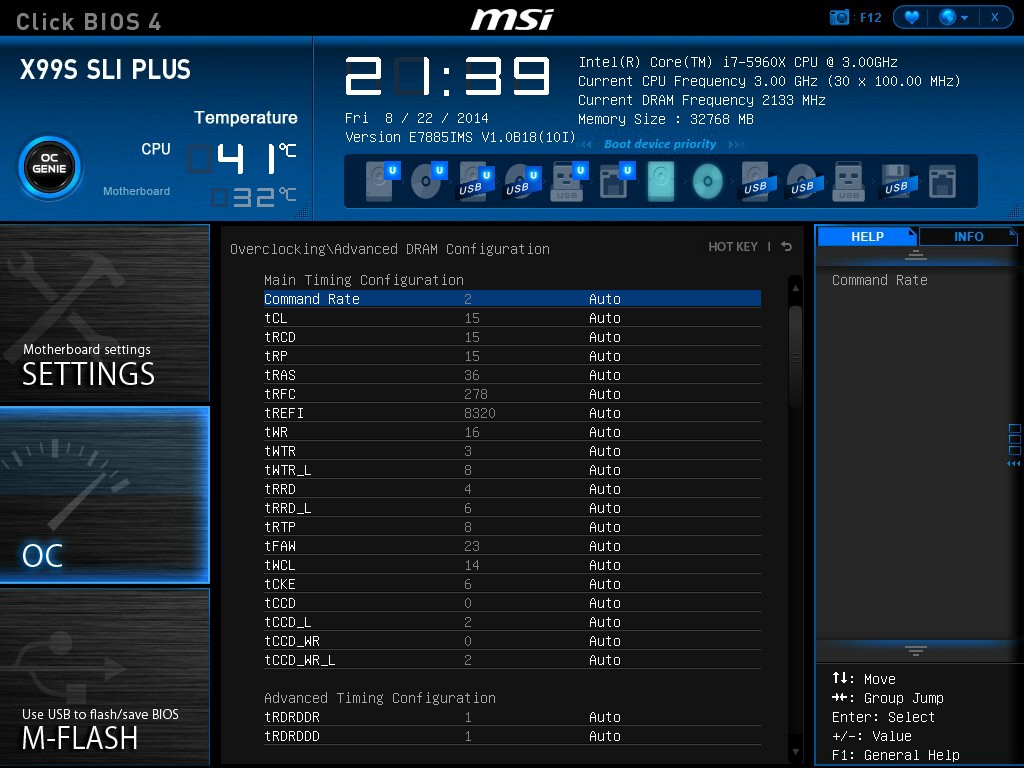
The DRAM options allow for control over the sub-timings, and it is good to see that the current timings are shown alongside the option to adjust them.
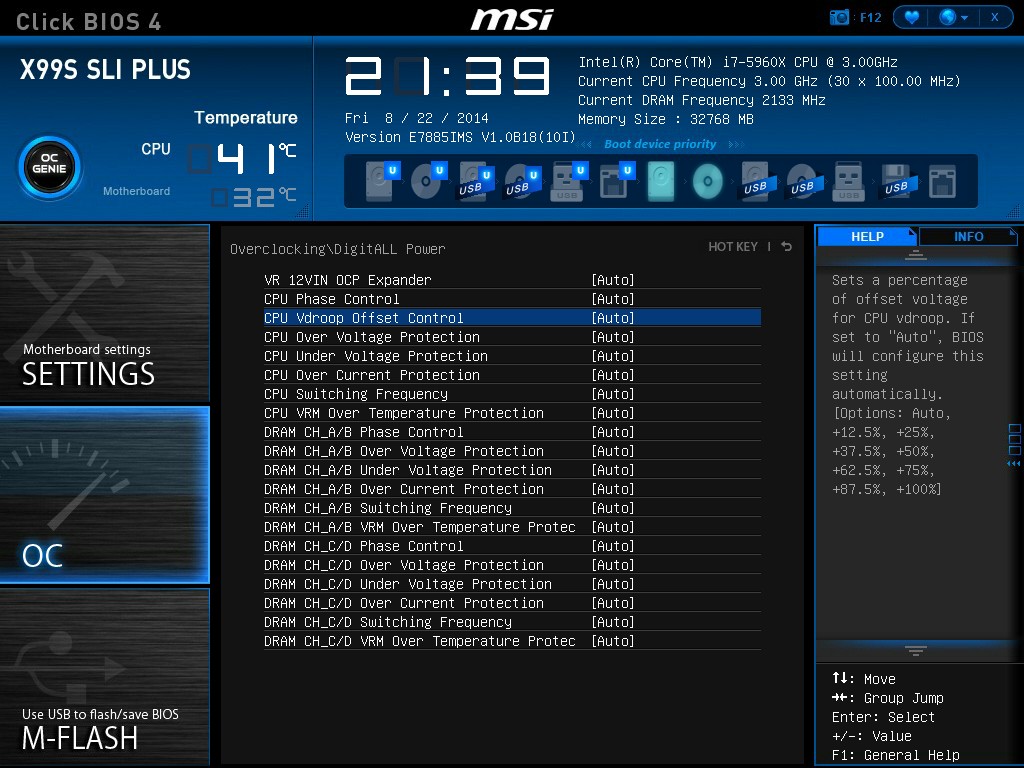
Unfortunately the Load Line Calibration issue with MSI motherboards rears its head again. Under the digital power menu, it gives an option for CPU VDroop Offset, and allows the user to set ‘Auto, +12.5% - 100%’, but does not inform the user which way around it should be for a constant voltage response. Other motherboard manufacturers have this option sorted by either providing a graph or renaming the options to ‘Auto, Low, Medium, High, Turbo, Extreme’. MSI could learn a trick or two in this instance.
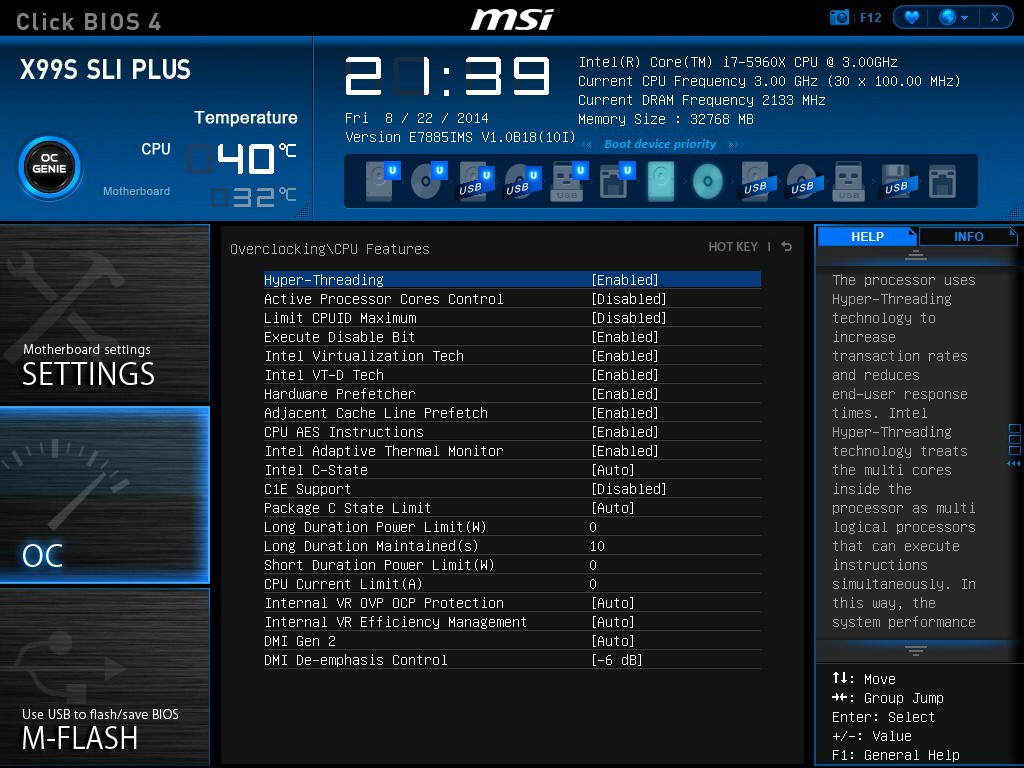
The OC menu also allows users to see the SPD information of the DRAM and adjust various aspects of the CPU features:
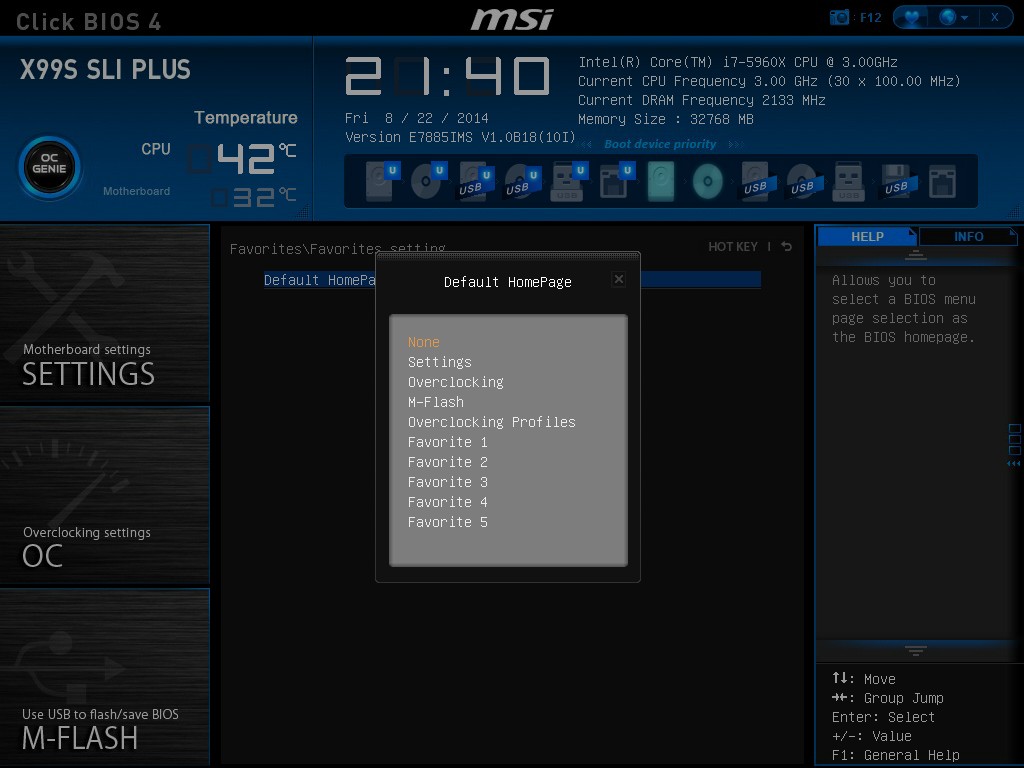
Alongside the Settings and OC tabs, the BIOS offers the M-Flash tool to update to the latest BIOS, overclocking profiles that can be saved and reloaded, a favorites menu for users to assign options they are used to (although not particularly needed with the new aligned OC menu) and also adjust the entry point of the BIOS.
The Hardware Monitor tab gives the fan options, which in recent generations has been substantially upgraded to some of the best we have ever seen.

When the Graphical BIOS nomenclature was introduced, the ‘graphical’ part was designed to help the user experience and interactivity with what are normally mundane options. The fan controls are a perfect example – a user should be able to see a multipoint gradient graph and adjust it using the mouse, rather than fiddling with menu options. MSI’s graph adjustments are not as finely grained as some other manufacturers, but the user experience is right on the money:
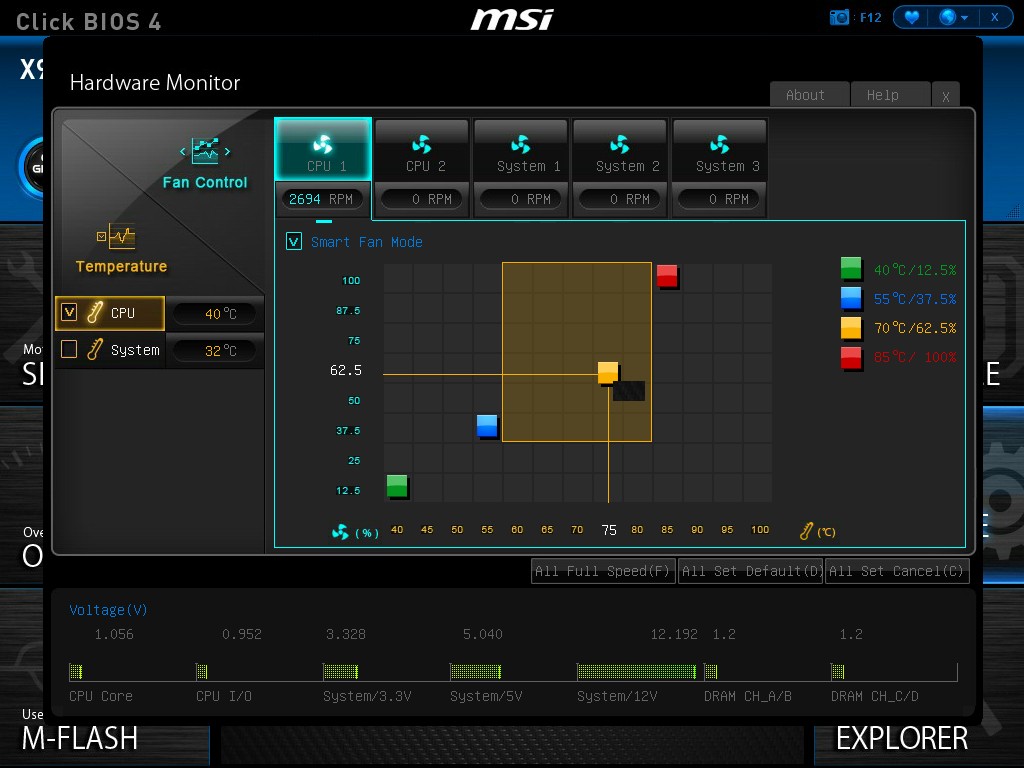
MSI now needs to introduce some internal testing functionality so that the system can test the fan and adjust the scale on the graph appropriately for the fan response.
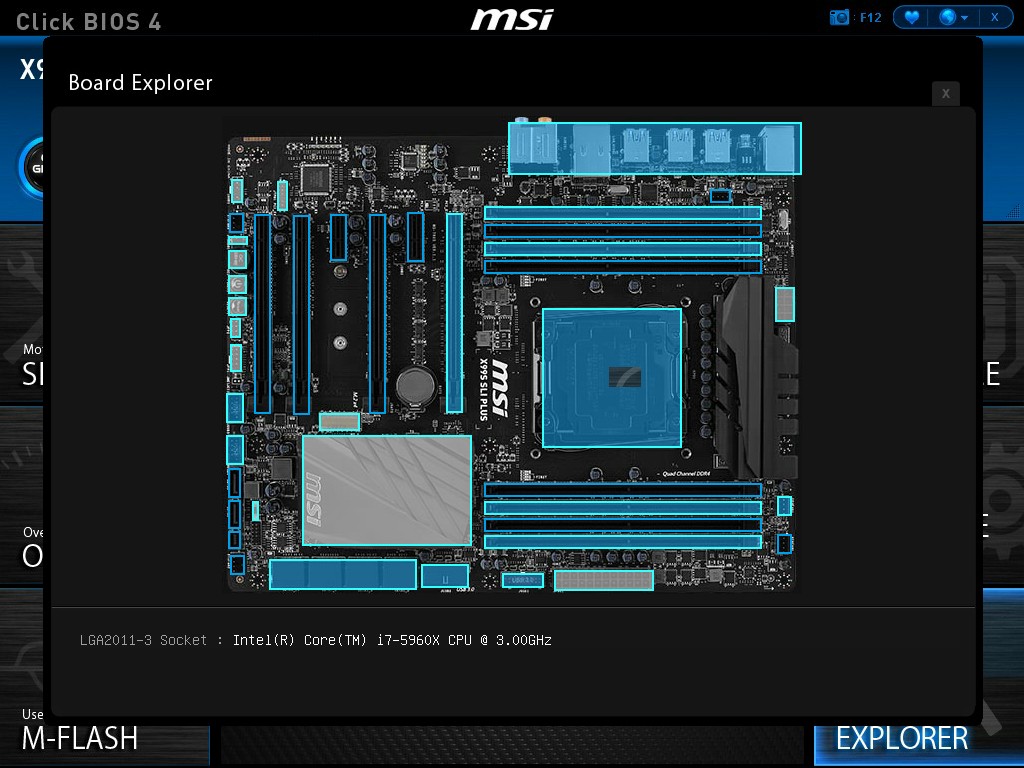
Similar to ASRock, we also get the Board Explorer functionality which allows the user to see what is installed. This is also useful if one stick of memory is not being seen or a PCIe device is not detected.


MSI X99S SLI Plus Software
Over the last couple of generations, MSI’s main hub of options has switched from a combination of Control Center and MSI Suite to Command Center with a much cleaner interface and array of options. The driver disk also offers some MSI branded wallpapers for installation along with the drivers and software:
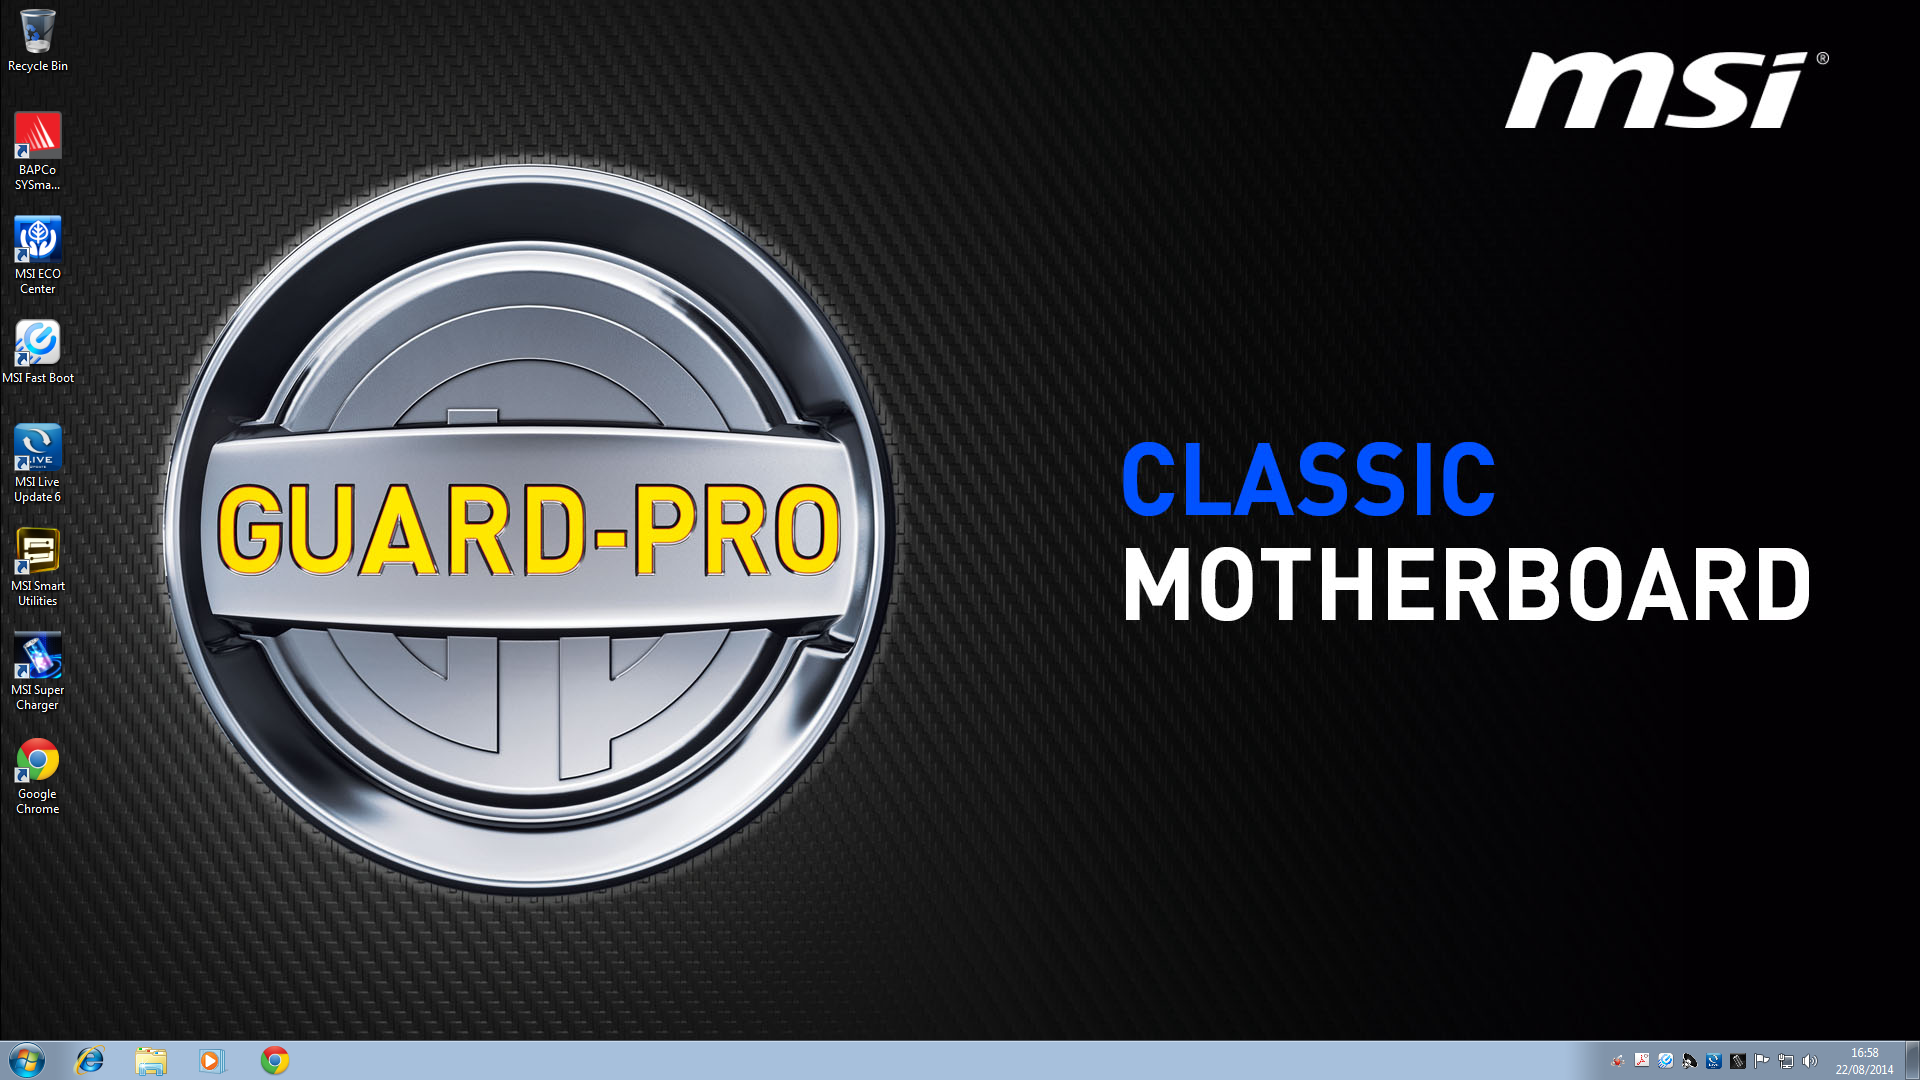
I am always up for a change in background to align with the products I have purchased, and while I might suggest that MSI missed the mark by not adding an all-black SLI Plus type of background, anything beats the default Windows desktop I usually have to look at when testing.
One of MSI’s recent pushes in software has been with the ECO Center, designed to help users disable certain parts of the motherboard to save power.
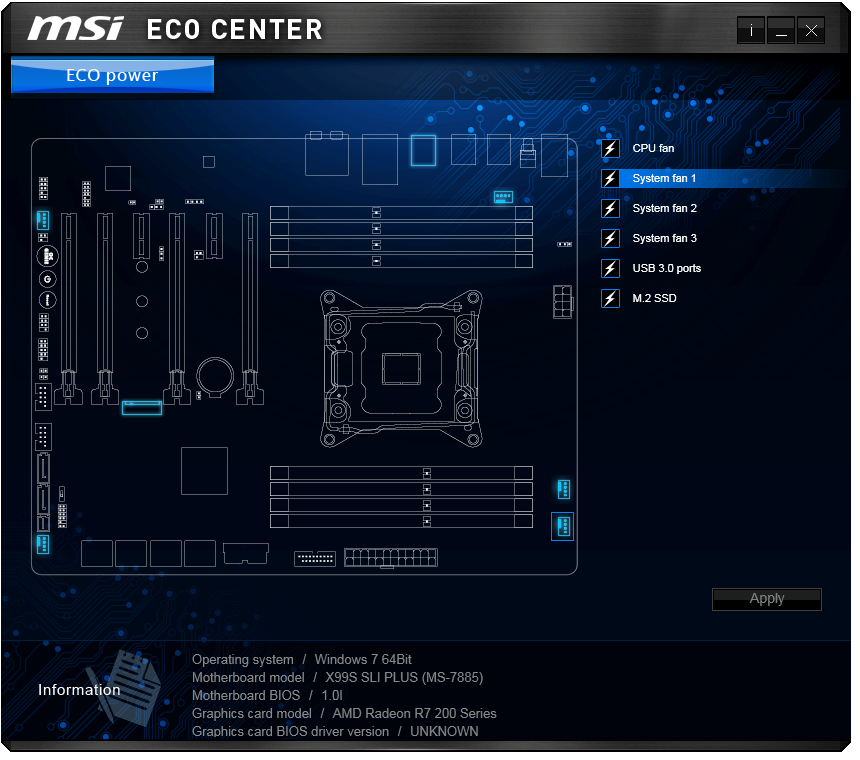
It is not advised to disable the CPU fan unless it is powered with a fan controller elsewhere! Perhaps MSI should add that as a warning next to that option. However saving the odd watt here or there might make a small adjustment to anyone’s electricity bill. I normally work along the line of 1W = $1/yr at 12¢ per kWh as a rough guide when I am energy saving, although local pricing might vary (I actually pay £0.15/kWh here, or 24¢). Perhaps MSI should add a calculator in here to let users see what they are saving.
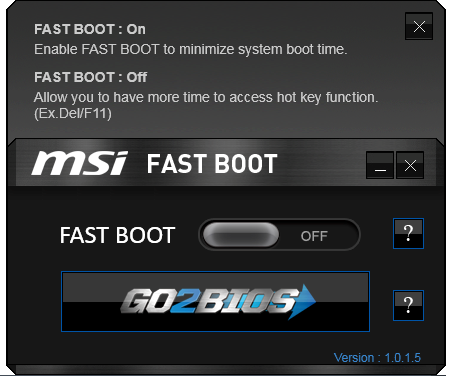
With the latest operating systems supporting UEFI fast booting methods, MSI has added an option to enable this feature along with a button to access the BIOS on the next reboot. Personally I find this a nice option to have, especially when overclock testing a new system – no more pressing DEL/F2 to get into the BIOS.
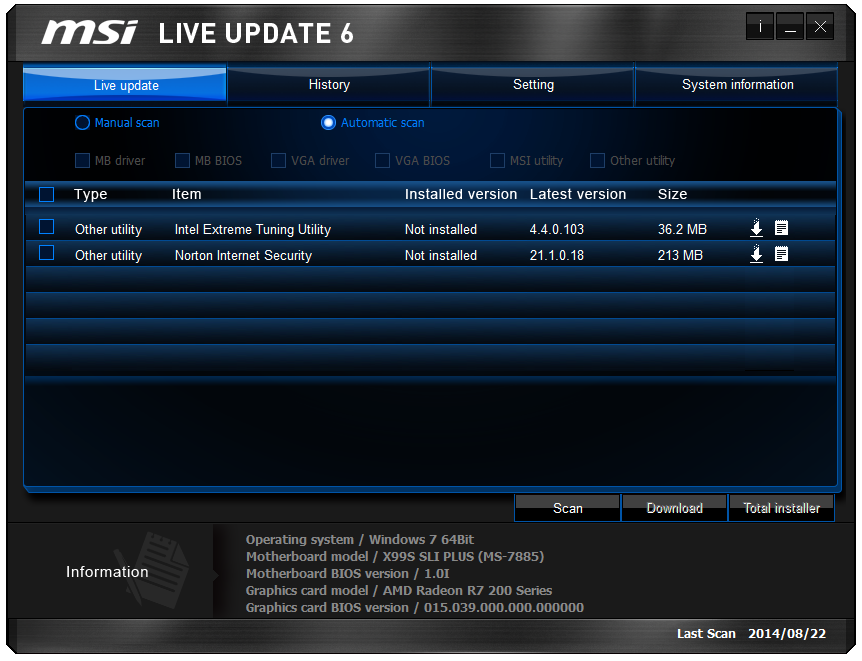
One of the cornerstones of the MSI software package is Live Update 6, which still holds the title as the best update package available on any motherboard. This downloads a list of what drivers/software should be on the motherboard and then compares it to what the user actually has. The ones that do not match are then offered as downloads, including sizes of download, and then the progress is shown as the updates are downloaded and installed. No other update package comes close, however there is one small issue. I would suggest to MSI to have an option to disable certain updates – I certainly do not want to download additional ‘Internet Security’ when I have my own preferred option on hand.
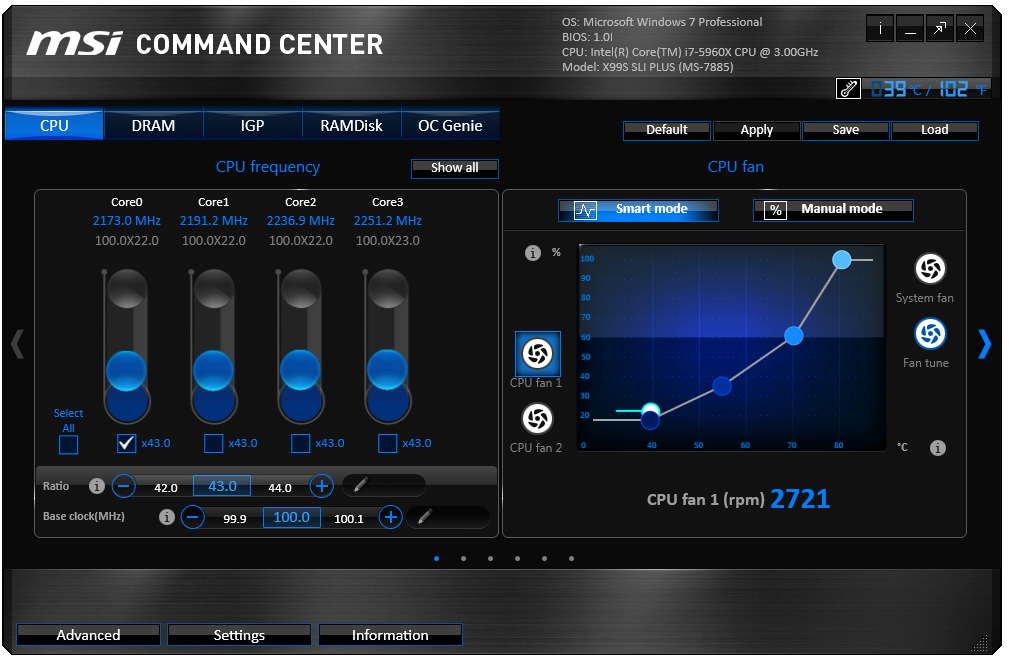
The Command Center software is where most of the regular action happens, with this front page showing which CPU is in use, what motherboard and BIOS version is in play and what operating system is installed. Here we also get quick access to CPU Multiplier and BCLK overclocks, as well as graphical CPU fan adjustment. The Fan Tune option allows the system to detect the fan power and speed response to help the user adjust the fans based on the dead zone in each.

Unfortunately MSI has not fixed the error in Command Center I brought to their attention in the last generation – no user should be allowed the option to enable 2.1 volts to their processor. Not even extreme overclockers using liquid nitrogen will need (or can control) that much voltage, so it should not even be an option to regular users in the software without some big flashy warnings. Other manufacturers sometimes offer something similar, but they do not advertise 2.100 volts as the max on their sliders or dials, whereas for MSI it is staring the user right in the face. Come on MSI, step up the game and limit it to something more useful, such as +30% of stock voltage detected on the CPU.

Command Center also allows a RAMDisk, although unlike ASRock’s implementation, the size of the RAMDisk is only limited by the drop down menu. Annoyingly the user has to enable the RAMDisk (which might take a minute) before re-enabling it with a new disk size other than 256 MB. This should be adjusted to improve the user experience.
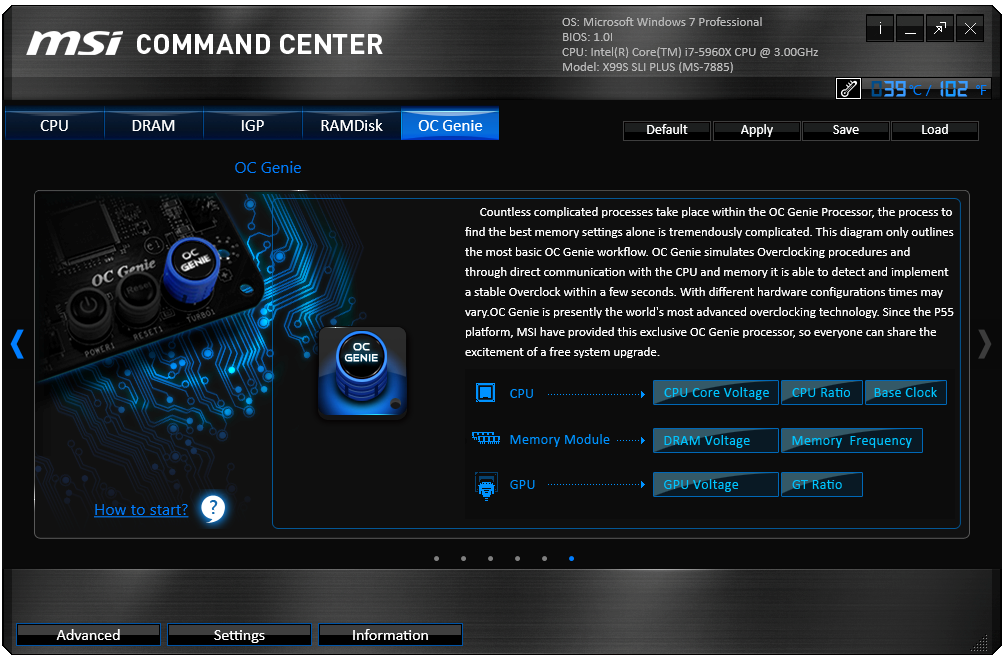
Enabling OC Genie can also be done in software if the button onboard is unavailable – either through Command Center here or via the BIOS.
Aside from the monitoring and information tabs also in Command Center, users can download and install two newer software packages aimed at extreme overclockers that cannot install extra fluff in order to squeeze the maximum performance out of their systems.
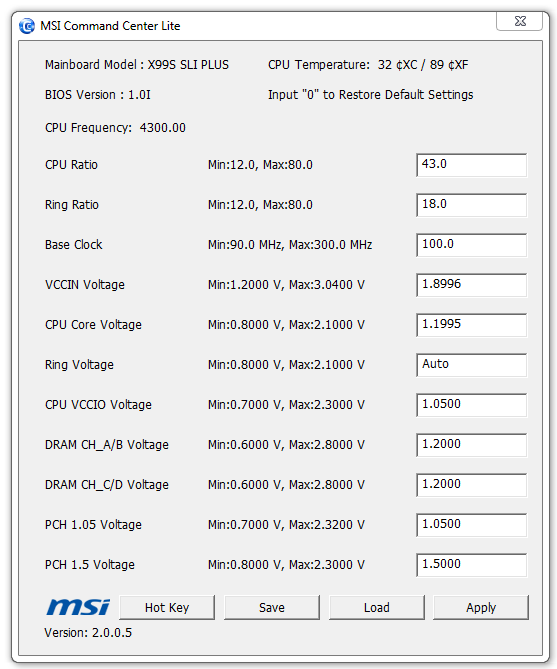
CC Lite is now on v2, suitable for X99 processors. Here adjusting the text and clicking Apply is all that is needed to enable an overclock. Users can also adjust the overclock with a selected hotkey, which is especially useful for benchmarks that have variable CPU load sections.
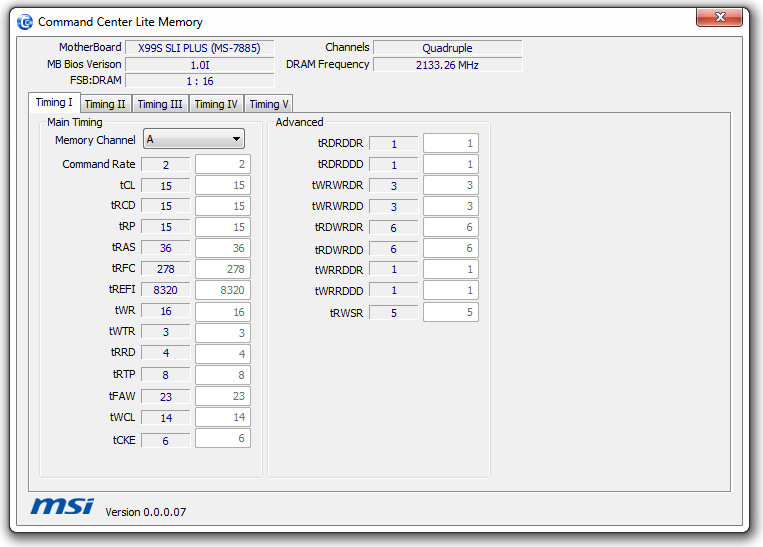
Newer to the Lite family is the CC Memory adjustment software, as shown by the version number 0.0.0.07. Similar in nature to CC Lite, the focus here is on the memory sub-timings.


62 Comments
View All Comments
StephaneP - Friday, September 26, 2014 - link
On the Intel Motherboards, there was an onboard speaker. It was useful for hearing problems with Ram, Gpu, overheat, Fan fail...I don't see any speaker on these motherboards...
R3MF - Friday, September 26, 2014 - link
Re: the MSI X99S SLI Plus -"This means that with a 40 PCIe lane CPU, a user has to choose between tri-GPU (x16/x16/x8) + M.2 x2 from the chipset, or 2x GPU (x16/x16) + M.2 x4. 5820K users will get M.2 x4 in any configuration (x16/x8, x8/x8/x8)."
Do I understand this to mean that the same M.2 slot will switch between PCIe 2.0 PCH lanes and PCIe 3.0 CPU lanes depending on whether the last PCIe slot is used, and that 5820K users will always get PCIe 3.0 M.2 because the last PCIEe slot is not available for use at all?
Further from this; using a 5820k can i only use two PCIe slots if I want to maintain the first slot with 16x for the GPU, or are some of the slots run from the PCH and thus not affected by this.
I quite like the idea of a single GPU system (with 3.0 16x), a PCIe USB TypeC expansion card (with 3.0 4x), and possibly a third PCIe slot for a sound card. Is that possible with this board?
Thanks, great article.
Infn - Friday, September 26, 2014 - link
So purely performance-wise I still don't have much reason to upgrade from my 4.5ghz 3930K on X79. Is there anything on the horizon that will?woj666 - Friday, September 26, 2014 - link
Nope. You hit a great sweet spot with that system. Keep upgrading your GPU and you'll last a long time.StevoLincolnite - Friday, September 26, 2014 - link
Might want to update this article.X79 supports 4-12 core processors rather than 4-6, that you have listed.
I.E. For example the Asus Sabertooth X79 supports the 8-core Xeon E5-2640 v2 and the 10-core Xeon E5-2650L v2 as well as the 12-core Xeon E5-2697 v2.
Granted, consumers won't be running those Xeons, but the point stands, that you're not only limited to 4-6 cores on x79.
It's ironic because ALL Sandy-Bridge-E processors were actually 8-core processors, with 2 cores disabled, which helped with cooling due to the larger die meeting with the heat spreader.
Ivy Bridge-E however Intel reduced the core count down to 6.
extide - Saturday, September 27, 2014 - link
Except for the 3820K, that is a native quad core die. In moving to Ivy/22nm the base die for LGA 2011 went from 4 core to 6 core, and so for Ivy E all the CPU's were based on just the low end 6 core die, vs Sandy where they needed to use the 8 core die to get 6 cores.ludikraut - Friday, September 26, 2014 - link
I really hope you guys get an ASUS X99-E WS in to run through its paces. Some nice boards here, but just not in the same league feature and layout-wise.l8r)
Ian Cutress - Sunday, September 28, 2014 - link
I've made a note :) Going to try and clear the backlog so we can get some others in!Etern205 - Friday, September 26, 2014 - link
Sorry for the derail of this article, but has anyone notice Gigabyte also using some type of OC socket just like the Asus.http://www.legitreviews.com/gigabyte-ga-x99-soc-fo...
Ian Cutress - Sunday, September 28, 2014 - link
I have seen similar comments about this. The SOC Force LN2 board in that article is typically a limited run for extreme overclockers at GIGABYTE sponsored events. At this point we're not even sure exactly what ASUS or GIGABYTE is doing with the extra pins, or if they're doing different things with them. I have the standard SOC Force motherboard here, the one that end-users can buy, and it is using the standard X99 socket.