Z77 mITX Round-Up: Five of the Best – MSI, Zotac, ASRock, EVGA and ASUS
by Ian Cutress on December 31, 2012 7:00 AM EST- Posted in
- Motherboards
- MSI
- ASRock
- EVGA
- ZOTAC
- Asus
- Ivy Bridge
- Z77
- mITX
EVGA Z77 Stinger BIOS
Now that 2012 is almost over, it has been a full two years since the initial implementation of graphical BIOS systems, and the paradigm shift towards interactivity and engagement in the BIOS. It has been a keen topic of mine to discuss with the manufacturers about the true nature of how interactive a BIOS should be, how it should engage the user, and how there are a million and one (hyperbole not withstanding) ways in order to improve the current generation of BIOSes.
Implementing these graphical BIOS systems is easy for the bigger motherboard manufacturers – ASUS, MSI and ASRock were all on the bandwagon from Day One. Gigabyte took a little longer with their different implementation, but even Biostar, ECS, Zotac and Intel managed to skin something up to make the BIOS more appealing in terms of menu options and aesthetics. For EVGA, this is a task they still have to do.
While we have not got the white text on blue that marked out BIOSes pre-2011, the white on black with little EVGA icons for different sections is not really a step forward. I apologize in advance for the quality of the following images – EVGA does not have a screenshot button in their BIOS, and even when taking pictures with my DSLR, white text on a black background without a tripod is a tough task.

The main Overview screen actually does a lot of what I like when I first go into a BIOS – we get the name of the motherboard (in this case, Z77 Stinger = E692), the BIOS version, the processor installed, speed of the processor, the memory installed, the speed of the memory, some voltages and temperatures. If EVGA were to hire another BIOS engineer or two to wrap this up into a design, it could be a winner.
In the ‘Advanced’ menu is where the normal onboard device configuration, SATA configuration and hardware monitor options hang out:
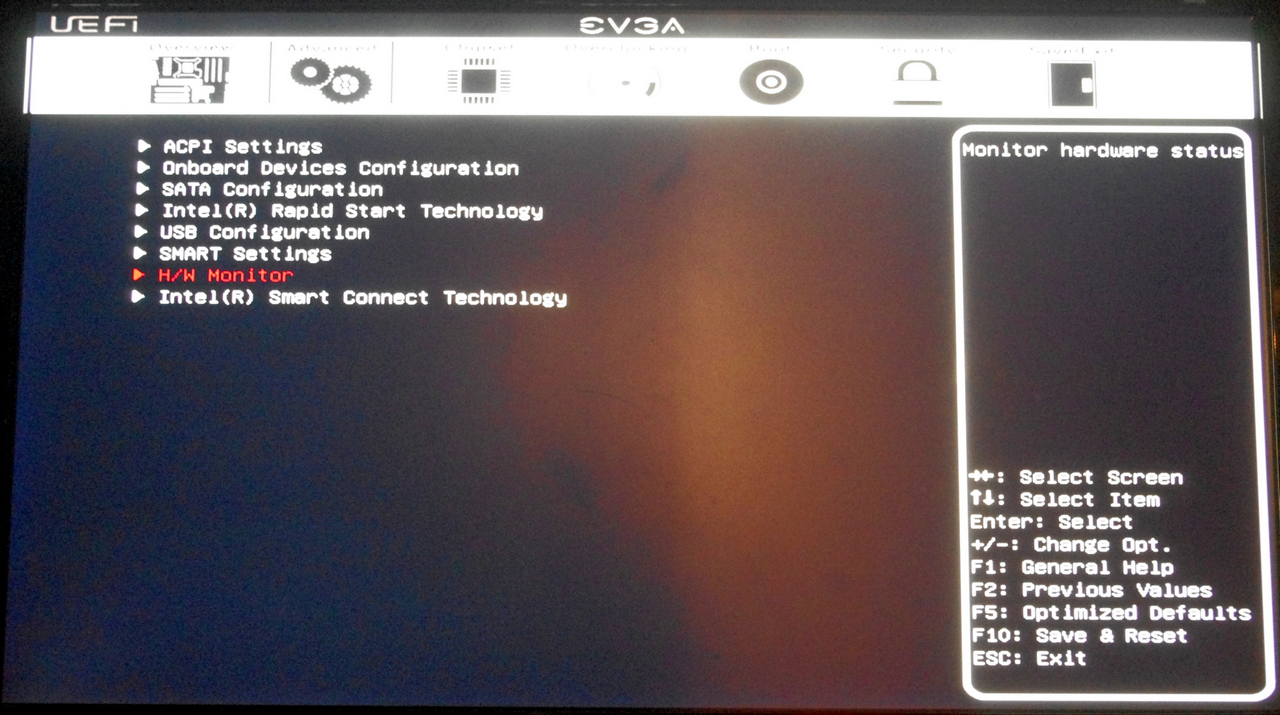
Thankfully EVGA resort to enabling AHCI by default on the SATA configuration. The more important menus in the Advanced section is the H/W Monitor, which holds the fan speed controls. As there is no fan speed control in the OS, all control comes through the BIOS. Opening the H/W Monitor menu gives the following:
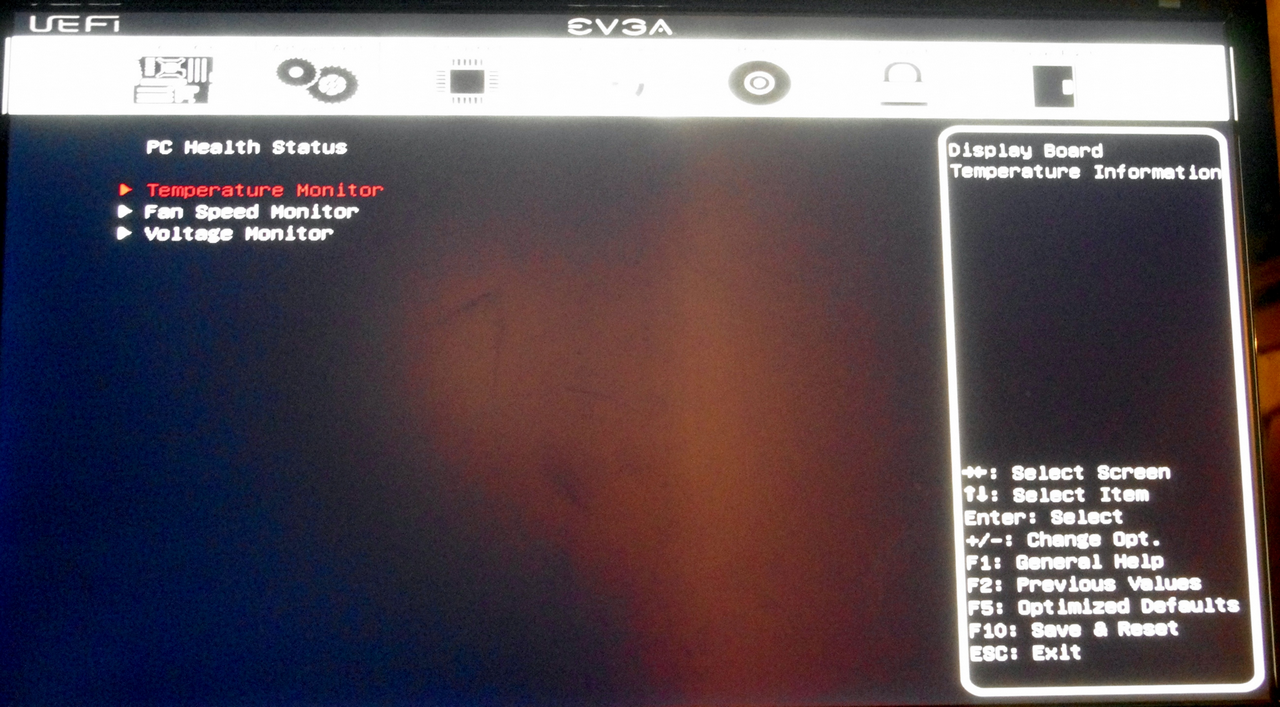
The Temperature Monitor and Voltage Monitor screens give pure information, whereas the Fan Speed Monitor allows the user to adjust the fan settings.
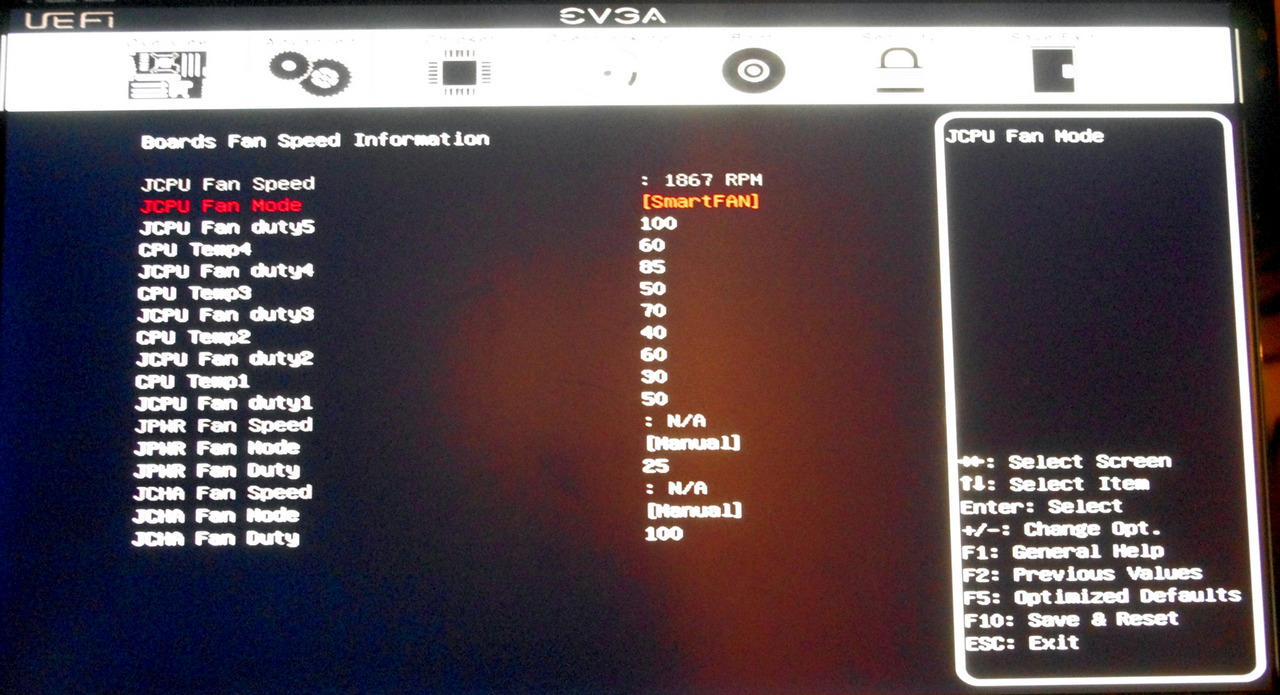
For the three fan headers on board we have two different styles of options. The main CPU header gets a full multi-point gradient in its design – users can specify the amount of power to the fan header as a function of temperature over several points. The downside of this is the assumption that fan speed is a linear function of power, which is not always the case – at <5% power any particular fan will do one of two things: (i) not start up, or (ii) run at a minimum RPM. This is why certain controls on other boards do a pre-test to find how a fan reacts as a function of applied voltage. The other two fan headers are offered at configurable duty speeds.
For overclocking, we head to the overclocking menu. This menu is very similar to previous EVGA boards we have tested in the past:
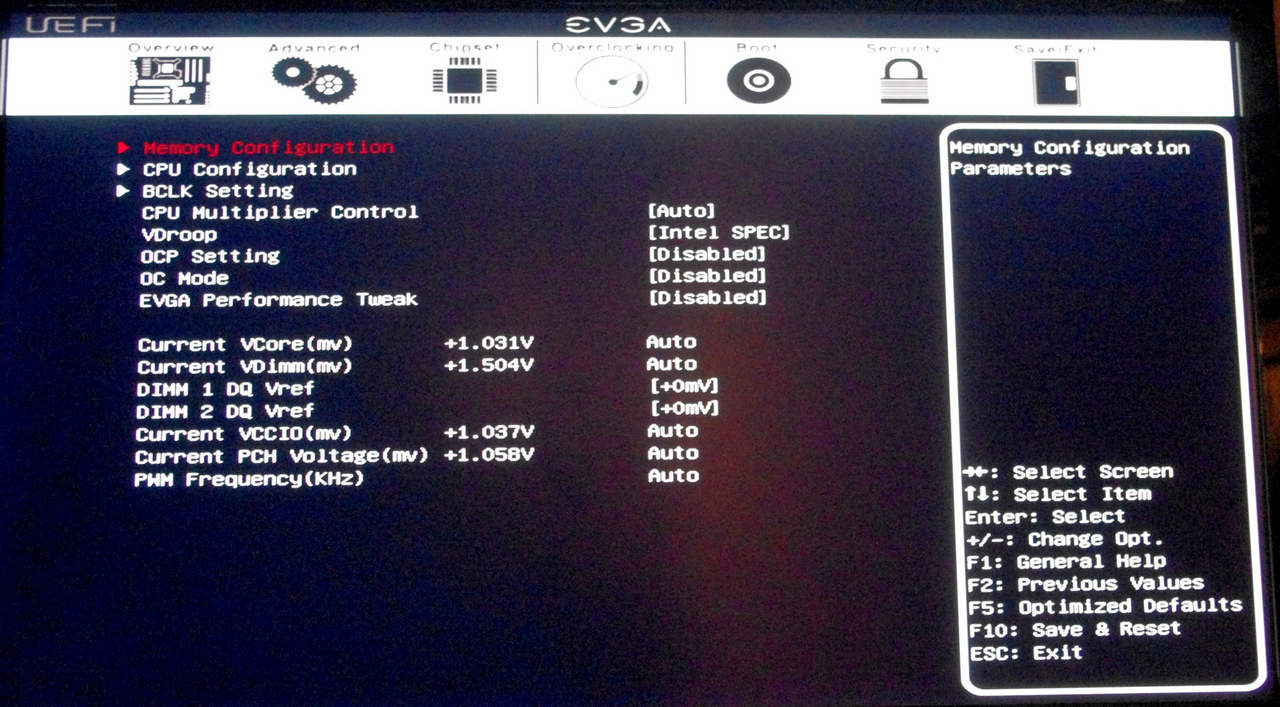
On the main Overclocking screen we have multiplier control, VDroop control, options for OCP and performance tweaks as well as voltage options. The OC Mode is a fun setting to have on a motherboard, as it automatically disables all the additional ports not used in extreme overclocking, like audio, NIC and so on.
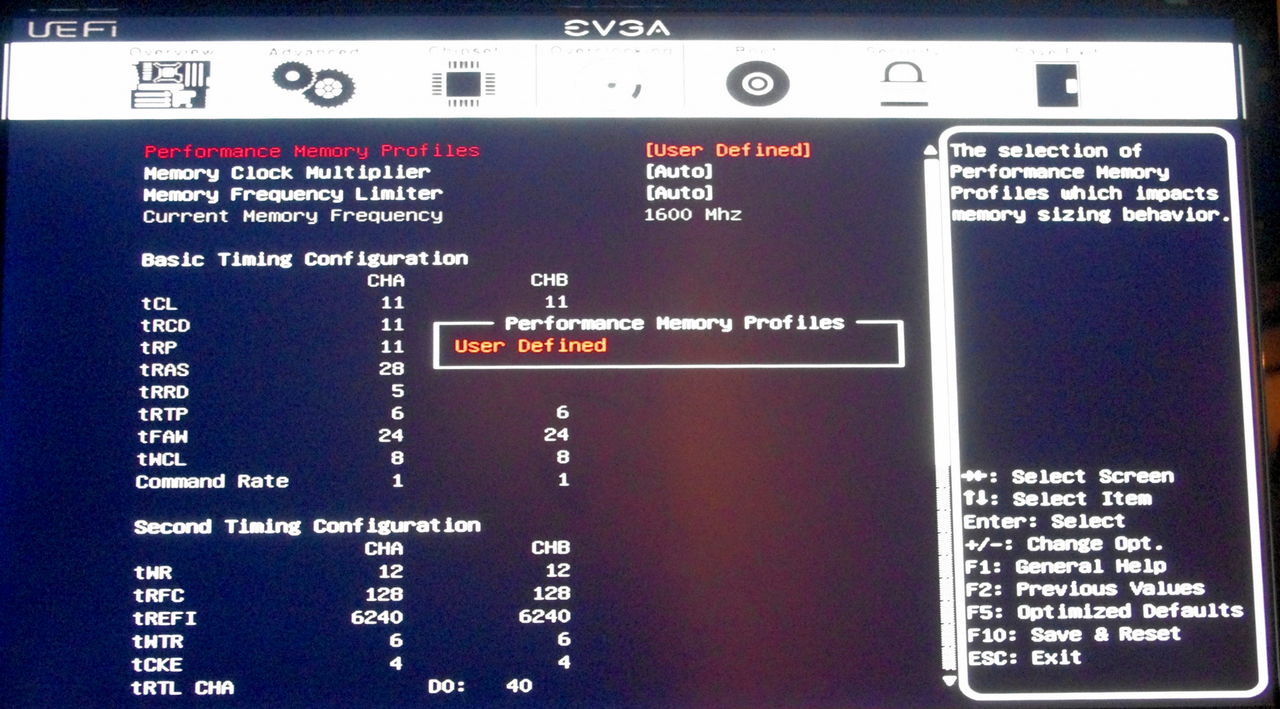
The memory configuration screen allows users to adjust the multiplier and subtimings on their memory. Despite having an option to enable an XMP profile, none of my memory kits I use in testing would work – no option was offered to enable XMP. As a result I had to go in and manually adjust timings. But as there are so many timings to change and only extreme enthusiasts would know exactly what every setting would be on their memory.
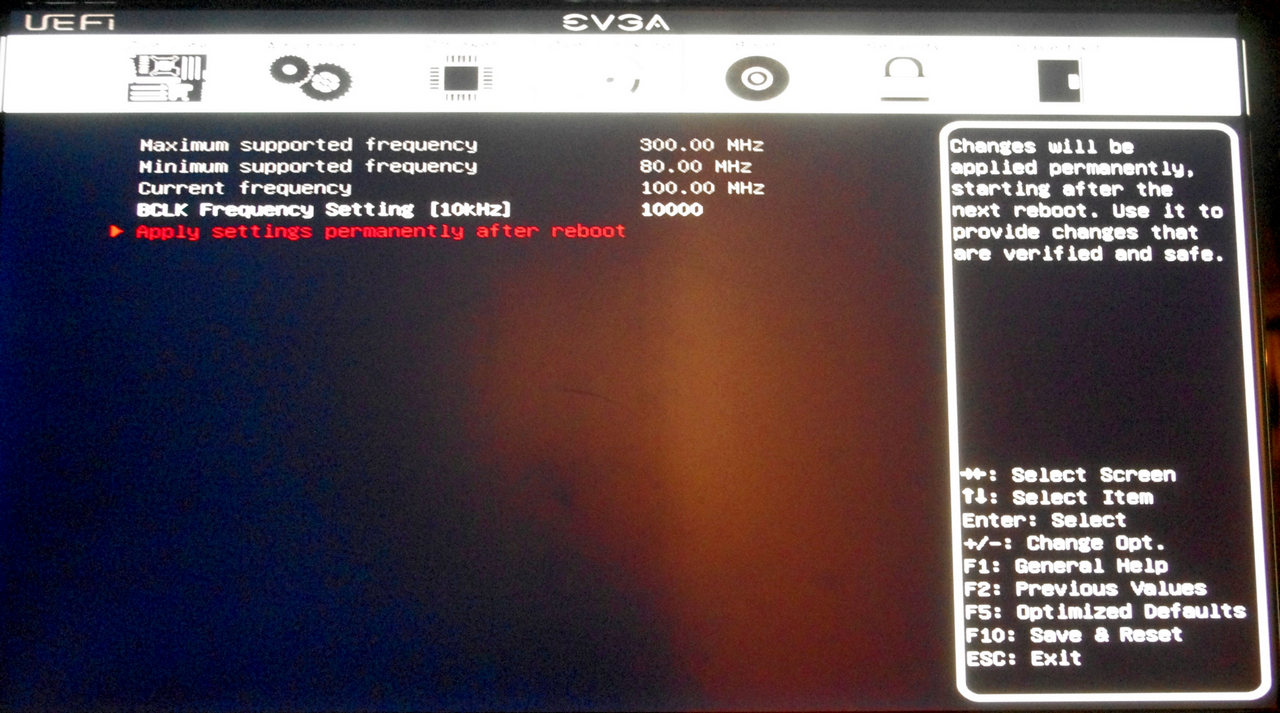
The CPU settings deal with additional options such as Turbo modes, CPU power limits, Hyperthreading and cores used, whereas the BCLK menu gives the user BCLK control. There is an issue with the BCLK menu however – when adjusted (in either the OS or the BIOS), this setting is not changed back to 100 MHz when the Optimized Default option is chosen. This is rather a large oversight, as when recovering from a bad overclock, you ideally do not want the board still booting at 105 MHz or something the processor cannot handle.
Elsewhere in the BIOS are options to adjust the boot order, security, and a handy Boot Override feature to allow a one-time boot from a detected device – a useful tool for installing OSes or testing software.


54 Comments
View All Comments
IanCutress - Monday, December 31, 2012 - link
Gigabyte wanted their H77 reviewed instead, which we reviewed recently: http://www.anandtech.com/show/6427Athelstan - Monday, December 31, 2012 - link
Thanks for the review. I'm curious why you mention the audio chip on all of these board. For the intended purpose, wouldn't the audio be over HDMI, making the onboard audio unused in most cases? Even then, all of the boards have optical out, making the audio chip to have very little to do other than to pass along the bitstream from the media thought the optical connection.IanCutress - Monday, December 31, 2012 - link
The audio chip also controls the front panel audio, and even if the audio was going through the HDMI, external speakers for a HTPC may be used via the audio jacks. In my personal usage scenario, my video out is via DVI-D to a 2560x1440 Korean panel via a dGPU, meaning all my audio still goes through the normal audio jacks. The other reason is that if I did not mention it, someone in the comments would ask why wasn't the audio chip mentioned. There is a price difference between the ALC889, ALC892 and ALC898, though manufacturers obviously get these on bulk deals (or at a discount when bought with the Realtek 8111E/F) and I am not privy to that information.Ian
Taft12 - Monday, December 31, 2012 - link
Speaking of audio, could you let us know the differences between those 3 Realtek audio chipsets? Is there any sound quality difference, or is it only features?mczak - Monday, December 31, 2012 - link
The 892 has somewhat crappy ADC/DACs quality-wise (that said most likely signal routing etc. on the board will have a much bigger effect on sound quality than the quality of the DACs, so using a higher quality chip can still easily result in worse quality than using a cheap chip with more care taken). The 889 and 898 seem quite similar there on paper.I think just about the only thing you'd really miss is the dolby digital live / dts connect features (encode multichannel audio to digital if you're using the digital outputs). But these are pure software features, so you can get them with the 892 as well - I believe though the board manufacturers are more likely to license them with the more expensive chips (I don't know if you could "upgrade" your chip with unofficial means there...). Realtek actually seems to list different ordering numbers depending on these features - interestingly there while all 3 of these chips are listed as a version without any of DDL/DTS Connect, only the 889 has a version with both of them, while the 892 only has a version with DTS Connect, and the 898 only has the version without them - the datasheet still lists those features as optional however.so maybe they just stopped using different ordering numbers (the 889 clearly is the oldest of the 3).
Athelstan - Monday, December 31, 2012 - link
*grins* Good point. If you don't mention it someone else would be asking for it.Stacey Melissa - Monday, December 31, 2012 - link
I'm running the ASUS board, and installed the AI Suite for a different ASUS Z77 board in order to get access to Fan Expert 2, which has far better fan control than v.1. Wish I could remember which Z77 board it was, but all I did was check the download pages for various Z77 boards to find one that included AI Suite with Fan Expert 2.IanCutress - Monday, December 31, 2012 - link
MSI include a program as part of the package to update the software, making sure you have the latest available. ASUS and Gigabyte need to do this ASAP, so people can take advantage of things like Fan Expert 2 without having to visit the website. System integrators often just install the drivers and software on the CD when selling a system, and then the user never updates it unless told to by either (a) friends or (b) the software itself.Ian
mfenn - Monday, December 31, 2012 - link
Am I the only one who is getting tired of the liberal copy-pasting of content between motherboard (and SSD) reviews on this site? I don't need to waste my time reading about the MSI design competition in every single review.I understand the need to provide background information to readers who may not peruse every single review, but that's why Tim invented the hyperlink. Link to the old review or to a purpose-built "company profile" page.
Sabresiberian - Tuesday, January 1, 2013 - link
Adding info some may be familiar with is preferable to leaving it out. If you don't want to read it, then I suggest you just skim or skip it entirely. :)