Lian Li F1: The Desk As the Computer
by Joshua Buss on August 7, 2005 7:35 AM EST- Posted in
- Cases/Cooling/PSUs
Assembly
To keep the length of this article from getting out of control, we’ve made a smaller, downloadable photo-narration of the complete assembly of the desk for those interested. Click here to download the zip. We’ve also condensed this assembly process down to a brief summary, however.Essentially, the assembly of the desk boils down to three stages: attaching the legs, attaching the other parts of the main desk unit, and then once turned right side up again, the additional units such as the side desk and printer stand can be tacked on. Here’s a shot right after the legs are attached. Note that if we had done it all over again, we would have attached more pieces to the main top before turning it over, but we did not actually have a copy of assembly instructions included with our unit, since it is a preview model.
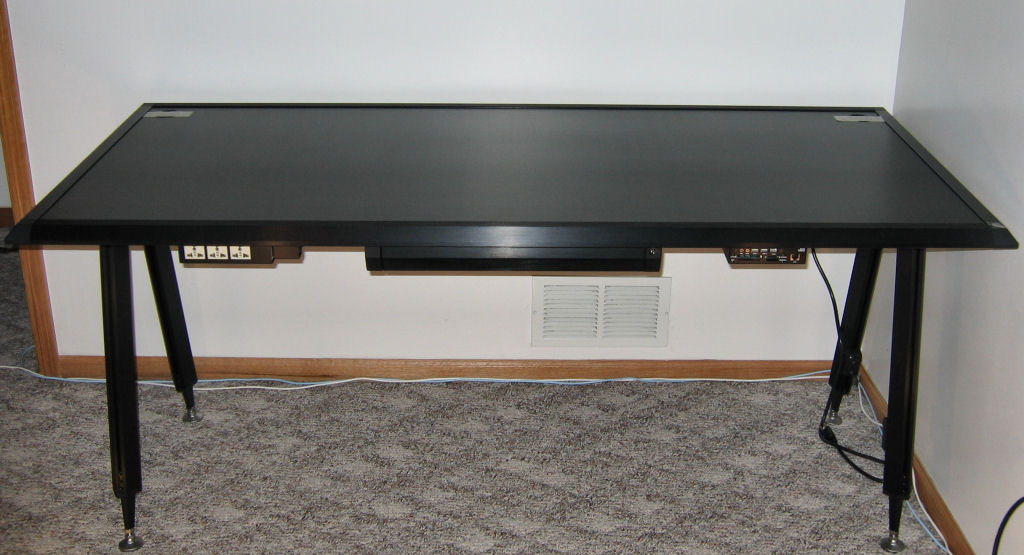
Click to enlarge.
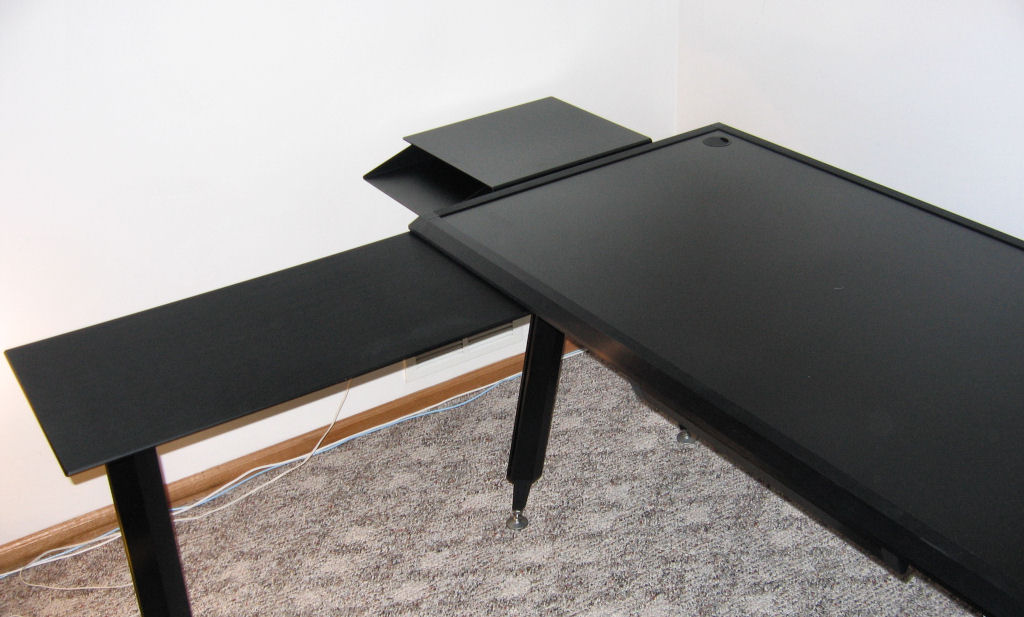
Click to enlarge.

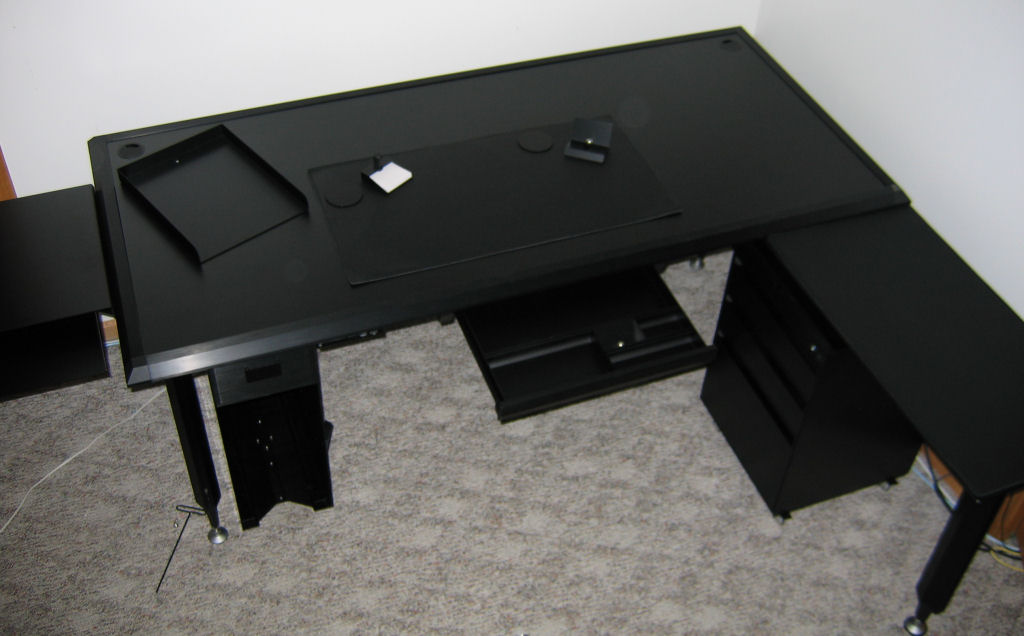
Click to enlarge.
Everything is reversible!
Yes, you read right… from the multimedia port to the case holder unit itself, the entire desk can be flipped left-to-right. This is probably the single most useful aspect of this desk, as it will allow people to configure it exactly how it will fit their needs best. Unfortunately, we cannot comment for sure on whether or not the F2 models allow for this too, but we see no reason why they would not. Just to be sure, as soon as we had finished assembly, we took the thing practically back to the beginning and reconfigured it.
Click to enlarge.


52 Comments
View All Comments
retrospooty - Sunday, August 7, 2005 - link
Hey look.... http://www.coolerguys.com/840556060857.html">http://www.coolerguys.com/840556060857.htmlThe silver is $100 less. LOL
faboloso112 - Sunday, August 7, 2005 - link
another overpriced item from lian li...wonderful...before i get flamed...i do admit that this is a pretty nifty product...just too damn expensive that is all.