The Installation Process
Installing our hardware took a bit longer than we expected, since we have to screw everything into place. To install our HDD, we had to first remove the drive cage, and then apply four screws to mount the drive. The power supply was also a hassle because we needed to remove the mounting plate at the back of the case to slide in the PowerStream unit, and then screw the plate onto both the power supply as well as the case.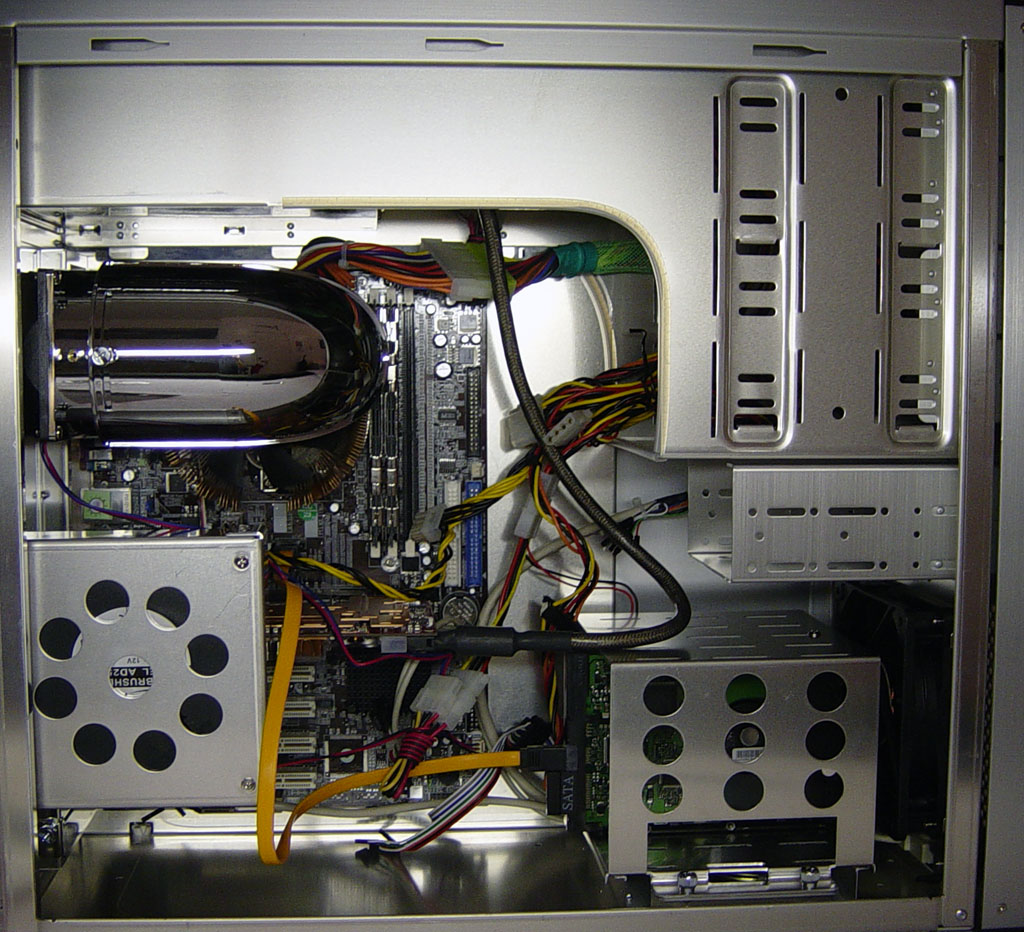
Click to enlarge.
Our motherboard installed quite easily. We did not remove the motherboard tray, since the motherboard was the first component that we installed and no wiring was really in place to interfere. If we had removed the tray to install the board, it would have probably tacked on about 1-2 minutes on the total installation time.
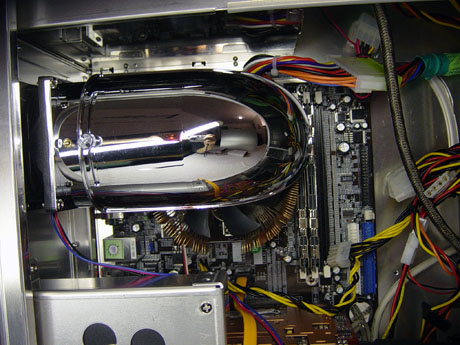
One thing we noticed with the newly implemented CPU air duct feature was that when mounted onto the fan at the back of the case, the duct was not centered over the CPU heat sink fan. We did not see this as an issue, though, since the heat sink fan was large enough to receive any air blown at it that would make the air duct just as effective. The duct can also be pivoted and mounted in various positions to accommodate many different hardware combinations.


43 Comments
View All Comments
semo - Saturday, February 26, 2005 - link
yeah we need thermal infoanyway case looks good but for a bit more money i'd rather get the p160 or cm stackereven for even more money
Brian23 - Saturday, February 26, 2005 - link
In mother Russia, Lian Lis youDEMO24 - Saturday, February 26, 2005 - link
Is it just me or are the thermal images not working correctly?Otherwise cool case I assume. Would be better to see temps though :)