Shuttle’s SN41G2 & SK41G: Two Athlon Small Form Factor PCs
by Anand Lal Shimpi on January 6, 2003 2:24 PM EST- Posted in
- Systems
Removing the drive bay is the next step in getting access to the rest of the XPC, and it is once again accomplished without much effort. Two screws hold the drive bay in place, removing them lets the bay slide out where you can install a hard drive, floppy and CD/DVD drive easily. Shuttle has still yet to deliver on their promise to work with drive makers to produce drives that match the exterior of their XPCs and although it would be an understandably difficult task, we’d still like to see it happen.
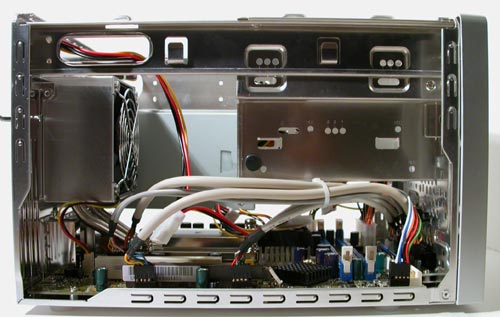
SK41G Profile w/ Drive Bay Removed
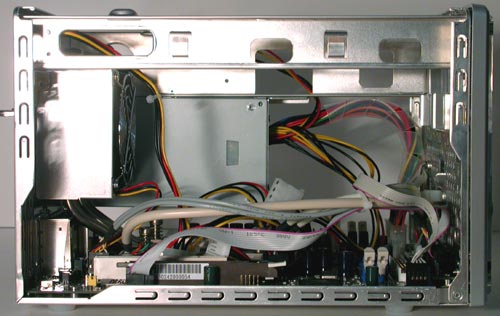
SN41G2 Profile
With the drive bay still installed you can actually easily install or remove expansion cards.
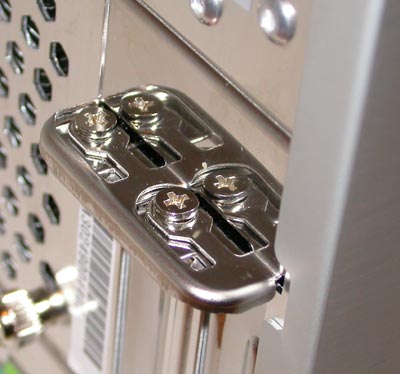
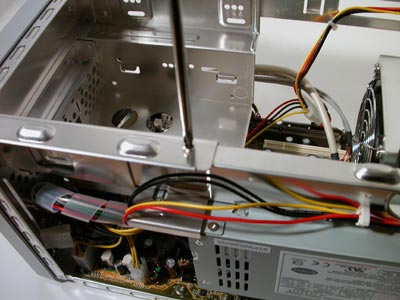
Two screws holds a bracket in place that will eventually hold your card(s) once installed. Unscrewing the braket and flipping it up will allow you to install up to one PCI and one AGP card in the system, but obviously you’ll have to install the PCI card first as the slot is behind the AGP slot.


1 Comments
View All Comments
jbratton - Tuesday, September 16, 2003 - link
My advice a a Shuttle Customer... DO NOT RISK IT !There are lots of other vendors with integrity out there. The jokers I've delt with at Shuttle in the US void any warranty they claim ! Im my experience with them I can count on an unneeded flashing bios.. If thats the problem.. than your ok.. ortherwize.. you're on your own.. after a couple of attempts..forget it.. your warrantys expired !! - A Joke they play on us !