Why an Overclockable Core i3 Might Not Exist: The Supermicro C7H170-M and Intel Core i3-6100TE Review
by Ian Cutress on March 17, 2016 10:30 AM EST- Posted in
- CPUs
- Intel
- Motherboards
- Core i3
- Supermicro
- Overclocking
Supermicro C7H170-M BIOS
As noted in many previous motherboard reviews, some users care deeply about the BIOS interface, whereas others might not care at all. In all honesty, it only gets accessed by a few percent of all users, and usually at most just to set defaults or due to an accidental BIOS reset. Despite this, manufacturers need to spend time on it for two reasons – enthusiasts and optimization. Because the C7H170-M is being advertised as an overclocking motherboard, this means the overclocking tools should be easy to use.
One of the issues of using BIOSes outside the main four motherboard manufacturers is that they tend to be 2-3 years behind in terms of interface, implementation and options. Supermicro is in this space – while there is a graphical interface, it is a bit of a handful to use and doesn’t open up as many options as I would like. One example is that the BIOS does not have a screenshot mode, so apologies for the following photos of a screen. One big aspect I should point out here is that the BIOS does not have an update tool – in order to update the BIOS, the user needs to have a DOS bootable USB with the required files already in place or use the HTML interface after already installing an OS.
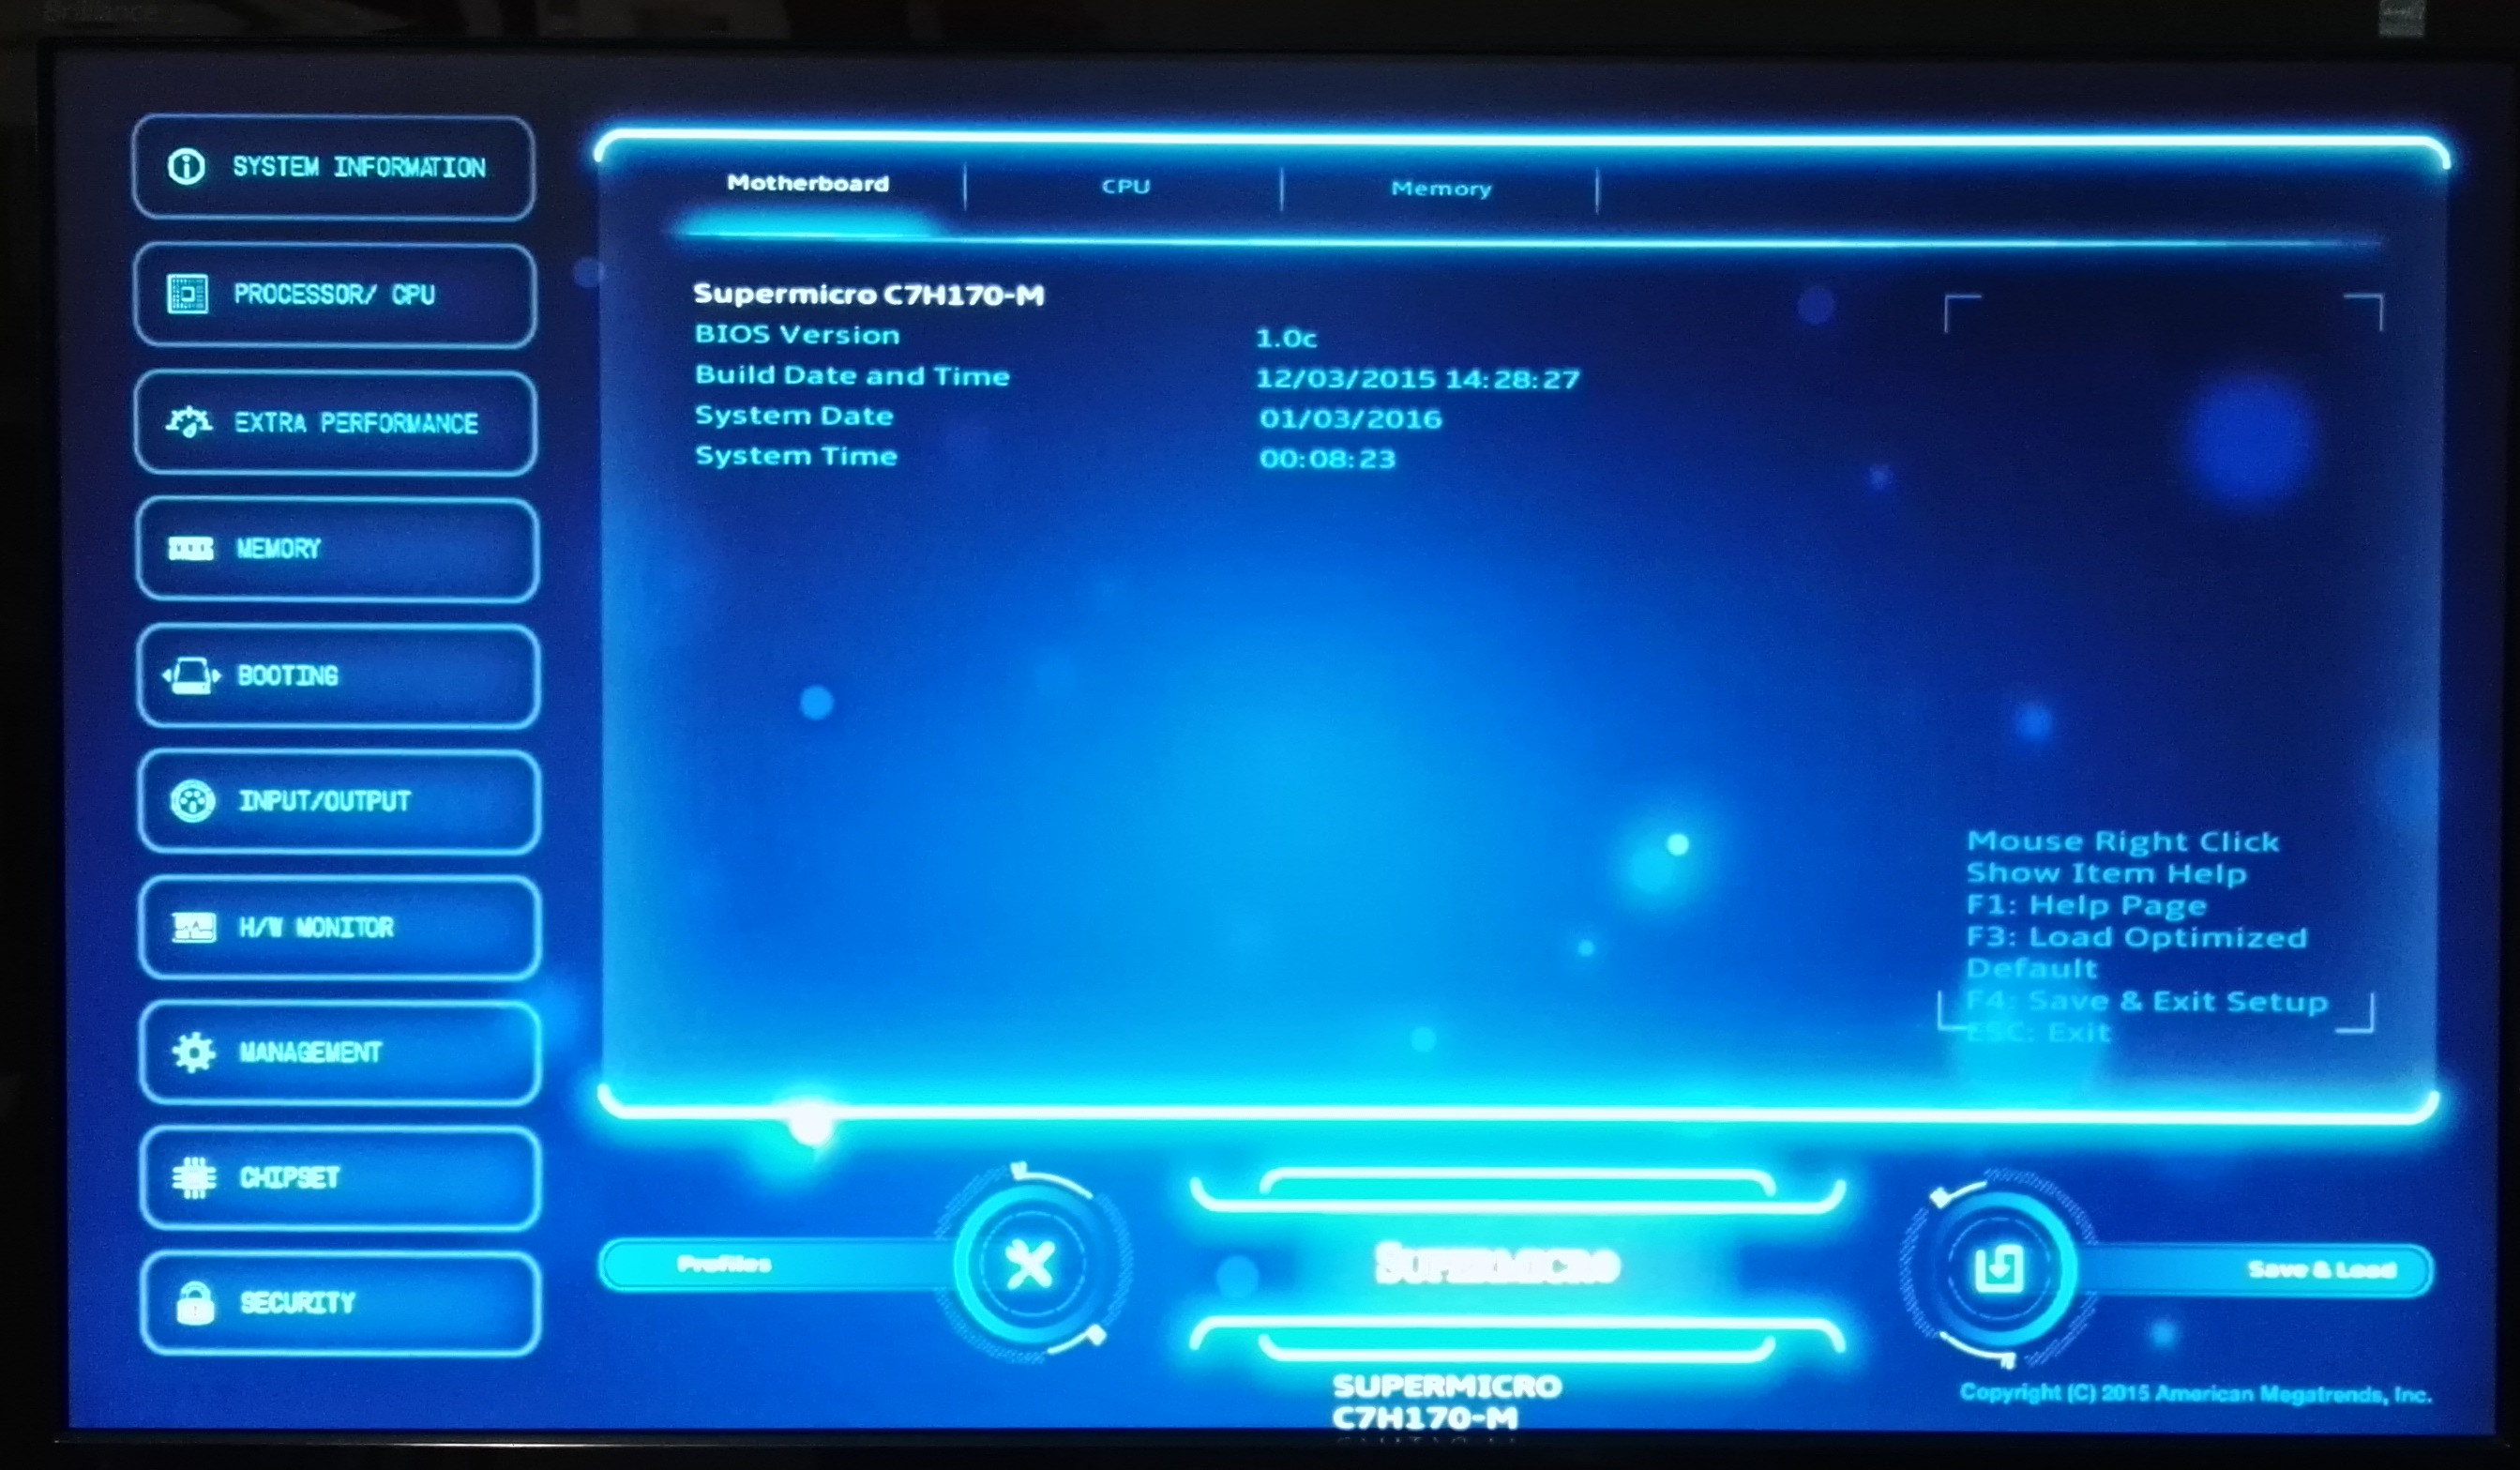
The first screen on entry is a basic display showing the time, the board name and the BIOS version. Typically we want to see a lot more in the opening screen – the CPU installed, the CPU speed, voltage, temperature, the DRAM installed, the DRAM speed, the storage drives installed, the fans installed, the fan speeds, the boot order, and basically everything that could facilitate an easy fix for 85% of all problems without entering any other menus. In time, Supermicro will learn to add this, and should see that other motherboard manufacturers typically do this via an Easy Mode.
Regarding the controls of the BIOS, it can be rather confusing to get to grips with. There is mouse movement and selection, however the use of a high-DPI implementation of the BIOS and my usual DPI setting on my mouse meant that it takes a while to scroll over to any of the options. Normally I would use a keyboard anyway, but that can be confusing too. Selecting an option on the far left automatically moves the cursor to the new menu on the right, but it is not always obvious whether it is the first option in the secondary tabs or the list of options at all. Normally most BIOS implementations would leave the cursor on the far left and not move it at all, so you can go through each of the main tabs without any forced movement. I suspect that Supermicro hasn’t done much QA or market research on their BIOS implementation beyond the small group of engineers that coded it.
As for the BIOS options themselves, we have a few options worth talking about. The first set of menus are the System Information screens, which as mentioned above should all be placed in a single entry screen rather than split apart.
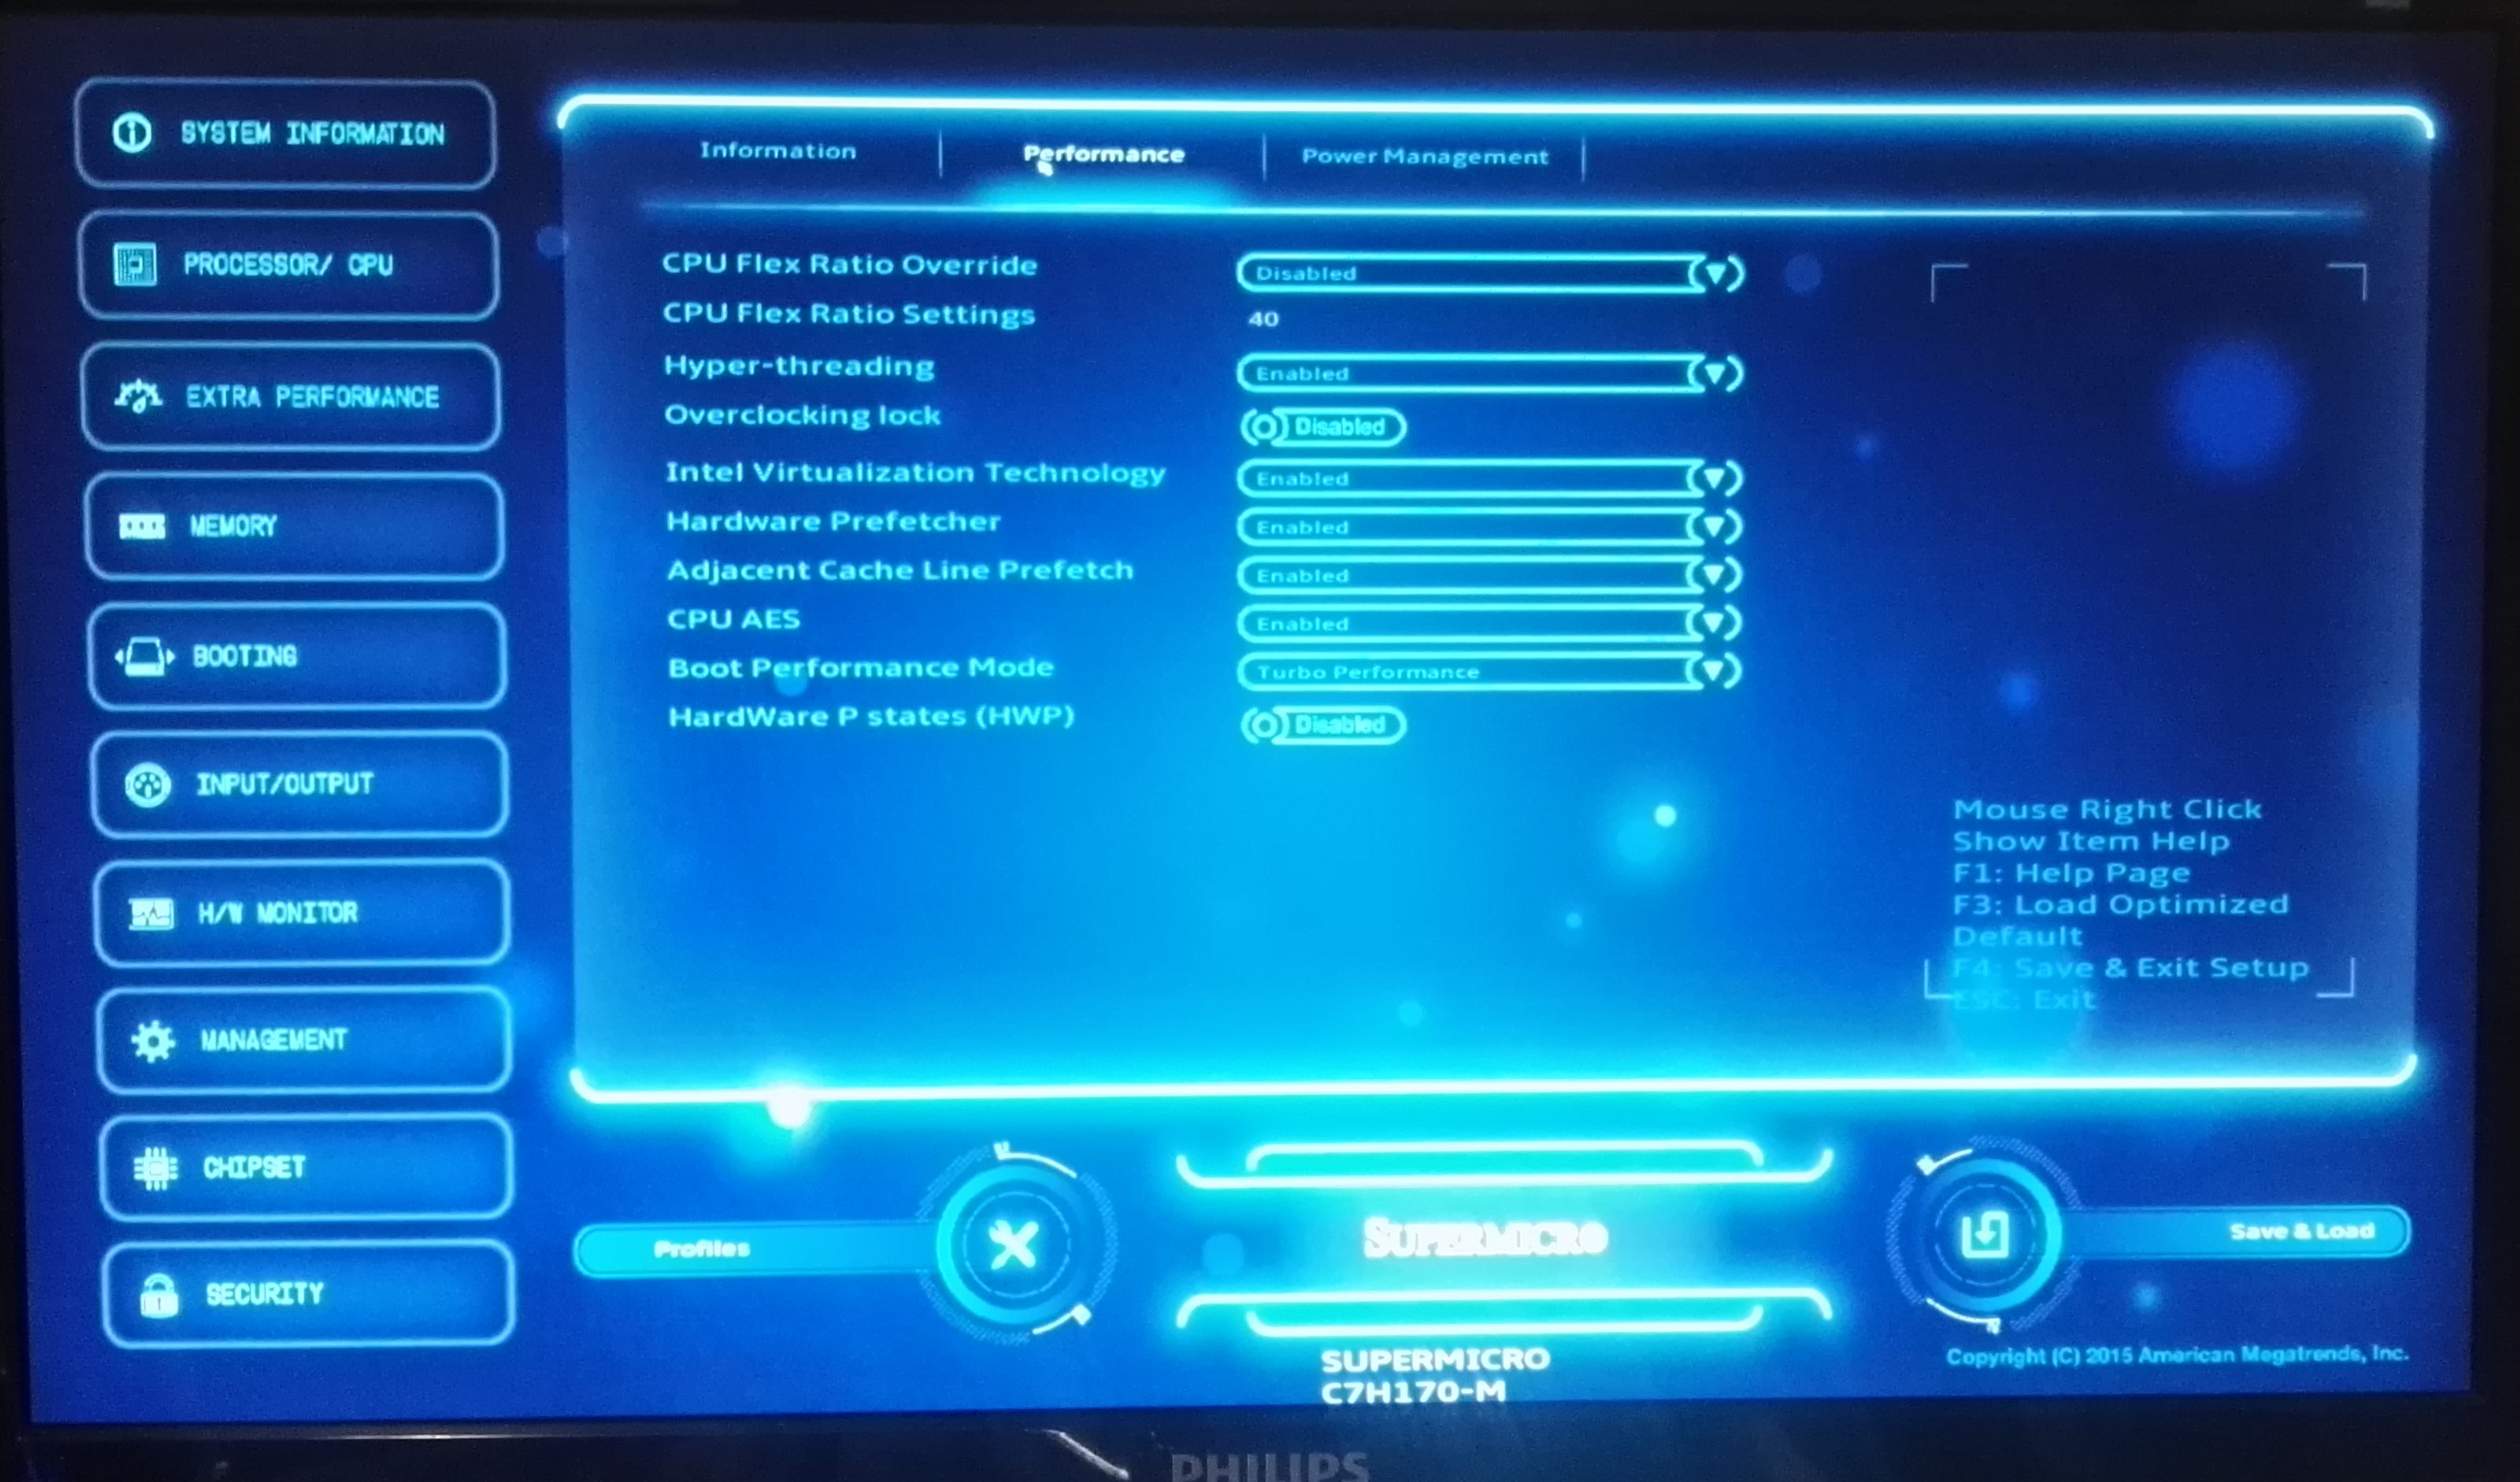
The Processor/CPU tab is the list of standard options we typically get relating to CPUs: hyperthreading, ratio, power states, C-states, turbo mode and so on.
As with other BIOS implementations, the actual overclocking options are in a different menu. Supermicro has them here under ‘Extra Performance’, which gives a single menu with a drop down for base clock frequency adjustment (BCLK Clock Frequency, that second clock being grammatically redundant). Here, with our i3-6100TE processor sample, it offered 100 MHz to 150 MHz in 5 MHz increments.
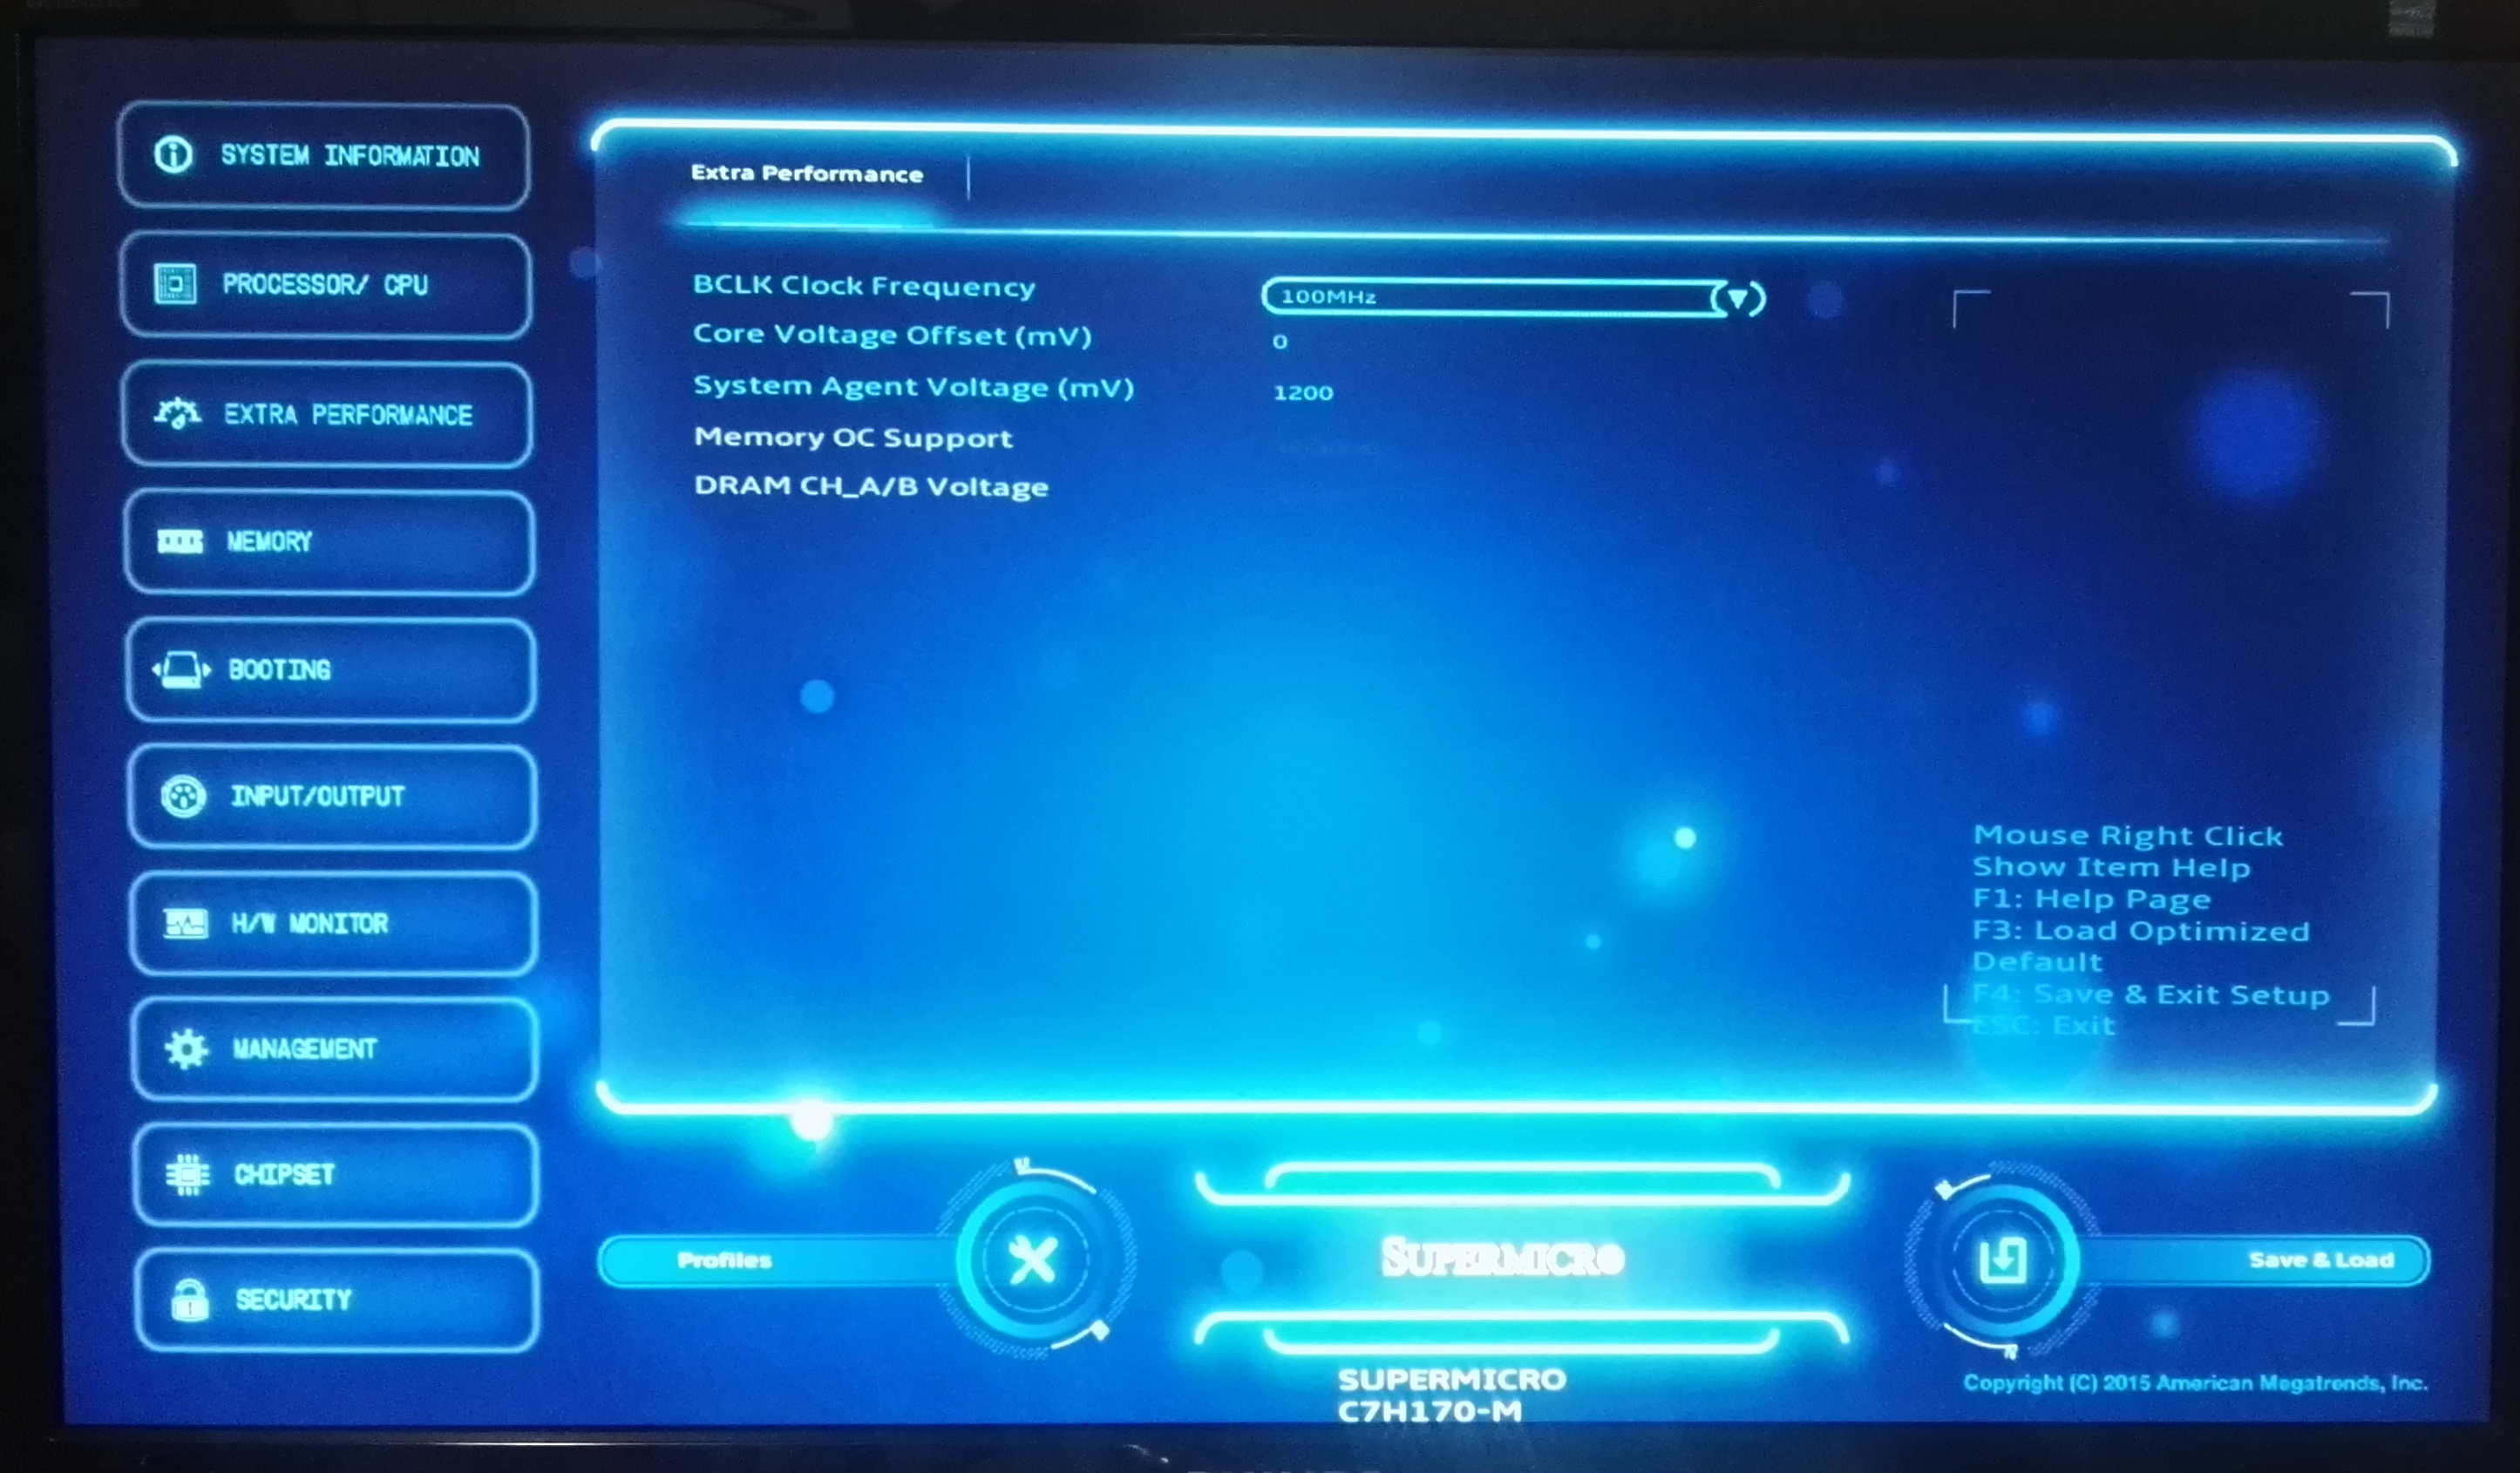
It is worth noting here that this isn’t an automatic overclock look-up table as with some other motherboard vendors – this is simply a MHz adjustment and users will have to manage their own processor voltages. In this case we have a CPU core offset, rather than an absolute value. This can play havoc if the DVFS table decides that the stock voltage needs to be high, and is why we typically request absolute value adjustments (such as the System Agent voltage shown in the screen shot). We also like to see load line calibration options, but they are not enabled here. Nevertheless, our overclocking tests showed that without touching the voltages, we were able to happily push some boundaries moving up to 135 MHz without issue.
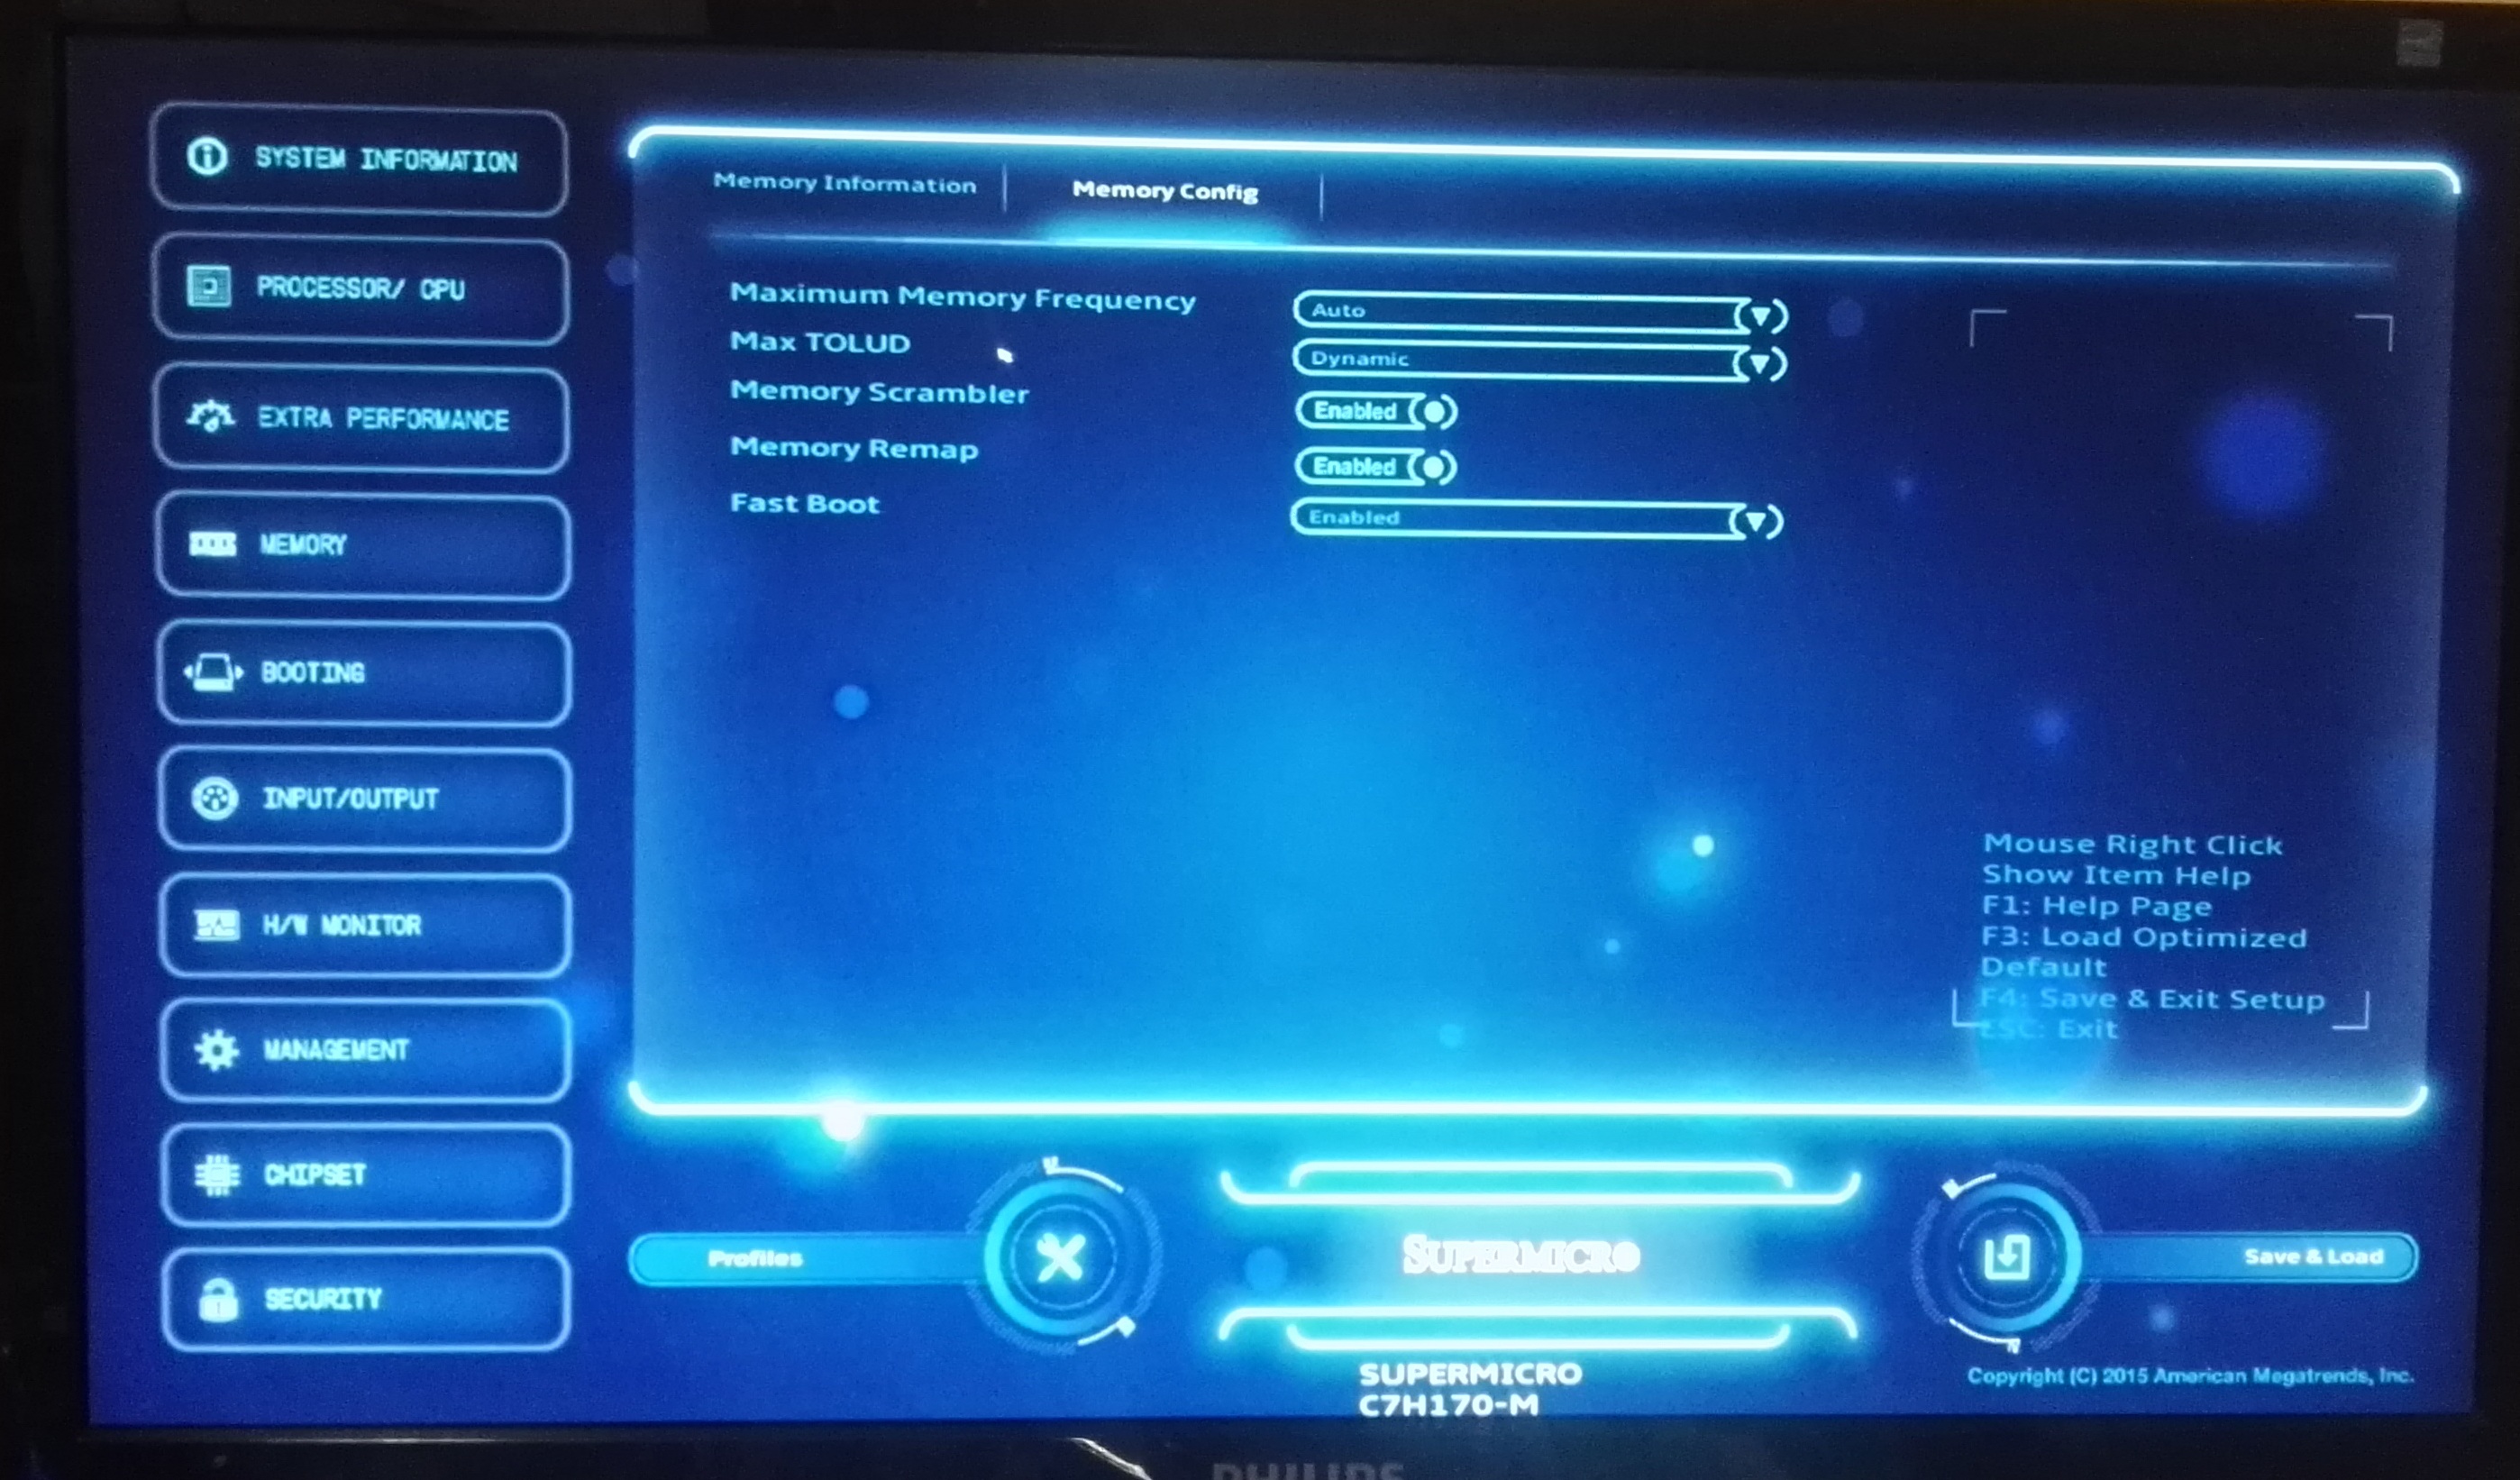
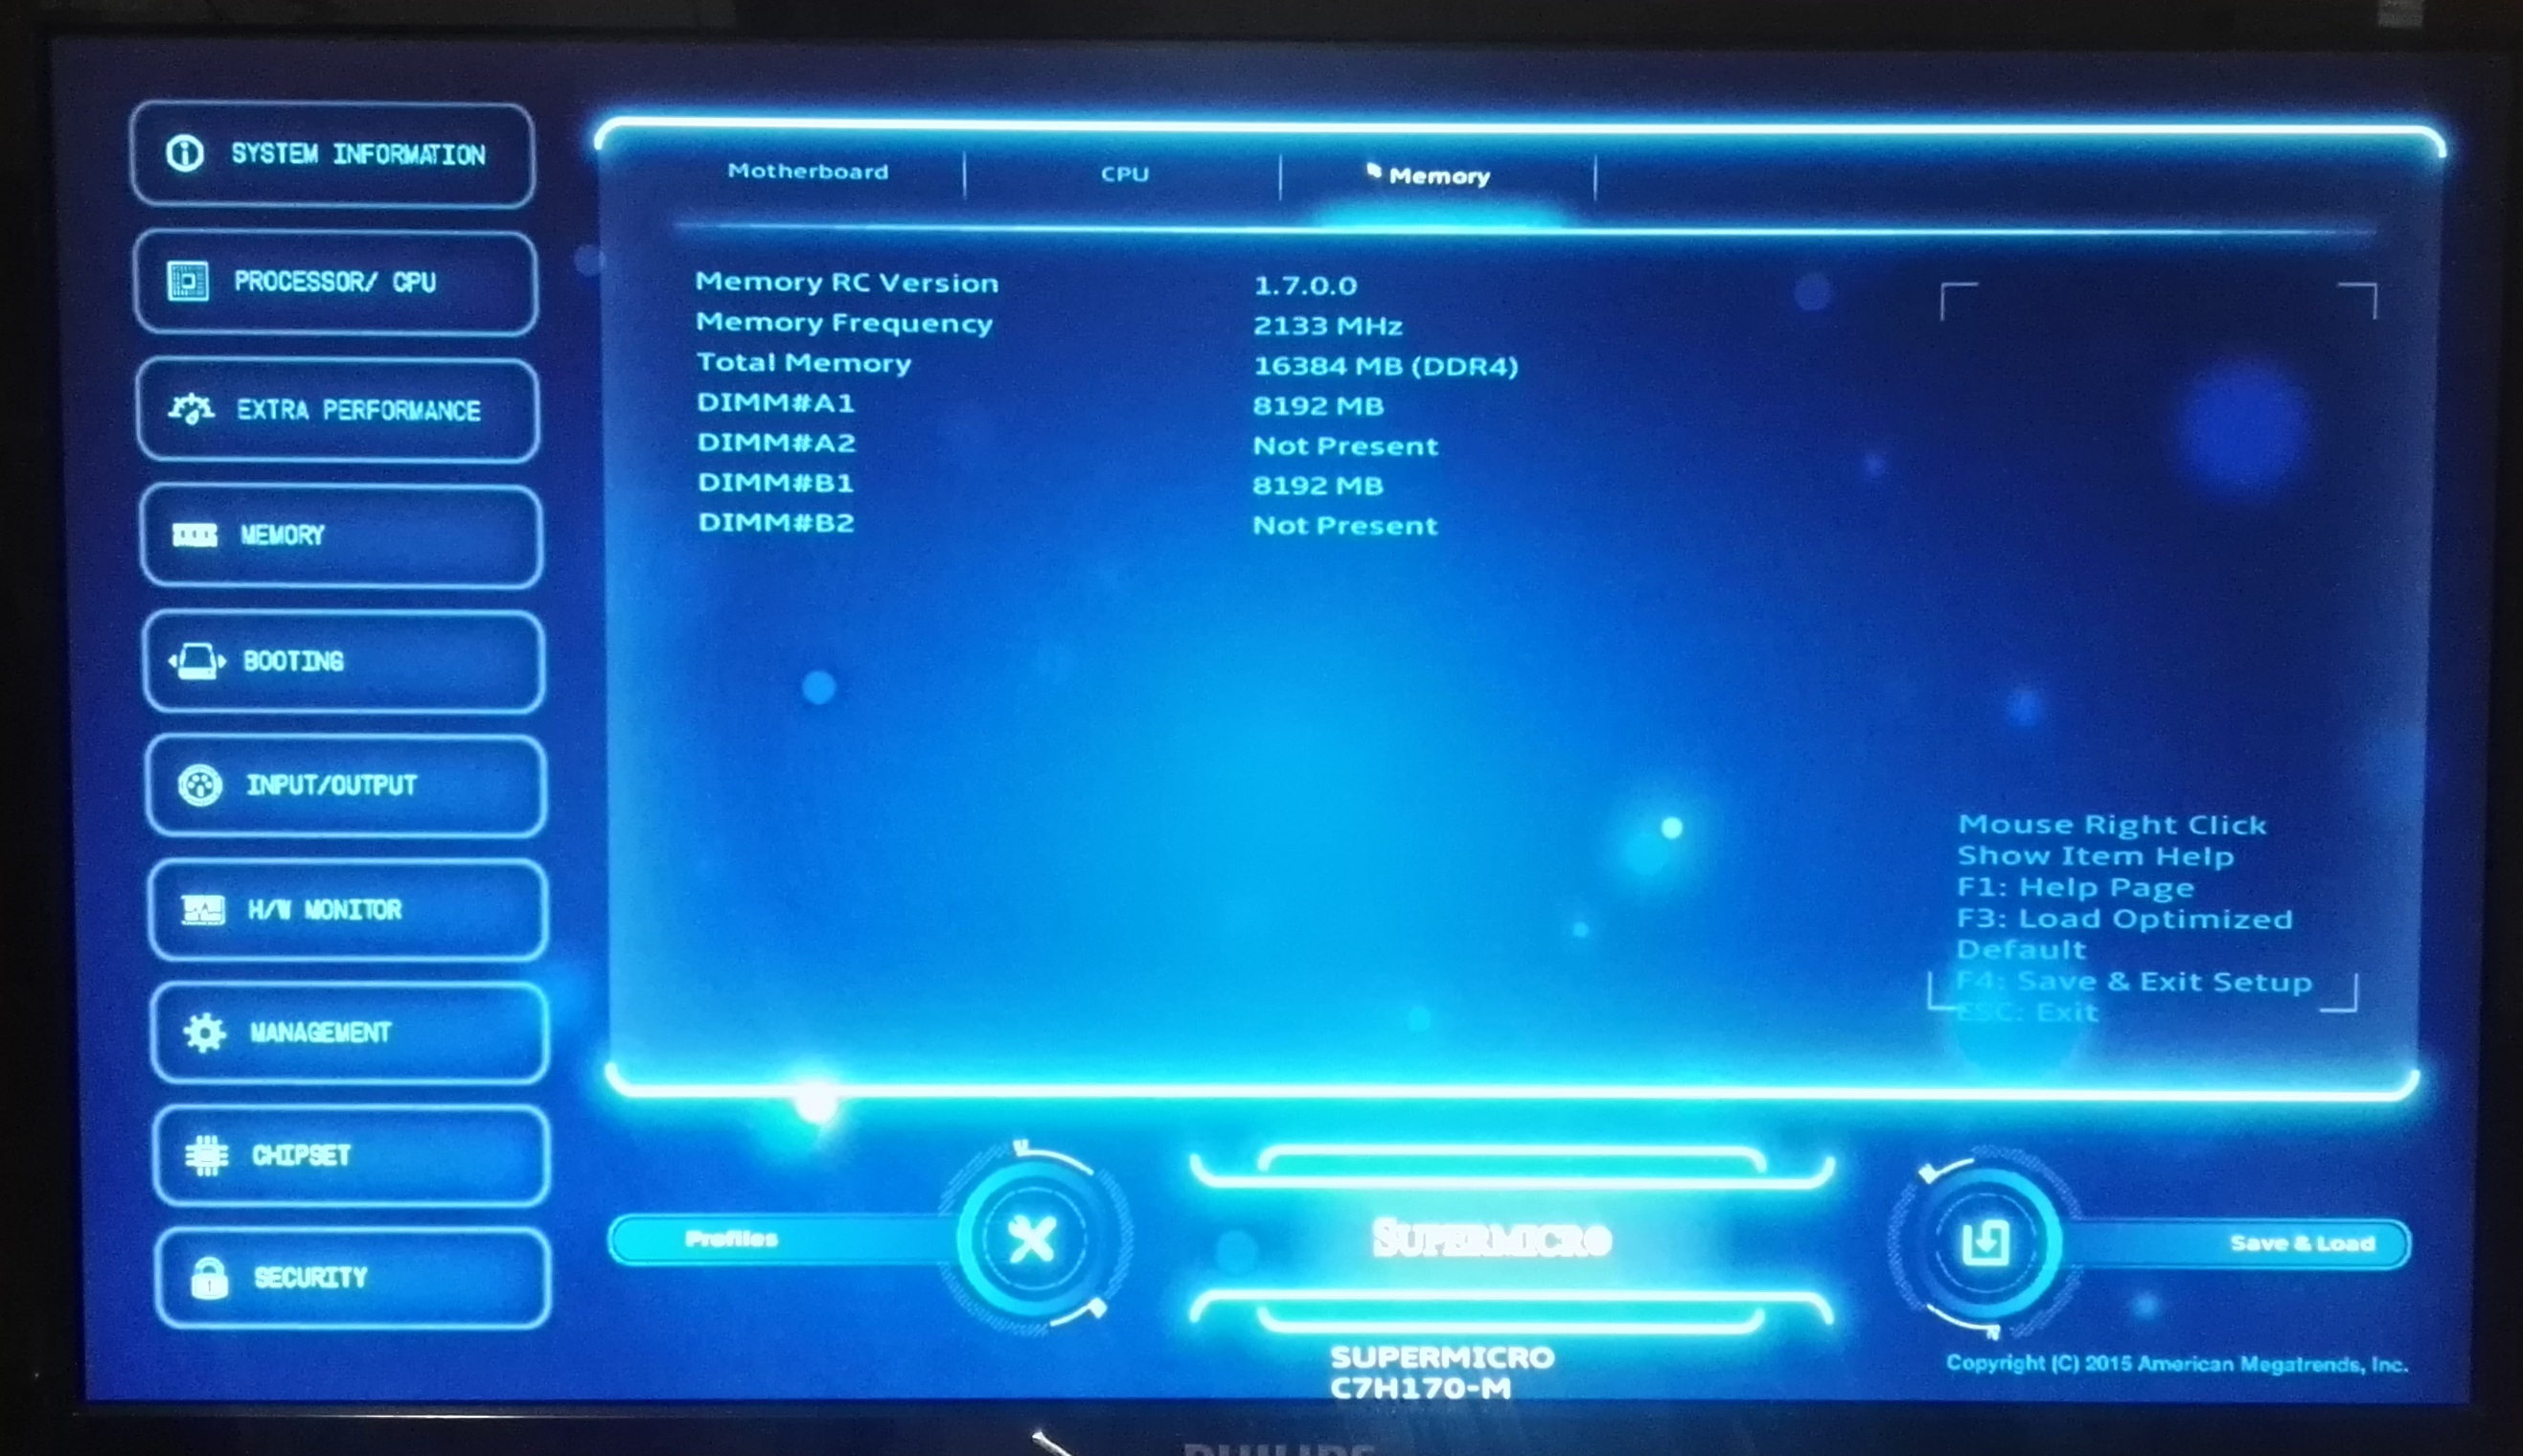
Memory options are relatively limited here – no option to change any sub-timings, but the motherboard is only rated at DDR4-2133 anyway. The maximum memory frequency and fast boot options are the primary ones people may use.
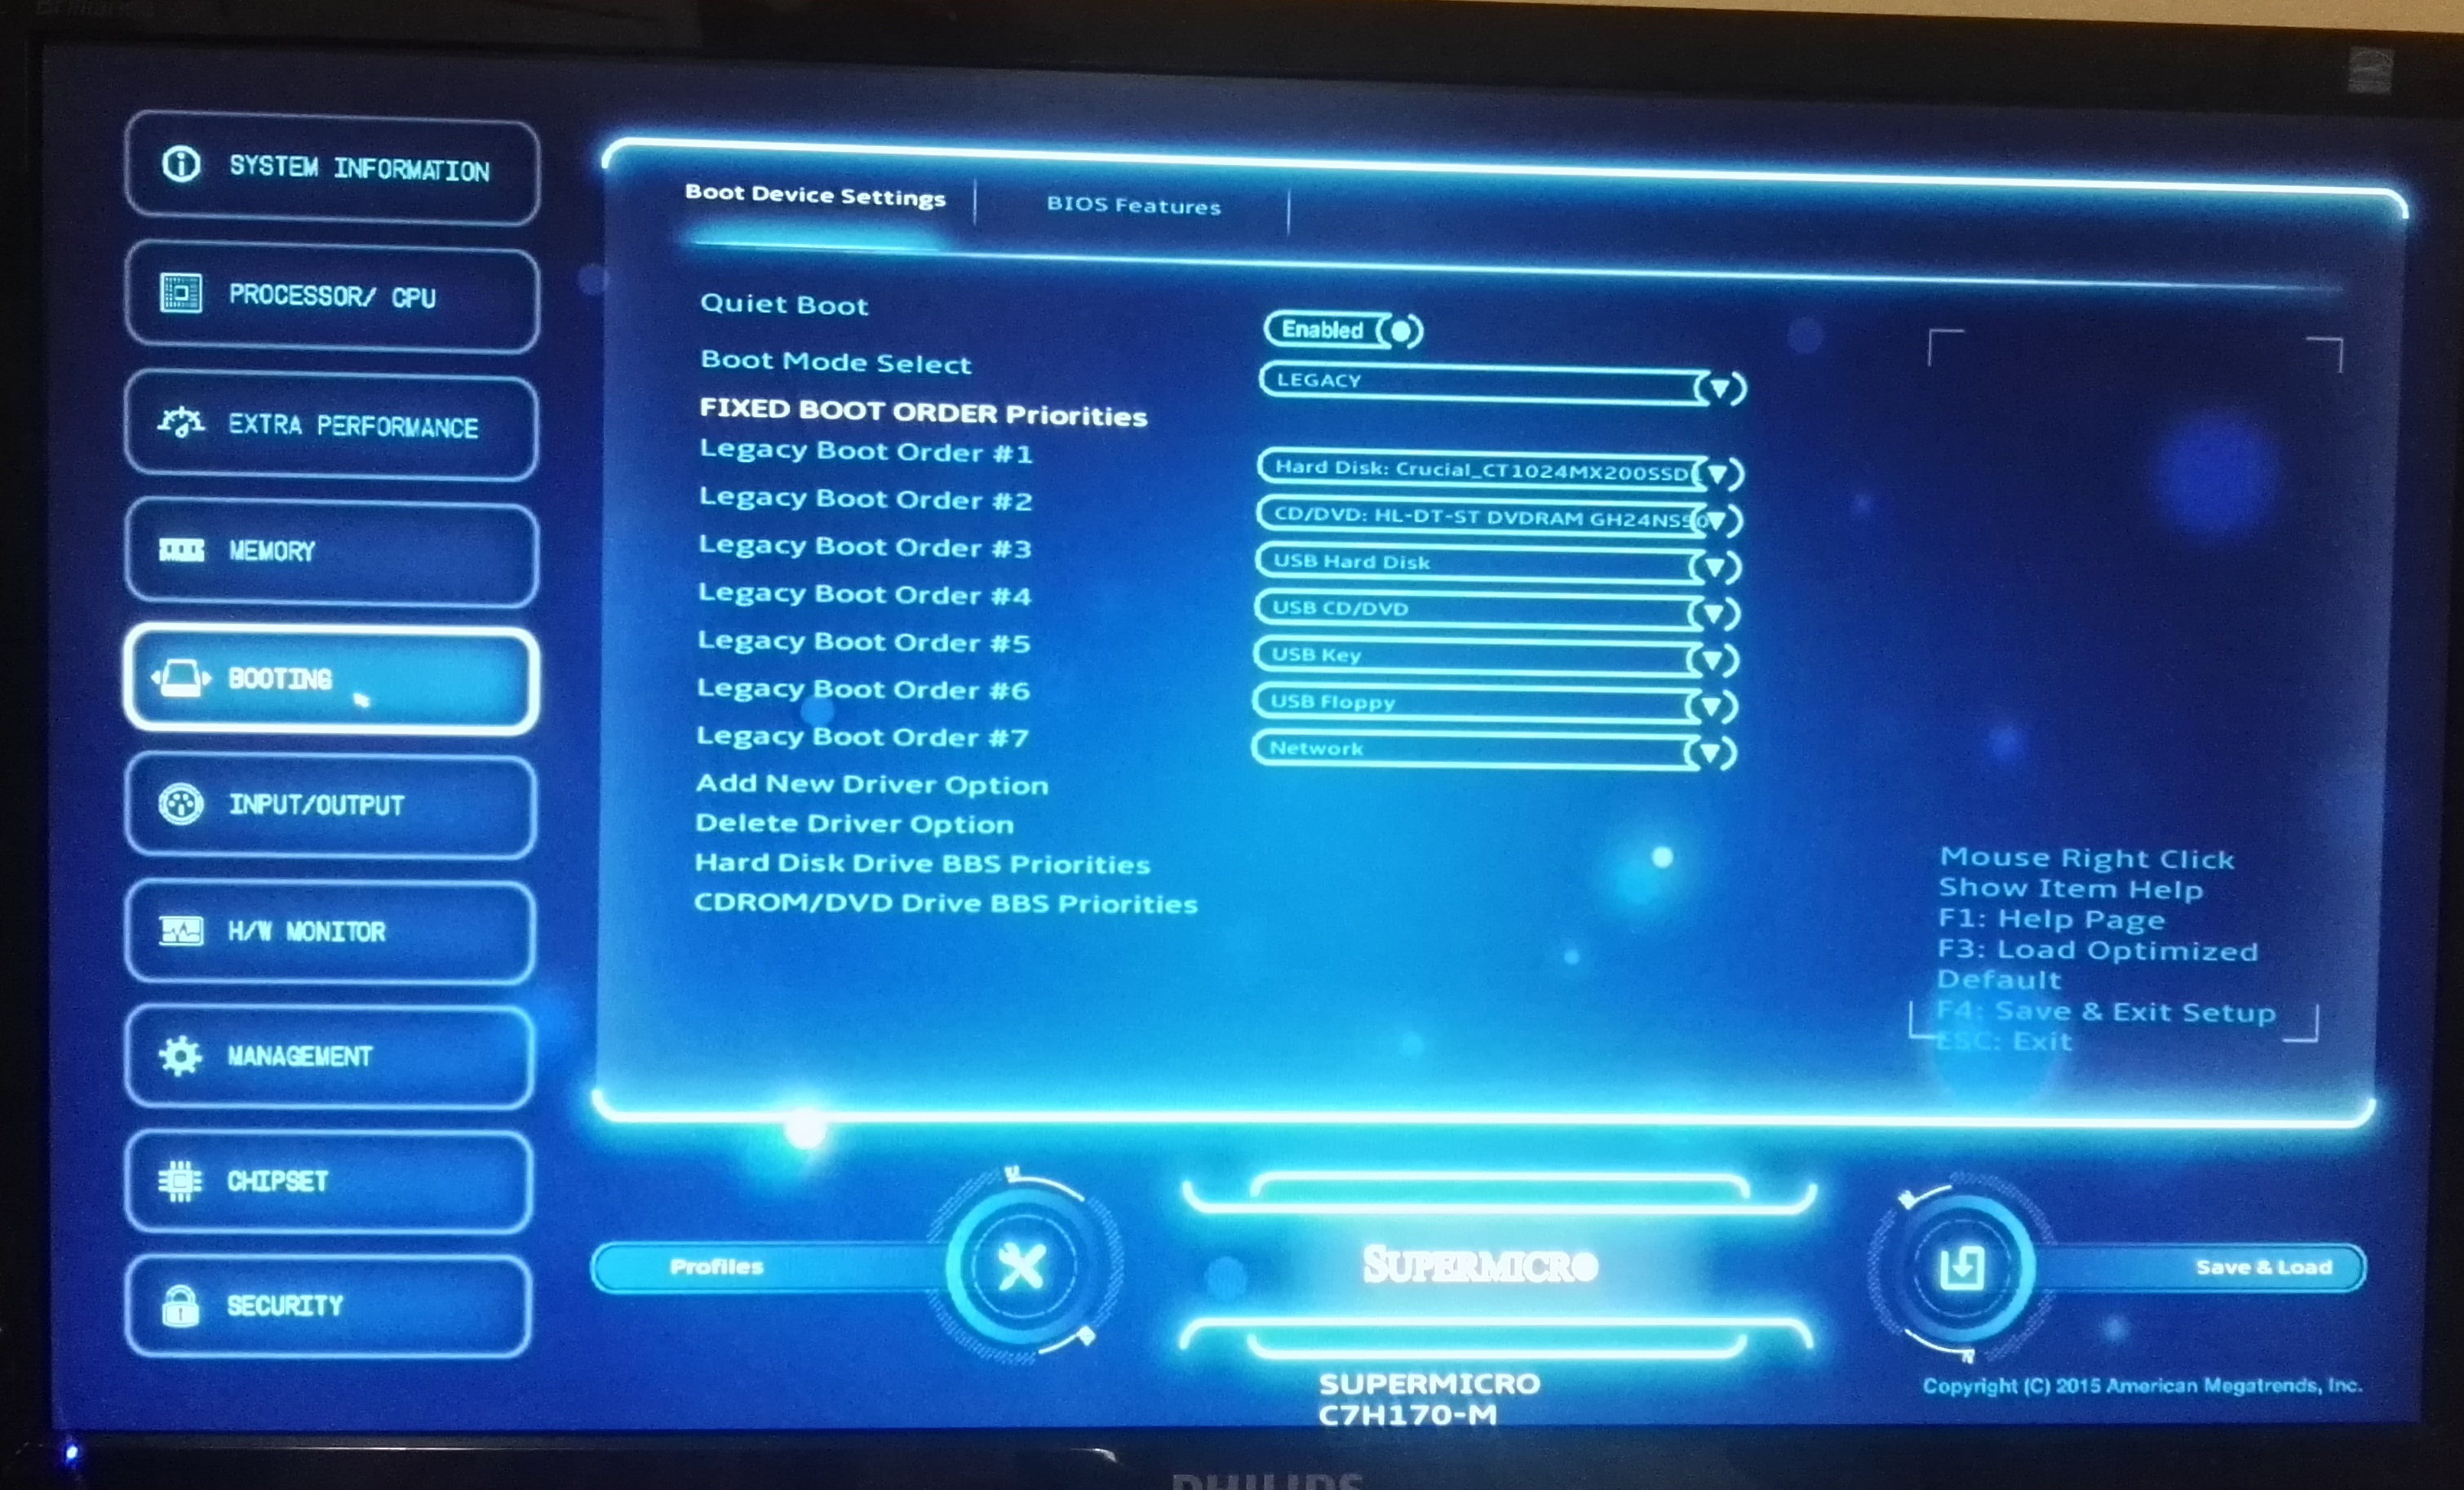
The booting menu is similar to other vendors, offering a complete list for boot options. There is no ‘Single Boot’ option here though to boot from a device in a single instance. By default the boot mode is set to Legacy, which may want to be changed if implementing a UEFI boot protocol.
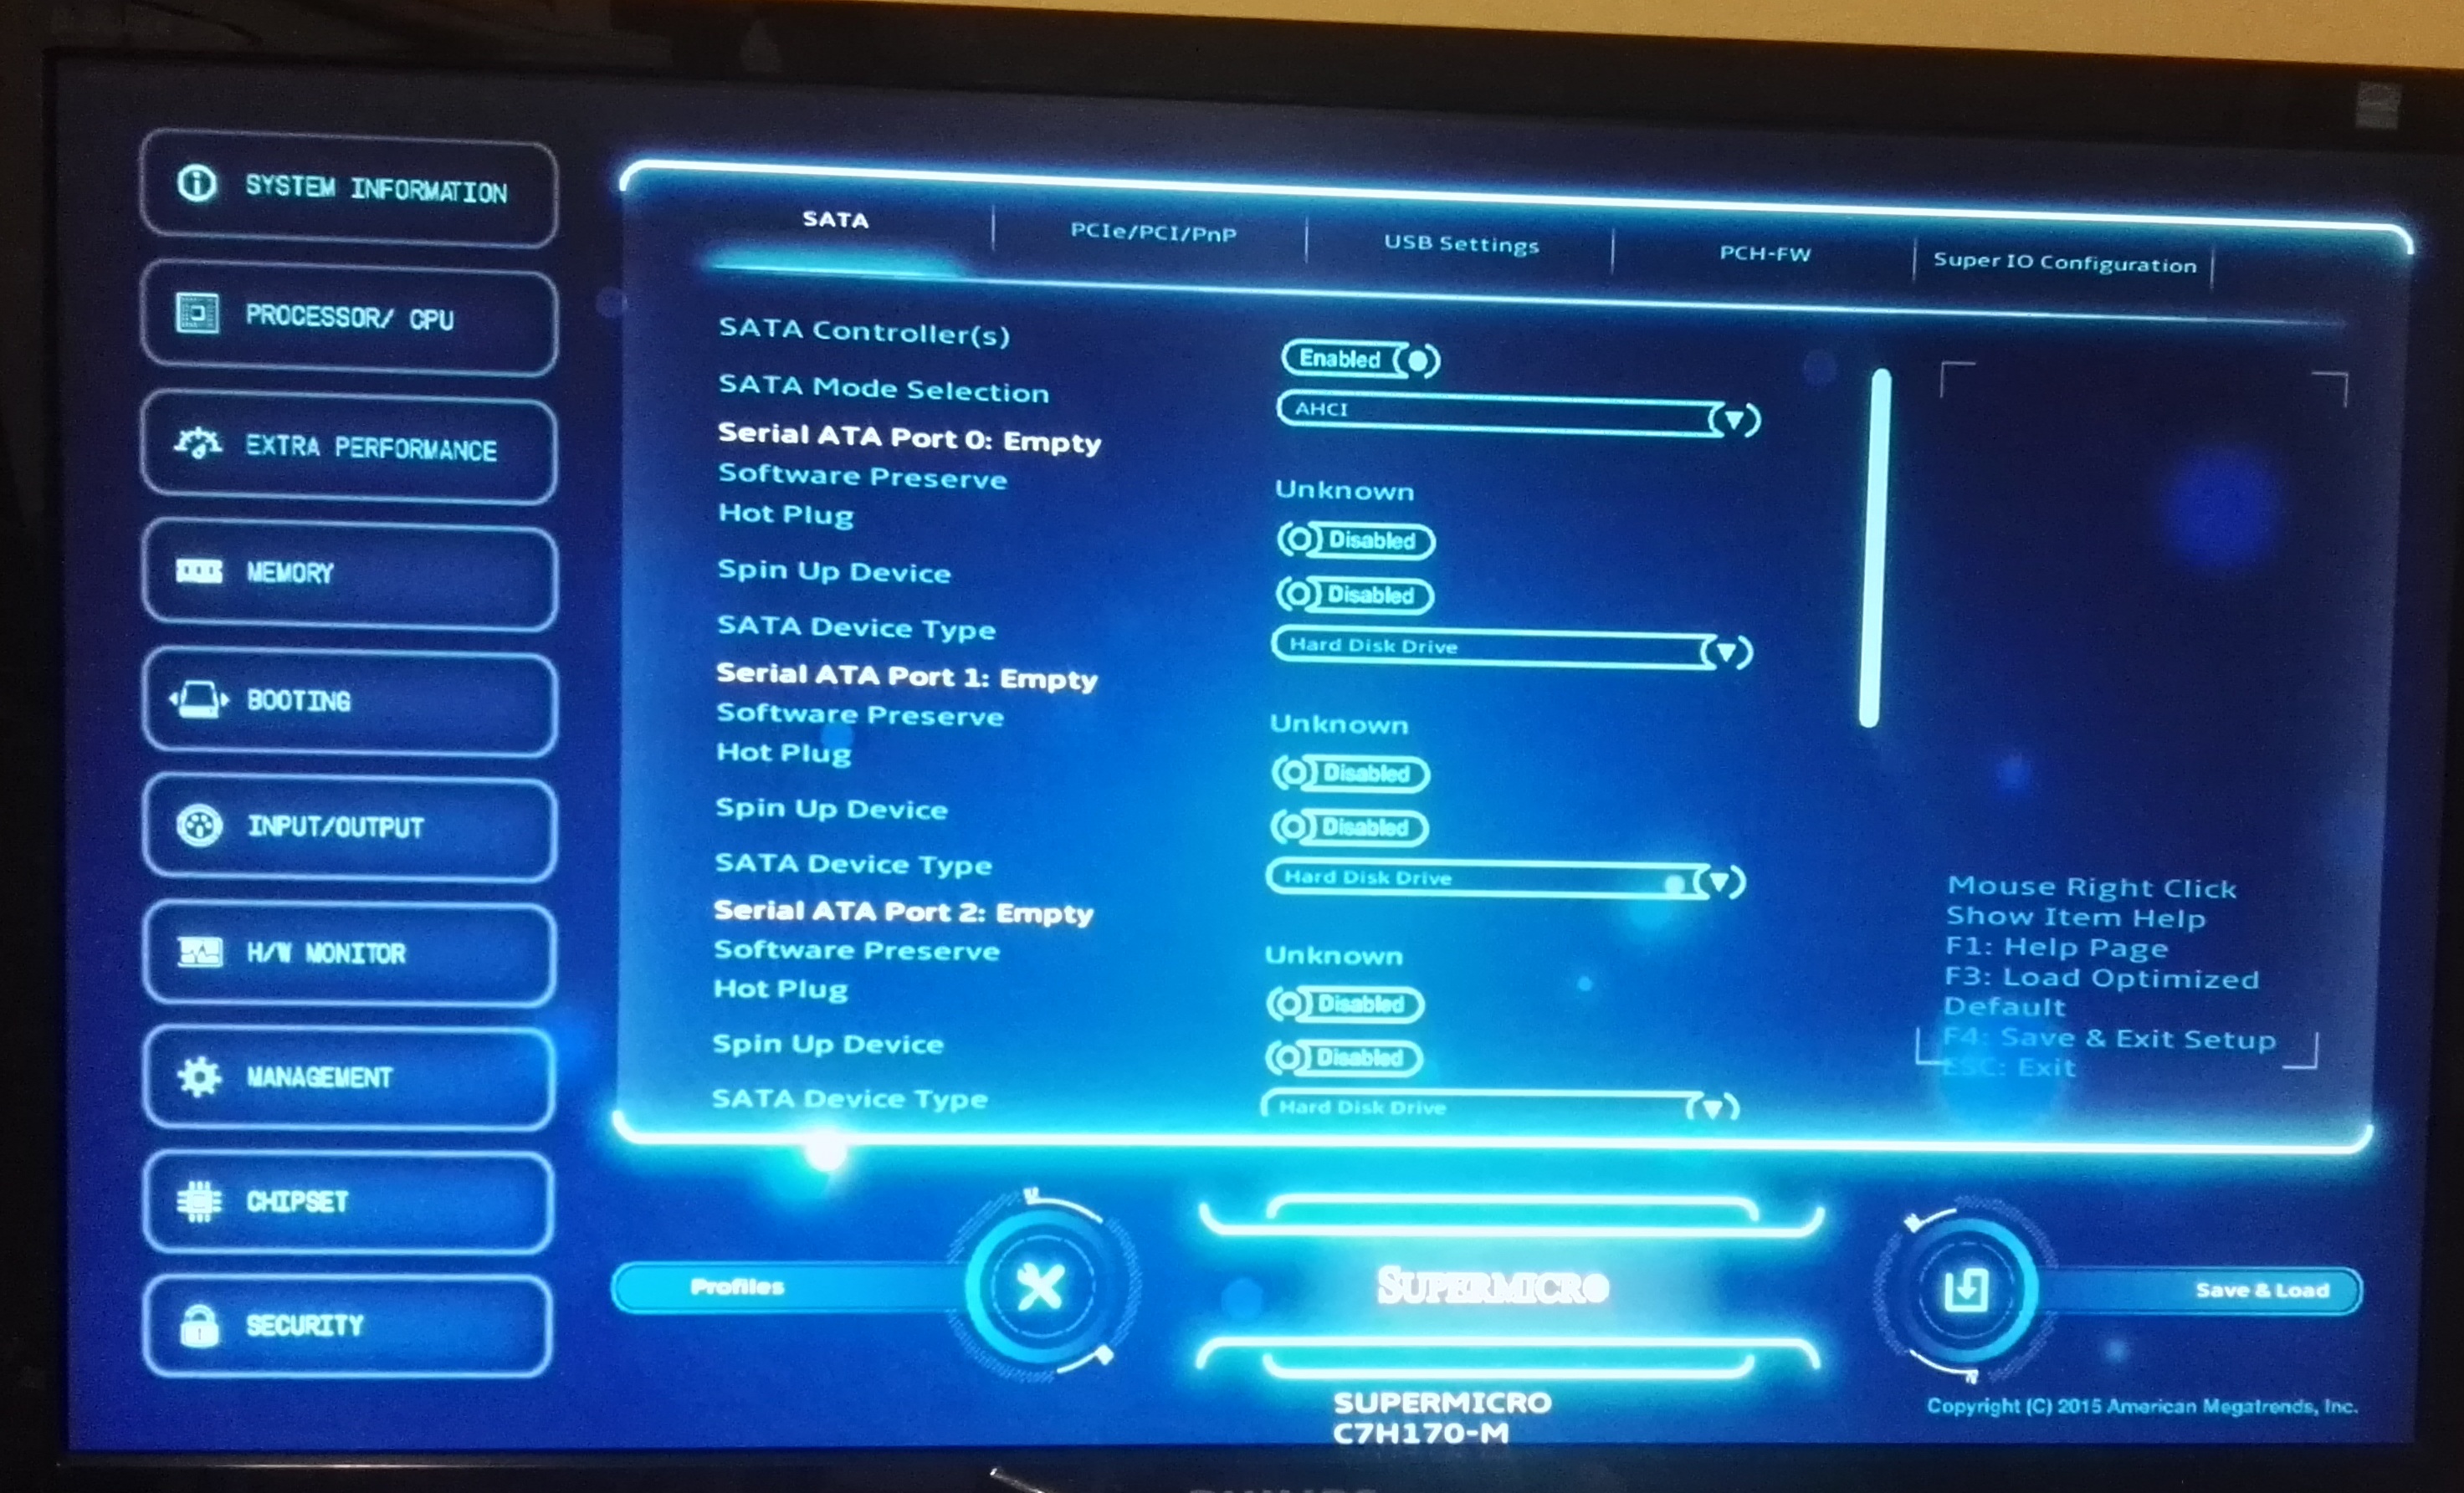
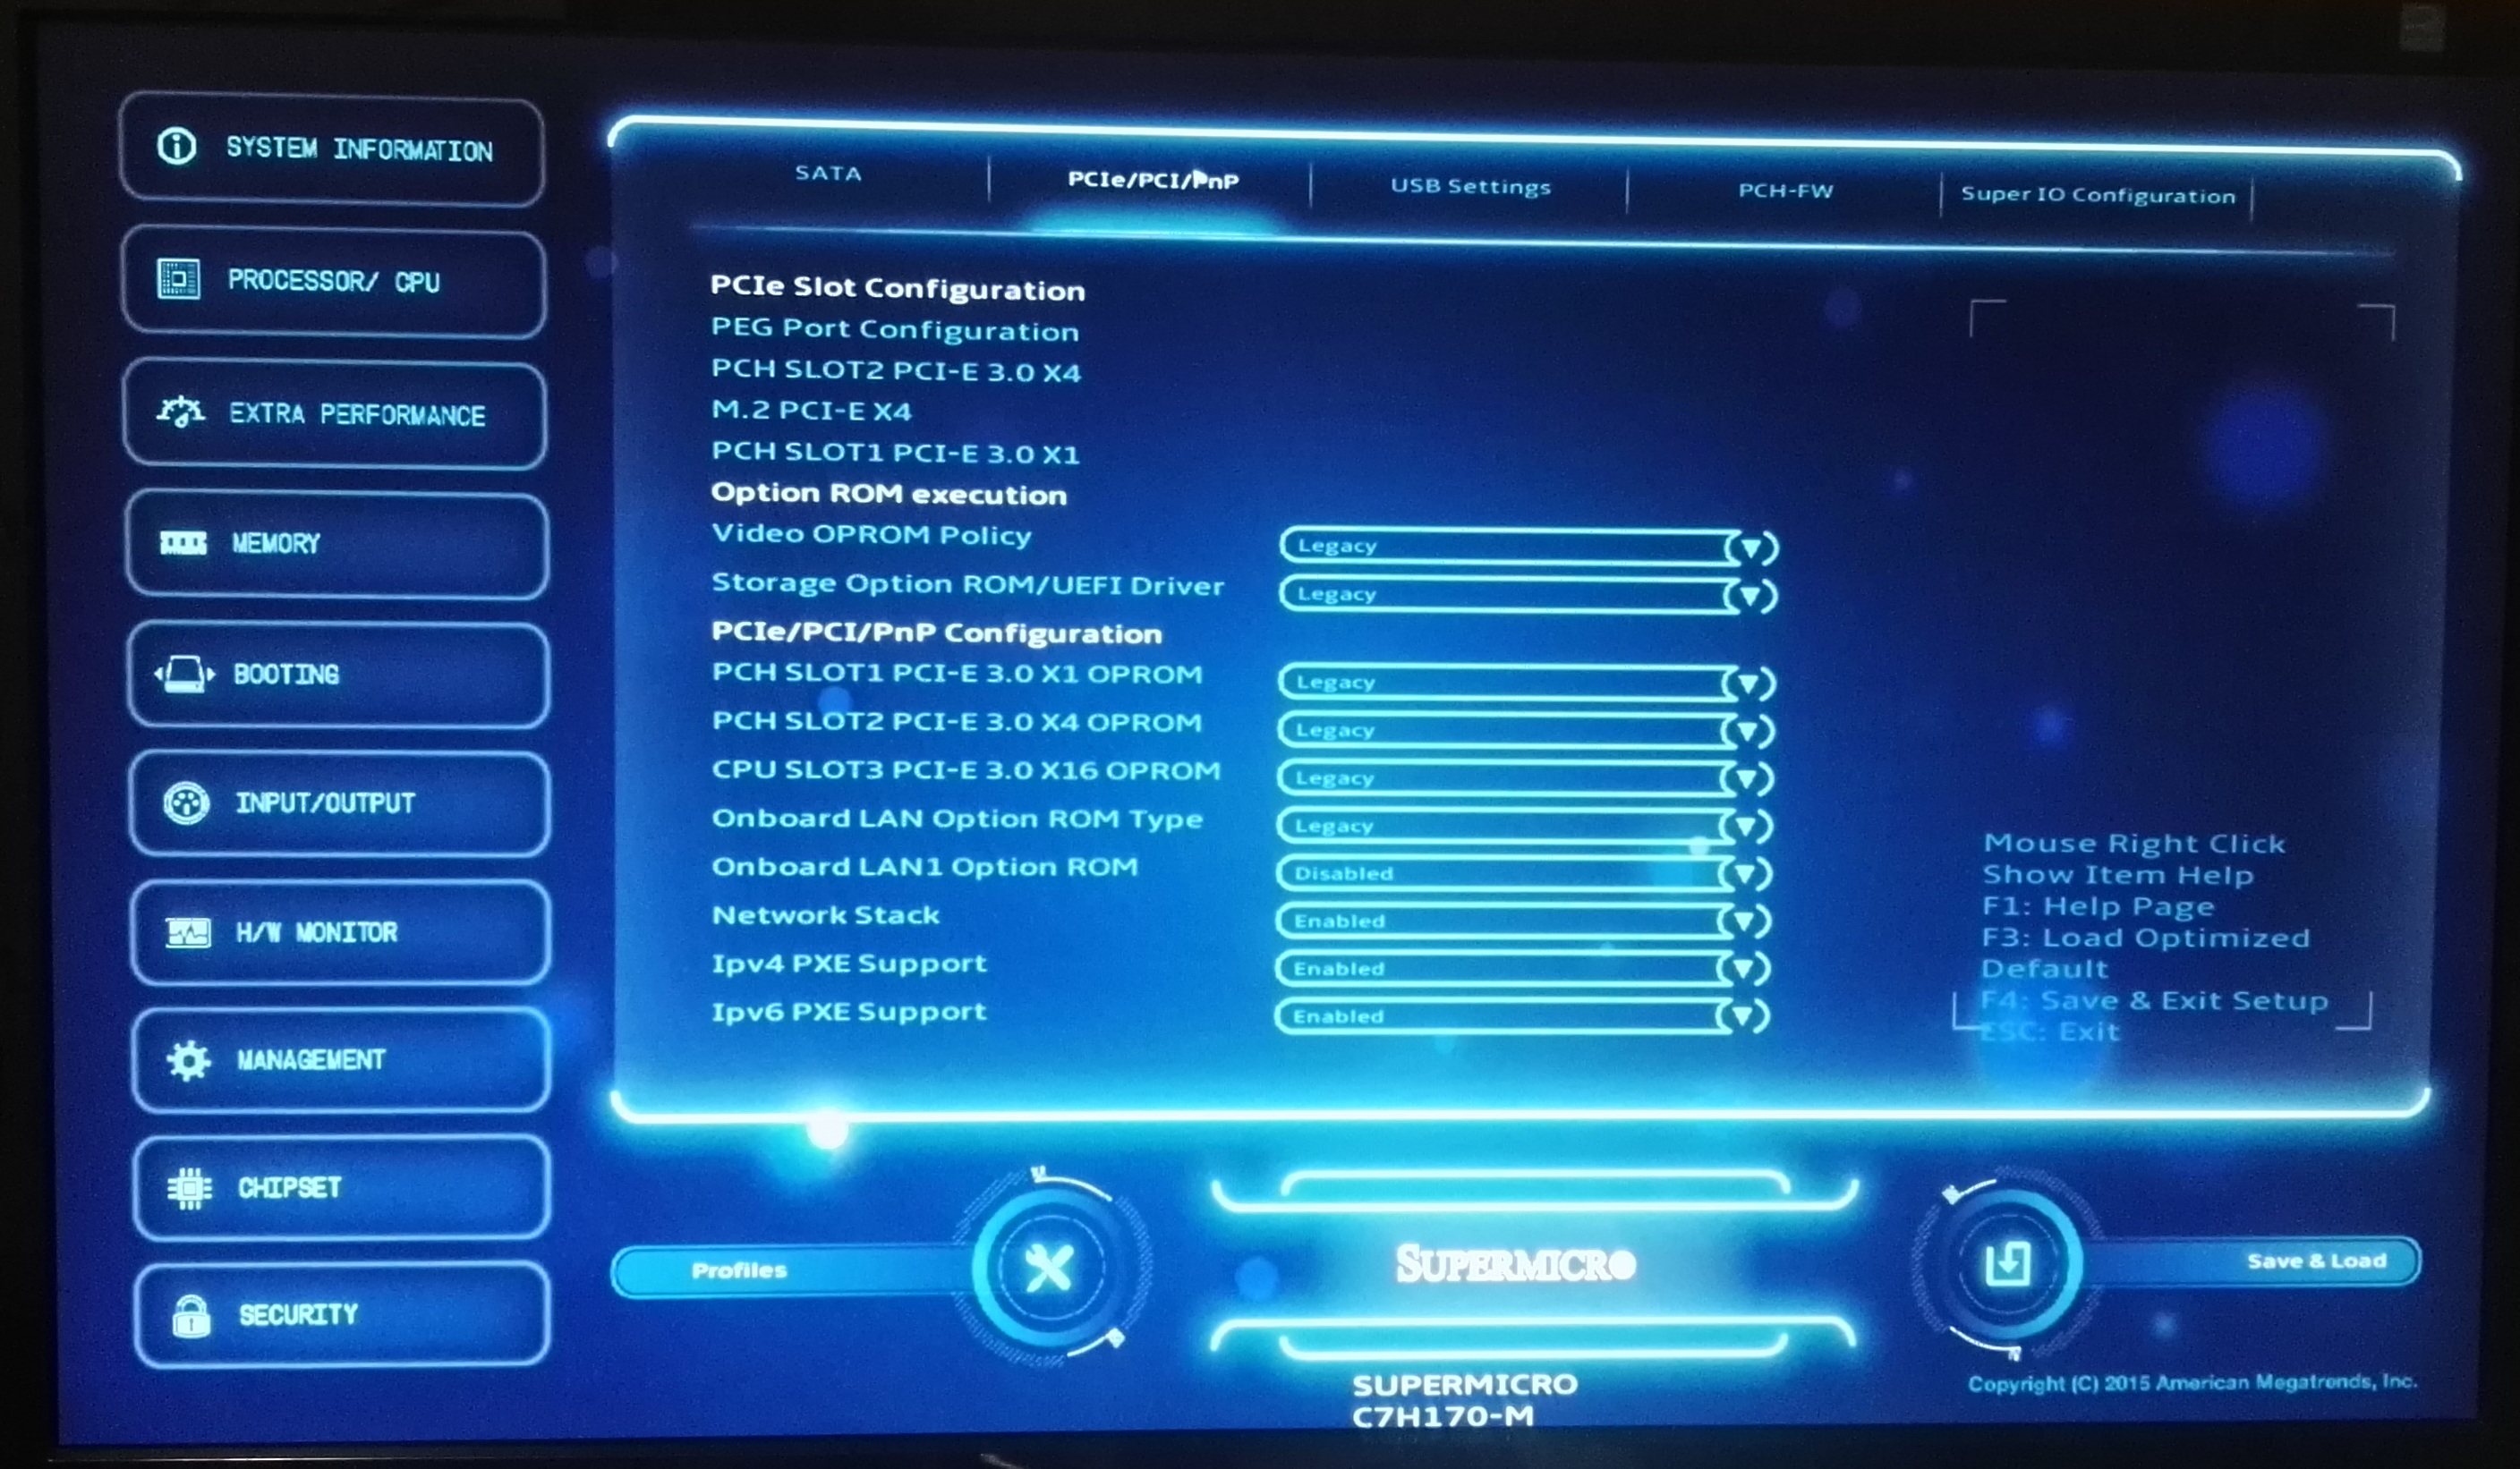
The Input/Output tab is where we see the majority of the options we normally see in a BIOS, such as AHCI/RAID with the chipset ports as above, or enabling/disabling controllers as shown below.
Ideally we would like to see an image of the board and a list of everything that is user installed, such as memory, PCIe devices, USB ports. Both ASRock and MSI do this as a handy aid when hardware might have an issue or is not detected properly.
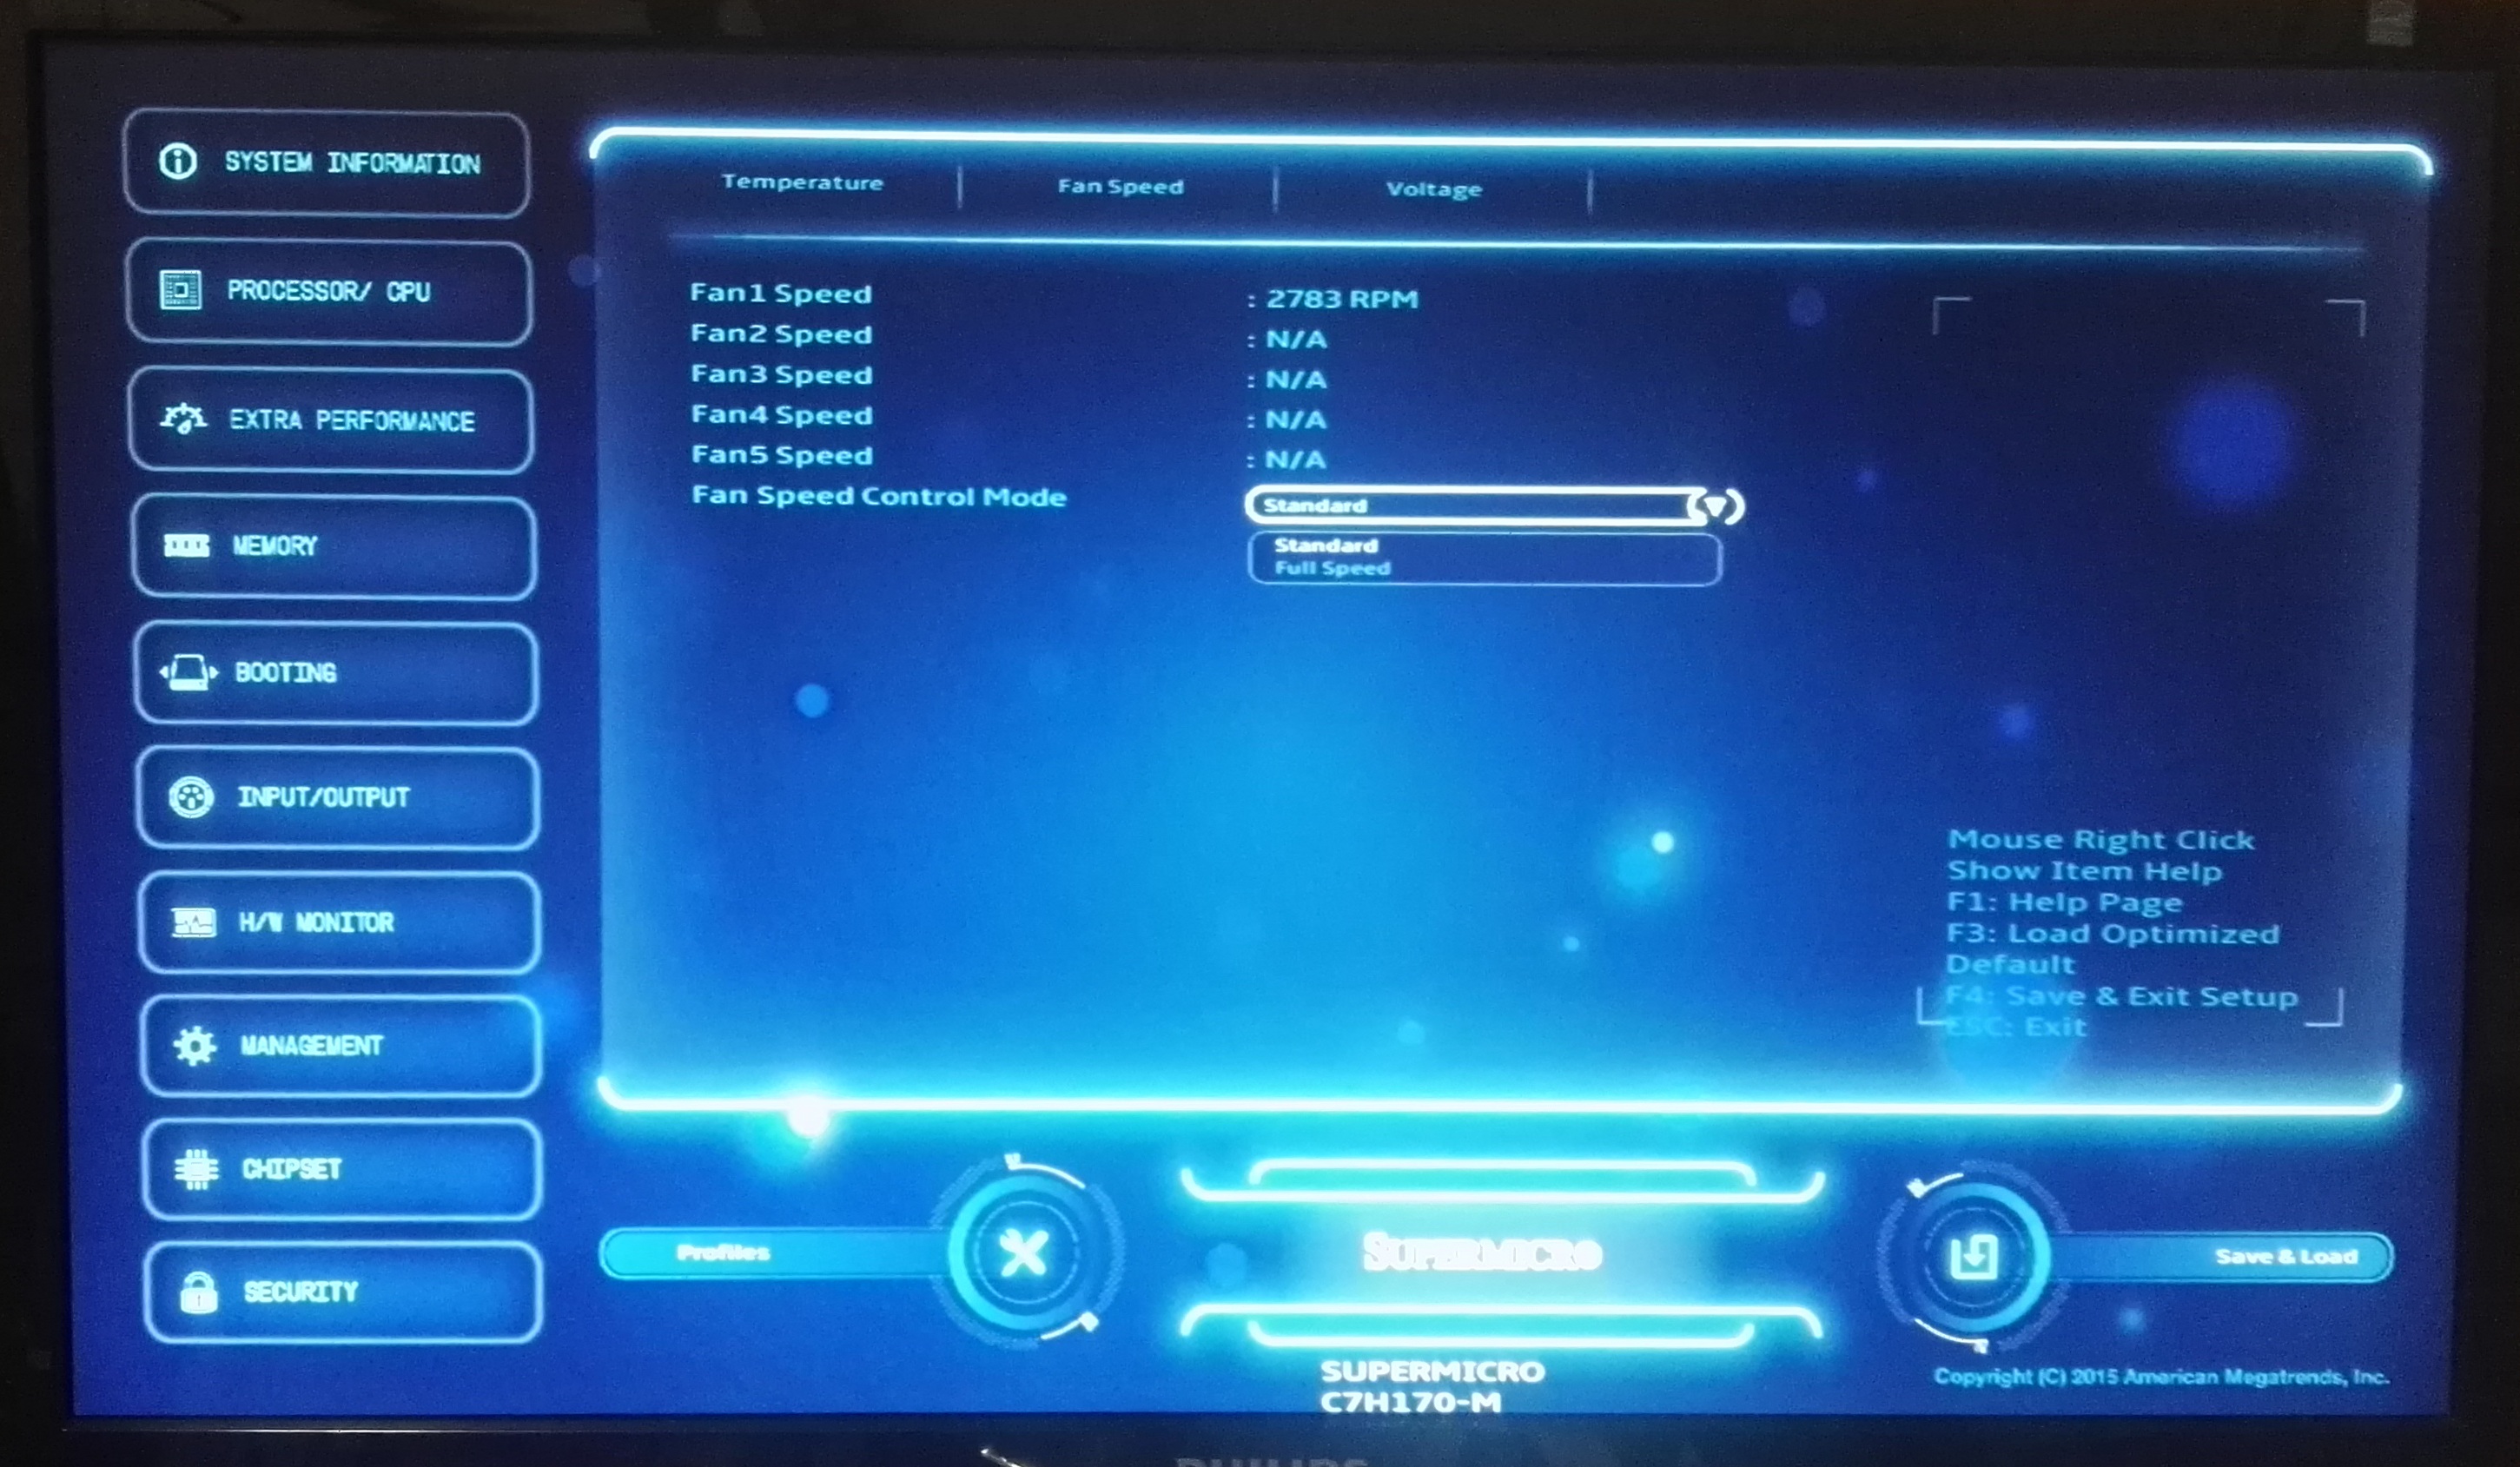
The monitoring tab is the usual array of temperatures, fan speeds and voltages, although they are split up somewhat and could have been enabled in the same screen. For users that are into their fan controls, unfortunately Supermicro only offers ‘standard’ and ‘full speed’, which is extremely limited. We typically suggest that a motherboard vendor implements an on screen point-and-click multi-point gradient in a graphical interface, ideally with hysteresis so the fans stay on for a short while when coming out of an intense workload to help with cooling.
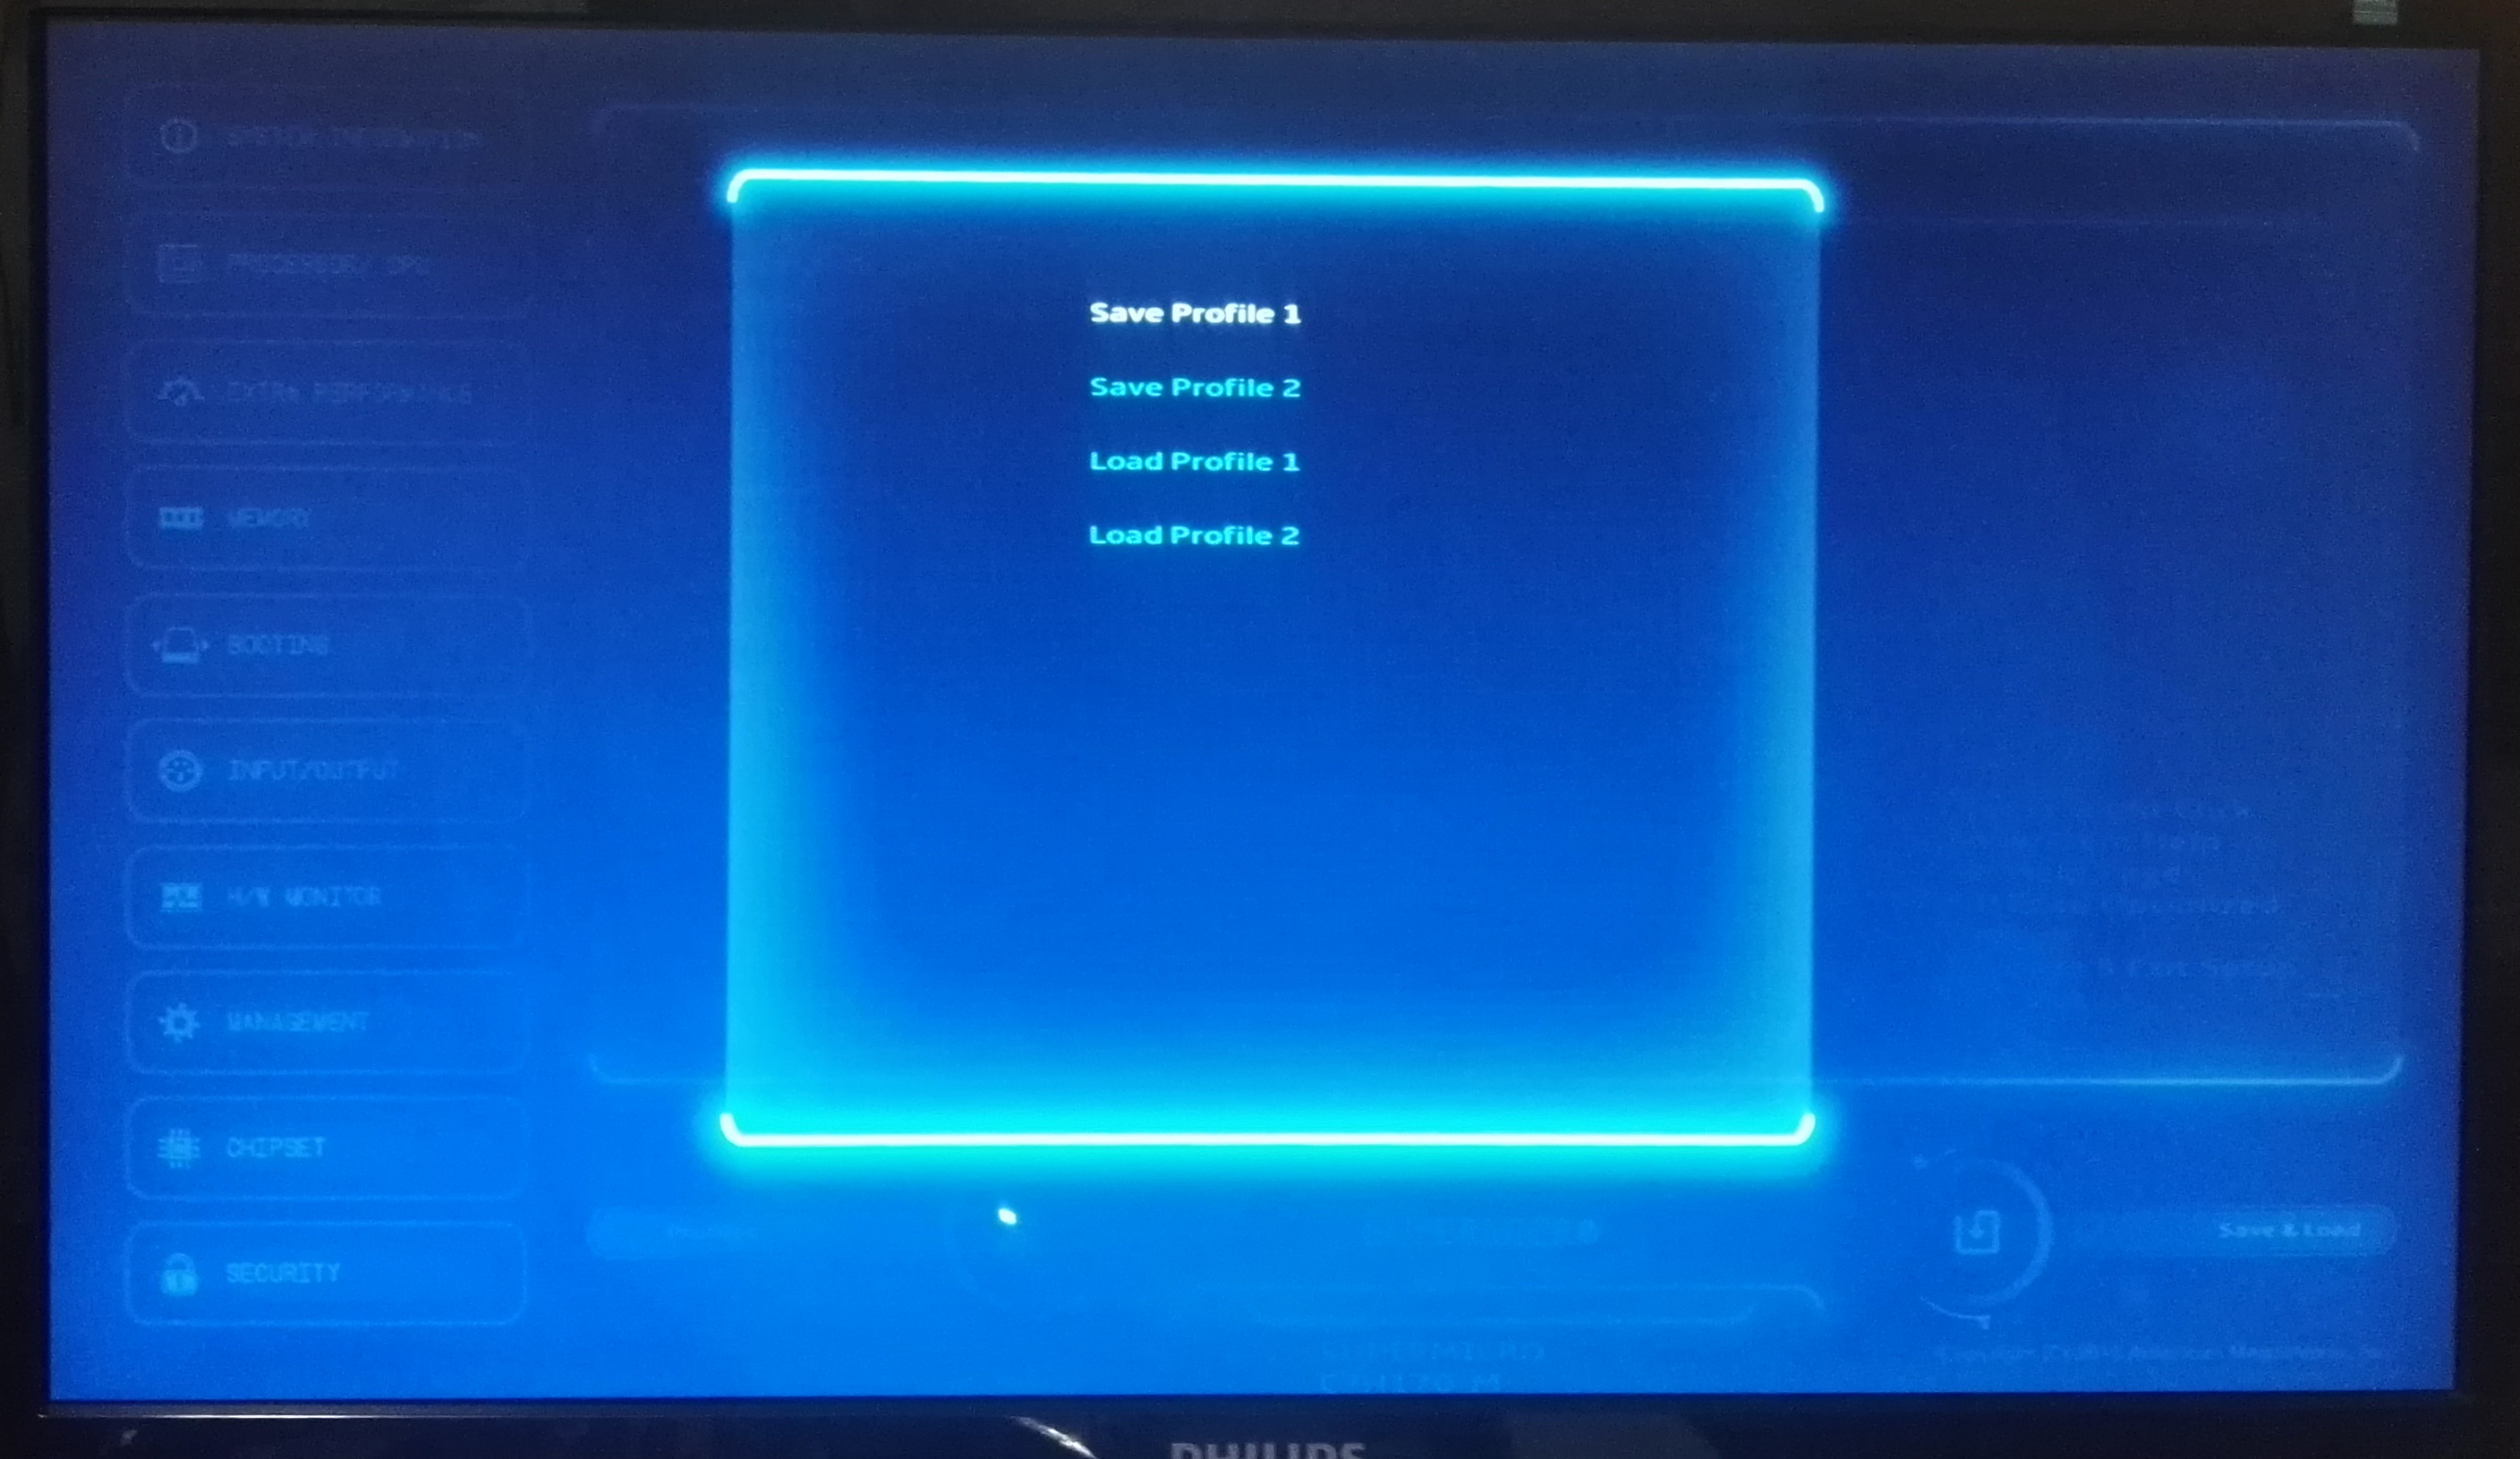
Nothing else is worth discussing in the BIOS, aside from the ability to save a couple of profiles. For enthusiasts it is worth noting that the button to save and exit the BIOS is F4, rather than the F10 we see on consumer platforms.
Ultimately Supermicro has a long way to go in order to make the BIOS as consumer friendly as their competition, and as mentioned above it is eerily similar to the implementations we saw from the big four when they first started going graphical in the BIOS. Hopefully the Supermicro engineers can have a look at their competition in detail and take some feedback as to how to move forward with their design.
 - Main_thumb.jpg)
 - CPU_thumb.jpg)
 - DRAM info_thumb.jpg)
 - Performance_thumb.jpg)
 - Power Management_thumb.jpg)
 - Extra Performance_thumb.jpg)


62 Comments
View All Comments
C.C. - Thursday, March 17, 2016 - link
First! Great Article Ian..I really wish Intel hadn't decided to stop the Mobo work around's allowing i3 overclocking..ImSpartacus - Friday, March 18, 2016 - link
Yeah, fantastic article. I loved how he ran benchmarks at various overclocks.edlee - Friday, March 18, 2016 - link
This was really a shame that this article was not testing a regular i3 with a normal tdp, it would have shown a definate overclock to 4.5ghz and beating stock i5 by a good margin.It would become the celeron 300a of this generation
ImSpartacus - Saturday, March 19, 2016 - link
Yeah, is there a section that explains why a 6100 wasn't used?I admittedly still haven't read the whole article, I found the part that states that a 6100te is a very unusual oem-only part.
RobATiOyP - Saturday, March 19, 2016 - link
Hardly the 300a was a guaranteed 50% oc affecting both cpu, FSB and memory on a socket giving a clean & supported widely deployed set of frequencies, without any drawbacks. It meant a relatively cheap Celeron could compete with top of the line PII's using slower cache memory on Slot riser cards.The skylake BCLK oc, seems to come withdrawbacks slow downs have shown up in some benchmarks, probably due to the complexity of multiple timing domains in modern chips.
cobrax5 - Monday, March 21, 2016 - link
The awesome thing with the 300A was the 128KB of full speed cache. I beleive the PII's had double the cache but at half the speed. I loved the 300A - possibly my favorite processor of all time because of when I got it, etc. I had a friend who did the hack to go dual socket 300A's. I remember this whole problem of wanting to run 98SE, but only the NT kernel supported multiple CPU's/sockets/cores (all the same back then...memories).Anyone remember the Voodoo 1/2 add-in cards? Those things were pretty sweet for what they did for 3D games, despite the funny VGA passthru cable...
0ldman79 - Monday, April 4, 2016 - link
Voodoo 2 and the 300A. The good old days.I didn't get to play with the 300A, but I got the Celeron 500 and 533, they'd hit 700+ if done right. I got to play with dozens of them and find a good one. It was fun overclocking a Dell.
RobATiOyP - Sunday, March 20, 2016 - link
The point is that CPUs get thermally limitted, increasing volts can increase Watts in a very small area. Therefore there's some sense in trying out a power efficient chip, which has headroom.What the benchmarks really seem to show, is to do well on multi-threaded you need.. 4+ cores. In single thread the cheap Pentium and this i3, do well against the more expensive stock chips.
Flunk - Thursday, March 17, 2016 - link
Interesting article, although it is a little bit skewed to compare the stock performance of that i5 6600 vs the overclocked i3 without including overclocked numbers for the i5, which you could have gotten using the same motherboard you tested the i3 on.Ian Cutress - Thursday, March 17, 2016 - link
That might be in a future piece. Depending on how open base clock overclocking is going to be, at this point I'm wondering if each Skylake CPU I get in should have the overclock treatment given how so few motherboards enable it.