Corsair Obsidian 450D Case Review
by E. Fylladitakis on April 4, 2014 6:00 AM EST- Posted in
- Cases/Cooling/PSUs
- Corsair
- mid-tower
- Case
Corsair Obsidian 450D Interior
The Obsidian 450D is entirely black and that includes every part of the interior, with the sole exception being the grey blades of the cooling fans. Mechanically, the Obsidian 450D is well designed for a case this size; most of the support depends on the motherboard tray, which is attached to the front panel via the 5.25" drive cage and a second support brace near the bottom of the case. A little flex is expected on the heavily perforated rear panel but there's nothing out of the ordinary.
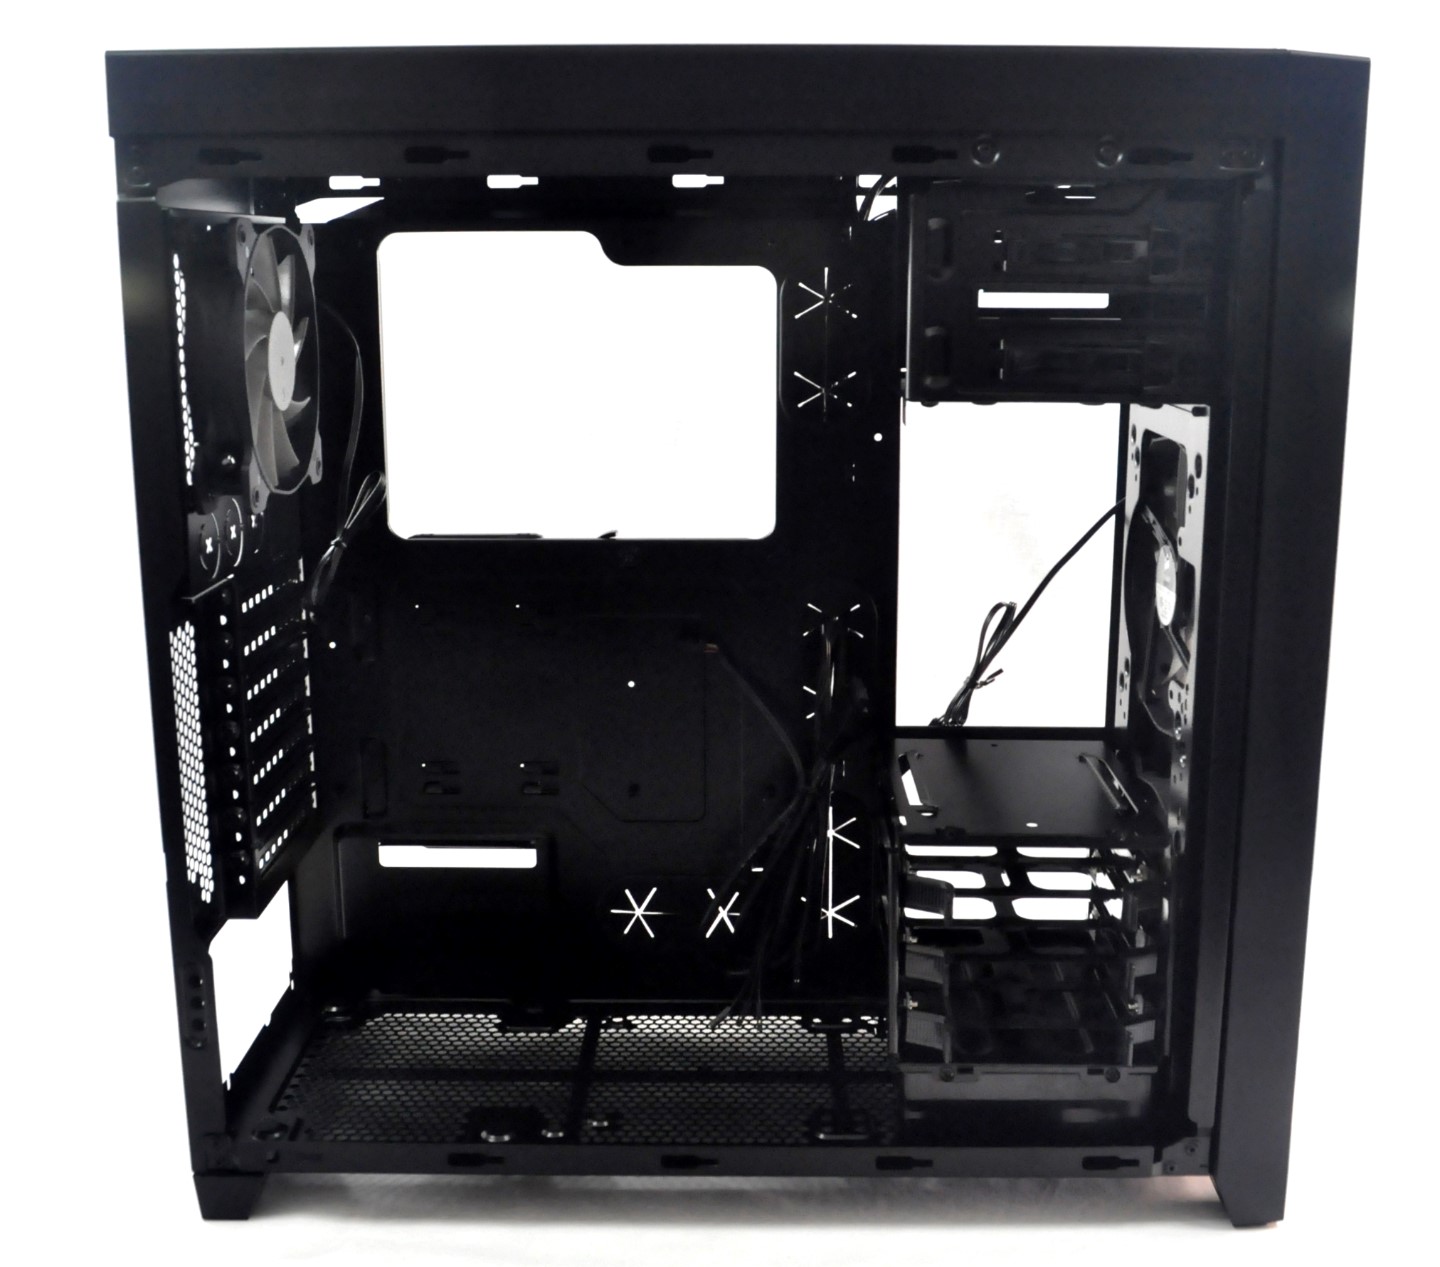
The size of the motherboard tray is typical, designed to hold a full ATX motherboard. A huge opening assures the easy installation of most CPU coolers without the need to remove the motherboard from the case. Of course, smaller motherboards (Micro-ATX and Mini-ITX) can also be installed in the Obsidian 450D. Mini-ATX and narrow ATX motherboards will fit as well, but their right side will be far away from the cable hole openings and they will not cover the CPU cooler opening entirely. The clearance between the motherboard tray and the top panel is good, ensuring that liquid cooling radiators will fit; however, we strongly suggest sticking with <40mm thick radiator designs; otherwise the installation of the radiator can be obstructed by motherboard components.
It is possible to use a PSU of virtually any length with the Obsidian 450D. However, if you want to use the optional bottom intake, you need to stick with units that are 160mm long or shorter. In the case that you want to install a liquid cooling radiator there, we strongly suggest selecting a PSU that has the cable opening and/or modular connectors high up on the casing, as otherwise they might obstruct the installation of the radiator.
A single cage for up to three disk drives comes installed in the Obsidian 450D from the factory floor, with the option to add a second cage if necessary. The second cage is not included and has to be purchased separately. Each cage has three plastic trays, for the installation of an equal number of drives. Each tray can hold one 3.5" or 2.5" drive. 3.5" drives are secured by simply flexing the tray to make the metallic studs go into the screw holes of the drive, but screws are necessary for the installation of 2.5" drives. The cage itself is removable and can be installed near the bottom of the case, as pictured, or below the 5.25" drives cage. If you have plans on installing a radiator or fan at the bottom of the Obsidian 450D, the plastic frame that the drive cage sits on will have to be removed as well; this is done by removing four screws from the bottom of the case.


As is typical with all well-designed tower cases, there is ample clearance (21.3 mm from the tray to the side panel) behind the motherboard tray for the routing of cables. Corsair cleverly took advantage of that clearance and installed two additional 2.5" drive slots behind the motherboard tray. The slots are extremely easy to use; all it takes is to push a 2.5" HDD or SSD in the slot and it locks the drive into place.
Black cables and parts are easily hidden inside an all-black chassis; therefore, for visual clarity, we are using an AX760i PSU with a red cable pack and white SATA cables for our pictures. Building a system inside the Obsidian 450D is a nice experience, with most of the time required being for the routing of the cables. There are no sharp and or dangerous points about the Obsidian 450D that we could locate during our experience with it.
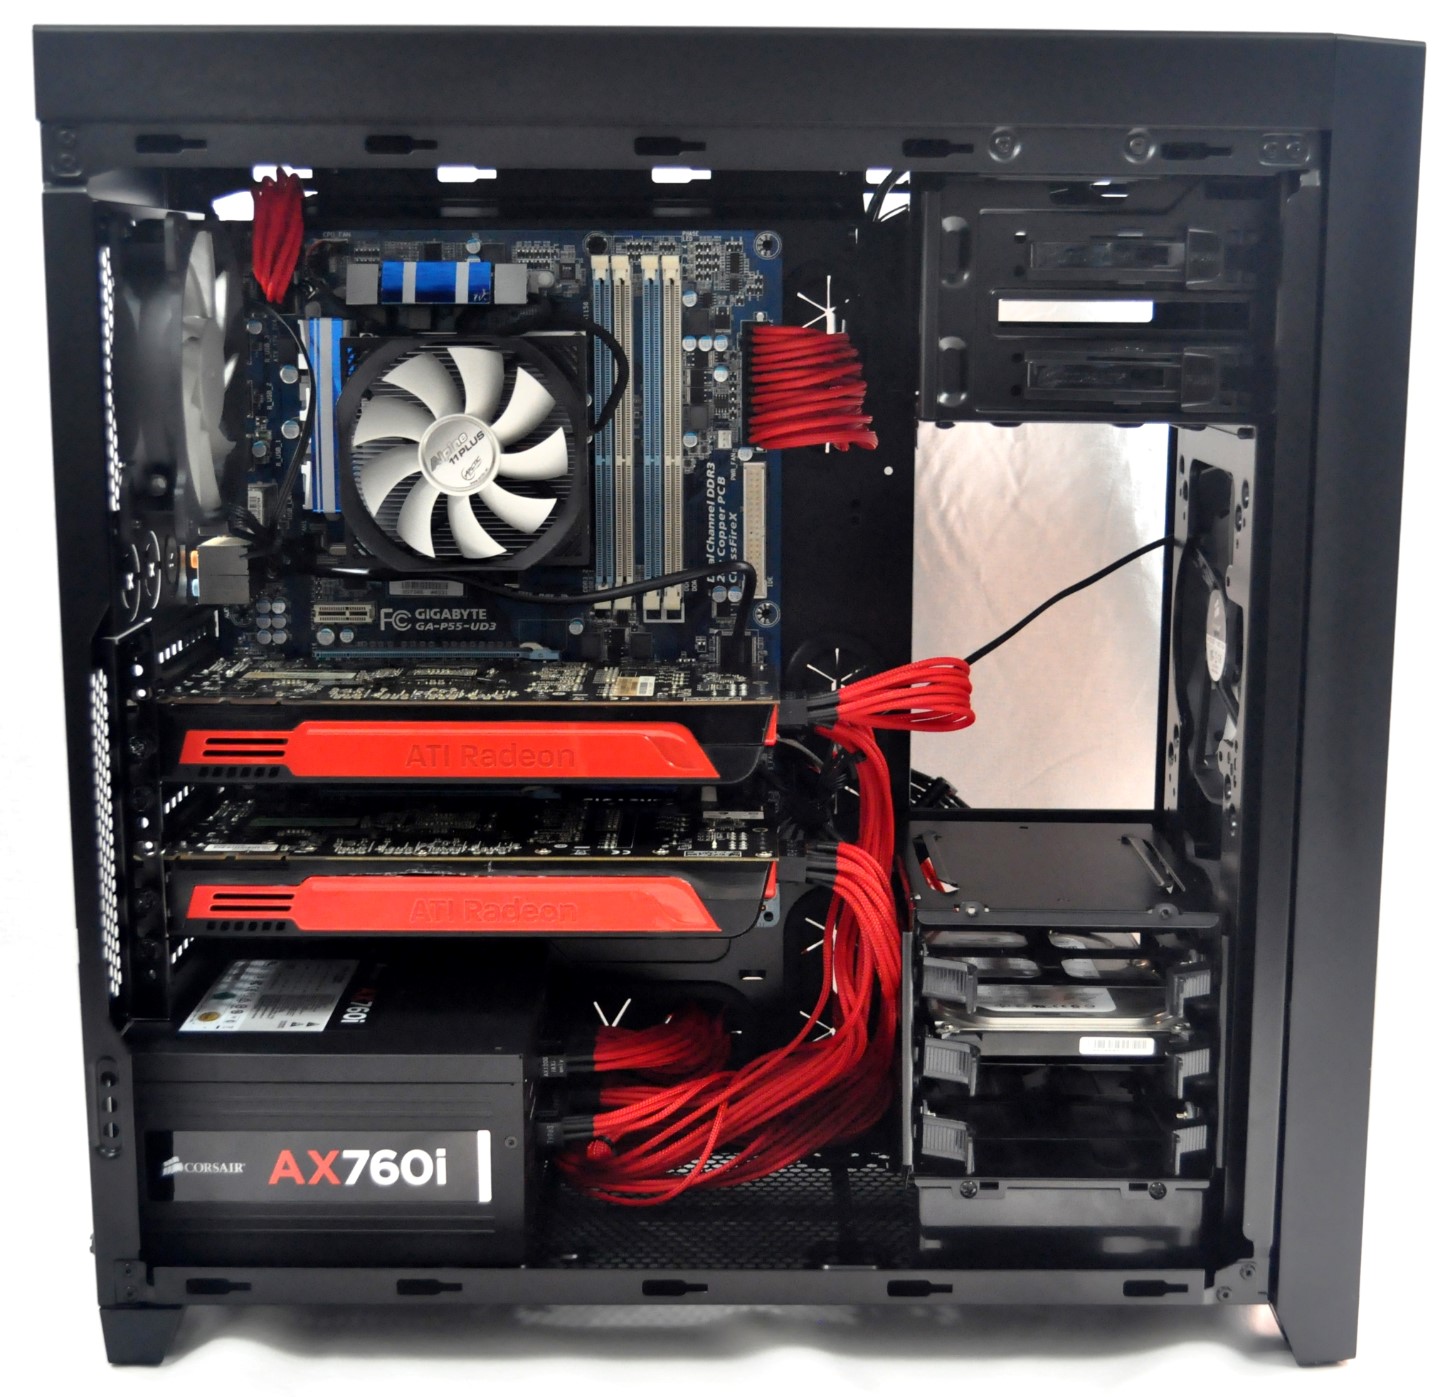
As exhibited in the pictures of our test build, the cables can be easily routed behind the motherboard tray and emerge from a grommet near their destination. For the CPU EPS 12V connector, Corsair positioned a small opening at the top left side of the motherboard tray. A graphics card of virtually any length can fit in the first PCI Express slot of the motherboard but it would be wise to stick with cards shorter than 260mm (10.1 in) for the other slots -- unless the drive cage is removed, in which case any card will fit. Most of the time required to build a system inside the Obsidian 450D will most likely be for the routing of the cables, which can make a bit of a mess behind the motherboard tray as there are very few cable tie mounting points. The 2.5" drive slots reduce the space available for the cables but they can be removed entirely if necessary.


36 Comments
View All Comments
ekagori - Sunday, April 6, 2014 - link
I personally like the way E has been reviewing his cases, using stock cooling in a case and components gives you a good idea how well a system will handle such constant loads at its most basic cooling levels. People complain about variance in components, well guess what, if a case can handle 850W of constant heat with stock cooling, it can handle a system with a 4930k, R9 290x, 3 HDDs that produces 550W. Oh but you wish to add another R9 290x for CF and now produces 800W? Well guess what, it can still handle it. Oh but what if I add a Noctua NH-D14 cooler to my rig...Hmmm... it will still handle it... What about if I add a few extra fans....Hmmm...yeah still good.The point of the review is for us to know if a system can handle a "normal" 450W load or an "extreme" 850W load on stock cooling regardless of what components you are using. Of course temperatures will be lower if you use better fans, better cpu cooler, water cooling for gpus, etc. But they will never be any higher or worse than at stock.
If people have such a problem with this methodology and want to have "useful" reviews based on individual components they may want to purchase than you should start spending countless of your hours to make your own reviews, let's see how far you get before you decide that reviewing thousands of different combinations is just plain useless and way too time consuming.
Sushisamurai - Monday, April 7, 2014 - link
^ this. The current methodology is better than the previous method due to the standardized input of heat. It eliminates most variables due to component differences.Additional comparisons between stock and added/differing components would be rendered pointless, as the stock would be a reference point and the components would therefore be akin to a margin of error. The problem lies in the variability of different setups/components giving far too many margin's of error. Which one would you use?
Say @stock @current methodology Case X dissipates @42 degrees @850W.
Components A test Case X @44 degrees @850W
Components A test change front fan B Case X @46 degrees @850W
Components A test change back fan B Case X @41 degrees @850W
Now what happens when you start mixing top/front/back fans and components? You're essentially testing components in a set Case, with new data points that are not comparable to other reviews. Or, you're essentially testing components to build the best setup in terms of heat-noise-temperature for that set case (common, Anandtech can't do all the work for you)
Hrel - Friday, April 11, 2014 - link
This case gets no quieter than 32db? That's absurdly loud.JimmyJame - Thursday, October 16, 2014 - link
Extremely disappointed in this product yes it might only be a small part however I have paid top dollar for this product. Opened up the box unpacked everything then come to find that the plastic foot at the back of the case has been broken. Plastic crap!phorgan1 - Saturday, February 6, 2016 - link
Corsair's web site says it supports eATX but you don't list that. Since I'm looking at a GIGABYTE GA-Z170X-SOC FORCE which is an eATX board, it sure would be nice to have confirmation.SCyn - Tuesday, January 16, 2018 - link
How do i undervolt the fans? help