Corsair Hydro Series: H60, H80 and H100 Reviewed
by Jared Bell on November 7, 2011 12:00 AM EST- Posted in
- Cases/Cooling/PSUs
- Corsair
- Water Cooling
Cooler Installation
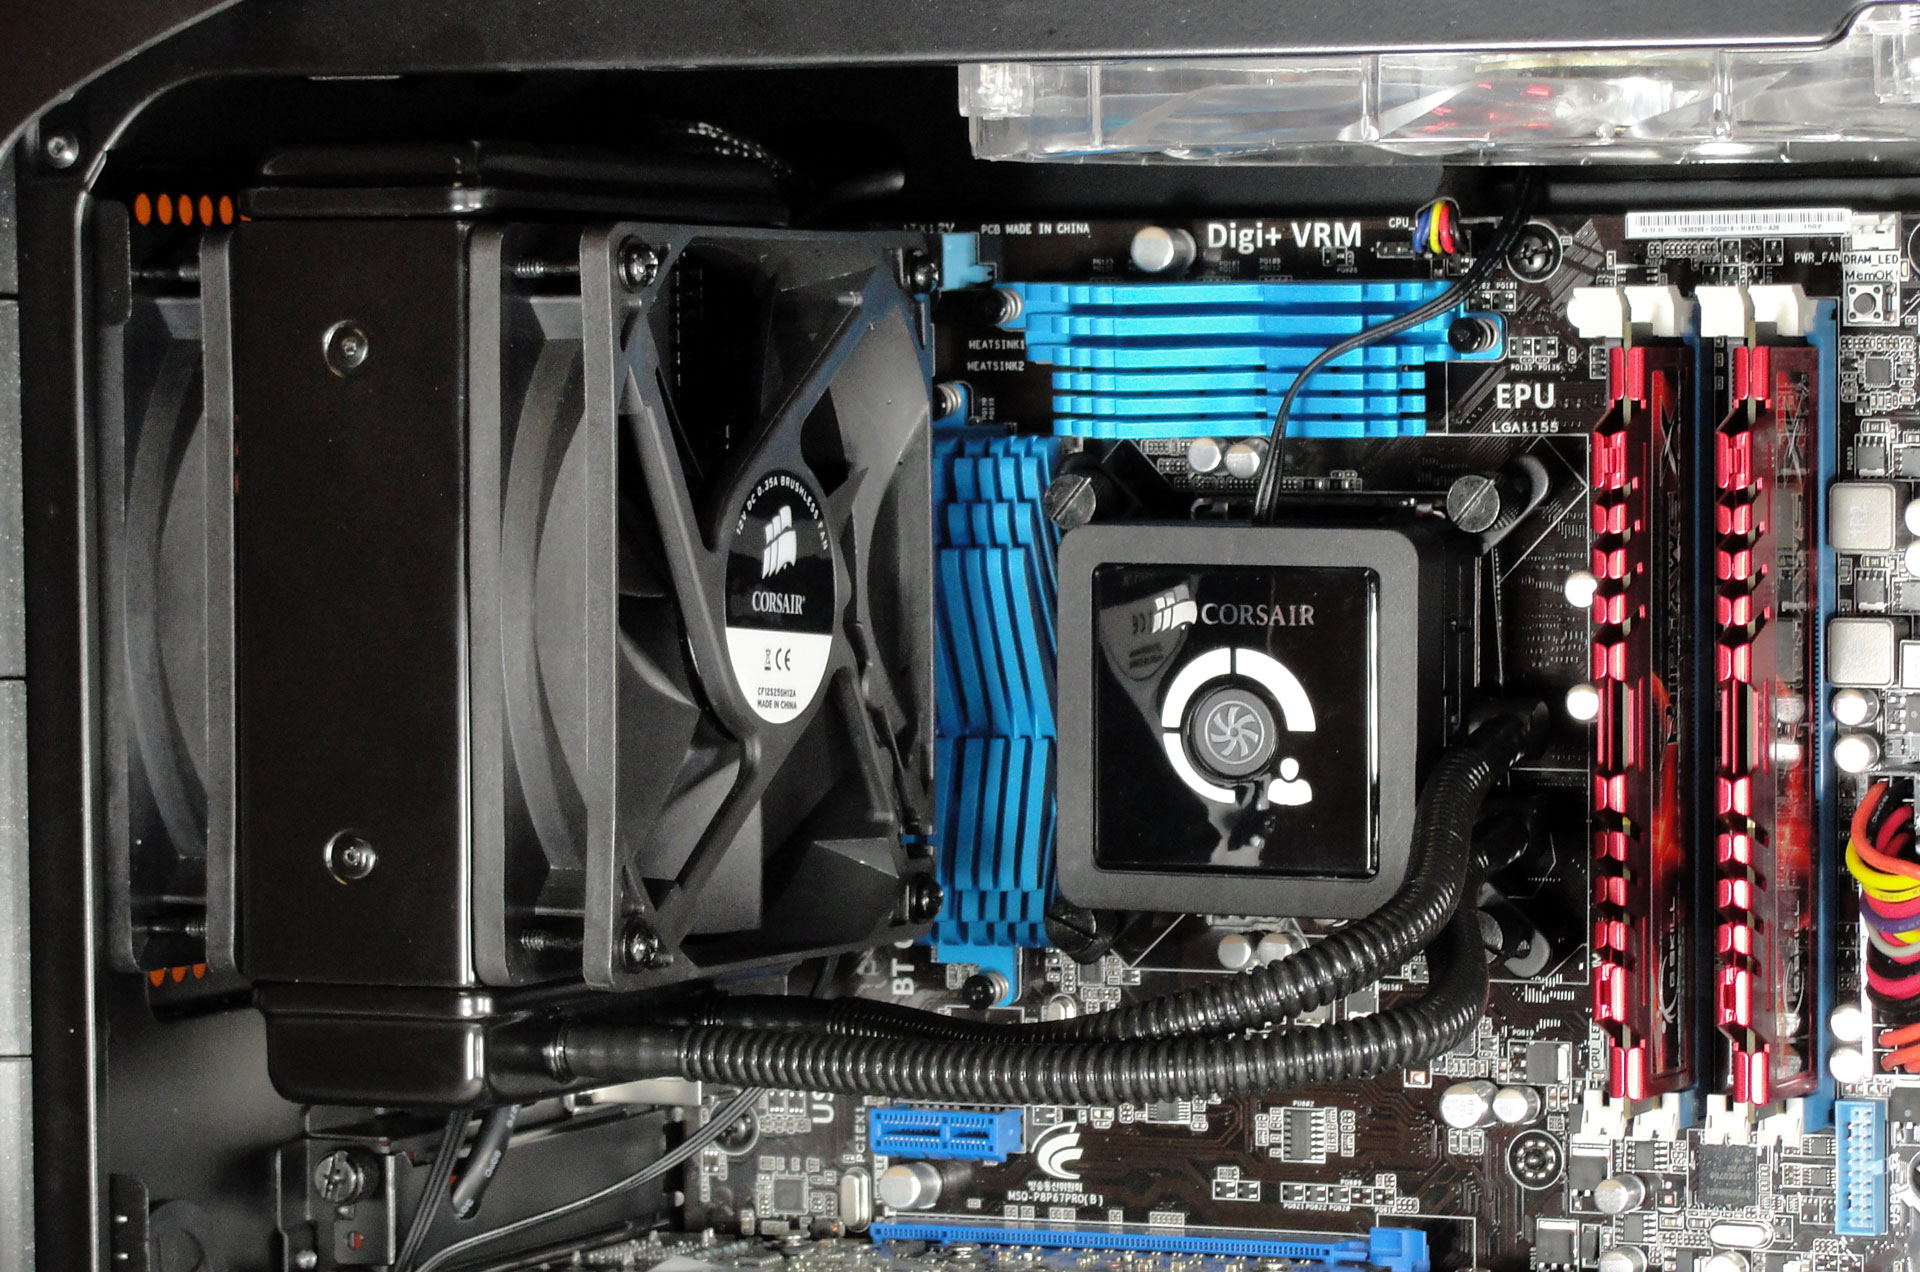
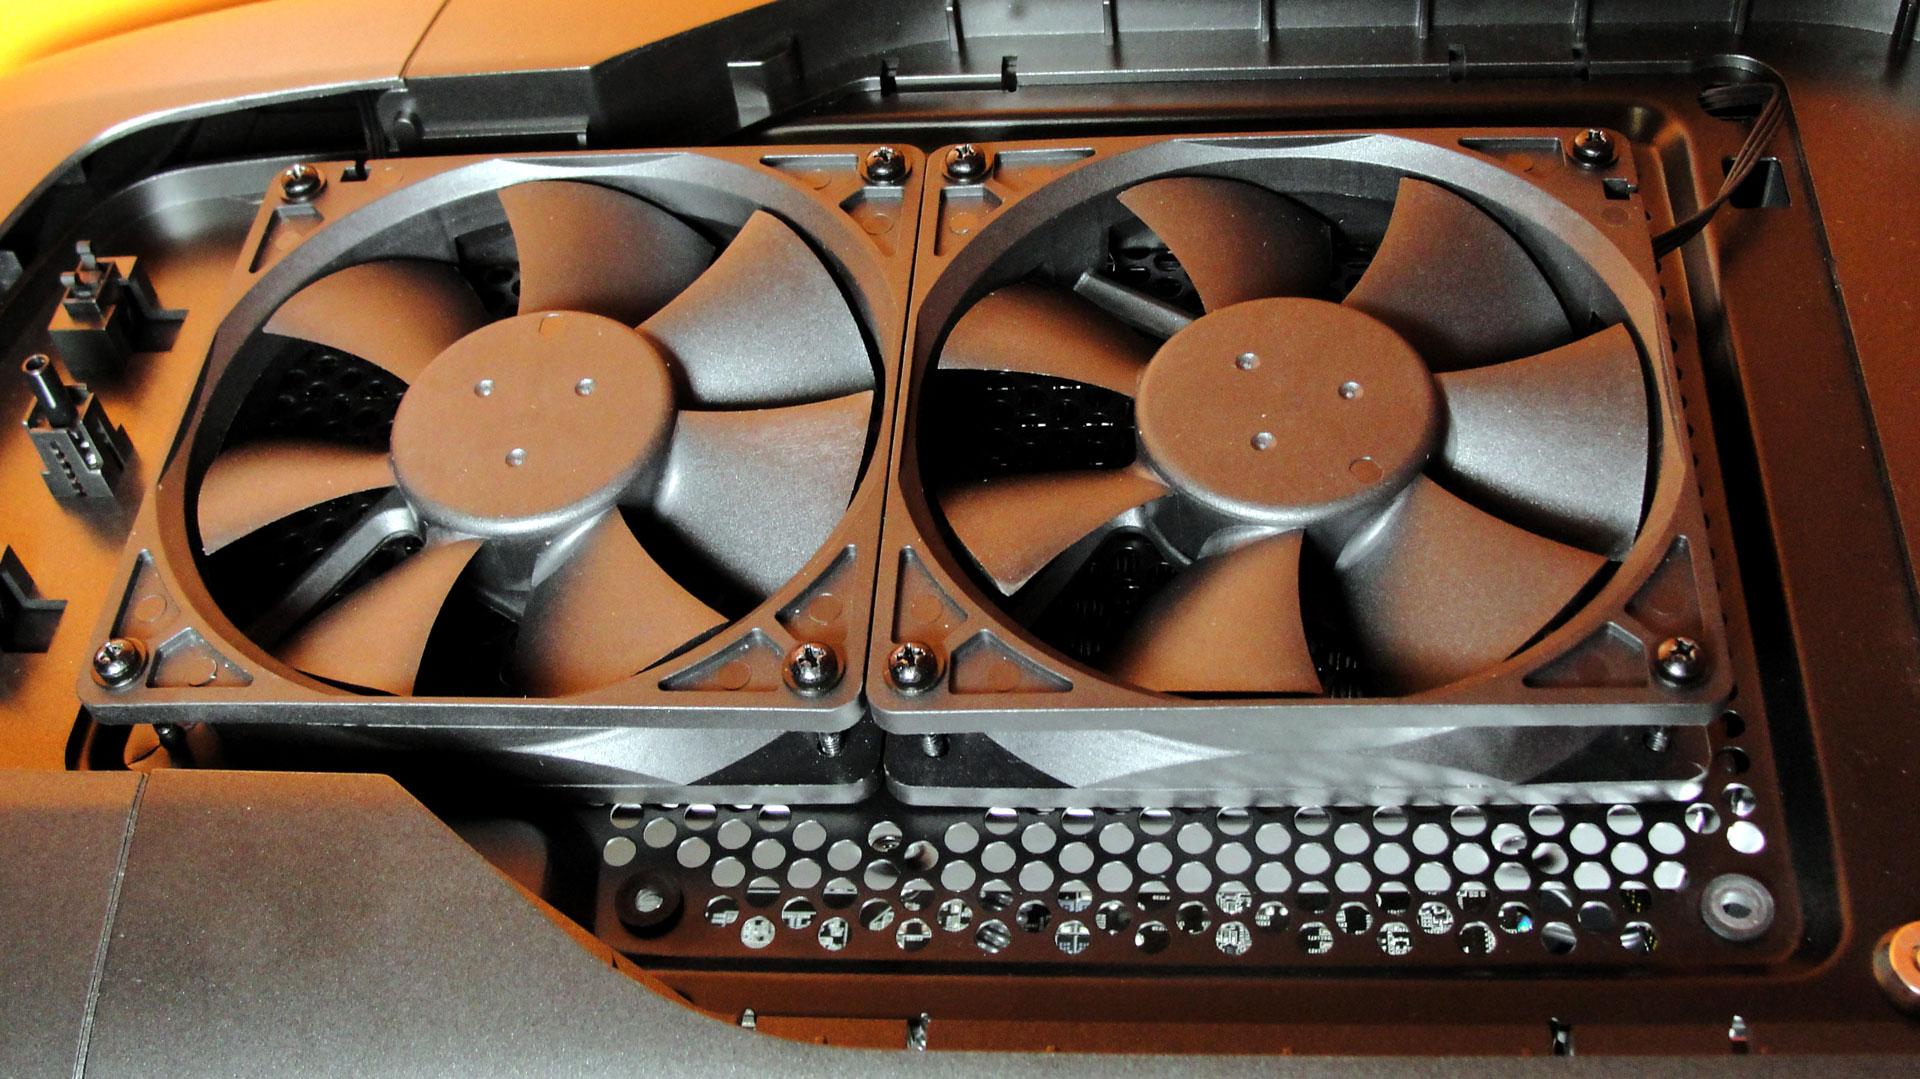
Mounting the H60 and H80 radiators is similar except the H80 provides a minor challenge due to its thicker size and having a second fan to install. After all is said and done, it doesn’t pose any real problems. Just make sure to take your time and don't over tighten the screws or you may end up bending the fins on the radiator. Most cases should support either the H60 or the H80 without too much trouble, assuming the case has a mounting point for a 120mm fan. I didn't have any filament problems, and thanks to the low profile of the CPU block, I don't see any issues with the second fan hanging slightly over the CPU block if needed.
The H100's 2x120mm radiator design and 275mm overall length may pose problems depending on your choice of case. You're going to need ~52mm of clearance to install the H100 in its default configuration and a whopping ~77mm if you opt for a push/pull setup. This is of course assuming you have a case that supports 2x120mm fans with the correct 15mm spacing for the radiator/fans.

I even had trouble installing it in Corsair's own Graphite 600T case. Everything fit properly, but I had to install the radiator inside the case and then install the 2x120mm fans inside the lid where the removable panel is. This may not seem like a problem because the 600T was essentially designed this way; however, the top cover is so restrictive it caused temperatures and noise levels to rise. For testing purposes, I had to leave the top cover off in order not to skew the results. Corsair's new Carbide Series 400R/500R looks to be H100-ready, allowing you to install the radiator on top with the fans inside the case. I can't speak from experience with any other cases for the H100, but if your case meets the clearance and spacing requirements, you shouldn't have any issues.
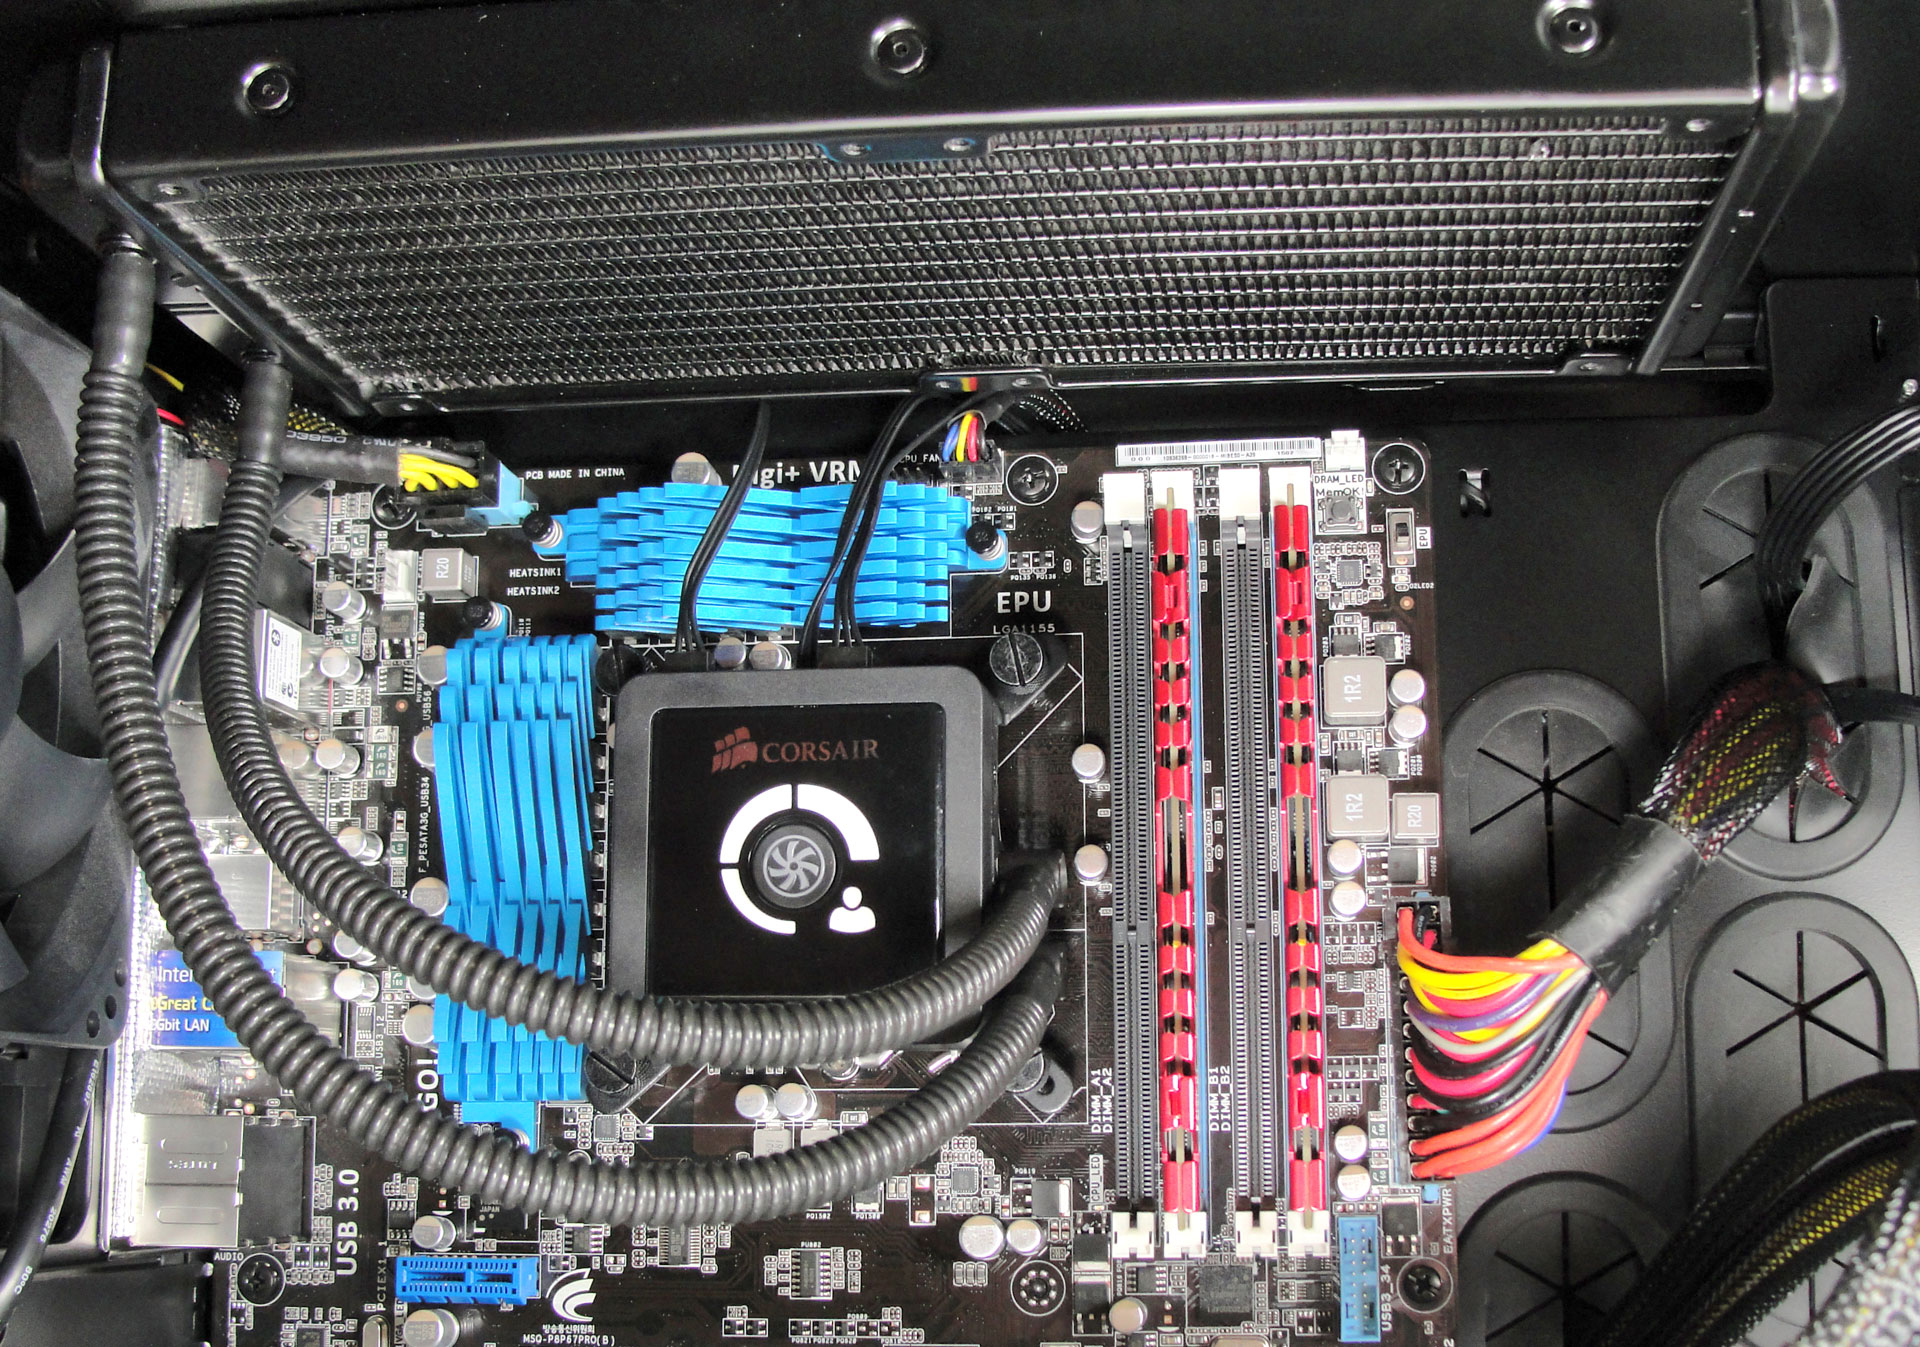
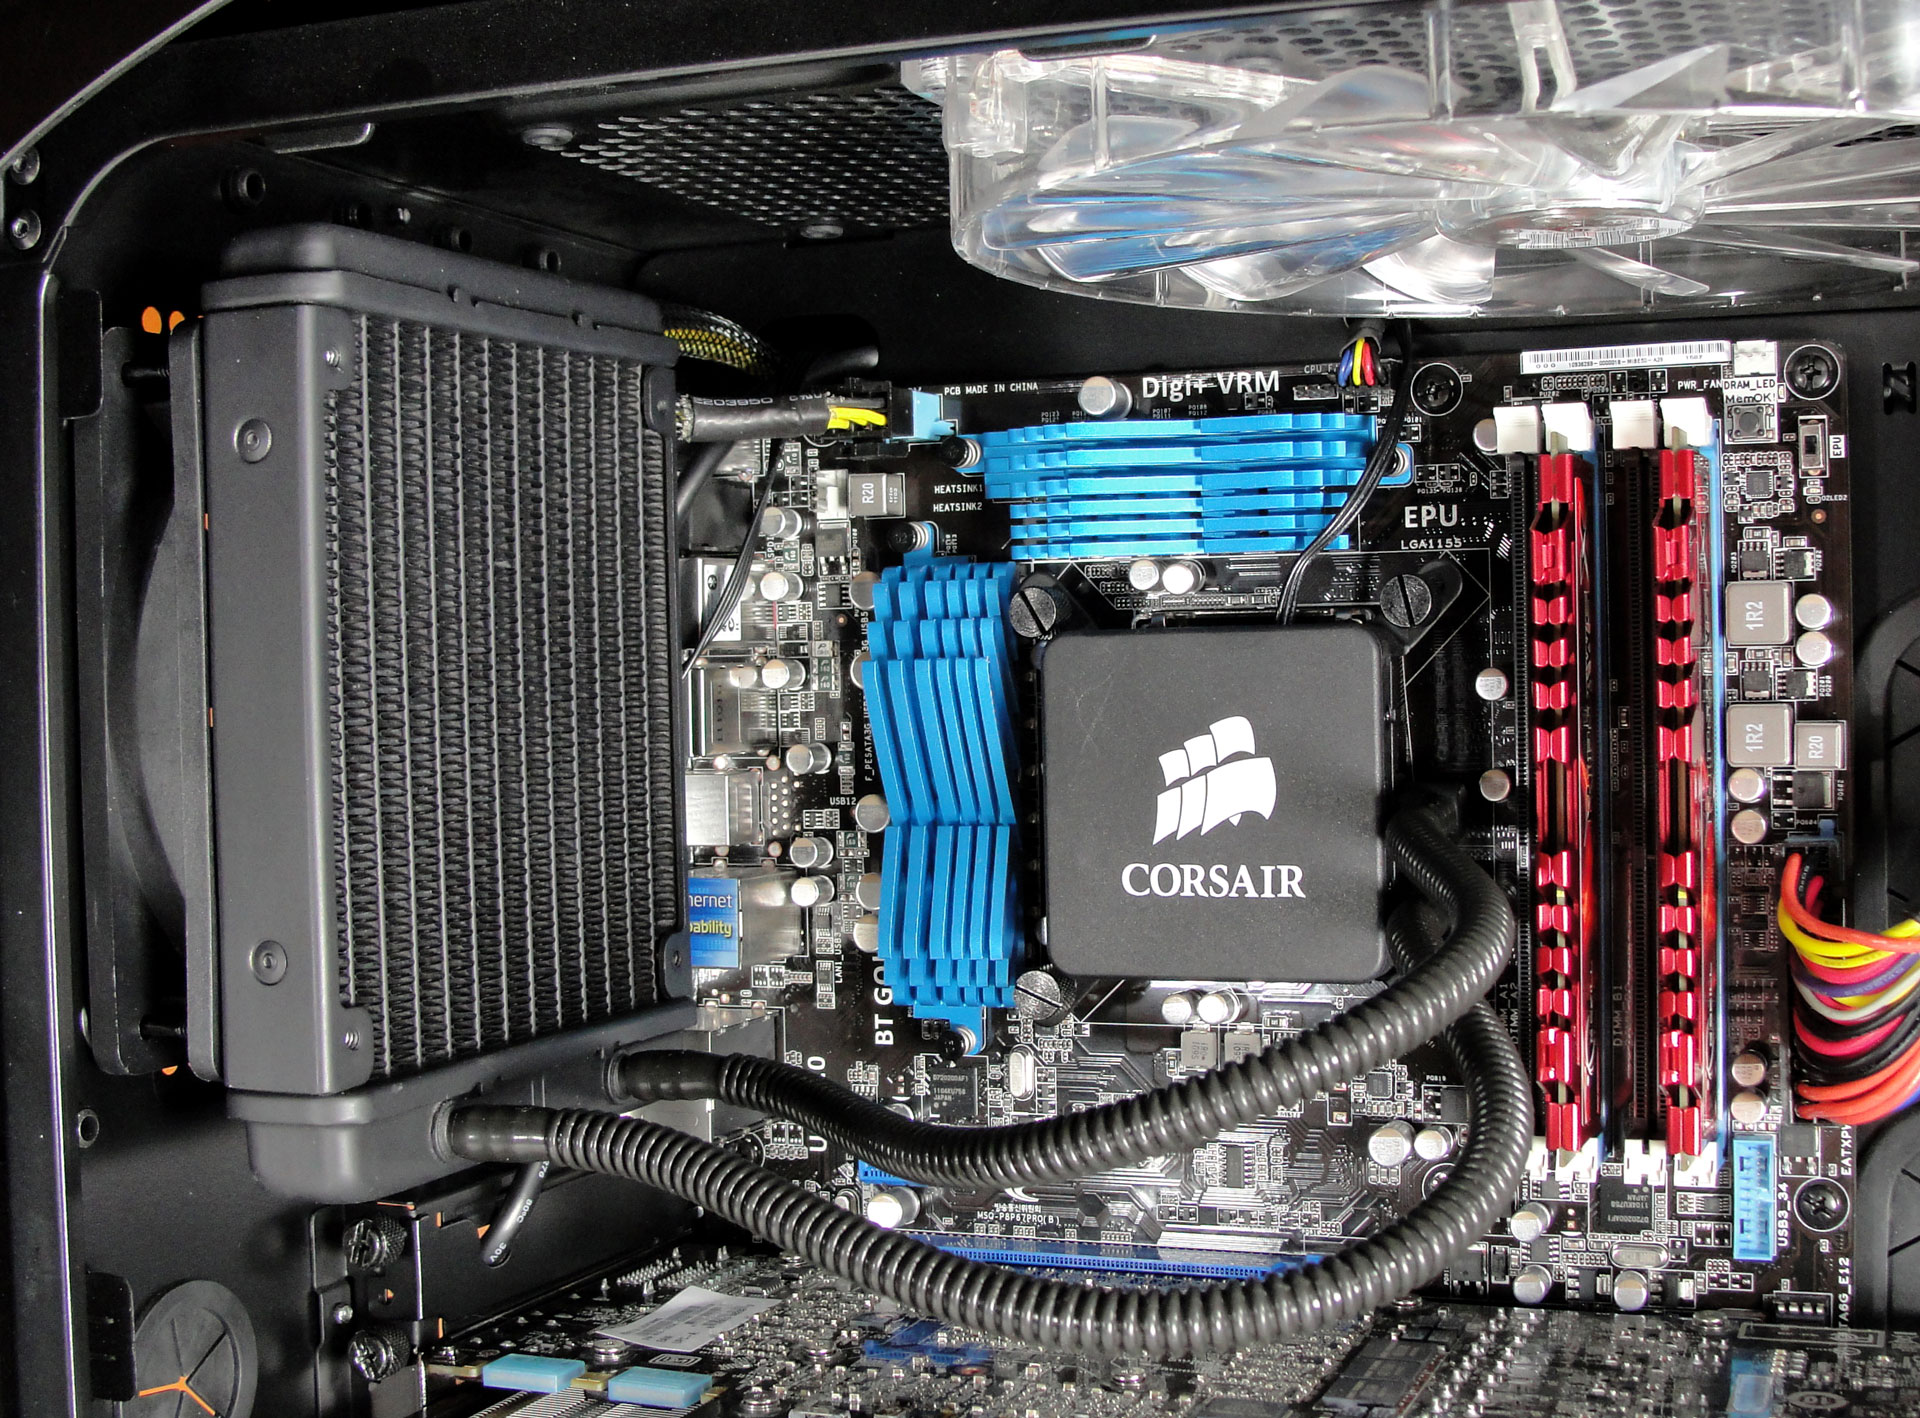
The installation procedure for the water block is the same for each unit we tested. I think it's a welcomed design improvement over the H50 and H70. Since the water block comes preinstalled with the Intel mounting brackets, AMD users will have to remove them and install the included mounting brackets for AMD CPUs. Also, AMD users do not have to worry about installing a backplate because these kits make use of the backplate already installed on your motherboard. The backplate for Intel CPUs has adjustable mounting holes that slide to easily fit any of the supported CPU sockets.
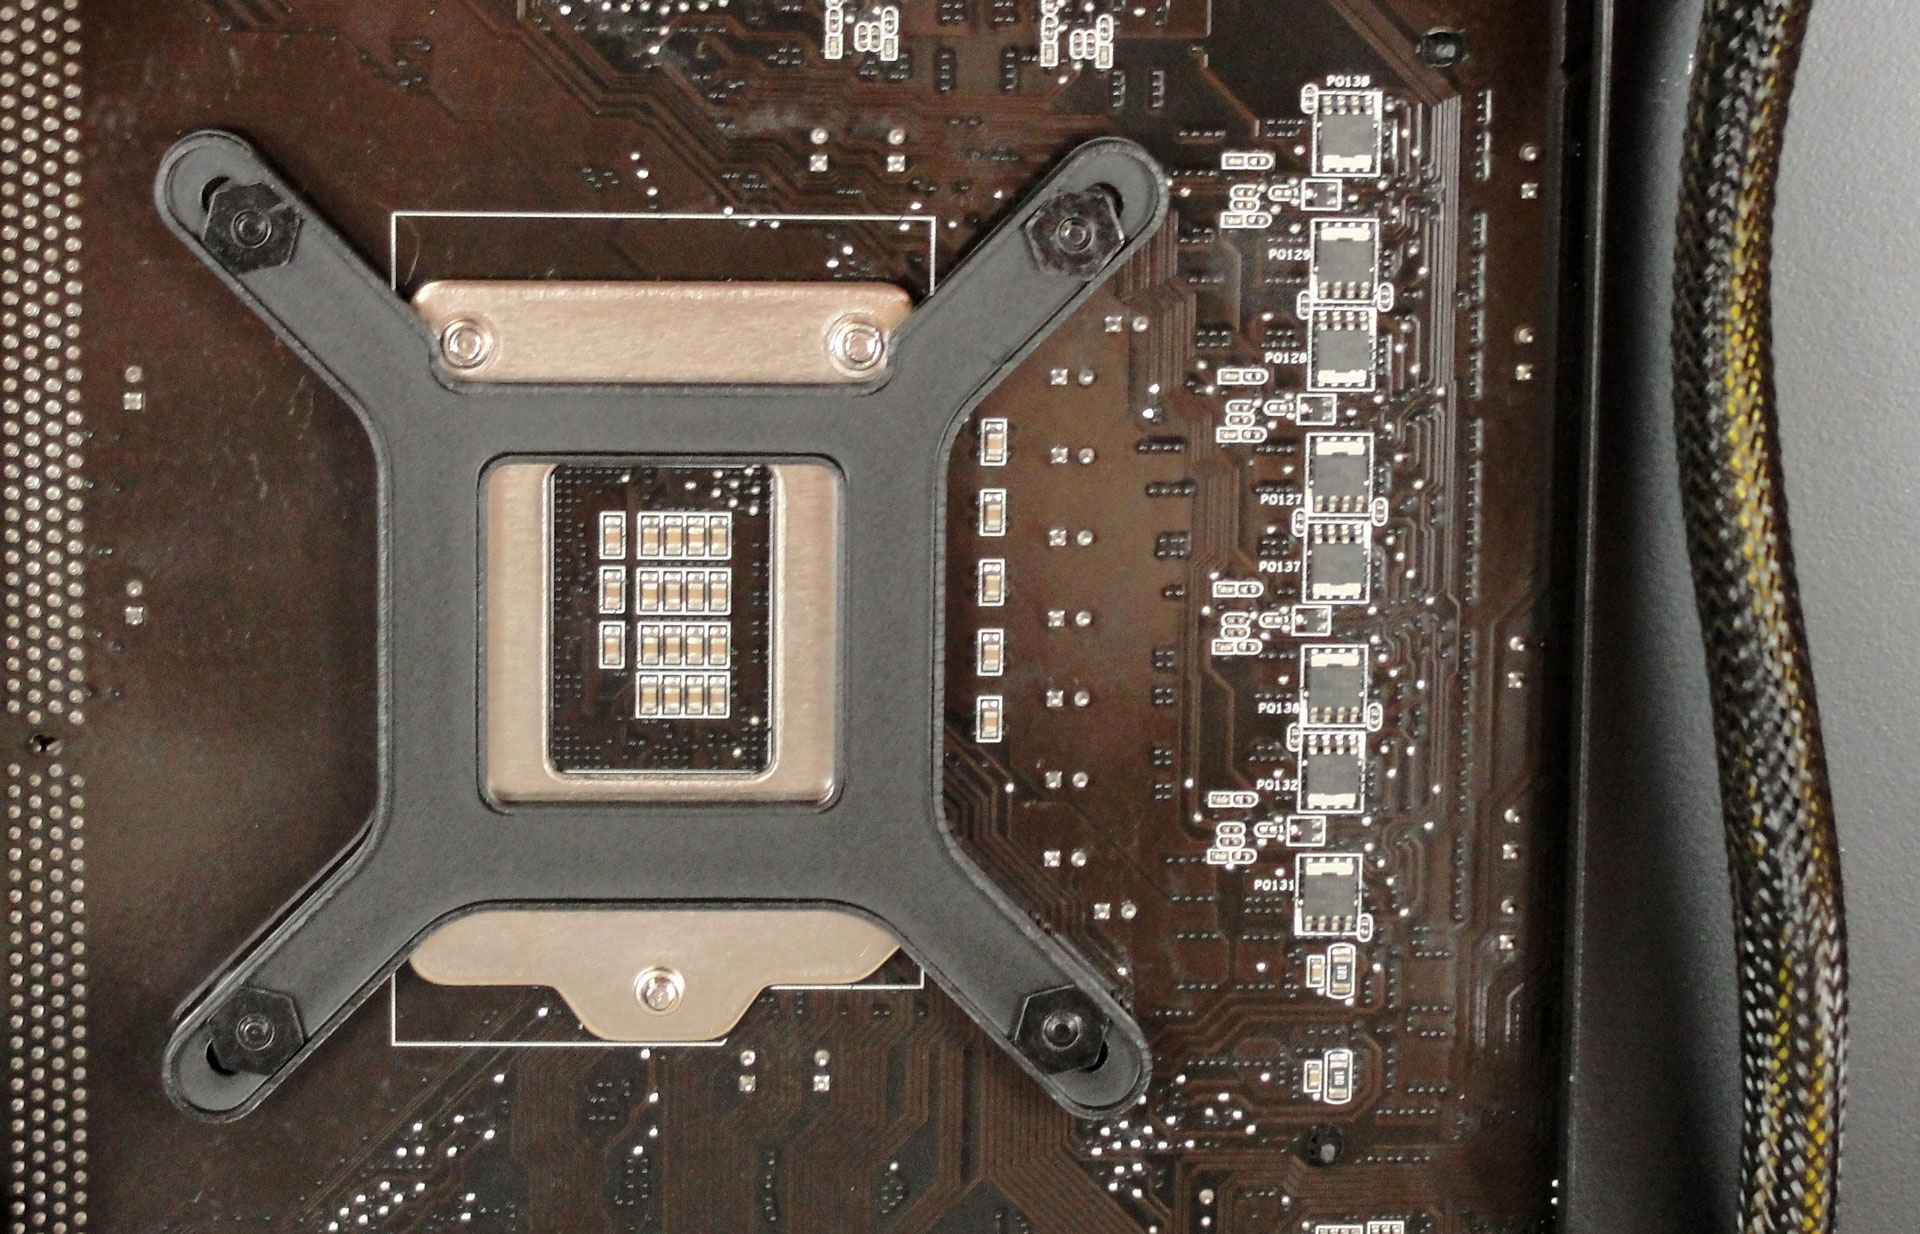
After securing the backplate with the double sided screw mounting posts, securing the water block is as easy as tightening four thumb screws. Previously with the H70, I had issues lining up the water block properly which led to multiple mounting attempts before good contact was made. With the H60, H80, or H100 blocks, I was able to make good contact on the first try. This was later verified with multiple mounts as described in the testing procedures. Just make sure to take your time and tighten the thumb screws in order as recommended in the manual.


91 Comments
View All Comments
Samus - Wednesday, November 9, 2011 - link
I thought I'd chime in on some research I've done.The pump on the H50 is rated at 220lph
The pump on the H60 is rated at 180lph
The pump on the H80/H100 is rated at 220lph
So anybody in the market for the 'economy' water cooling solution is far better off with the older H50, which also has a thicker radiator (same radiator as the H80)
Liter-per-hour ratings can be found as Asetek's site. They are the OEM for these kits.
james.jwb - Thursday, November 10, 2011 - link
Most air coolers do a very fine job these days, what I'd like to see is a water cooler for GPUs because the stock or third party models at the moment are poor. If you want low noise, none of them do a good job.Make a decent closed water cooler for GPUs!
alown - Friday, November 11, 2011 - link
Would have been nice if they could have compared it to the H70 I own.DJShadow - Friday, December 2, 2011 - link
I'm surprised there isn't a review of the Antec Kuhler models.westh2o - Wednesday, December 28, 2011 - link
I wish someone would have told me how friggen loud this thing was. OMG I couldn’t stand it anymore. I just finished replacing the Stock Corsair fans with 2 Noctua NF-P12's. What a HUGE difference!!! My system is super quiet now..... After spending over $100 and now I need to spend another $20 buck is not cool in my book!davele - Tuesday, January 10, 2012 - link
Thanks was a useful article. But would be much better if it considered the newer x79 systems.1. The newer i7-3960, 3930 chips have a thermal output of 130W. This is way higher than many SB OC systems. And only gets worse if you OC it. So it would be useful to see what Coolers can handle that kind of thermal load.
2. The LGA2011 die size is larger, so handy to know which coolers can fit over its surface efficiently.
3. It would be useful to know which coolers actually have sufficient clearance to function without compromising the use of your system. ie You can still populate all 8 RAM slots & actually use the 1st PCI slot.
Eg: Can Corsair style 52mm high RAM fit? Do you need to drop to 40mm G.Skill sized RAM or are you unable to use the 1st RAM slot at all. Similarly the 1st PCI slot is often designed to run fastest. With the other slots share the bandwidth if you populate with more cards.
While I suspect most of the popular Air Coolers (ie: ThermalRight, Noctua) will not fit correctly, which may force you to choose a Water Cooled system.
It would be really useful to know the facts.
Rag1ngR1ce - Saturday, January 21, 2012 - link
i got my h60 for 30$ on boxing day after MIR, what a steal. How ever, my first one leaked and Ihad to return for a new one. I dont think any 30$ heatsink is better than the h60
mach2plus - Monday, January 23, 2012 - link
Hi folks. Just last week I attempted to mount a new Corsair H100 in a new Rosewill Blackhawk Mid-Tower, and no matter how I tried to manipulate things, I just couldn't get them to mate... And while my configuration is just that, mine, I believe the generalities that I am about to write about may help others understand more about the H100, and case/motherboard compatibility issues that you may need to consider.So, for accessibility, I first removed the top of the Blackhawk case, and then removed its preinstalled 140mm fan. (BTW, I had premeasured everything beforehand, and I knew that there was probably going to be a problem, but tried fitting it in anyways...) I then mounted the H100 radiator inside the case, without its two fans, on the very top of the case, where the 140mm fan use to be. Using the hardware provided by Corsair, I loosely screwed in the 8 screws. DING, FIRST PROBLEM: Fortunately, I had seen that the Corsair screws appeared too long, and that if I were to have torqued them down securely, all 8 screws would have definitely damaged the H100 radiator fins (though not the actual piping with the coolant, as best as I could tell, but why chance it?), so be forewarned about this.
I then loosely mounted my new, unpopulated, Gigabyte GA-Z68XP-UD3 LGA1155 onto the provided stand-offs, and DING, SECOND PROBLEM: The hardware provided by Rosewill to mount the Mobo to the standoffs is the type that have raised ribs on the underside of the screwhead, used to "dig into" the solder on your Mobo, and the copper tracing! A Newegg reviewer had pointed this out, so I was aware of the issue, but if you torqued these screws down securely onto your Mobo, you will damage the copper tracing, so go out and get yourself some better quality hardware, without ribs, if you want to save your Mobo. You'll get the same connectivity, without damaging the mobo.
So, now the real fun began, as I tried to ever so carefully attach each of the H100 fans to the underside of the H100 radiator. I was just barely able to physically mount the first fan, the rearmost, to the underside of the radiator (Corsair provides the hardware for doing this), but DING, THIRD PROBLEM: the fan (not the radiator) physically blocked my Gigabyte Mobo's SYS Fan1 connector. While this in itself can obviously be worked around, DING, PROBLEM FOUR: I couldn't even physically mount the forward H100 fan to the H100 radiator because all four of the upper DDR3 1-4 memory socket retaining clips were in the way, in a big way! In addition, even if I was able to mount the H100 fan, it would have completely blocked my Mobo CPU FAN connector, much like the rear fan had blocked the SYS Fan1 connector.
Now, remember, my Mobo was unpopulated at the time, and the memory sockets were empty, so even if your particular case/mobo combo could provide sufficient space for the H100 fan, you still have to remember to consider that your memory may have cooling fins attached to it, which may prevent you from attaching the forward fan. Just a consideration.
Other thoughts. My new Blackhawk Case was damaged on arrival, so it was RMA'd and I'm awaiting its replacement. I reaally liked the Blawkhawk case, so I am now considering using a Corsair H80 cooling system, versus the H100, and mounting the H80 where the Blackhawks rear 120mm fan comes pre-installed. That, or I'm considering mounting just the H100 radiator inside of the Blawkhawk case, at the very top (per the above install that I had problems with), and then mounting the two H100 fans on the outside top of the Blawkhawk case, directly above the H100 radiator, and on top of the Blawkhawks upper case mesh. My concerns with this arrangement obviously are how this setup might alter the H100's cooling potential.
I hope some of this info helps those of you who are considering getting a non-stock cooling system, be it water or air.
Best regards -- Bob
qwopqwop - Wednesday, August 29, 2012 - link
in this case picture the inner radiator fan is mounted in the wrong direction, it is blowing the heat from the radiator into the case, you need to switch the fan direction around (and possibly do the review over again).http://images.anandtech.com/doci/5054/h80-installe...
erroll1906 - Monday, September 10, 2012 - link
Hi everyone bought my H100 today and if you want to do a push pull configuration,you need more screws.The screws come as a english thread 6/32 unc x 1 1/4 Long.Which ain't easy to get hold of.There are quite a few complaints that the screws are too long crushing the fins on the radiator.I have a solution for you.I worked for a fastening company so I know this works.I used M3x30mm Steel Button Head Screws with washers as the thread pitch are nearly the same as each other.Excellent fit as the screws are 2mm shorter than the others.