The Apple Thunderbolt Display Review
by Anand Lal Shimpi on September 23, 2011 2:56 AM EST- Posted in
- Displays
- Mac
- Apple
- Thunderbolt
- Thunderbolt Display
Dissection
If you haven't gathered by now, the Thunderbolt Display isn't a regular monitor - it has a lot of components inside that you'd typically only find in a full fledged computer. Being the curious cat I am, I wanted to see inside. Apple isn't too fond of us poking around inside their review samples, but luckily the Crabtree Valley Mall Apple Store just got Thunderbolt Displays in so I hopped in the practical-wagon and grabbed one in the name of science.
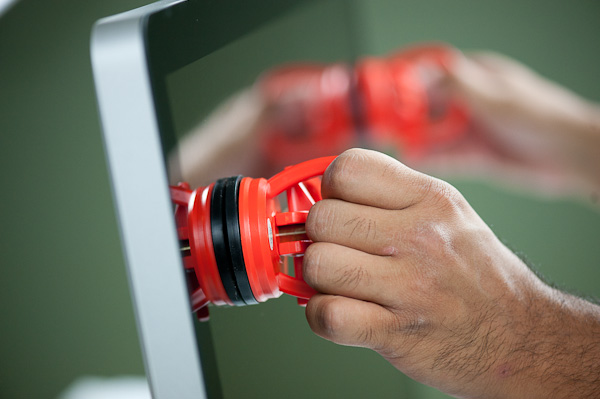
Apple has an incredible fascination with using magnets in its designs. What it enables are some pretty neat enclosures, particularly on its displays. The glass front of the Thunderbolt Display is actually identical to what's used on the 27-inch LED Cinema Display and iMac. The glass is held to the chassis via several very strong magnets. To remove the glass you'll need to use suction cups:
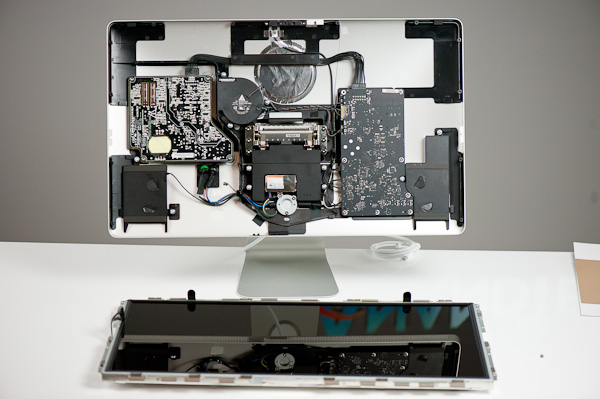
Behind the glass front is the actual LCD panel itself. The LCD and backlight are enclosed in a single unit. What we're interested in is behind the LCD however. Unplug a few cables and remove a grounding screw and the LCD unit is easily cast aside. Behind it are two discrete PCBs:
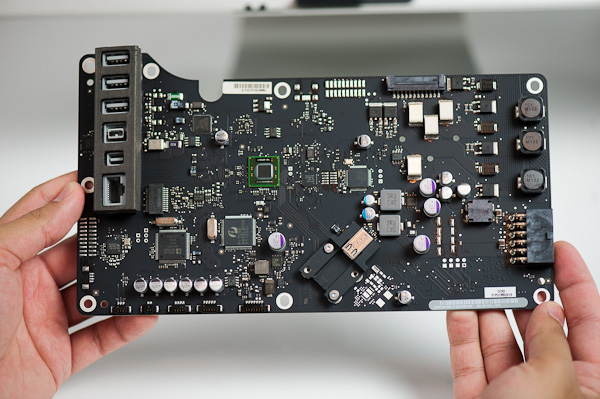
The PCB on the left is the monitor's power supply. Looking at another half-wave rectifier isn't on my to-do list this time, so we turn our attention to the right PCB. This is the board that handles all of the IO on the Thunderbolt Display. All of the screws we've removed thus far just need a T9/T10 torx bit.
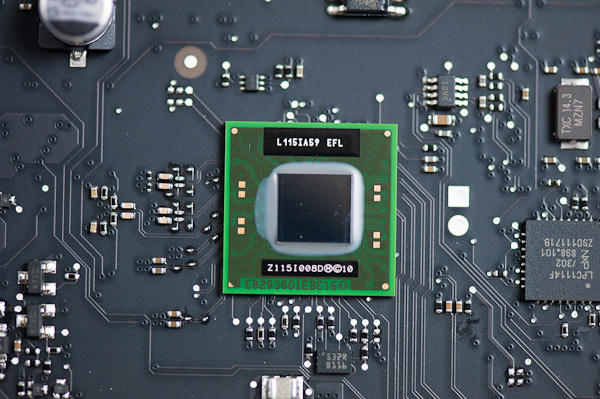
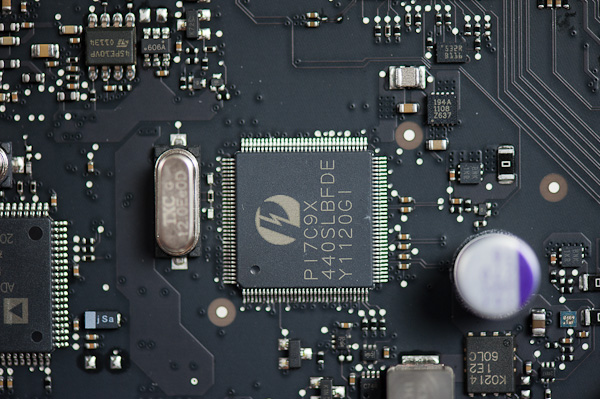
The Thunderbolt Display's motherboard is full of controllers driving all of the rear facing IO ports. Contrary to what we originally posted, I now believe this is the same Light Ridge controller we've seen on other Macs (not the MacBook Air):
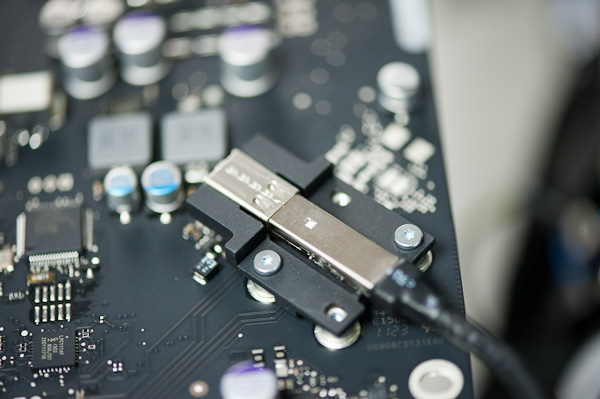
The external Thunderbolt cable actually continues inside the display and ends up at an internal Thunderbolt port. The cable terminates at the port and then is routed via traces on the PCB to the Eagle Ridge chip:
The other controllers are sprinkled around the PCB, although there's enough space between all of them to make routing nice and easy. The beauty of designing PCBs for monitors like this is you have tons of room to work with.
Pericom provides a PCIe x1 to 4-USB-port adapter on the board:
The internal speakers are driven by a combination of an ST-NXP 0161ET USB audio controller and an Analog Devices ADAV4601 audio processor. The ST-NXP controller sits on an internal USB interface, while the ADAV4601 dangles off of it.
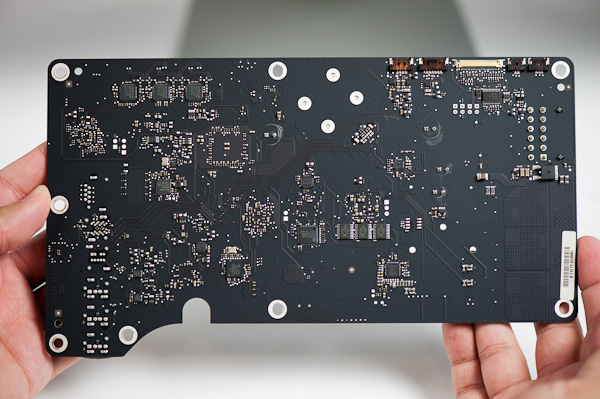
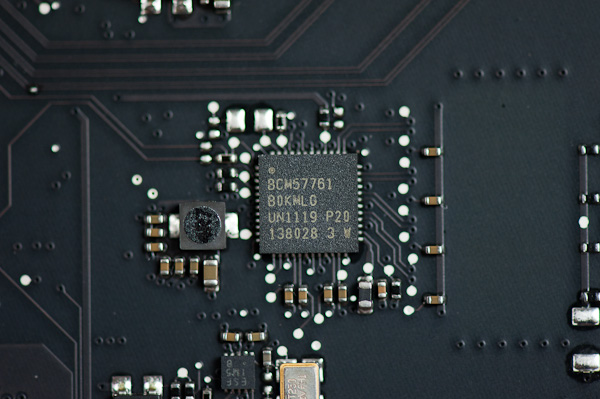
That wraps it up for the front of the PCB. Around back there's a collection of stereo amps as well as the GigE (Broadcom BCM57761) and FW800 (LSI L-FW643E-2) controllers.
There's nothing immediately apparent in the PCB design that would point to the cause of the issue we saw with the Promise Pegasus interfering with the Thunderbolt Display's USB audio controller. The root cause must be exclusive to the Pegasus.




275 Comments
View All Comments