Dell XPS M1730: SLI, Penryn, and Overclocking
by Jarred Walton on February 28, 2008 10:00 AM EST- Posted in
- Laptops
Cover Me - I'm Goin' In!
 |
If you want to get at the motherboard/internals, start by lifting up the plastic access panel above the keyboard. Four screws hold the keyboard in place, and once you remove those carefully lift up the keyboard and then disconnect the ribbon cable underneath. Under the keyboard, you will find three mini-PCI slots; on the test system, an Intel 4965AGN wireless adapter occupies one of these slots.
That's as far as most users will need to go, but if you actually want to get down to the motherboard you'll have two remove the four screws holding the main LCD panel in place, and you will also need to remove the two screws and the mini LCD panel above the keyboard. You'll also need to disconnect the power and display cables for the LCD, plus the wireless networking antenna. Take your time and move slowly.
 |
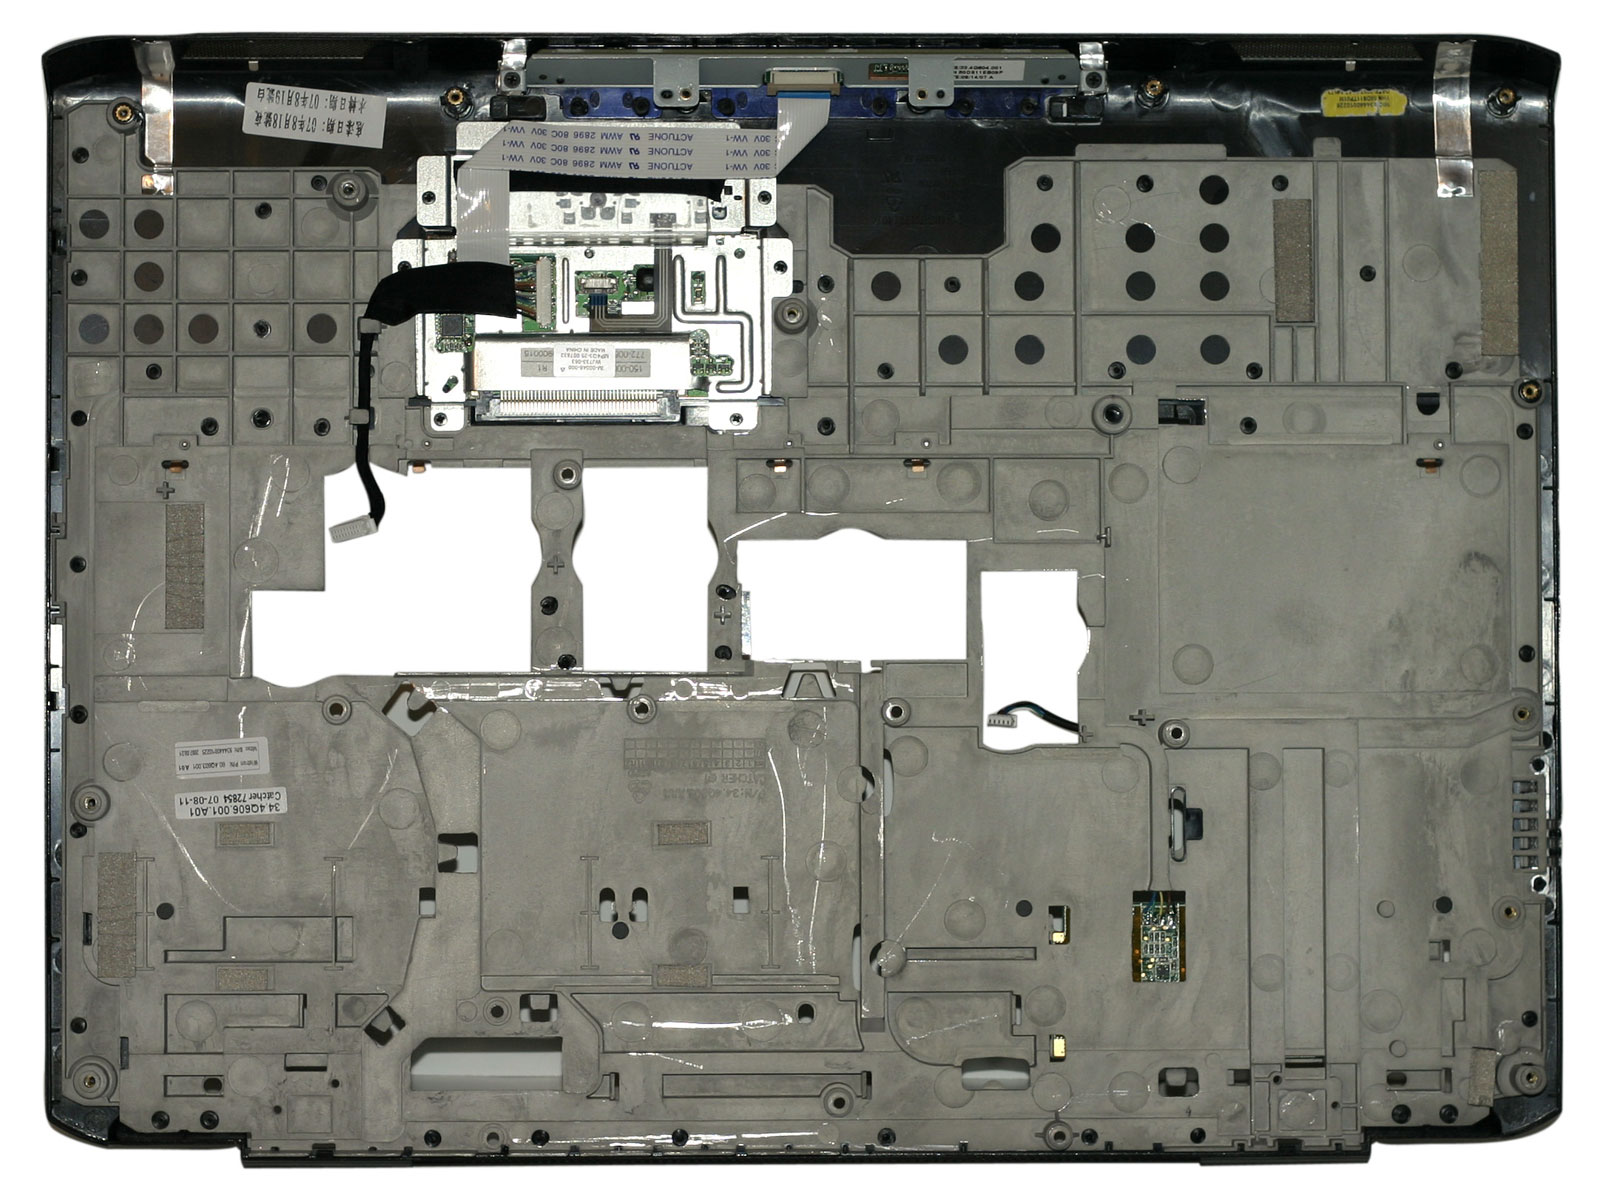 |
At this point, in order to remove the plastic shell that's home to the touchpad you will need to remove a whole bunch of screws. There are 14 screws on the bottom, one of which hides underneath the hard drive cover. Nine more screws secure the panel from the top - five of these are under the keyboard area, and two more are along the top of the notebook underneath the main LCD panel. When you've removed all of the screws, the plastic cover should pull off without requiring an excessive amount of force. Again, make sure to disconnect the various cables/ribbon cables before you pry things apart.
 |
 |
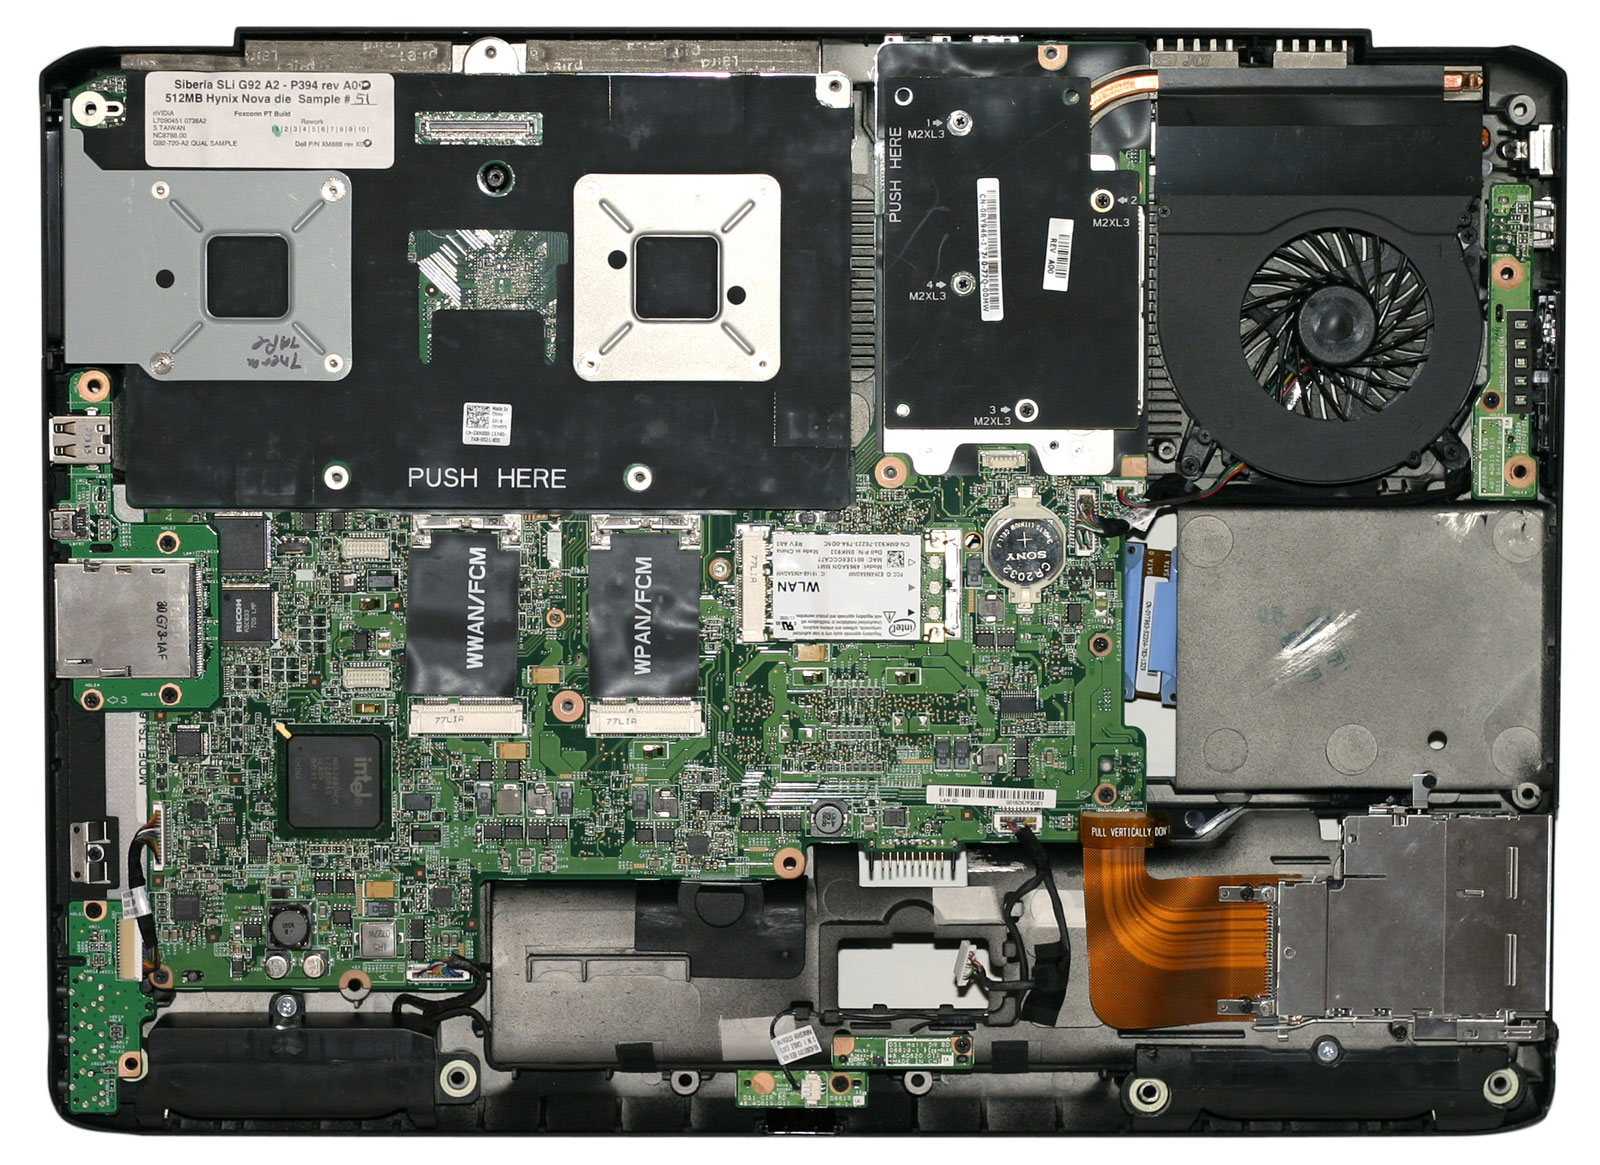
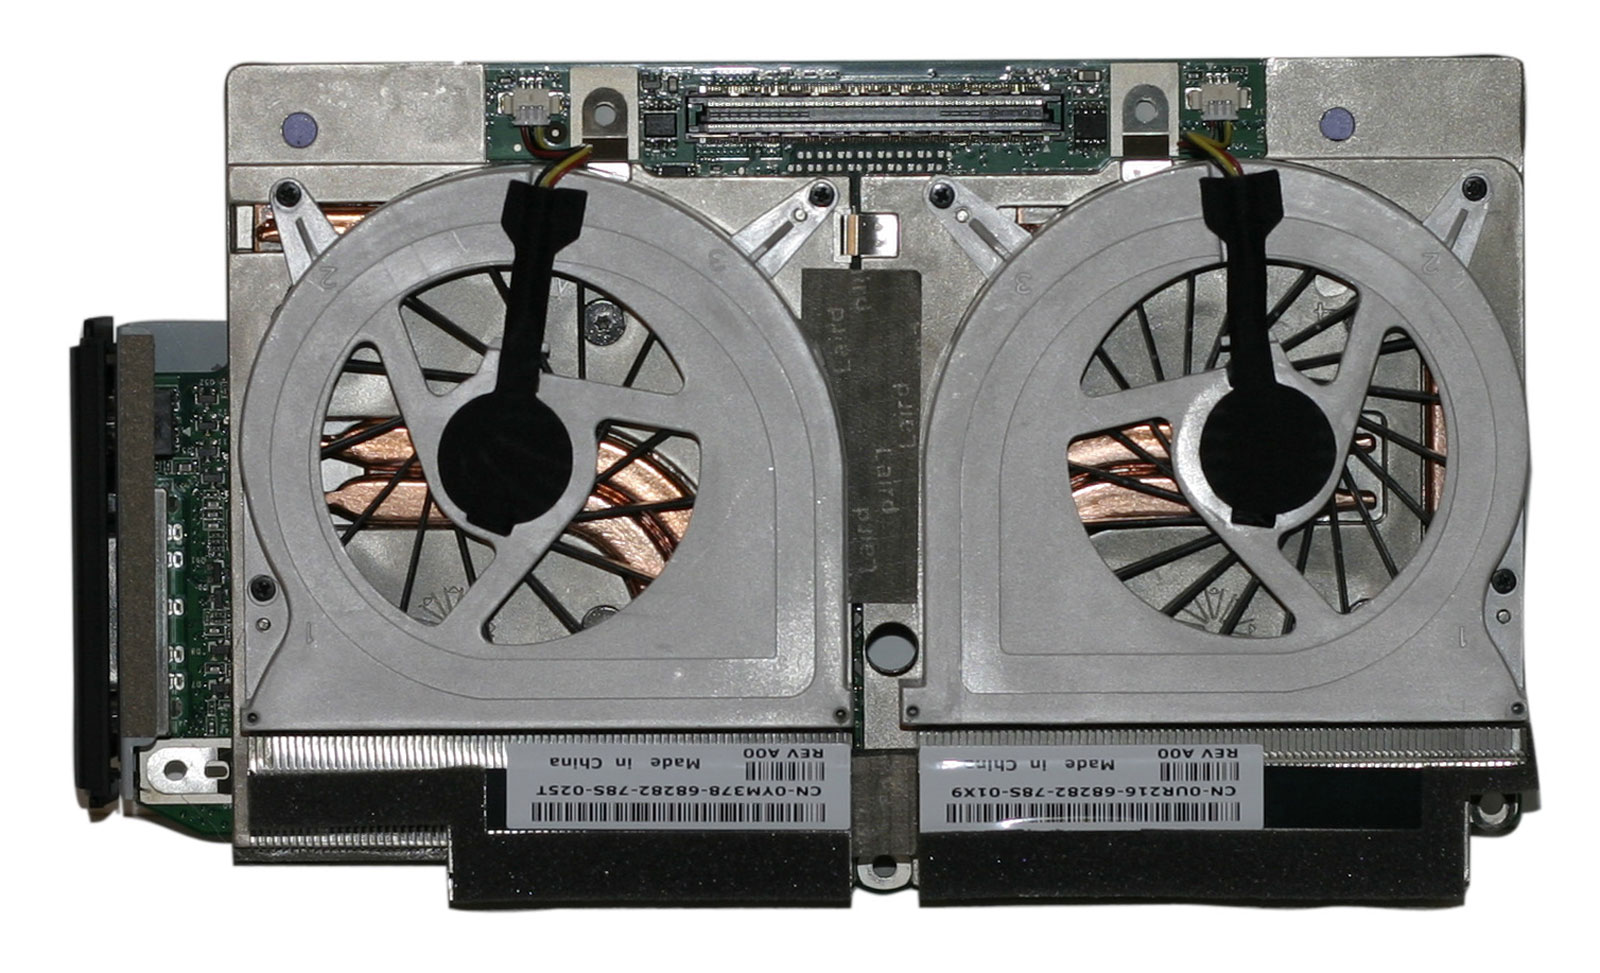 |
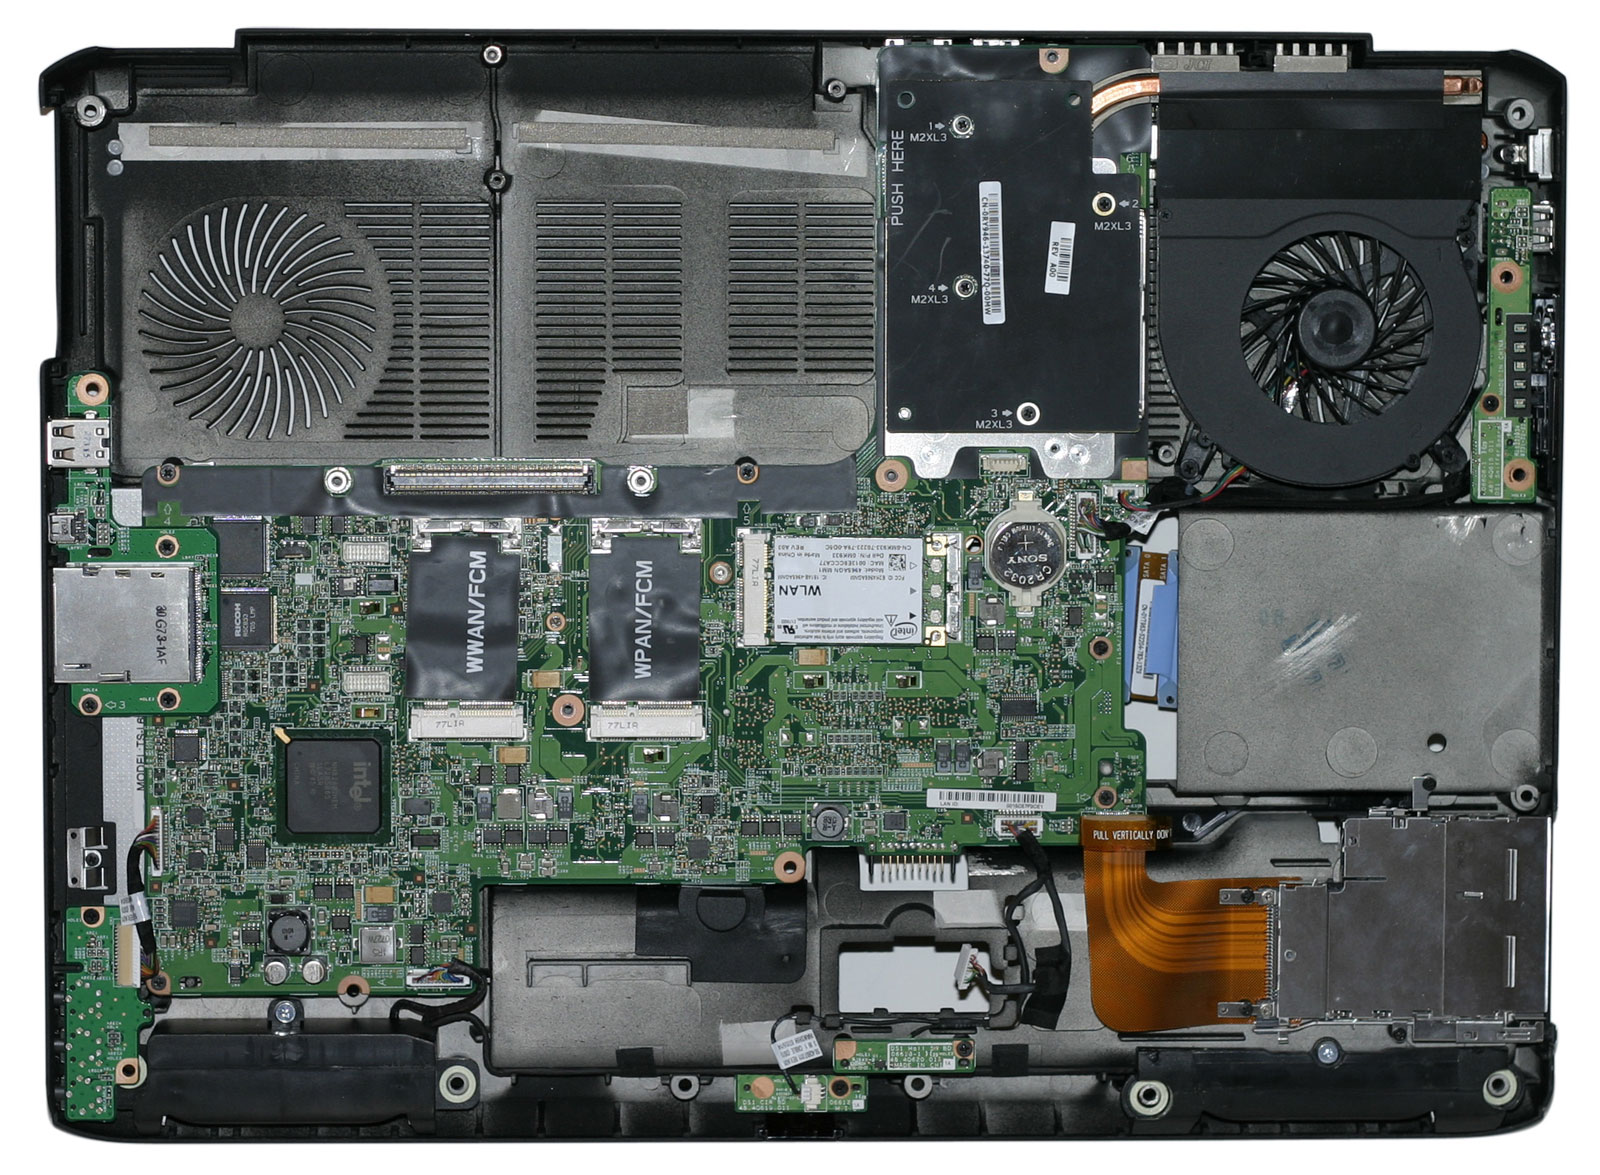
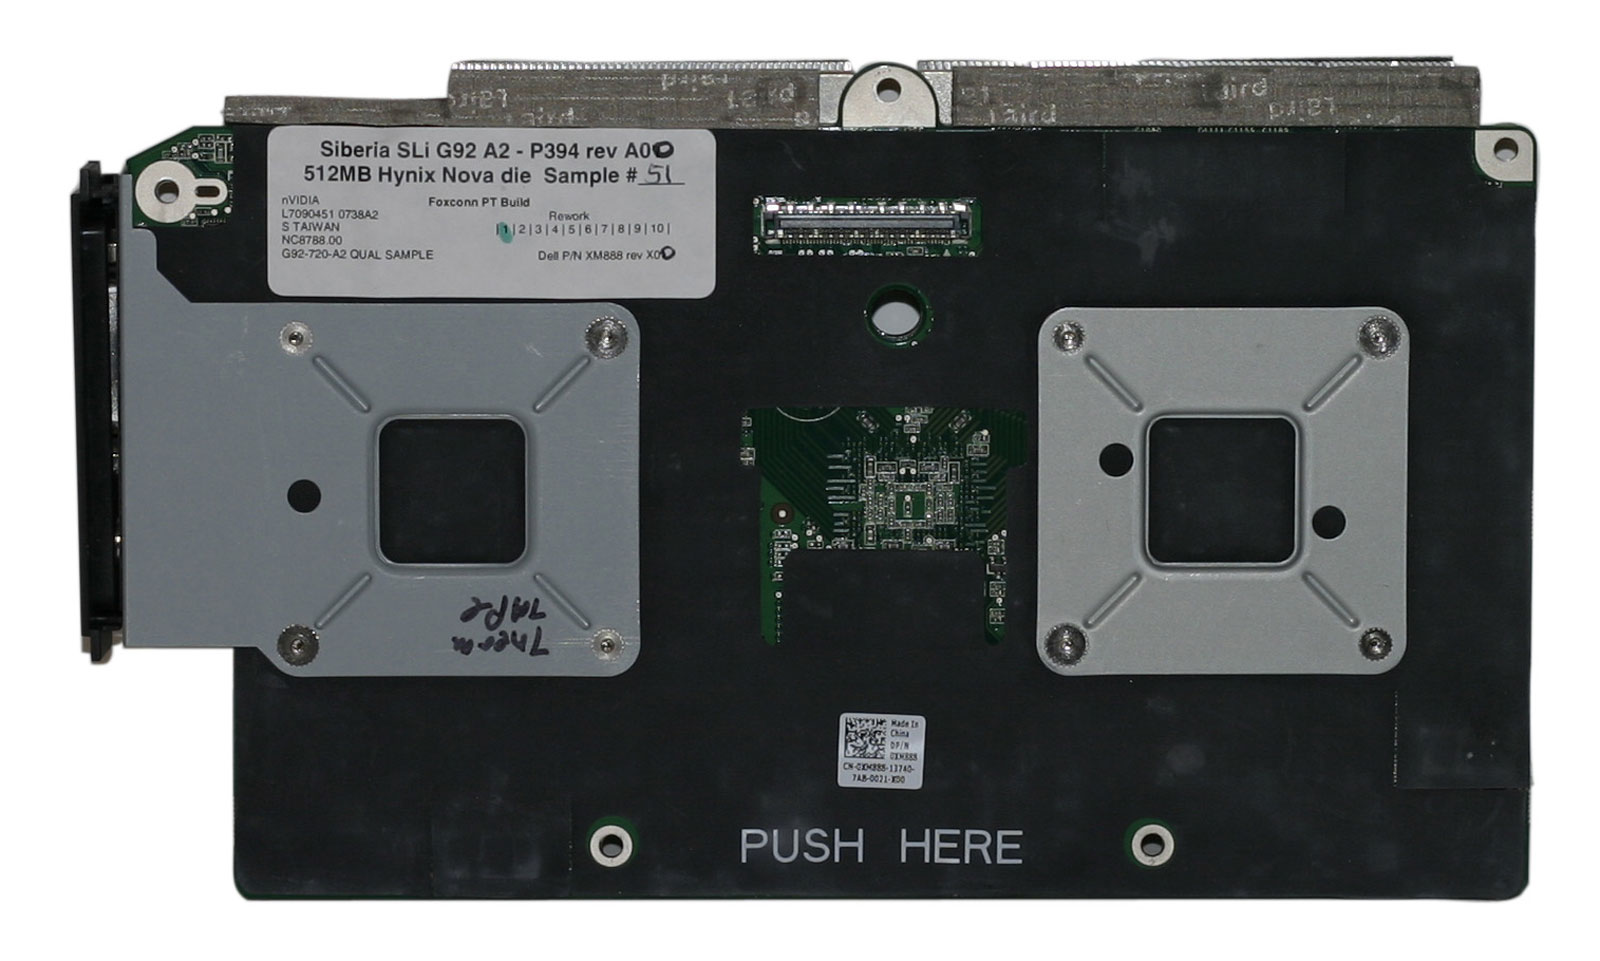
At the top left of the motherboard we find the GPU (GPUs) module, which is easy to remove. It can presumably be upgraded should Dell decide to provide such an option in the future. The top right is home to the Northbridge and CPU, covered by a heatsink/fan and secured with several more screws. While we didn't fully dismantle the chassis, the PhysX 100M sits up in the top-right between the CPU and Northbridge according to Dell.
Dismantling the whole system to get at the CPU isn't particularly difficult, but it does require a bit of time. During testing, we were on a conference call with Dell and NVIDIA at one point, and one of the NVIDIA people asked if there was an easier way to swap CPUs. The answer: no, not really. If you plan on swapping CPUs back and forth repeatedly over a short period of time, about the only shortcut you can take is to not put all of the screws back in place. Luckily, for most people upgrading laptop CPUs is a rare occurrence. Give yourself 30 to 60 minutes and you should be able to do it without difficulty. The only thing you really need is a small Phillips head screwdriver, preferably one with a magnetic tip to help extract the screws. (Yes, we know that magnets are supposed to be dangerous around electronics... we haven't killed anything yet, and we hate losing screws.)


32 Comments
View All Comments
LoneWolf15 - Thursday, February 28, 2008 - link
I would like to see nVidia take Notebook SLI, and add the ability to switch one GPU off while on battery if the user chooses. I think this could really make a difference in the system's battery life, and it wouldn't affect non-gaming uses.Good article.
loki1944 - Thursday, April 30, 2015 - link
I still have my M1730, after 7 years, great laptop.