Aspire X-QPack: A Lanparty Dream
by Joshua Buss on July 2, 2005 1:15 PM EST- Posted in
- Cases/Cooling/PSUs
Installation Cont'd
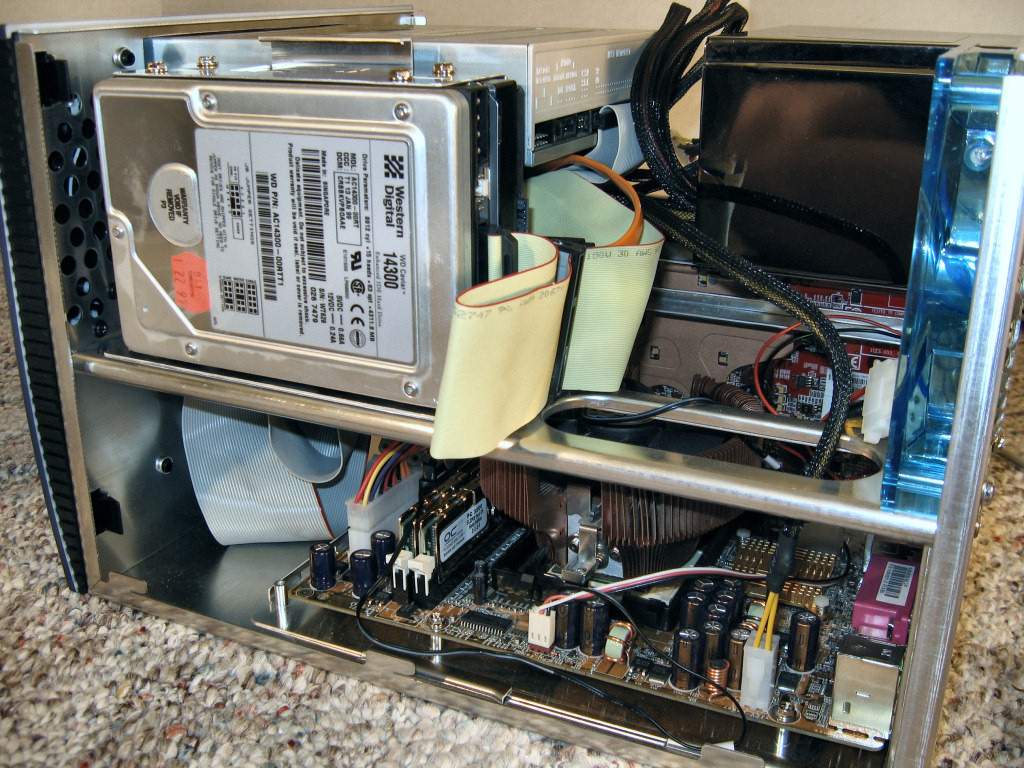
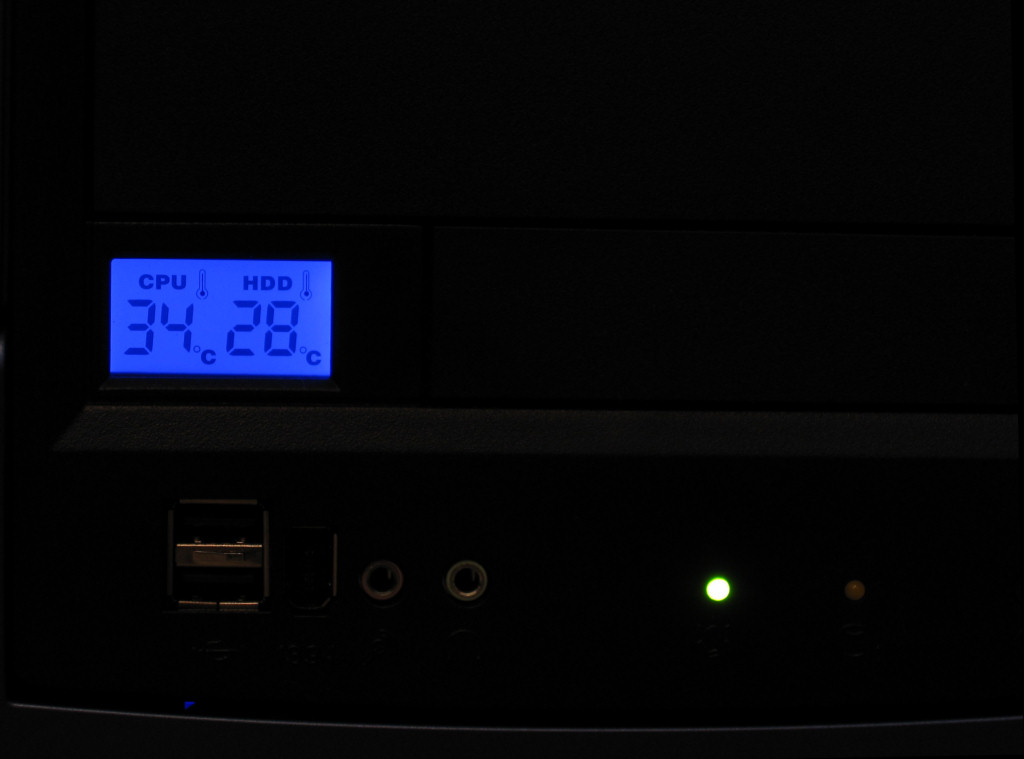
After connecting up all the cables, including the two sensors for the front-mounted temperature display, we were ready to put the custom-sized power supply back in. It is this step which reminds you just how tight everything is in this unit, but keep in mind we have a nice beefy 420 watt power supply we're working with, not a 250 or 300 watt one like the ones that come with most small form factor pc's.
Click to Enlarge
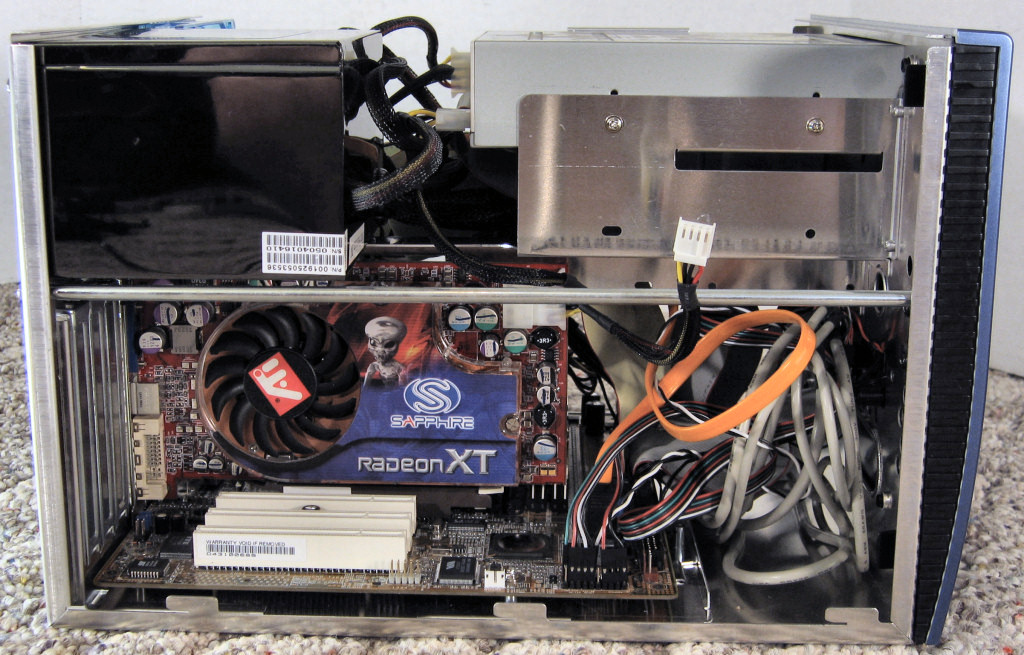
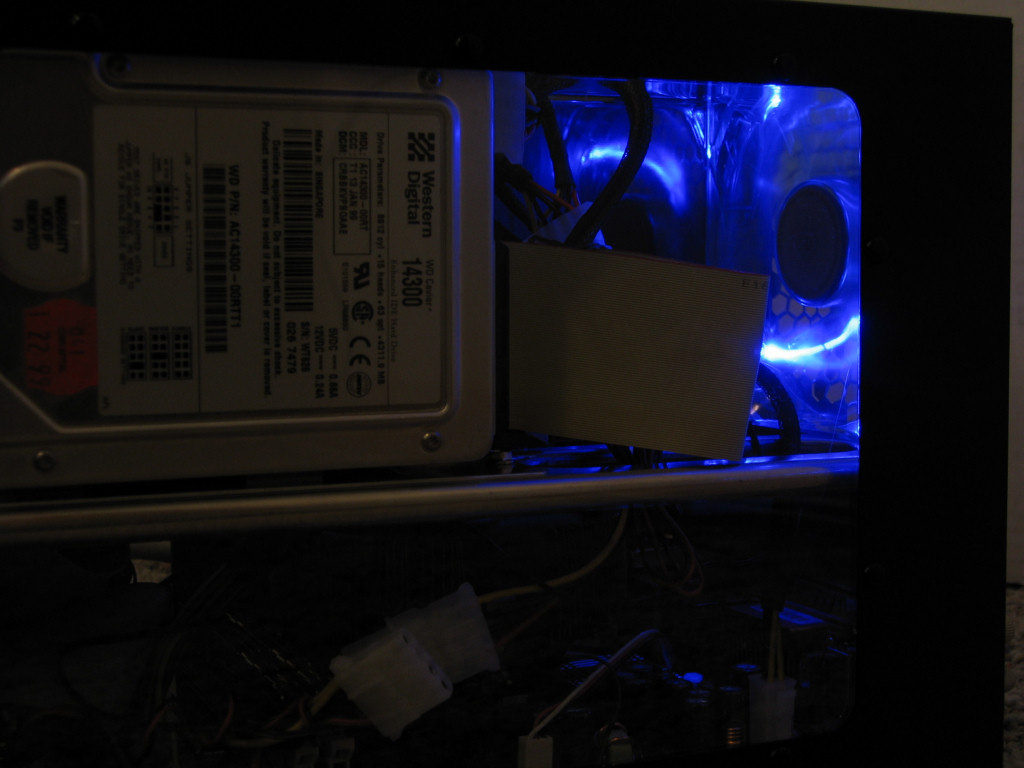
One more shot with everything installed viewed from the other side. Here one can see what we meant by using the extra space up front for 'cable management'. We should note how if our motherboard had supported external USB and Firewire connections, some of that cable clutter would be greatly reduced.
Click to Enlarge
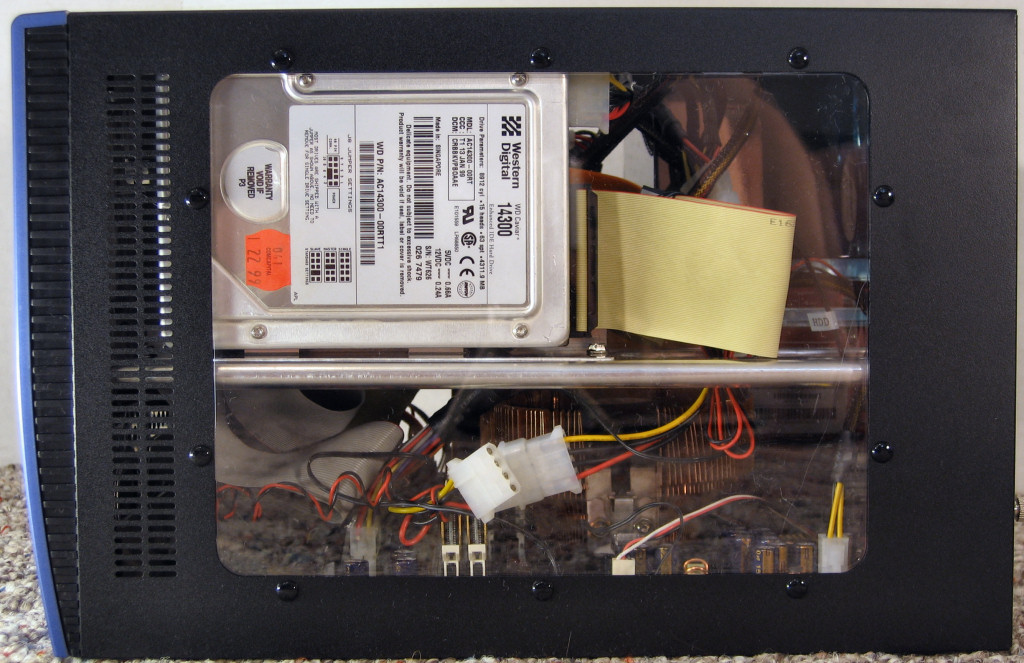
With everything installed, it's time to put the cover back on. This is when one of the only real problems we found with this case came to light. While we didn't actually cut ourselves working on the unit, in putting the cover back on one of the side windows came down across the HDD cage and received a nasty scratch. We checked the edge and it did not appear to have been deburred at all. We looked carefully at other edges in the case and came to the conclusion that hardly any of them had been smoothed out. Many of the edges had been tucked around into bends though, which explains why we didn't hurt ourselves working on the case. Just be sure to be careful and it should not be too much of a problem, but then again Aspire could have put just a little extra attention to detail in there and made sure all the edges had been smoothed over.
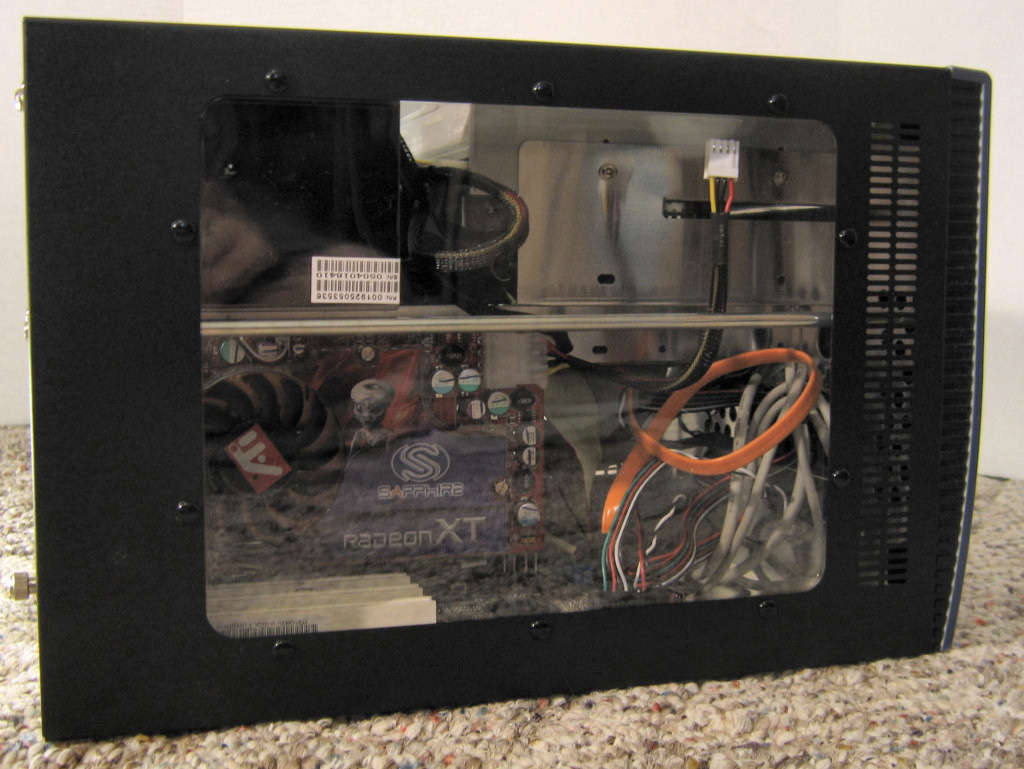
Once the cover was replaced, we noticed how overall the windows do a nice job of showing off the internal components. Here is a small gallery of pics just showing the case with everything installed, some with the unit powered on to show the LED fans.
Click to Enlarge
Click to Enlarge
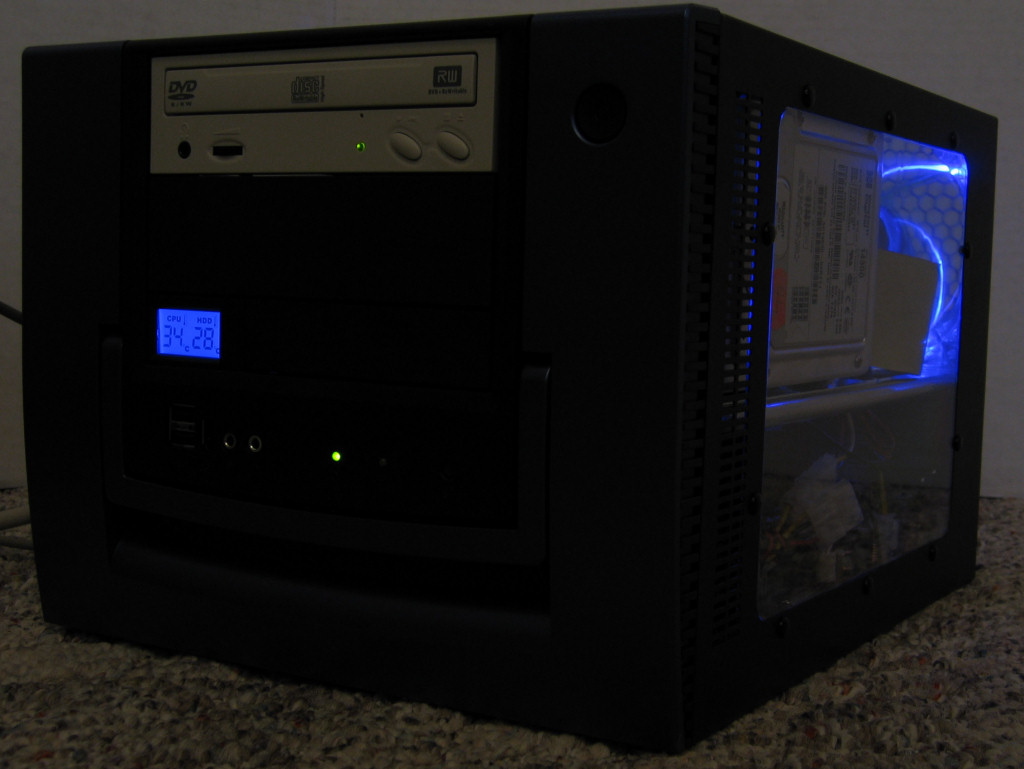
Click to Enlarge
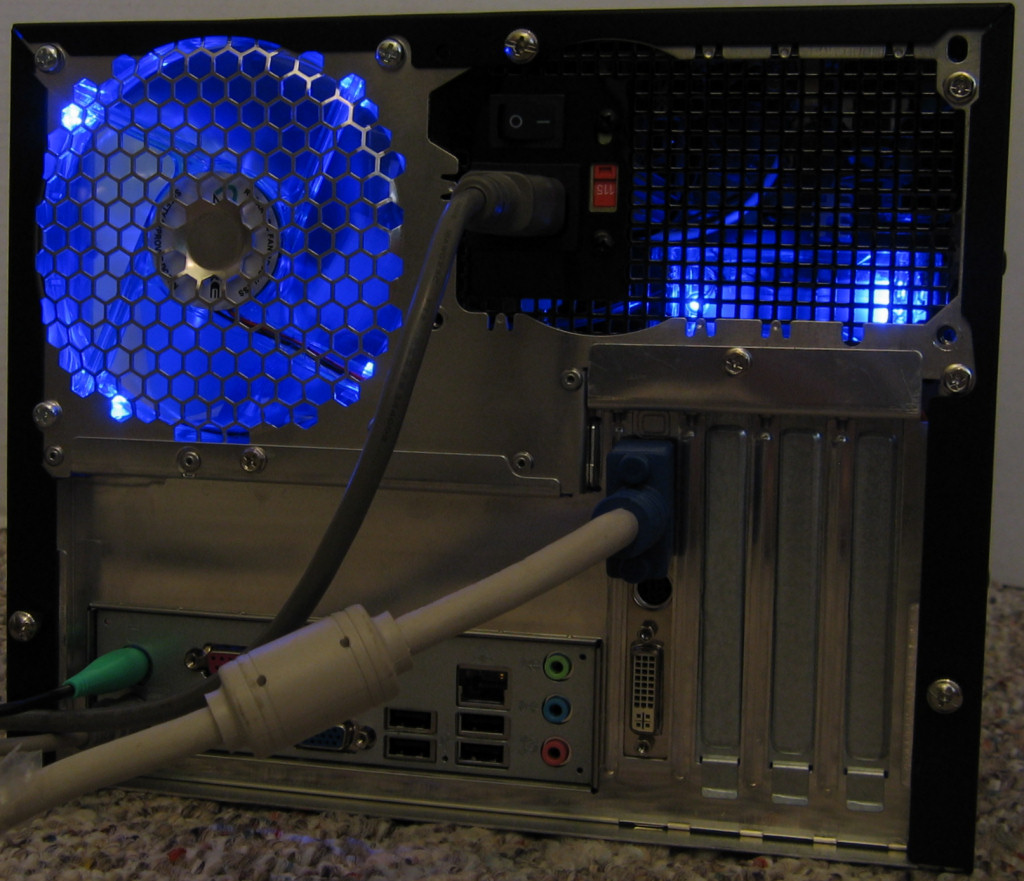
Click to Enlarge
Click to Enlarge
Click to Enlarge


66 Comments
View All Comments
stromgald - Saturday, July 2, 2005 - link
The dimensions of the included PSU are unique, but there does seem to be some space between the PSU and the installed DVD burner. The height and widths are the same as a standard ATX according to the article so the screw holes are probably in the same place, but the depth may be a problem. I think that's what #11 was asking, and I'm wondering the same thing. I've been looking to build a new mATX computer, and have been looking at the Aspire and its OEM version, the Chenming 118 (has a 300W PSU and is less flashy) for awhile. Great review, the article and the nice pictures will help alot if I use this case for my next build.Olaf van der Spek - Saturday, July 2, 2005 - link
It's also a shame it doesn't have independent cover parts, which makes me think of those old minitowers where takes of the cover was almost a disaster.Olaf van der Spek - Saturday, July 2, 2005 - link
> We should note how if our motherboard had supported external USB and Firewire connections, some of that cable clutter would be greatly reduced.What exactly are external USB and Firewire connections?
Spacecomber - Saturday, July 2, 2005 - link
From the Aspire website:Power Supply ATX 420W power supply
-High-gloss mirror finish
-1*80mm built-in UV blue LED fan
-Wire management:all wires are sleeved
-Size:116 x 149 x 87 mm
Power Supply Spec.
+3.3V +5V +12V -12V -5V +5VSB
20A 25A 20A 0.8A 0.3A 2.0A
(They don't list the 3.3v+5v combined power rating. Just that the maximum is 420w.)
Power Supply Connectors
1 x 20pin Main Power
1 x 12V (P4)
4 x Peripheral
1 x Floppy
1 x SATA
Those dimensions seem a bit unique; it certainly isn't a standard full-size power supply.
Space
Cygni - Saturday, July 2, 2005 - link
I agree, the PSU is the question. At $90 WITH a 420wt PSU, it sounds like a really really good deal.. but i get the feeling its not exactly a true 420.BTW, i noticed the HD thing too. In one view we clearly see the PATA cables, and from the other side, i see orange SATA cables running up, haha. :D
RaNDoMMAI - Saturday, July 2, 2005 - link
Can you put a normal PSU in?Spacecomber - Saturday, July 2, 2005 - link
I like this review, but I have to agree with #9 -- we need more information on the power supply. How does it stack up against good quality power supplies in terms of amps per rail? Are there two 12v rails? Does it come with a 24 pin main power connector and with the new square 4 pin video card connectors? Is it of standard dimensions? What options would there be for changing it out, if you feel this one is not adequate?Basically, I hate to pay the extra cost of getting a power supply and a case when it turns out that the power supply is a low quality generic model which I'll have to replace.
Space
JustAnAverageGuy - Saturday, July 2, 2005 - link
What were the amps (5V, 12V, etc) on the 420W power supply?One oddity.
In all of the pictures it shows a Western Digital hard drive. It states you used a Seagate on page 8 though.
DarkKnight - Saturday, July 2, 2005 - link
great review, case looks awesome. I wish this case had come out before I bought my aria :(. Had to mod the hell of out it to get acceptable temps.KristopherKubicki - Saturday, July 2, 2005 - link
Pannenkoek: Look in the comments section of the Sun article.Kristopher