Setup
Out of the box comes an assortment of parts and cables. The subwoofer/amplifier enclosure dominates the package, though the remainder of the space is carefully packed with the front and rear satellites enclosures, stands, and cabling. Also included is a detailed drawing for connection options. The first step in assembly is deciding the desired setup format.
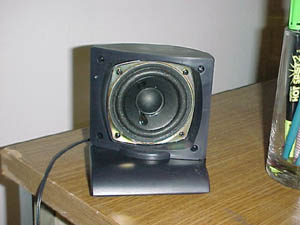
The first decision comes in the physical setup of the unit. The rear satellites
come from the factory installed on their own stands for placement behind the
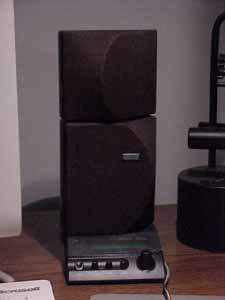
listening position. Another installation option is to mount them on top of the
front satellite speakers. In this position, the speakers are aimed off axis
to help create the surround effects the "rear" speakers will be reproducing.
 |
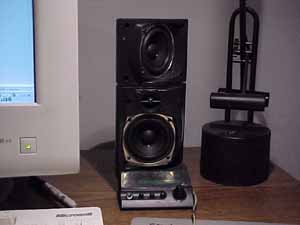 |
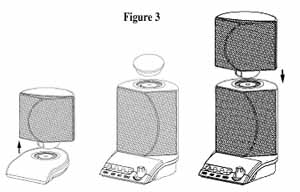
Installing the rear speakers on top of the front satellites is fairly straightforward. A simple rotation and lift is enough to remove them from their factory stands. On top of the front satellites, there is a rubber plug that must be removed. Once the plug is out, the rear speakers are placed in the fronts and rotated again to lock them in place. The connection is keyed to ensure alignment and proper placement. Lining up the curved edges of the speaker grills to create a compound curve is also a way to ensure the alignment.
When using the rear speakers in the 4.1 mode in which they are placed behind the listener, in their detachable cradles. The cabling included with the system is sufficient to reach around a small room for placement behind the listening position. As with the other connections in the system, the connectors are both color coded and keyed for proper connection.
Once the surround speakers have either been docked or laid out behind the listening position, placement of the front pedestals and subwoofer remain. The front speakers follow a normal stereo layout; make an isosceles triangle with the listener at the vertex. Altec recommends as much separation of the speakers as possible to obtain the best stereo image. Note that that the satellites are not interchangeable - the pedestal with the control pod belongs on the right hand side of the system, while the left pedestal contains the headphone jack.
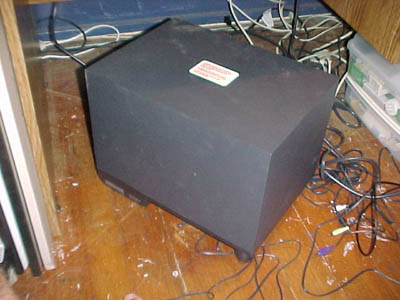
The subwoofer tucks away under the desktop. Experiment with positioning the unit under the desk once the system is powered up, as physical location can affect its acoustics and how it interacts with the "bass trap" of space under the desk. As the enclosure is where all of the system connections terminate, it is beneficial to get the sub close to where it goes, but wait on final placement until all connections have been made.
The format decision is somewhat going to dictate the layout and cabling of the system. The signal for the surround speakers is routed by the system to whichever stand they are sitting in. For rear placement, there is a separate minijack connection for each side that must be run back to appropriately colored connector on the subwoofer. The coloring differentiates between left and right; the units are symmetric, not interchangeable. When in the front "three speaker" configuration, the signal feed is provided through the cabling that connects the front pedestals to the system.


2 Comments
View All Comments
warpuck - Monday, February 27, 2012 - link
Currently in use as sound provider for my 32" LCD TV/computer monitor. I had to purchase an optical to SPDIF converter. I dont see any reason to replace it with a 5.1/7.1 system.A close current replacement is this:
Definitive Technology ProCinema 60 5.1CH Home Audio Speaker System.
Yes the remote still works too.
STaTTiKK - Sunday, May 13, 2012 - link
Hell yeah man, I still got mine too. I just talked to radio shack today about the spdif opticalconverter and they have one for I think 29 bucks. .l great speakers man, still have mine, plus a center channel plus a second sub and 4 jvc speakers in the back. :)