VideoLogic DigiTheatre DTS: The Ferrari of Sound is here
by Jim Warren on March 19, 2001 12:30 AM EST- Posted in
- Smartphones
- Mobile
The Setup (continued)
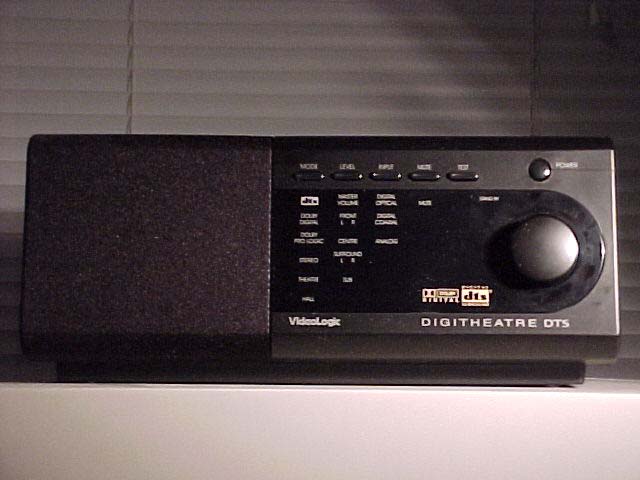
The control unit for the system is part of the center speaker enclosure, and should be placed at the visual source. The subwoofer then has to be placed within ten feet of this unit, as there is a proprietary multipin connection between the two that cannot be extended with readily available materials. If absolutely needed, an extension is available from VideoLogic in the United Kingdom. This multipin connection is what connects the amplifier to the control module, as well as providing the speaker feed for the center channel.
There is some freedom in where the subwoofer can be placed, as bass frequencies are omnidirectional. The easiest location is on the floor; the unit can even be tucked under furniture as needed within the limiting distance of the cable connections. If the sub is backed up into a corner or at the edge of a wall and then floor, it will increase the bass effects as reflections direct more of the sound to the room.
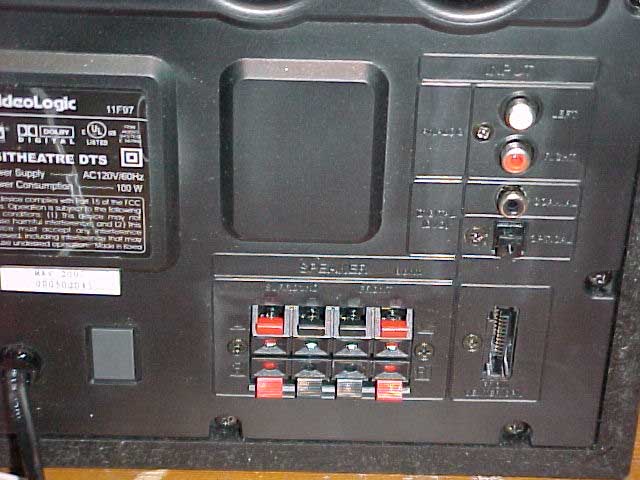
The unit has a variety of input options for connecting to source material. SPDIF connections are available via both optical (TOSLINK) and coaxial connections. Included in the package is a digital coaxial cable, though an optical cable is not included. Both digital connections support both Dolby Digital and DTS decoding. The third connection option is an analog stereo connection. Each input is individually selectable at the control module, though the physical connections are made to the amplifier that is integrated into the subwoofer enclosure. Included with the system is a stereo RCA to minijack cable, and a normal stereo RCA cable for interfacing to other equipment.
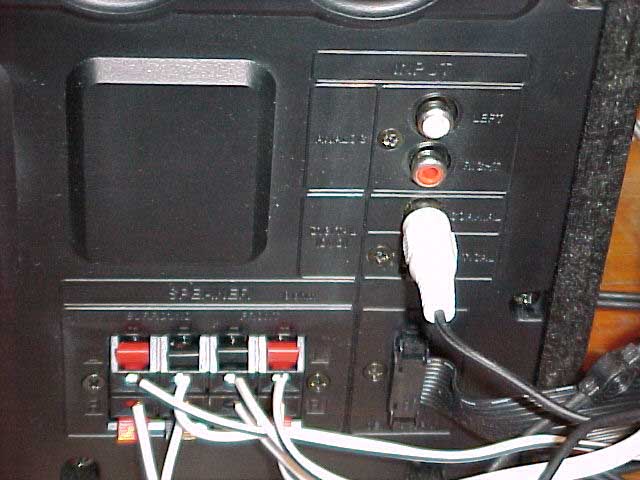
Though not specifically described in the users manual, the connection included for the analog connection (minijack to stereo RCA) can be used to make the digital coaxial connection to most sound cards. The connection on most sound cards is via a minijack in order to save space; the center pin of the jack referenced to shield will provide the digital signal. These pins can be accessed via the left connection in the stereo RCA to minijack adaptor. This way, there is no need to buy an extra cable to make the system go together.
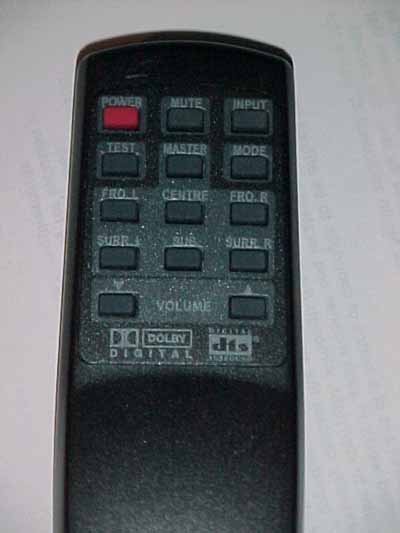
The final connection is power. For the units sold in the US, it’s a direct connection to 120V power. Units sold in Europe are wired for UK power, and include a power adaptor for other regions. Once the system is energized, the wireless remote can be checked for operation, and then it’s time to get things going and sit back and listen.


2 Comments
View All Comments
kikamki - Thursday, June 17, 2004 - link
I liked the almost-in-depth review. However, I have a feeling that the author was somewhat biased (over-awed?).'Backward' compatible to Dolby Digital?? What's that? Are you trying to say that DTS is the next generation (and that much better)? Apart from the theoritical resolution of DTS, I don't think it is perceivably better than comparable Dolby Digital encoded material (perceivably being the keyword here).
I understand that when it comes to judging the quality of audio, in the end, it is highly subjective. But how did you differentiate the quality of DTS encoded material versus Dolby Digital material. DID YOU REALLY FEEL THE DIFFERENCE? Or were you just recycling some marketing material?
I don't prefer DTS or Dolby Digital in particular (I like both), but I think the author is overly excited, and did I mention biased?
Anyway, my own biased viewpoint aside, there is only one thing I wanted to say, really. Please be objective -- like most of the AnandTech reviews; that is why come back to AnandTech again and again.
Thanks.
ki kamki
KristopherKubicki - Friday, March 12, 2004 - link
test