ABIT SP50 Home Theater Speakers & AU10 Sound Card
by Jim Warren on September 20, 2000 10:20 AM EST- Posted in
- Smartphones
- Mobile
Setup
Unpacking the system is where the first impressions started to build. Just lifting the speakers gave some idea of the construction—the satellites are in metal casings, giving them a distinct weight. The sub is a wooden enclosure about the size of a minitower; (206(W) x 380(H) x 510(D) mm) it includes the 6.5” driver as well as the amplifiers for all of the satellites. It takes straight AC power, using the same power cord as most monitors, printers and computers. The lack of a “wall wart” indicated a commitment to a certain amount of strength, via an internal power supply, much like a home amplifier. Also, as noted earlier the speakers and stands are jet black; however, the included cables are bright white and stand out against the desktop.
The speakers come with a box full of cables for hooking everything up. The speaker connections are well labeled, and the speaker wires are interchangeable as needed, offering three different lengths. The standard default setup was one 4m cord for the center, two 6m cords for the front channels, and two 10m cables for the rears. Since the connection is made through bare ends, or wire stripped of its insulation, that connect to push terminals on the back of the sub, these cables could be cut to any length without requiring any soldering to clean up the system’s excess cables in a permanent installation. In addition, if a longer cable than what is included is needed, standard speaker cable could be soldered onto an RCA plug and then cut to length. For someone putting their own system together, this is a much easier connection to make then working inside a miniplug, and the plugs would also be cheaper.
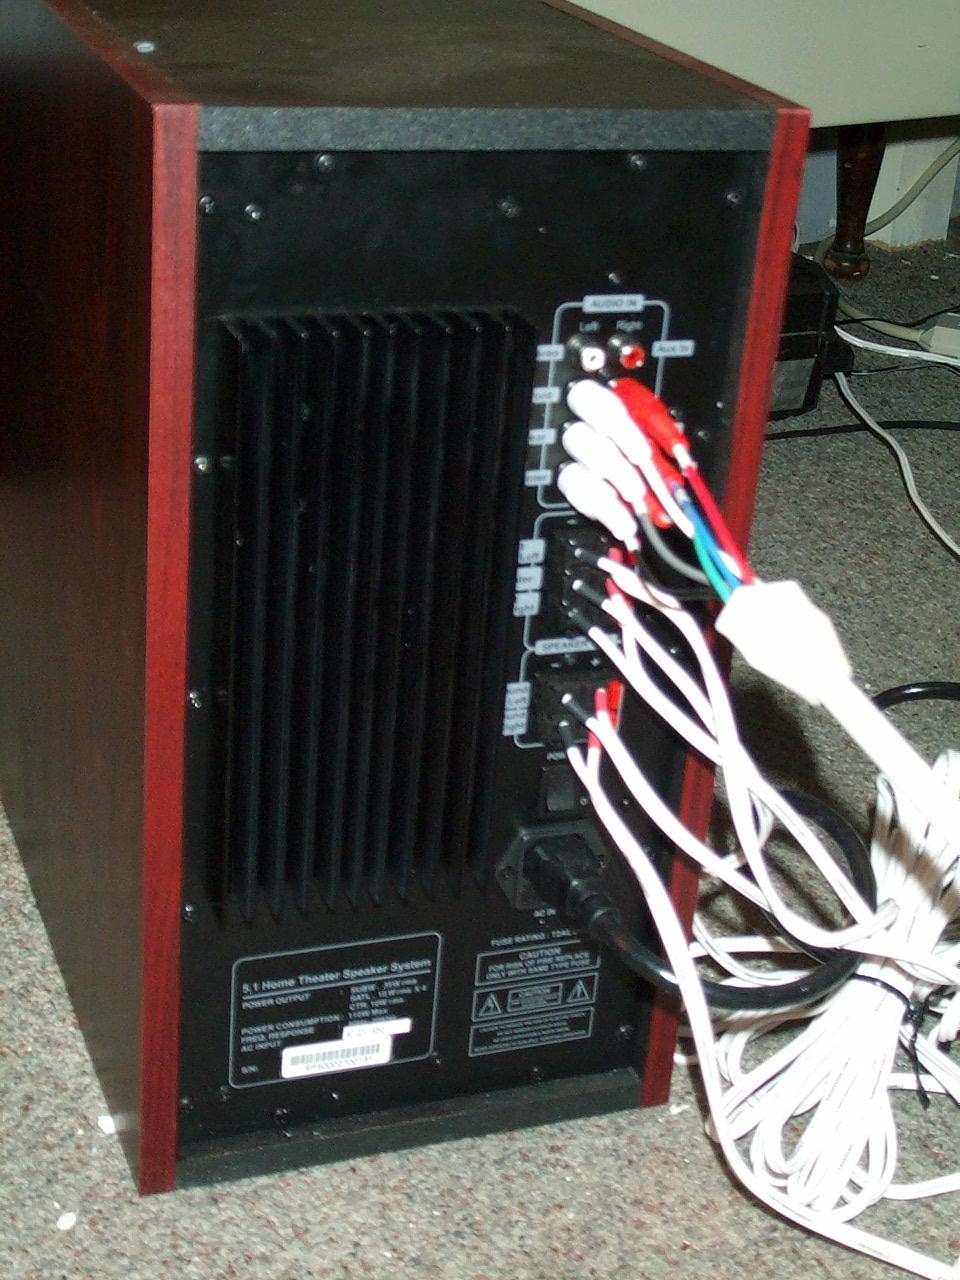
In order to connect the amplifier to the sound card, there is an adapter to go from a G9 speaker connection (6 channel multipin connector) to 6 RCA cables that are well labeled. However, the screen-printing on the sub unit doesn’t match the labels on the cables, making the connections somewhat counterintuitive. The user manual provides some guidance, but beyond getting across the general idea of making the connections to the bottom six RCA jacks, it does not decipher what the labels on the system mean.
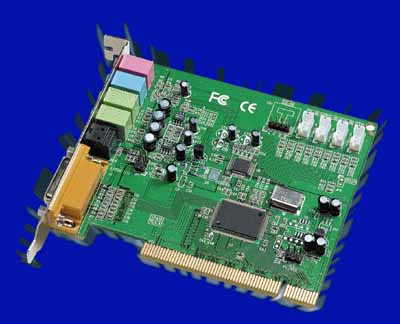
The AU10 card installs like any other PCI audio card—open the case up, drop it in, connect the audio cable off of the CD drive to the board, and then follow the “Found New Hardware” pages to load the drivers off of the included CD for the card and joystick controller. It works best when all other sound cards are removed, including any remaining drivers for the earlier card.
Additional setup includes the infrared receiver for the WinDVD 2000 remote; it connects inline between the keyboard and the computer. The connection is fairly straightforward, although when hooked up incorrectly to the mouse, it will generally crash at least the mouse, and at times, the system. It’s an easy mistake to make in the dark at the back of the computer, and worth double-checking before it affects performance.
The software installation includes the drivers for the AU10 card and the joystick input. This includes a test window that can access each individual speaker, or test them in order, proving very useful for troubleshooting connections. The test program does not override the software mixer’s panning, so if a program such as an MP3 player has the sound panned hard right, the left side will not be testable.


0 Comments
View All Comments