990FX Motherboard Roundup with Thuban and Bulldozer – A Second Wind for ASUS, Gigabyte, MSI and Biostar
by Ian Cutress on April 5, 2012 11:00 AM ESTBiostar TA990FXE BIOS
So far this review, we have seen the graphical implementations of the BIOS from ASUS and MSI, and the old version of the BIOS layout courtesy of Gigabyte. Given the status of Biostar as a motherboard manufacturer in the western world to enthusiasts, I would have put money on the TA990FXE having a BIOS similar to that of the Gigabyte. However I was pleasantly surprised.
While the BIOS may not be as grandiose as the ASUS or MSI implementation, it does harness the main intention of the graphical BIOS model - the ability to plaster the user with more advertising to enhance the user experience. Biostar use a mixture of light grey and white on a dulcet grey for text, and white on black for changeable options. The BIOS is laid out with information on the right hand side, as well as control descriptions. Almost every option the user hovers over, help text comes up to explain what it is and what it does in regular lay terms.
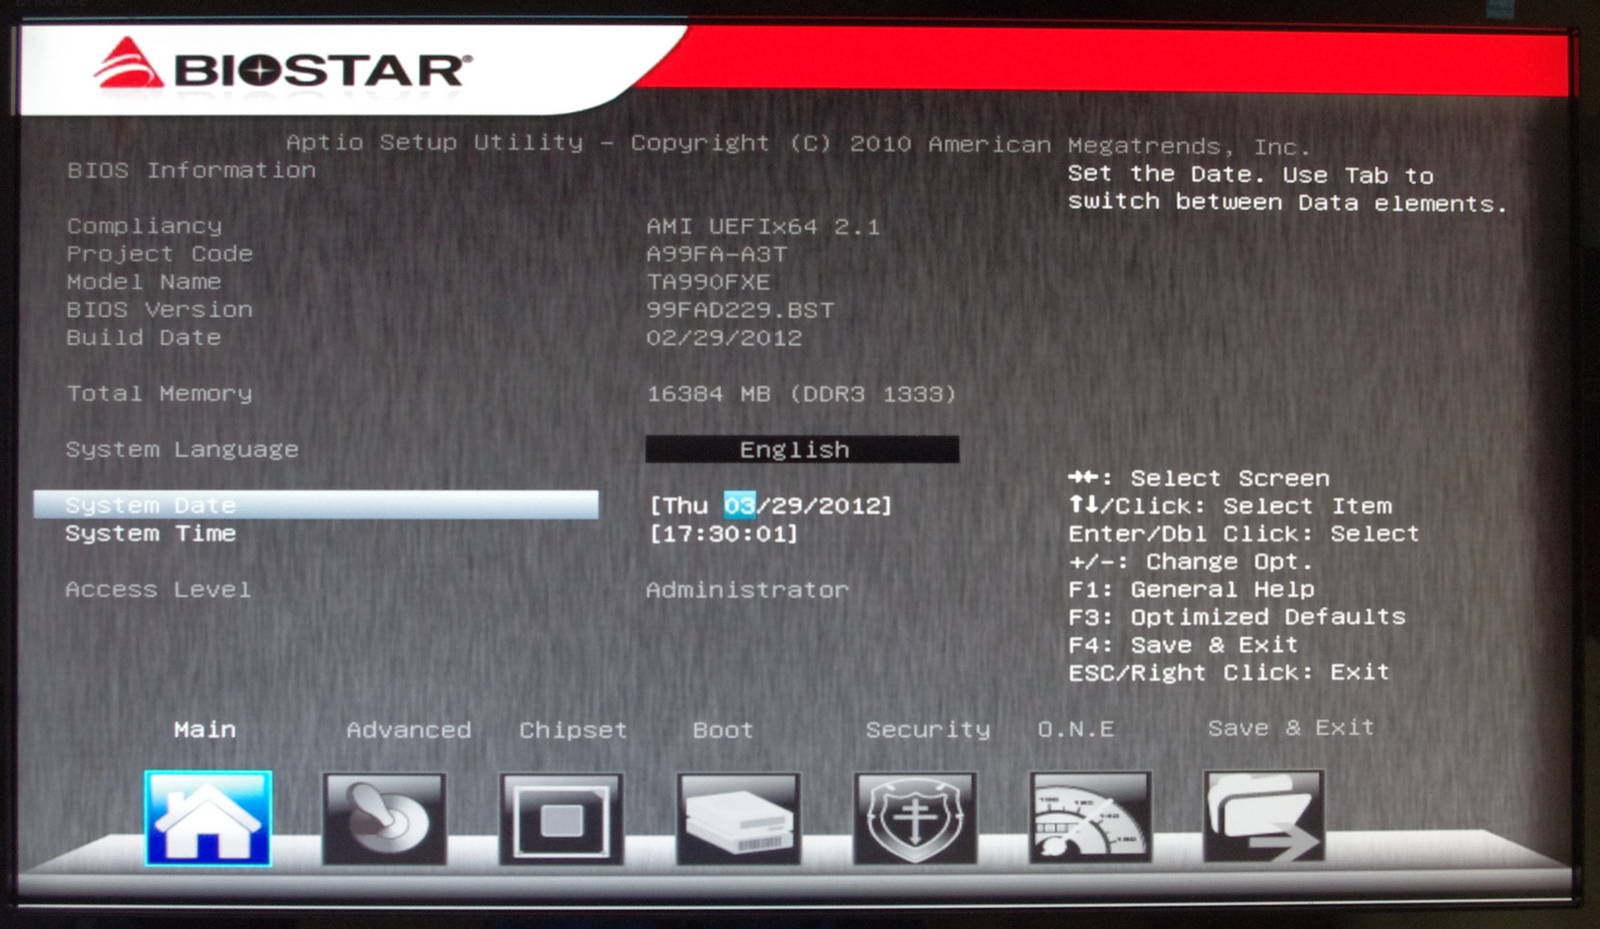
There is still a lot of work to do on this BIOS. As I mention repeatedly in my reviews, I want the main screen to display all the important information about the system - processor, motherboard, BIOS version, CPU temperature, CPU speed (multiplier and base frequency), amount of memory in the system, speed of the memory (sub-timings if possible), and a brief description of voltages and fan speeds. Unfortunately, we do not get that much from Biostar, as the front screen is more reminiscent of the non-graphical style BIOSes.
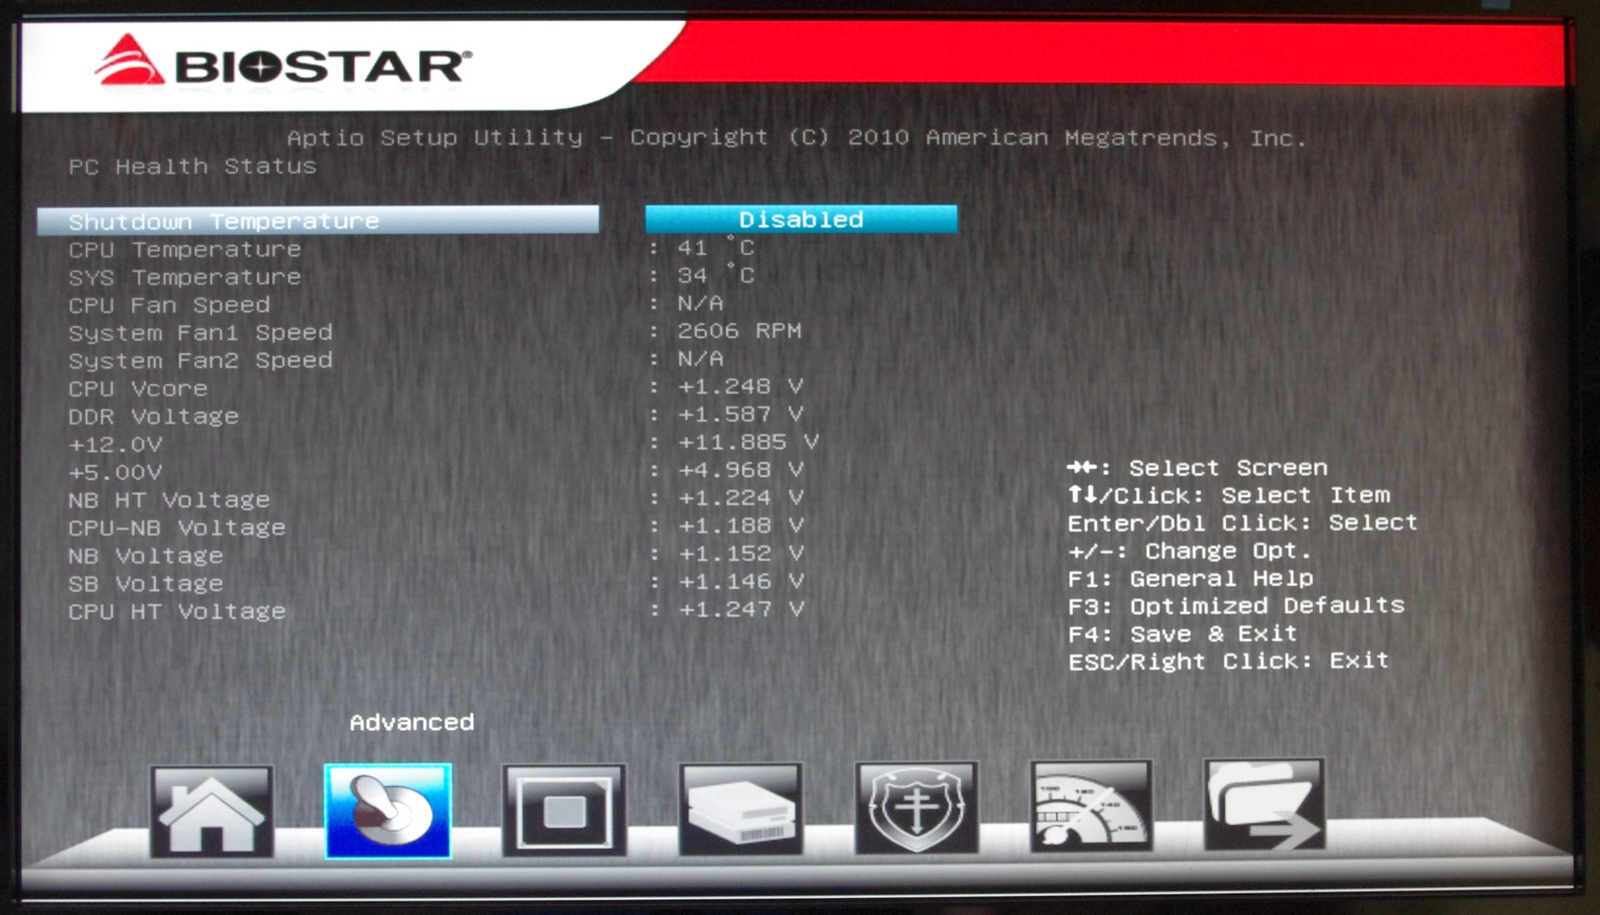
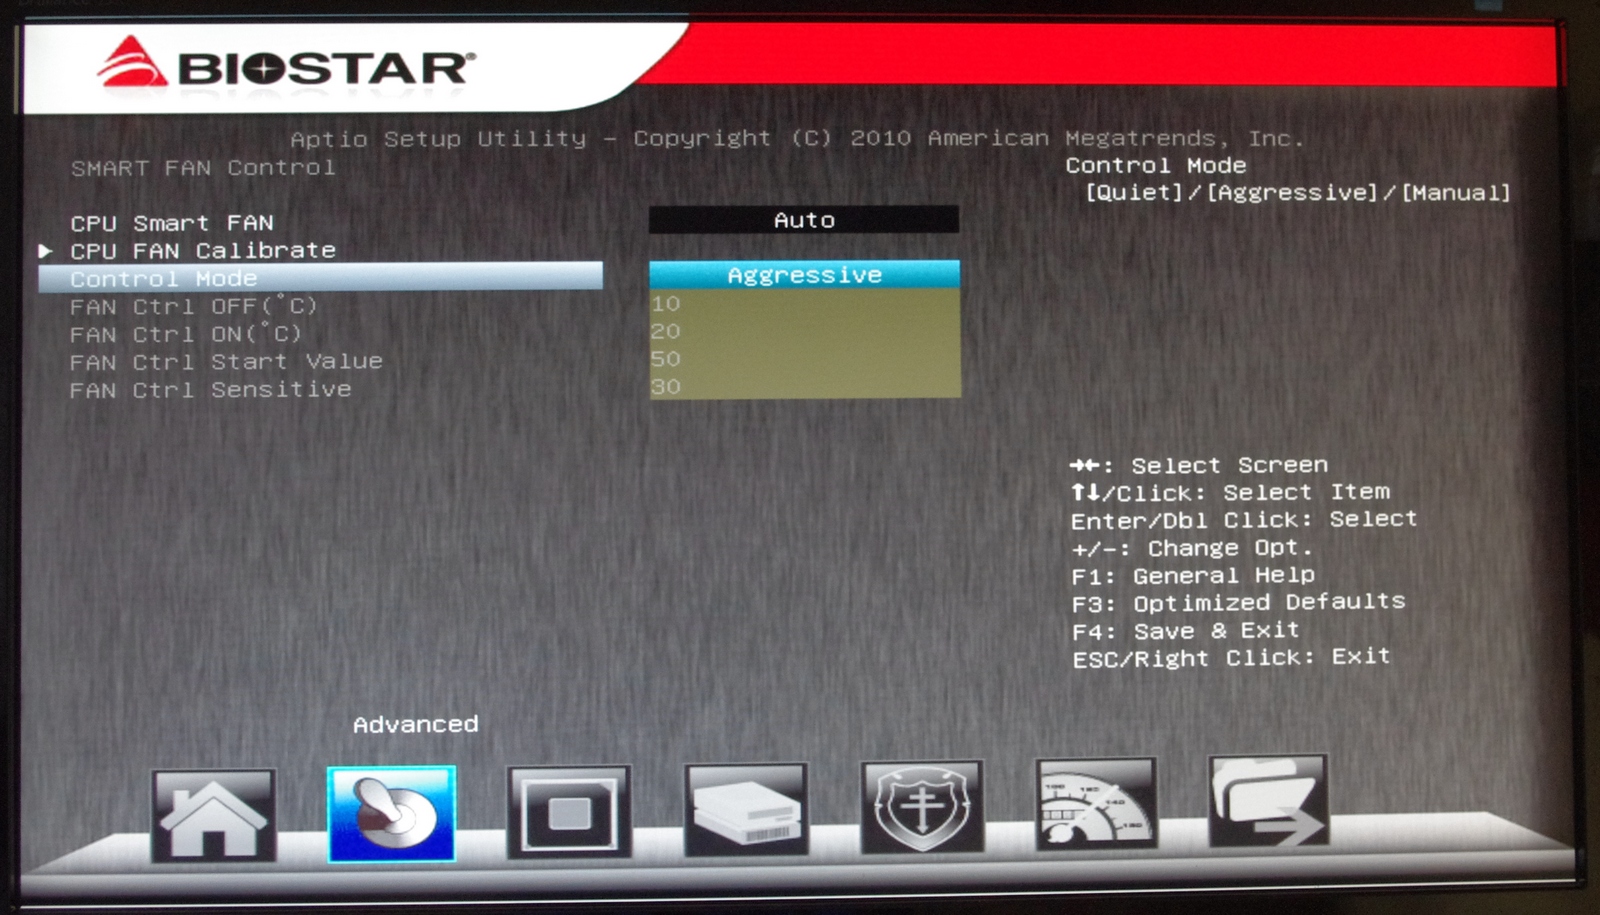
The PC Health menu contains a lot of this information, including voltages and temperatures. Fan speeds are set in the Smart Fan menu, but only the CPU fan can be calibrated. The calibration can either be manual, automatic, or a set of predefined controls (silent, turbo, aggressive):
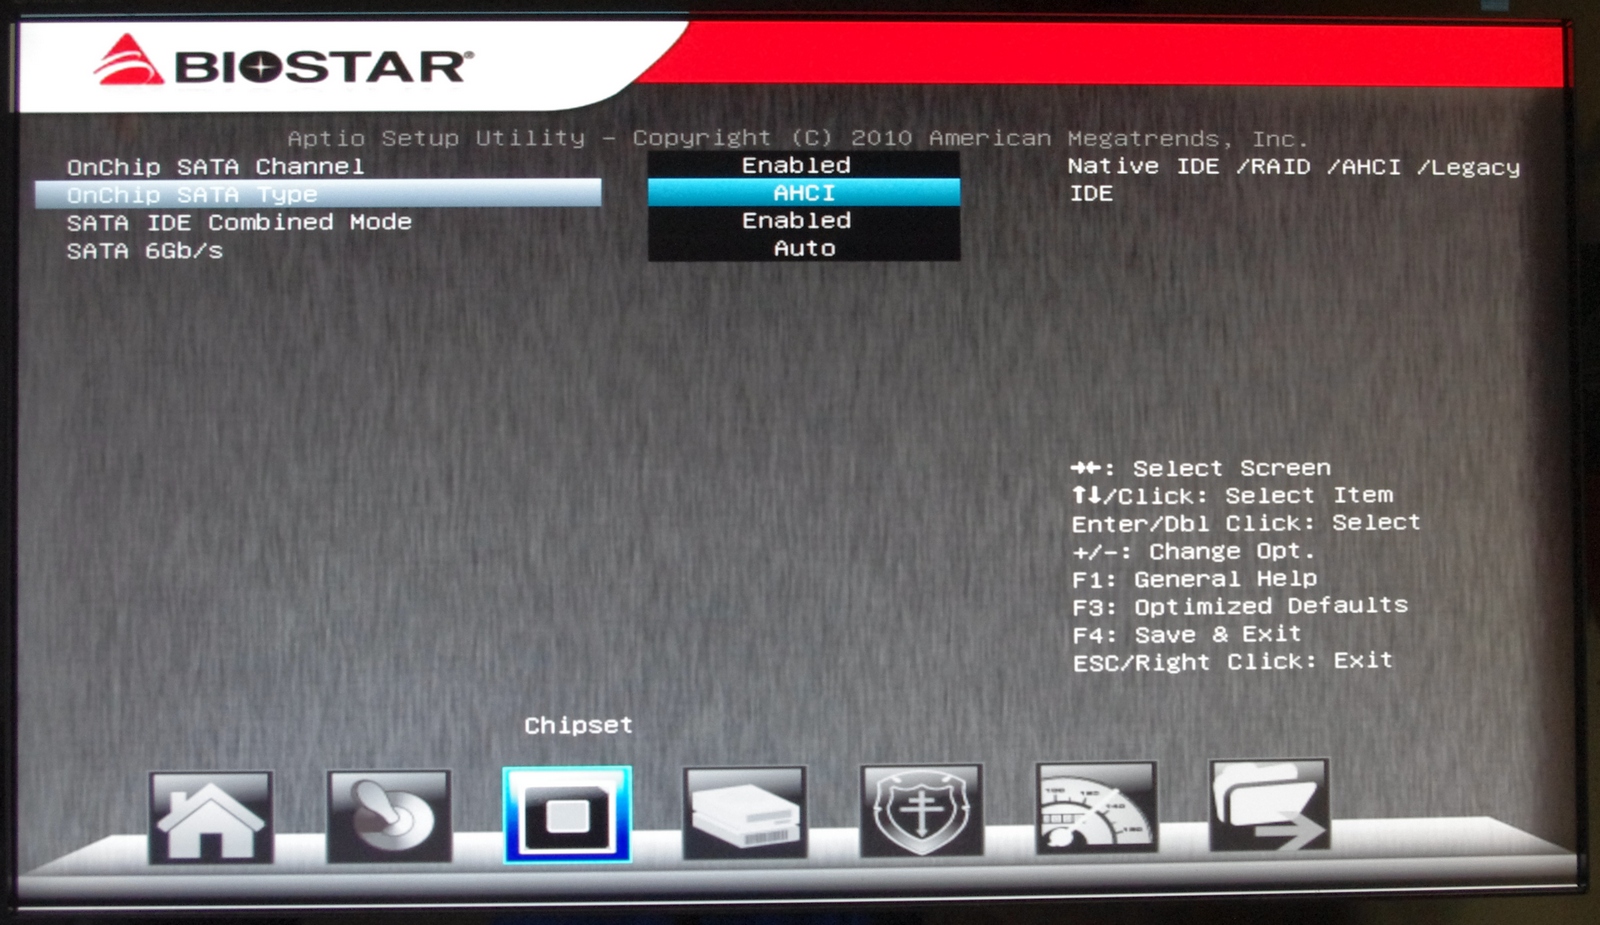
By default, the BIOS is set up in IDE mode. In order to change this to AHCI, navigate to the Chipset -> South Bridge -> SB SATA Menu. Given the layout of the BIOS, this should have also been added under Advanced -> SATA Configuration. This is indicative of a mentality I have seen in BIOS design for a while - only letting options be in one place. There is no penalty to have a BIOS option in two places.
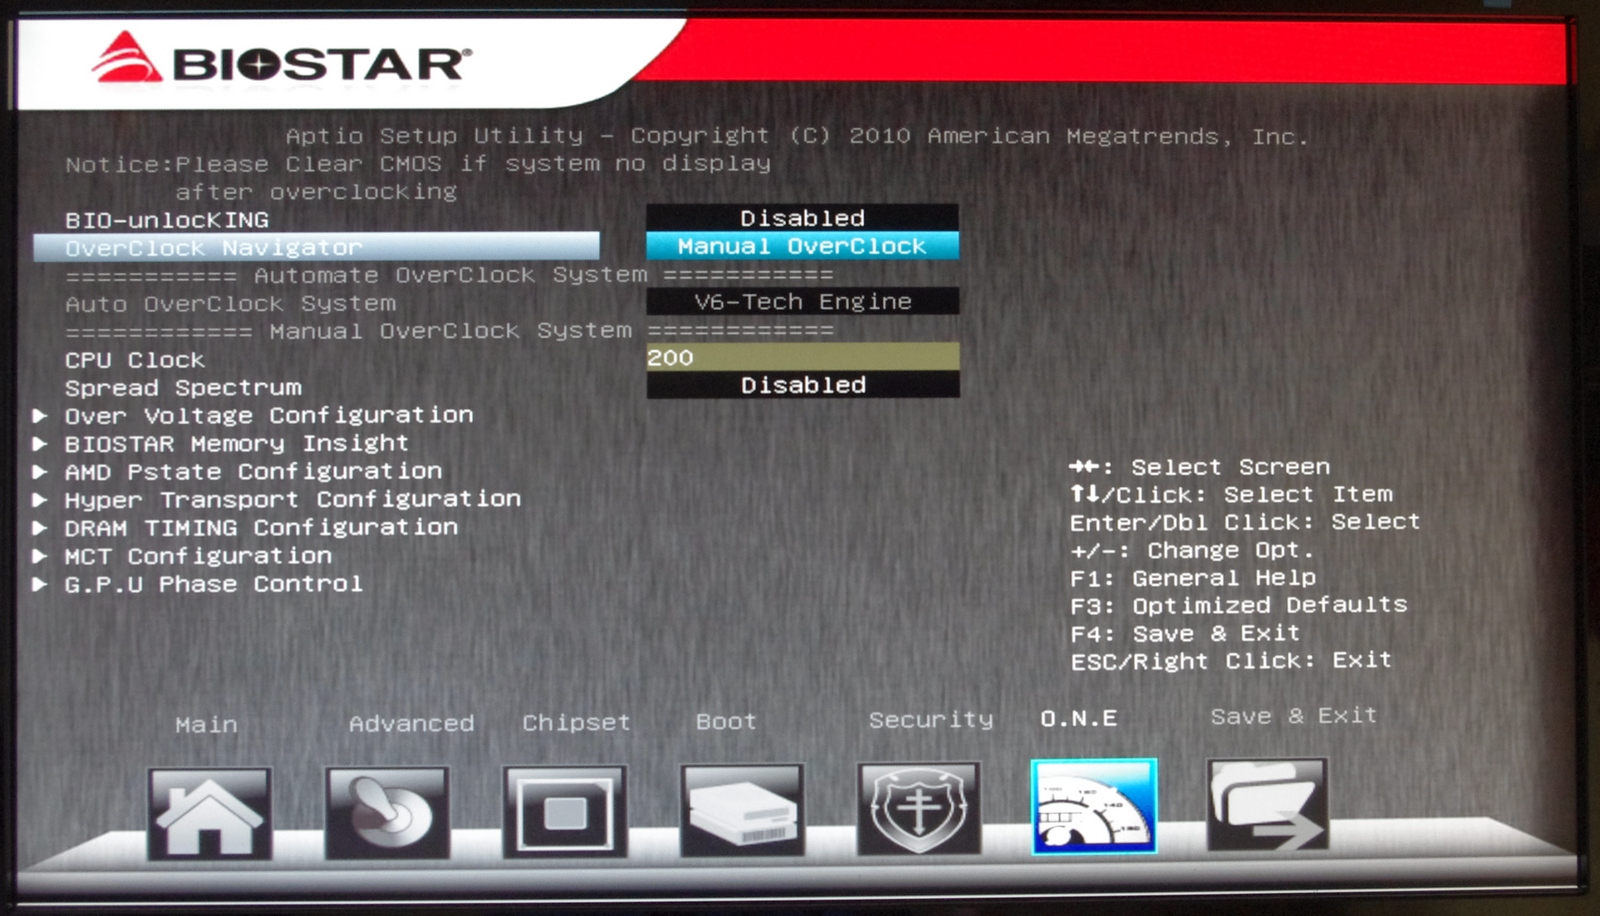
Overclocking is performed in the O.N.E menu. The automated overclock system has three options, named after types of engine in increasing order of expected power: V6, V8 or V12. In the software in the BIOS, other options from V3 to V15 are available. In terms of a manual overclock, the options are a little confusing. While on this O.N.E screen a user can set the base frequency (or FSB equivalent), they cannot change the multiplier. In order to change the multiplier the option is in the 'AMD Pstate Configuration' menu instead:
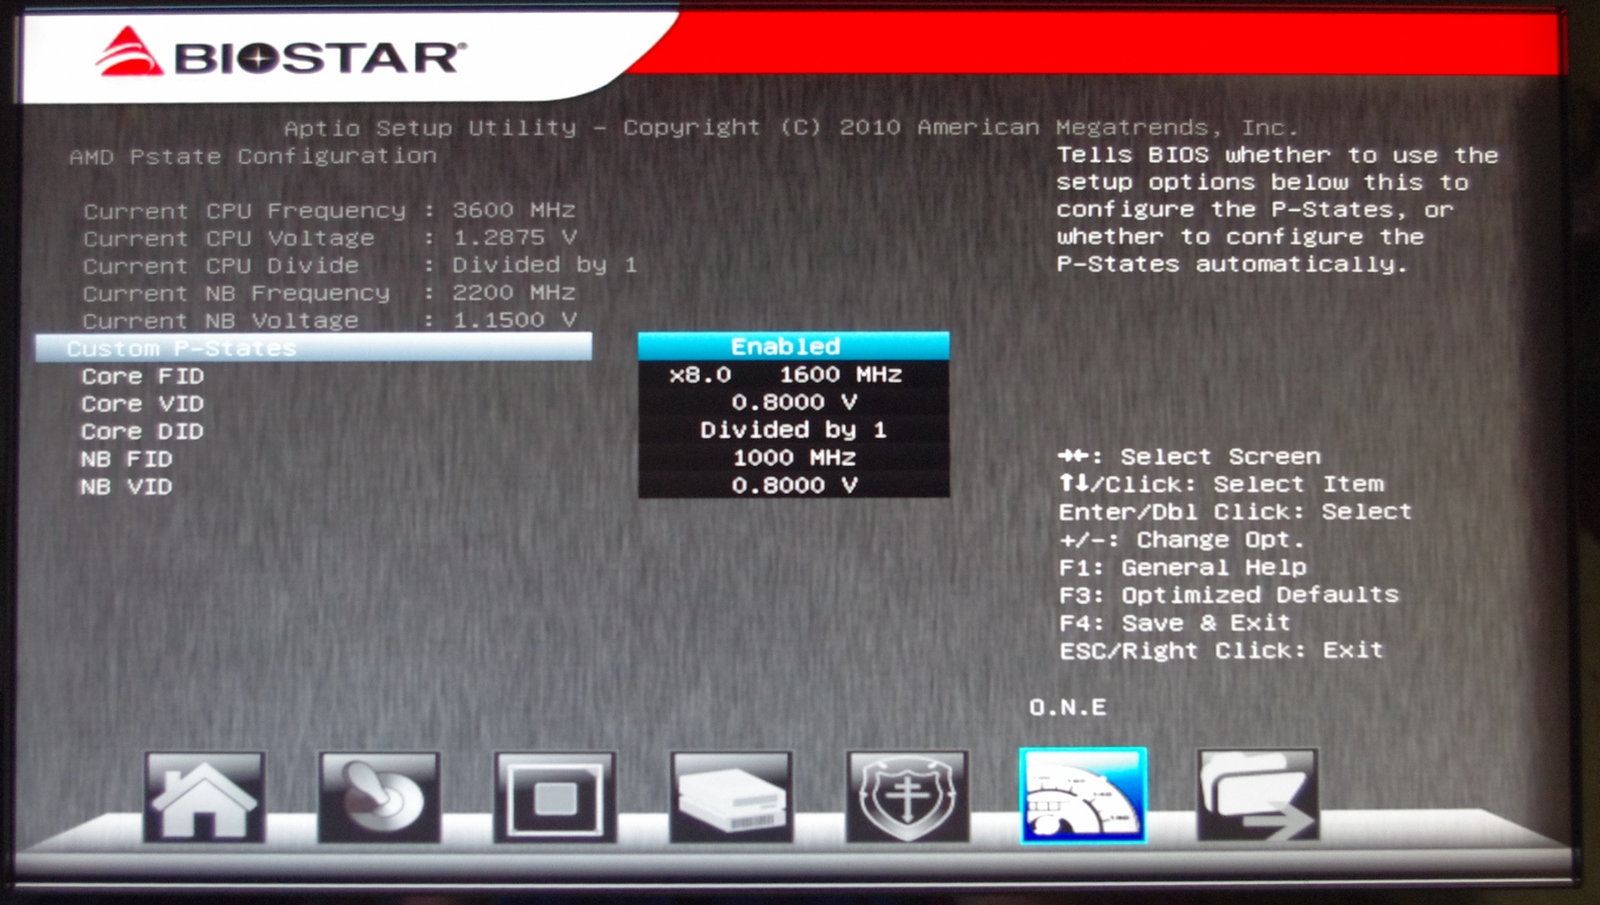
Here the multiplier can be changed, as well as the CPU VID. This means that rather than use the offset options, users can use the VID option to change the default load voltage of the processor, and then also apply an offset. One downside about these options (and when selecting HT/NB Link frequencies) is that if you apply a base frequency increase, these options to not adjust like-for-like. So if you increase the base frequency by 10%, the user must mentally also calculate the adjustment for the other options, including memory.
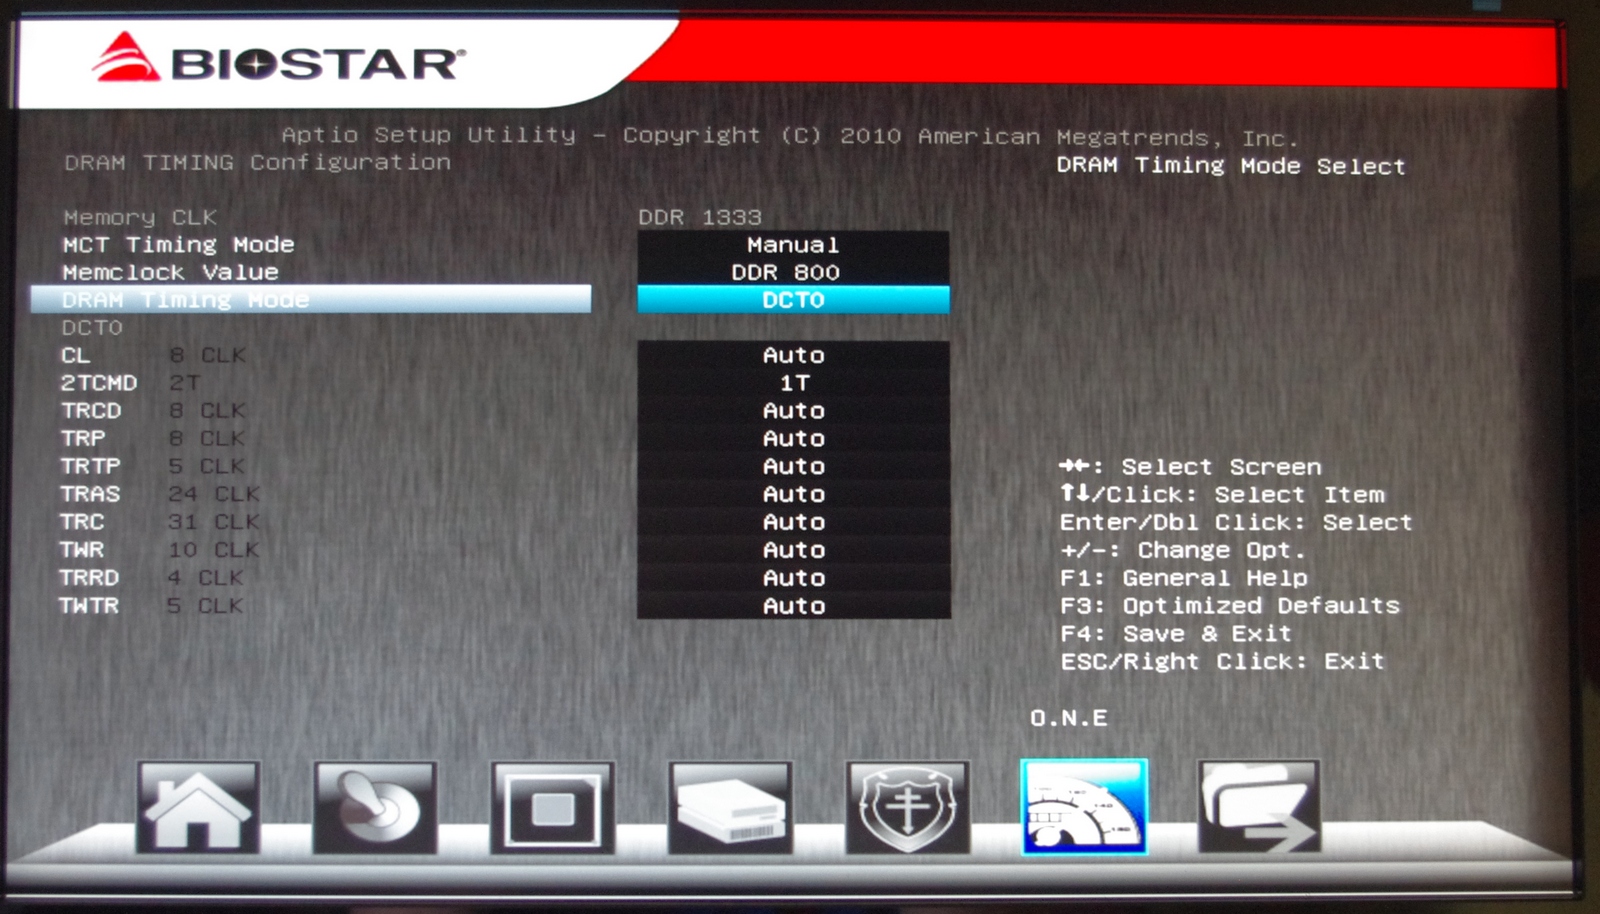
Memory overclocking is also a little idiosyncratic. The BIOS has three main options - Auto, Limit or Manual. Under Limit, the BIOS will refuse to let the memory go above the rated amount, and reduce the memory divider (at boot time) as appropriate so it does not go over that speed. Manual allows adjustment to a specific memory divider.


It should also be noted that BIOS 24 enables users to utilize SLI on the TA990FXE. The board will not detect a new CPU, so please make sure that settings are at default when changing CPUs.
Overclocking
Overclocking on the Biostar was a mixed bag of surprise and disappointment. Surprise as the board handled both Thuban and Bulldozer rather well. Disappointment in the form of the confusing BIOS settings to get things to work, and a couple of nuances related to the overclocking.
In terms of Automatic overclocks, the user can either implement them in the operating system via the TOverclocker software (which requires the software to be loaded on boot to be applied each time), or in the BIOS using the Automatic Overclock System. Both use an engine analogy to describe the levels of overclock - V6, V8 and so on; however the number after the letter V does not correlate in the OS with the number in the BIOS. There is also a system to 'determine' maximum overclock in TOverclocker, which will raise the base frequency of the board by 1 MHz every 1.5 seconds, until the system crashes. Then on the next boot, when TOverclocker is run, it will have pulled back 5 MHz from that overclock.
Each overclock is tested for stability and temperature by a full run of PovRay and Blender, two 3D image generators that utilize both the CPU and memory. Our methodology is as follows:
1) Auto Overclock
2a) Manual Overclock, High FSB (Tune to a high FSB, then raise multiplier)
2b) Manual Overclock, Stock FSB, High Multiplier
2c) Manual Overclock, Combination (not performed as max FSB was not high)
Thuban X6-1100T Overclock
1) Auto Overclock: In the OS, the TOverclocker software was used at each of the stages available - V3, V6, V9, V12, V15 and Auto. From V3 to V12, each stage raised the base frequency 2 MHz, to a maximum of 210 MHz (5% overclock) at V15. Under the auto setting, the system raised the FSB until 229 MHz, and then the system gave a blue screen and restarted. On loading back into the operating system, the system was still at 200 MHz. On loading TOverclocker again, the system raised up to 224 MHz. This frequency caused another blue screen under load - after the restart TOverclocker was loaded again and the system gave a 219 MHz base frequency, which was stable under PovRay and Blender.
In the BIOS, the Automated Overclock System gave three options - V6, V8 and V12. Under V6, the base frequency was set to 220 MHz, which gave 1.344 volts under load and a load temperature of 44ºC under PovRay and Blender. At V8, the system gave a blue screen on first boot, and reached the OS on the second boot. This showed the system to be at 230 MHz, but this gave memory errors in PovRay. At V12, the system refused to boot at all.
For the manual overclocks, the CPU was set at 1.5 volts, the memory at 1.65 volts, and the NB/HT Link options adjusted to keep around 2000 MHz. The Green Power Utility was also turned off.
2a) Manual Overclock, High FSB: The highest base frequency the board successfully booted at was 245 MHz, however this was unstable. 235 MHz proved to be the stable base frequency, and the stable multiplier was 17x (total 3994 MHz) with NB/HT at 1880 MHz. Under these conditions, the CPU reached 51ºC in both PovRay and Blender.
2b) Manual Overclock, High Multiplier: With the multiplier being changed, the NB and HT Links were left on auto as well as the memory. Given that the best clocks with this test were around 4100 MHz, the board was booted at 200x20, to give 4000 MHz. This provided 1.488 volts on load, reaching 52ºC in PovRay and 51ºC in Blender. At the 21x multiplier, while the system passed a PovRay run, it unfortunately made Blender crash.
While this clocks are good on the Blender chip, they are unfortunately 50-100 MHz lower that the best we have in this review at this voltage. For a $130 motherboard, that is quite good!
Bulldozer FX-8150 Overclock
1) Auto Overclock: In the operating system, TOverclocker acted as much as it did with the Thuban, with V3 to V15 giving rises of 202 MHz to 210 MHz respectively. The 'Auto' setting this time gave a blue screen at 227 MHz, and on reboot this adjusts to 223 MHz, but the NB/HT Links were at 2453 MHz. The CPU voltage seemed rather low, with 1.212 volts at load. This was confirmed when the system crashed in Blender. On restart, TOverclocker would give 223 MHz again, an unstable speed.
Through the BIOS, the Automated Overclock System faired a little better than it did on Thuban. At V6 mode, the system overclocked from 200 MHz to 210 MHz, and then at V8 to 215 MHz. At V12, this was raised to 220 MHz, but this gave a NB/HT Link speed of 2420 MHz, and crashed out on any load.
For the manual overclocks, the CPU was set at 1.5 volts, the memory at 1.65 volts, and the NB/HT Link options adjusted to keep around 2000 MHz. The Green Power Utility was also turned off.
2a) Manual Overclock, High FSB: After putting the CPU at the 10x multiplier, the system remained stable up until 240 MHz on the base frequency. The multiplier was then raised to 19x, giving 4560 MHz. This was stable, giving 1.404 volts on load while the NB/HT Links were set at 1920 MHz. At this speed, PovRay gave 60ºC, however there were issues with Blender - it would not initialize full speed. In order to get it to run at full speed, the C6 State and PowerNow options under CPU Configuration were disabled. This let Blender run at full speed, hitting 58ºC maximum.
2b) Manual Overclock, High Multiplier: Unlike other motherboards in this review which have refused to play nice with Bulldozer, the Biostar did rather well in terms of just upping the multiplier while at 1.5 volts on the CPU. The highest stable speed was at 23x multiplier, giving 1.380 volts at load and showing 60ºC/58ºC in PovRay/Blender respectively. At the 23.5x multiplier, the system booted but froze under any load, suggesting more voltage is needed.


57 Comments
View All Comments
phys1cs - Thursday, April 5, 2012 - link
Spamming affiliate links, I see.R3MF - Friday, April 6, 2012 - link
"The third generation FX processor, codename Steamroller, is still reported (not confirmed) to use AM3+, meaning that there are still quite a few years left in this platform when taking the AMD route."If this is true then i simply cannot believe that AMD will continue on socket AM3+ without a chipset that supports PCIe 3.0!
Where, when, and what will the 1090FX chipset arrive?
SilthDraeth - Thursday, April 5, 2012 - link
This seems to be an ok roundup of AMD boards.However, how do the latest Windows 7 tweaks increase the performance of the Bulldozer? Can we get a before and after benchmark based on Win 7 and or Win 8 (beta) optimizations?
I was hoping we would get that information. Also, how does it compare to similarly priced Intel offerings?
IanCutress - Thursday, April 5, 2012 - link
Thank you for your comment. I didn't perform comparisons as Anand did a comprehensive look at the scheduling updates here:http://www.anandtech.com/show/5448/the-bulldozer-s...
(Also reviewing five boards and writing 20,000 words about them takes longer than you think!)
If there are any motherboards you would like to see in the future (or particular tests), drop me an email (ian AT anandtech.com) and I will have a look. Obviously I can't take care of every little niche test that everyone wants, otherwise we'd only get one board a month out for review, but I'll do what I can!
Ian
SilthDraeth - Thursday, April 5, 2012 - link
Thank you for the link. That is what I wanted.StevoLincolnite - Thursday, April 5, 2012 - link
I noticed your Thuban was hitting 60'C+So I was just wondering if you took the Thubans thermal bug into account on those readings? On my old 1090T and 1045T I had to have a 13'c offset to get a correct thermal reading.
sumitlian - Saturday, August 4, 2012 - link
Temperature related problem have long been rectified in C3 stepping of Denab CPUs and in Thuban as well. There is no fault in temperature sensor anymore in our CPUs.Only C2 rev. or earlier rev. AMD CPUs suffered from this issue.
Download and Read:
"Revision Guide for Family 10h CPU"
ExarKun333 - Thursday, April 5, 2012 - link
More to life than gaming on your PC. If you read the article, you could see how terrible the non-gaming benchmarks are for 'only' a Intel 4 and 6-core vs the 8-core AMD. Fanboi much?blazeoptimus - Thursday, April 5, 2012 - link
I bought an MSI 990FX-GD80 board a couple of months ago and was looking for a review like this one at the time. I would have loved the info you brought up here and I hope it will help others looking into the available 990FX boards.I went with the MSI board since it seemed to hit a sweet spot on features, price (newegg was offering $20 off which put it to $169) and performance. I also went with a Zosma processor since it seemed to hit the price elbow and had the most unlocking potential. I've been very happy with the experience thus far. I've been able to unlock the 2 additional processors and have pushed the clock to 3600mhz (stock is 3k). My next push will be to see if I can hit the aggressive clocks listed in this article.
Thanks again for the write up. I'm a long time reader and frequently use the information in these reviews to make hardware decisions.
Taft12 - Thursday, April 5, 2012 - link
Very comprehensive, thank you Ian!Of course now that you've exhausted so much energy on this review, the 1090FX chipset is right around the corner alongside the 2nd gen FX CPUs.
Such is life for a desktop hardware reviewer!