AMK LAN-0334 ATX Mid Tower
by Mike Andrawes on April 10, 2000 2:48 AM EST- Posted in
- Cases/Cooling/PSUs
Expansion
The four external 5.25" bays are accessed by removing the plastic covers in the bezel and sliding the drive in place. The 3.5" drive bays, both external and internal, are accessed by removing the screws securing the 3.5" bay bracket. All drives are secured in place by standard case screws.

Throughout the case, we found sharp edges that could easily cut your fingers as you work, so be careful. The poor construction continues as we found that many of the panels in the case did not fit together particularly well.
Motherboard Installation
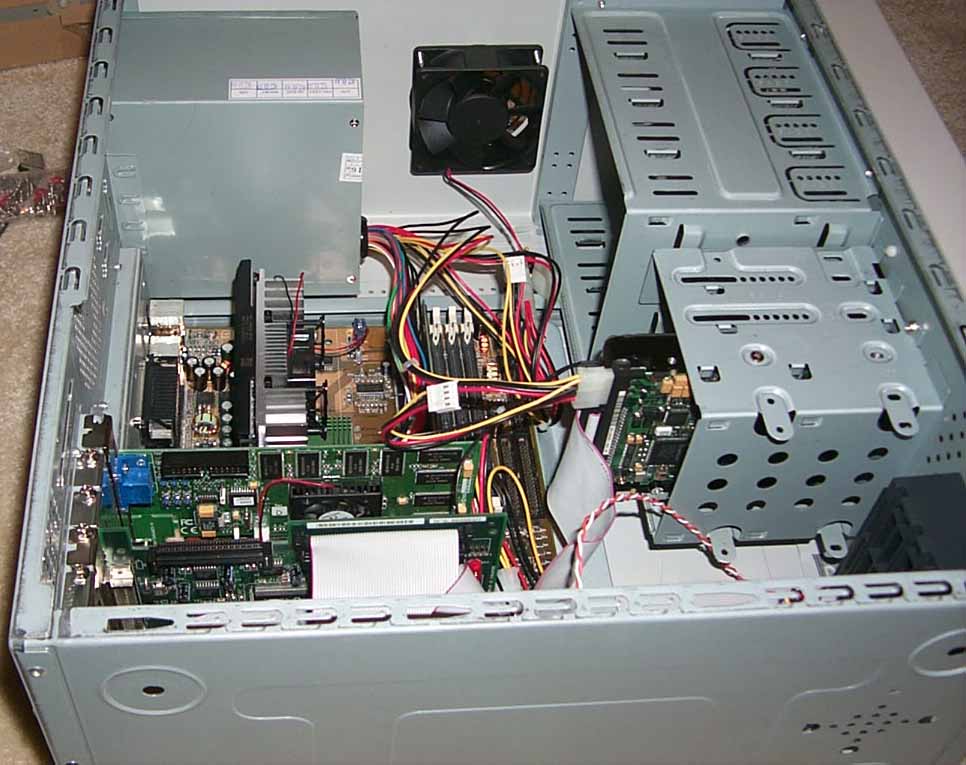
Motherboard installation is the only time you'll need to remove the right side panel under normal circumstances. A single screw at the back of the case holds the motherboard tray in place. Simply remove this screw and pull up on the motherboard tray to release it. The motherboard then attaches to this tray using standard case standoffs and screws. Reverse the procedure to complete the motherboard installation. Watch out for sharp edges, we cut ourselves repeatedly when removing the motherboard tray.
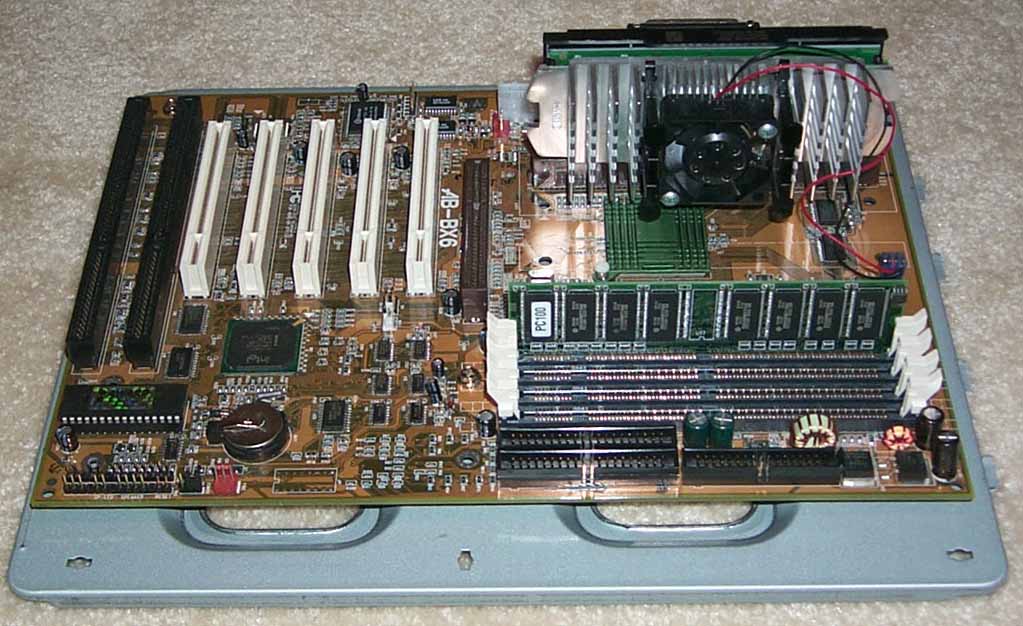
Our test bed ABIT BX6 Revision 2.0 fit without any issues and just about any single processor board should fit fine. It should be noted that a BP6 will fit, but the second CPU will block the use of the lower 5.25" bay. The layout of the case gives plenty of room to directly access all components of the motherboard. A nice touch by AMK is the inclusion of zip ties to keep all the cables in the system nice and neat.
It's interesting to note that the ATX I/O shield included features an ethernet cutout just above the USB ports. With Intel's CNR initiative and push towards integrated ethernet, look for this to become a standard feature on all ATX I/O shields, much like the cutouts for integrated sound.


0 Comments
View All Comments