The GIGABYTE B360 Gaming 3 WIFI Review: A Cheaper Alternative at $120
by Joe Shields on July 11, 2018 9:45 AM ESTBIOS
The BIOS used in the GIGABYTE B360 board looks like any other GIGABYTE review we have done here with the black background and red highlights. GIGABYTE provides both an Easy Mode (below) as well as an 'advanced' section where users are able to control a lot of the details on the board itself. Mouse and keyboard movements were fine - I had zero issues working this BIOS, although at the time of testing the Spectre checks said this BIOS does not have the updates.

On this board, I was greeted by the Easy Mode portion of the BIOS on first boot. Easy Mode tends to be a more informative screen than have many buttons to push and GIGABYTE follows that trend here again. We are able to spot information about the BIOS version, installed CPU and RAM, temperatures and voltages, boot order, storage, as well as Smart Fan 5 accessibility. One is able to control fans, swap boot order, and enable Intel Rapid Storage technology from this screen. Much else will have to be in the 'Classic' version of the BIOS.
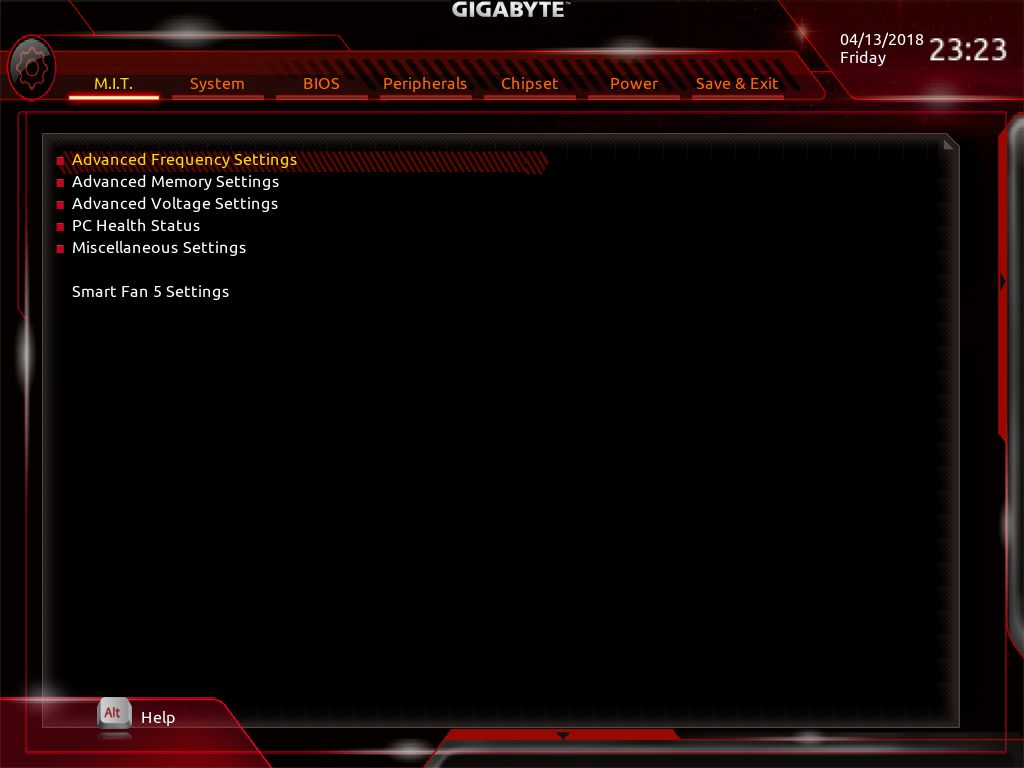
Across the top are several headings each with different functionality contained inside. The M.I.T section above holds all frequency, memory, and voltage settings. Since the B360 chipset cannot overclock, there is a limited amount of active functionality on that front, but plenty of other options for tweaking the system including Memory timings and turbo ratio adjustments. The PC Health Status screen display real-time status of the CPU Vcore and VccSA, DRAM voltage, as well as major rails from the power supply.
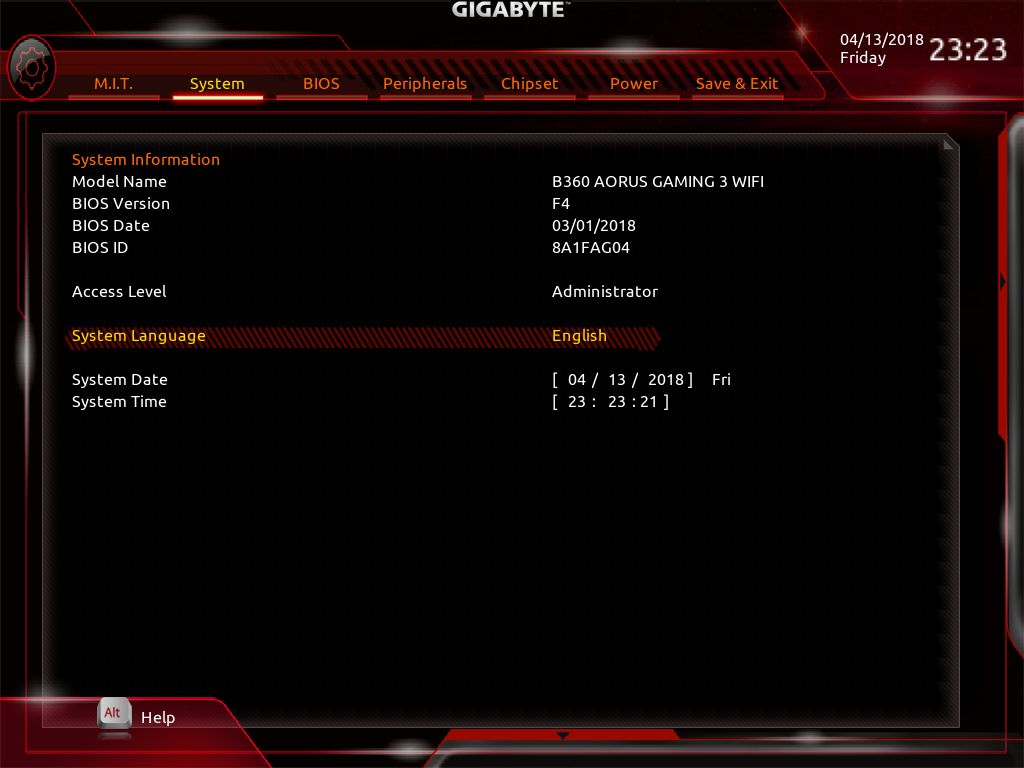
The System section is informational and displays text about the motherboard model, BIOS version/date/ID, as well as the system date and time. The only field one can edit is System Language.

In the BIOS section, it lists a number of options associated with booting such as the number lock state, full-screen logo, boot priorities, and fast boot options. Mouse speed adjustments (while in the BIOS) are found here as well as setting a password for the BIOS.
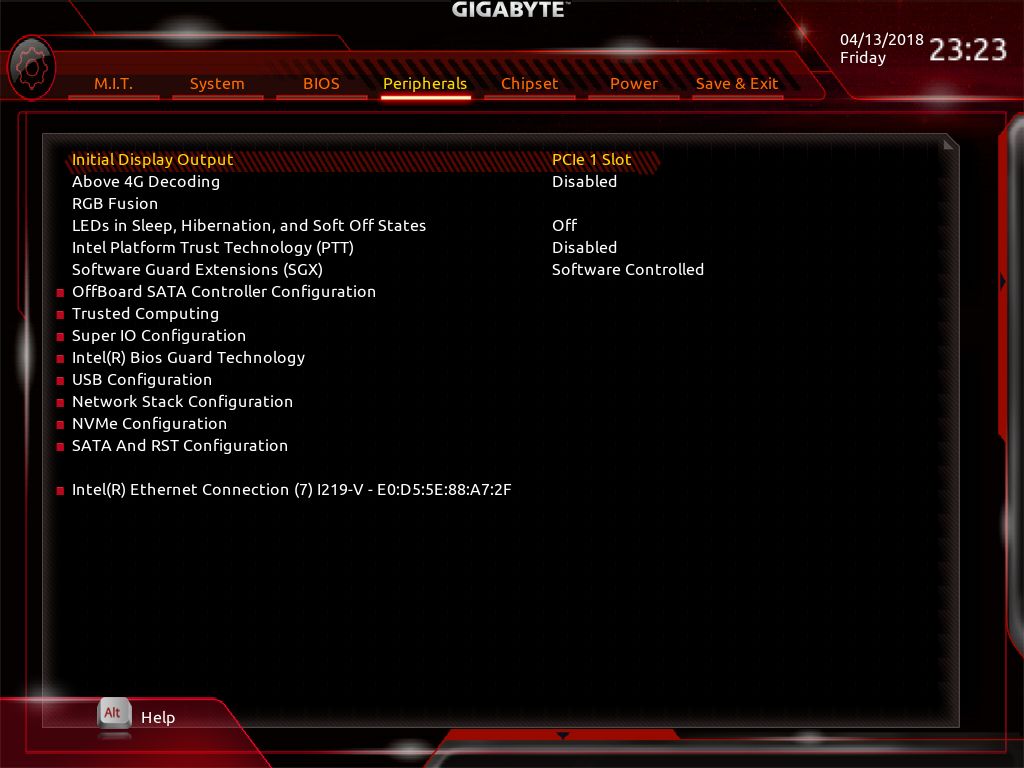
The Peripherals heading has several sub-headings underneath controlling the sub-systems on the board. Items like SATA configuration, USB, Network, NVMe, and other items can all be tweaked inside this section. Which display to output first is found here as well as a BIOS version of RGB Fusion to control system lighting.

Inside the Chipset section is where users are able to enable/disable the Intel CNVi LAN controller (it's in the chipset), the audio controller as well as the integrated GPU on the processor among a couple of other options.

Inside the power section, we are able to adjust many power related items such as power on by keyboard or mouse, and how the power button is to behave. Setting an alarm to resume is also possible through this section.

Our last image of the BIOS is a snapshot of the Smart Fan5 section. Here users are able to control fans attached to the motherboard. Options include the preset speed control curves or create custom curves for each. Users are able to interchange fan headers to reflect different thermal sensors at different locations on the motherboard. I was able to control my single Yate Loon 120mm fan without issue through the software.


Software
Like most any motherboard the AORUS B360 Gaming 3 WIFI includes software stored on a disk designed to improve your experience with the board in general. I have taken a few of these out to discuss below.
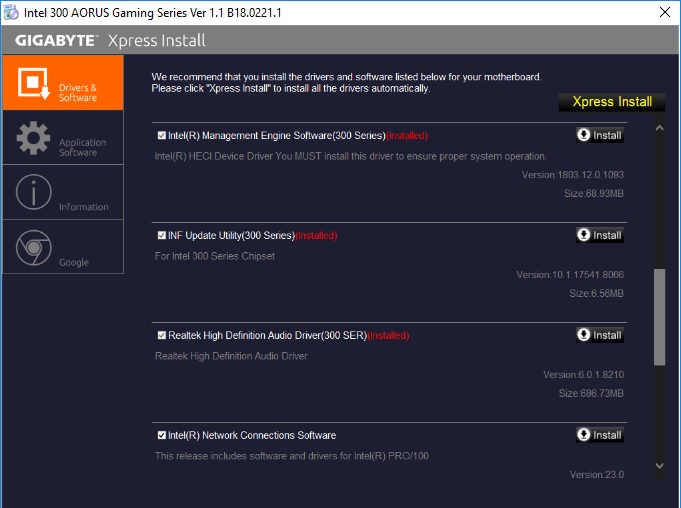
The first image is the of the driver disk. The first screen offers users a choice to install the drivers as well as the many applications it includes. Users are able to install the necessary drivers from chipset and Management Engine to the network, audio, and USB drivers. There are also options to install Google Chrome and an included Anti-virus application from this main screen. The rest of the included applications ranging from RAMdisks to USB charging apps, are in the application software section (see gallery).
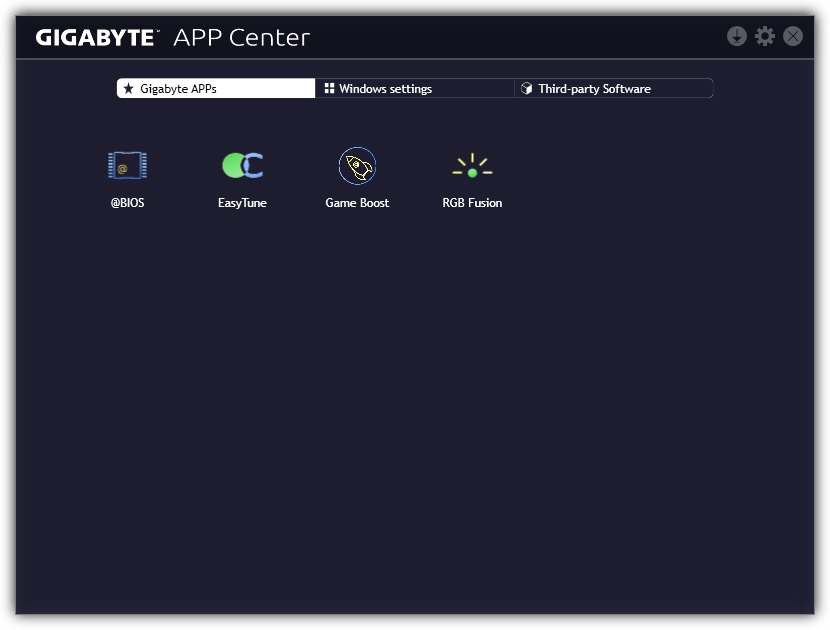
The GIGABYTE App Center serves as a central repository, a one-stop location if you will, for any of the GIGABYTE installed applications. It sits in the tray and can be double-clicked to this screen to select the application you would like to use. In this case, we have installed @BIOS, Easy Tune, Game Boost, and RGB Fusion.
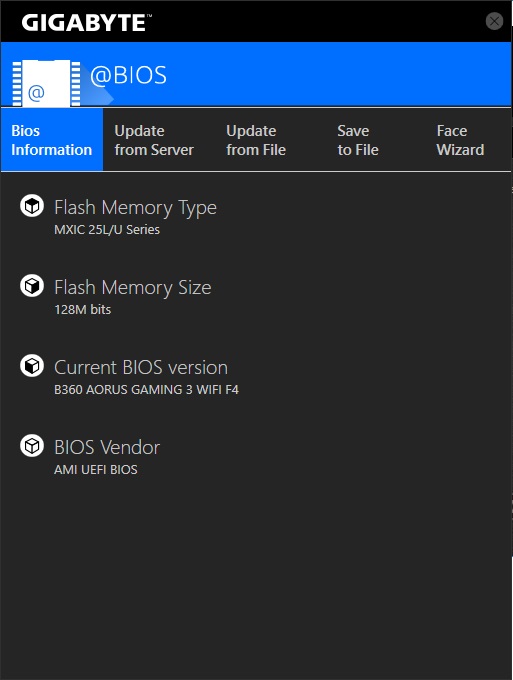
@BIOS is a small footprint Windows-based application to flash the BIOS. It's typically suggested to flash from within the BIOS (Q-Flash), but flashing in windows has seemingly become a bit easier and stable to do so board partners having been adding this in. The application will display information about the flash itself as well as where to update from - either from a file or directly from the GIGABYTE servers. It also allows exporting of BIOS as well.
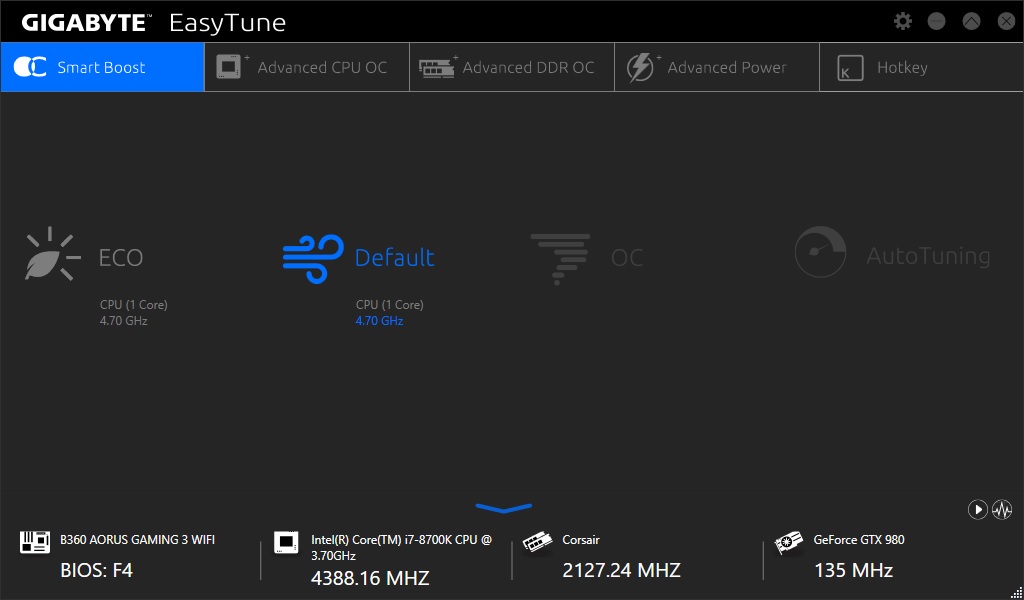
GIGABYTE's Easy Tune software is an all-inclusive monitor and editing tool designed to control the system from within Windows. Users are able to switch power modes, overclock (on chipsets which allow it), control power and voltage as well as monitor temperatures and voltages while in windows.
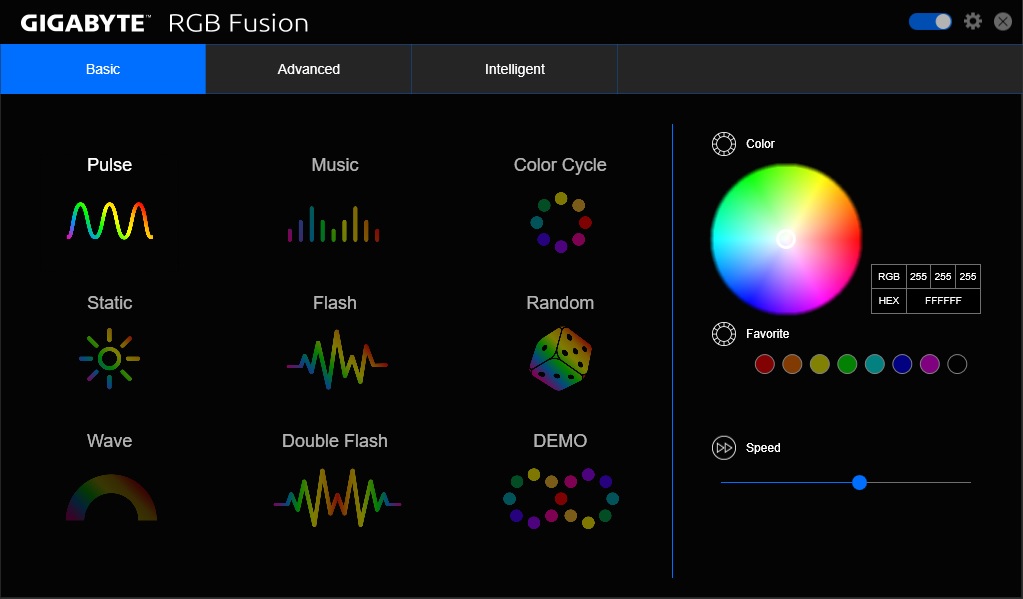
GIGABYTE's RGB FUsion is the software app used to manipulate the RGB LEDs to your liking. There are several modes to choose from as well as some 'intelligent' modes which are able to sync up with the games, music, or even system temperatures.
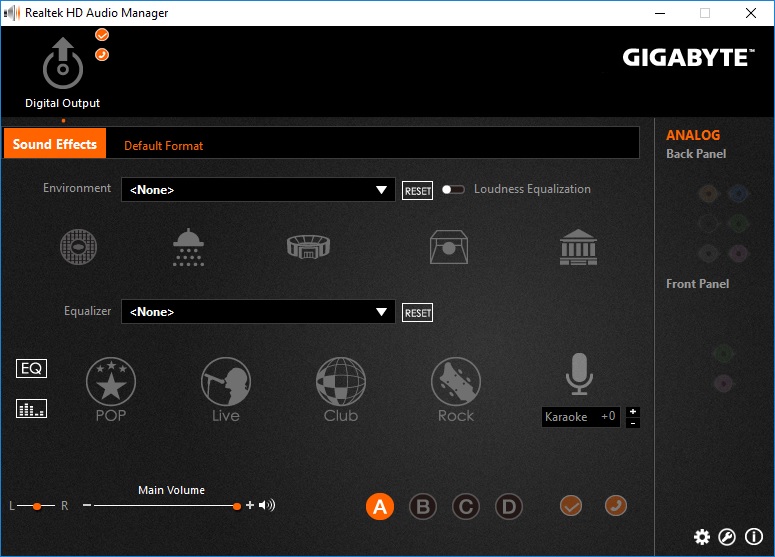
Above we are able to see how the B360 Gaming 3 WIFI has skinned the Realtek audio software. Typically we see it with a white background, but here it has changed and matches the theme of the board with a black/grey background and orange accent colors.


18 Comments
View All Comments
drw28 - Wednesday, July 11, 2018 - link
can you review the gigabyte UD pro drives?the combination of phison s10 and toshiba's bics nand would be interesting to see.peevee - Wednesday, July 11, 2018 - link
There used to be you could get a decent ATX MB for the latest mainstream CPU for around $50. What happened? Is it Intel overpricing their chipsets?imaheadcase - Wednesday, July 11, 2018 - link
In what world did you visit to get that cheap..i think you are mistaken.DanNeely - Wednesday, July 11, 2018 - link
In aggressive sales perhaps. Otherwise, while I recall seeing an occasional $50 board; the reviews always indicated that there was something wrong with them. Either from a company known to only build garbage (eg PC Chips, ECS before they figured out how to make good products, or a few other companies who're dead and forgotten) or an occasional screwed up board from a mainstream brand. I remember getting an ASUS S939 board for maybe $60 years ago, when it crapped out and I looked at reviews I turned out that I wasn't alone, something like 50% 1/2 stars from people whose boards had died on them.The True Morbus - Thursday, July 12, 2018 - link
I think there used to a PERCEPTION that you could get a decent board for 50 bucks, but that's probably because most 150$ boards looked similar to most 50$ boards.You can still buy the 50$ boards if you want. They'll be the first thing to give out in the build, you can write that down. And no, it doesn't matter if they're from a famous brand, they'll likely give out even quicker if that's the case.
PeachNCream - Thursday, July 12, 2018 - link
The last $50 motherboard I purchased was a Gigabyte GA-F2A68HM-HD2 which was a FM2 socket mATX board. The SATA connectors all failed at the same time about three months after I bought it. There was a DVD drive on one and a 1TB WD hard drive on another when it gave up and stopped detecting devices. I tried a few other drives, shuffled ports around, got new cables, etc and the hard drive worked in an external case just fine (still is working in fact). It wasn't worth the trouble to go through customer support for RMA, but it was a bit annoying. That was the last time I wasted effort on a desktop of any sort and PC games for the most part as well. Glad to be done with that particular disaster after multiple decades of chasing system requirements. Cell phone gaming FTW!peevee - Thursday, July 12, 2018 - link
My last personal builds were in 2000 (on ASUS) and 2011 (ASRock). Never failed. Maybe they were 50-something.peevee - Thursday, July 12, 2018 - link
The latter is the Z68 board I still use. With then brand-new top-of-the-consumer-line i7-2600k.Still OCZ Vertex 3 256GB bought for $500 then, still works (although until they have fixed its firmware about a year later it had troubles). Now THAT one still alive is a surprise.
Galcobar - Wednesday, July 11, 2018 - link
Some copy editing might be in order. Aside from the raft of grammatical errors (e.g. worth vs worthy of), random commas and typos (e.g. B350, i7-8400), specifications are contradictory.For example, page 1: "... a total [of] four USB 2.0 ports, three USB 3.0 ports (one Type-C), and one USB 3.1 (10 Gbps) port (red Type-A)."
Page 2: "USB 2.0 (4x ports), USB 3.0 (3x ports) and a USB 3.1 Type-C port"
Also, when did Anandtech switch (back) to referring to USB 3.1 Gen 1 and Gen 2 as, respectively, USB 3.0 and 3.1? Five days ago it was the former.
Joe Shields - Wednesday, July 11, 2018 - link
The typo mentioned RE: USB was corrected. Thank you for catching that.As far as the 'switch'.... I know in my reviews, at least the past dozen or two, I have been referring to it in this manner consistently AFAIK. Prior to that I would use something like "USB 3.1 (speed here)" to clarify.