The EKWB EK-XLC Predator 240 Liquid Cooler Review
by E. Fylladitakis on December 15, 2015 9:00 AM EST- Posted in
- Cases/Cooling/PSUs
- AIO
- Water Cooling
- Liquid Cooling
- EKWB
The EKWB EK-XLC Predator 240
At first sight, the EK-XLC Predator 240 appears very similar to AIOs that we have seen and tested before. A closer look however reveals that this kit is a fully modular liquid cooling system, with the main difference being that it has been pre-assembled at the factory. The hoses are removable and there are fluid filling and air bubble draining ports. Perhaps the only thing that it has it resembling a typical AIO system is that the fluid pump is merged with the radiator.

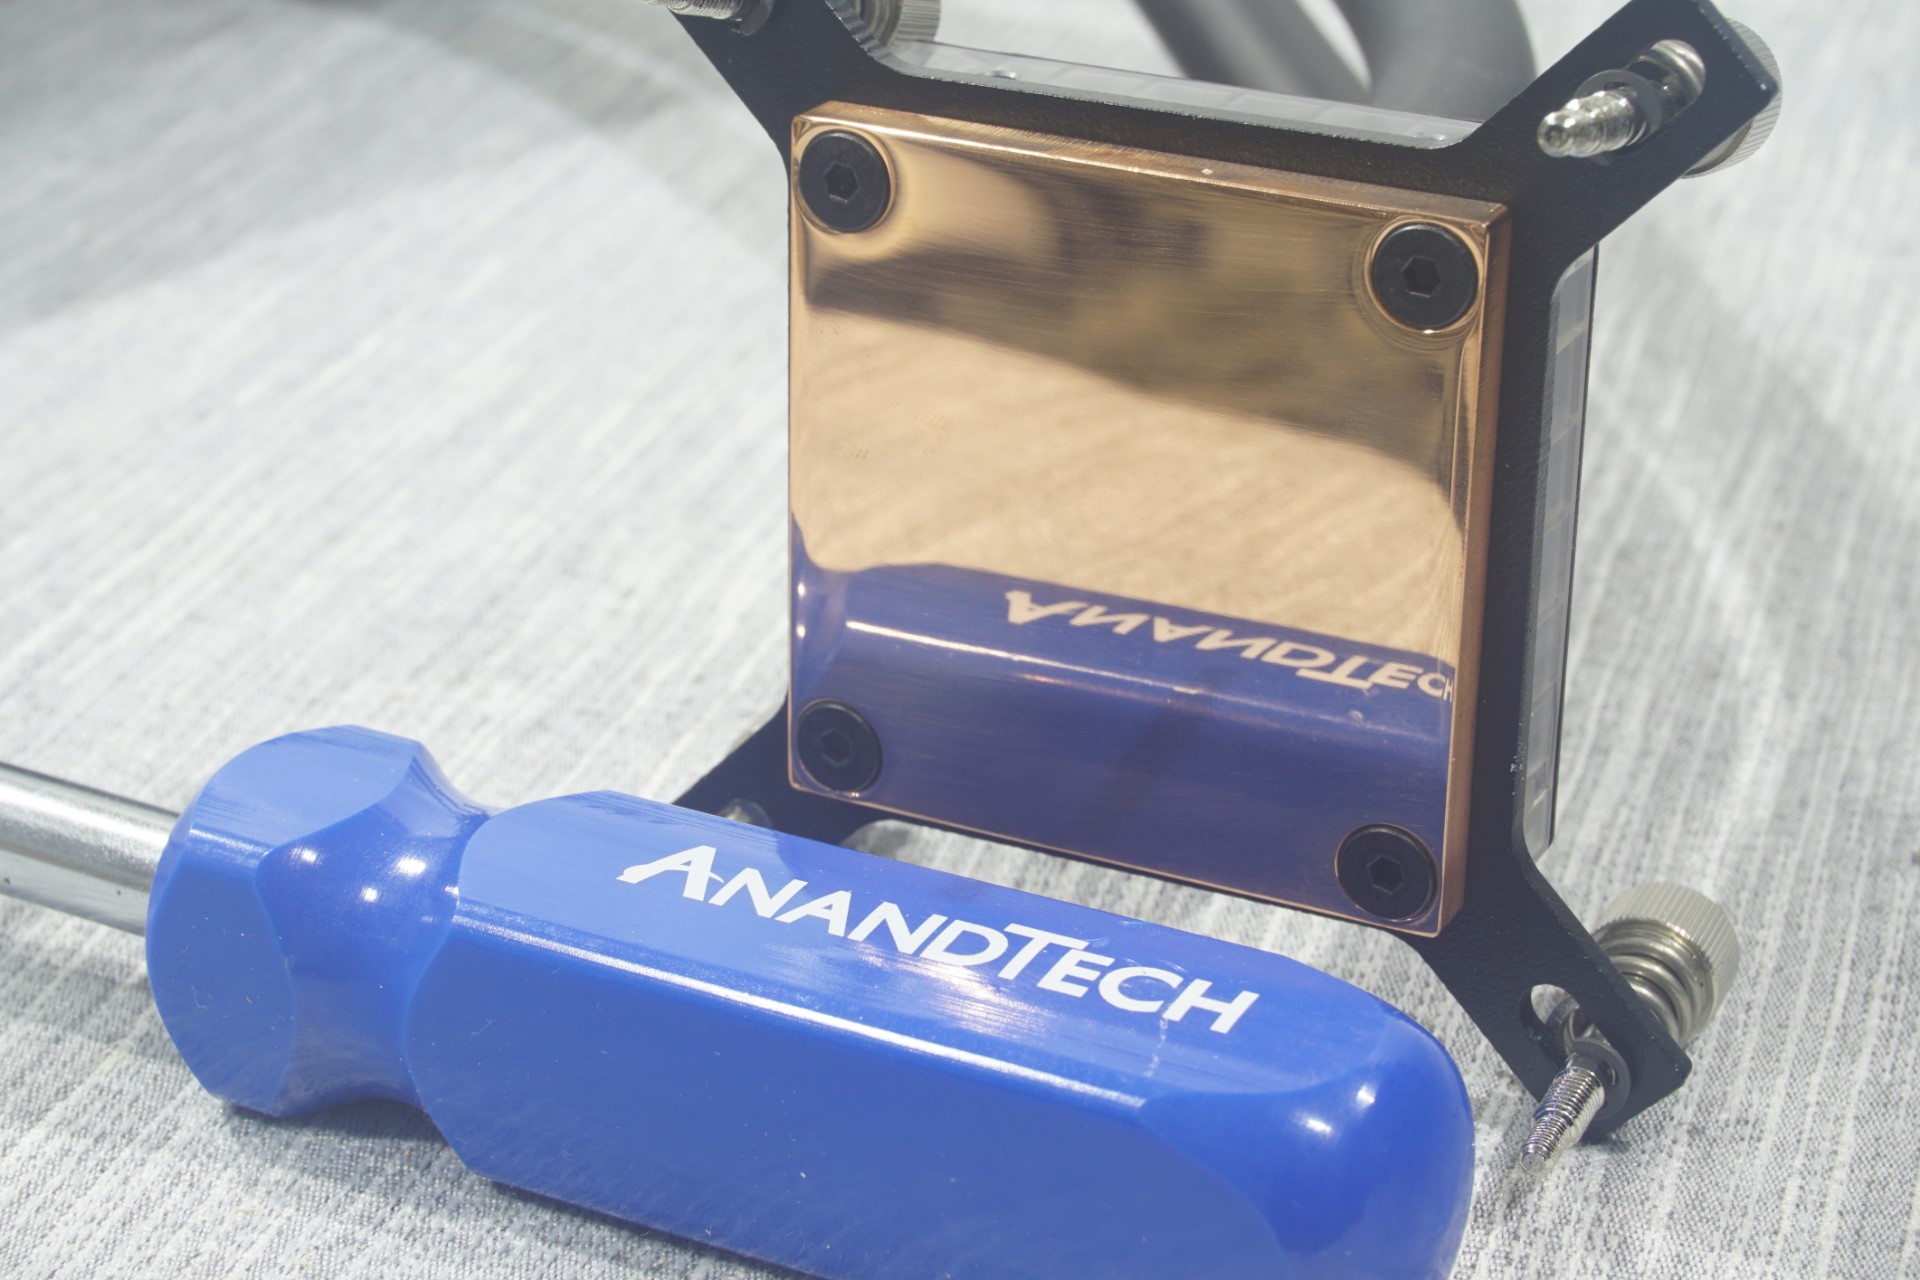
The CPU block is relatively simple and very small compared to other AIO systems, as it has no pump on it. It is made of a Plexiglass top with a metallic cover, with a steel retention brace and a copper base. The hoses can be removed in order to add more parts or clean the block, but they need to be inserted at the same holes again. Reversing the hoses has a strong impact on performance, reducing it by nearly 20%. Note that the EK-XLC Predator 240 can only be installed on Intel LGA1150, LGA1155, LGA1156 and LGA1366 CPUs, with LGA2011 support available if extra parts are purchased. None of AMD's CPUs are currently supported.
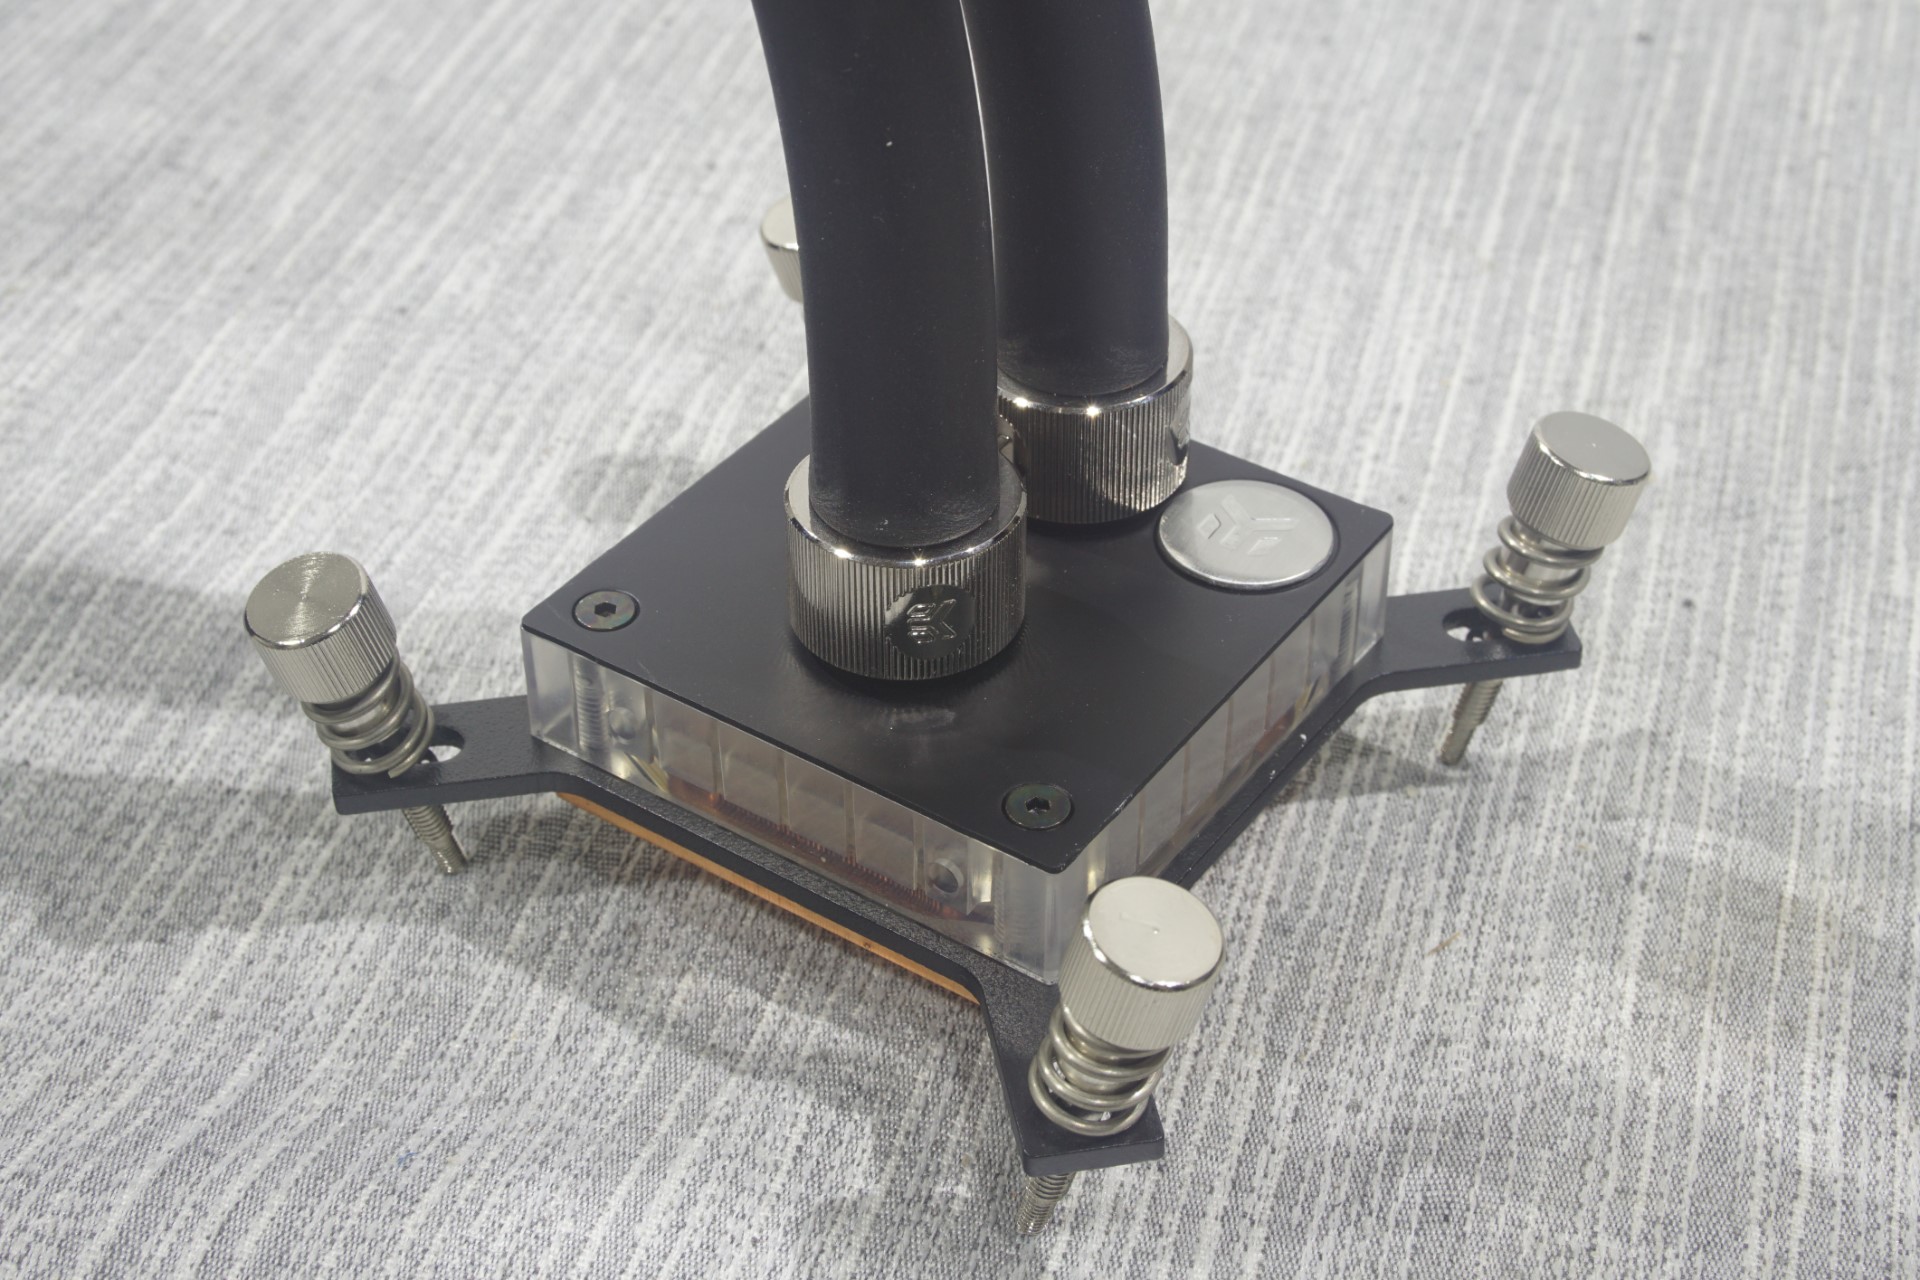
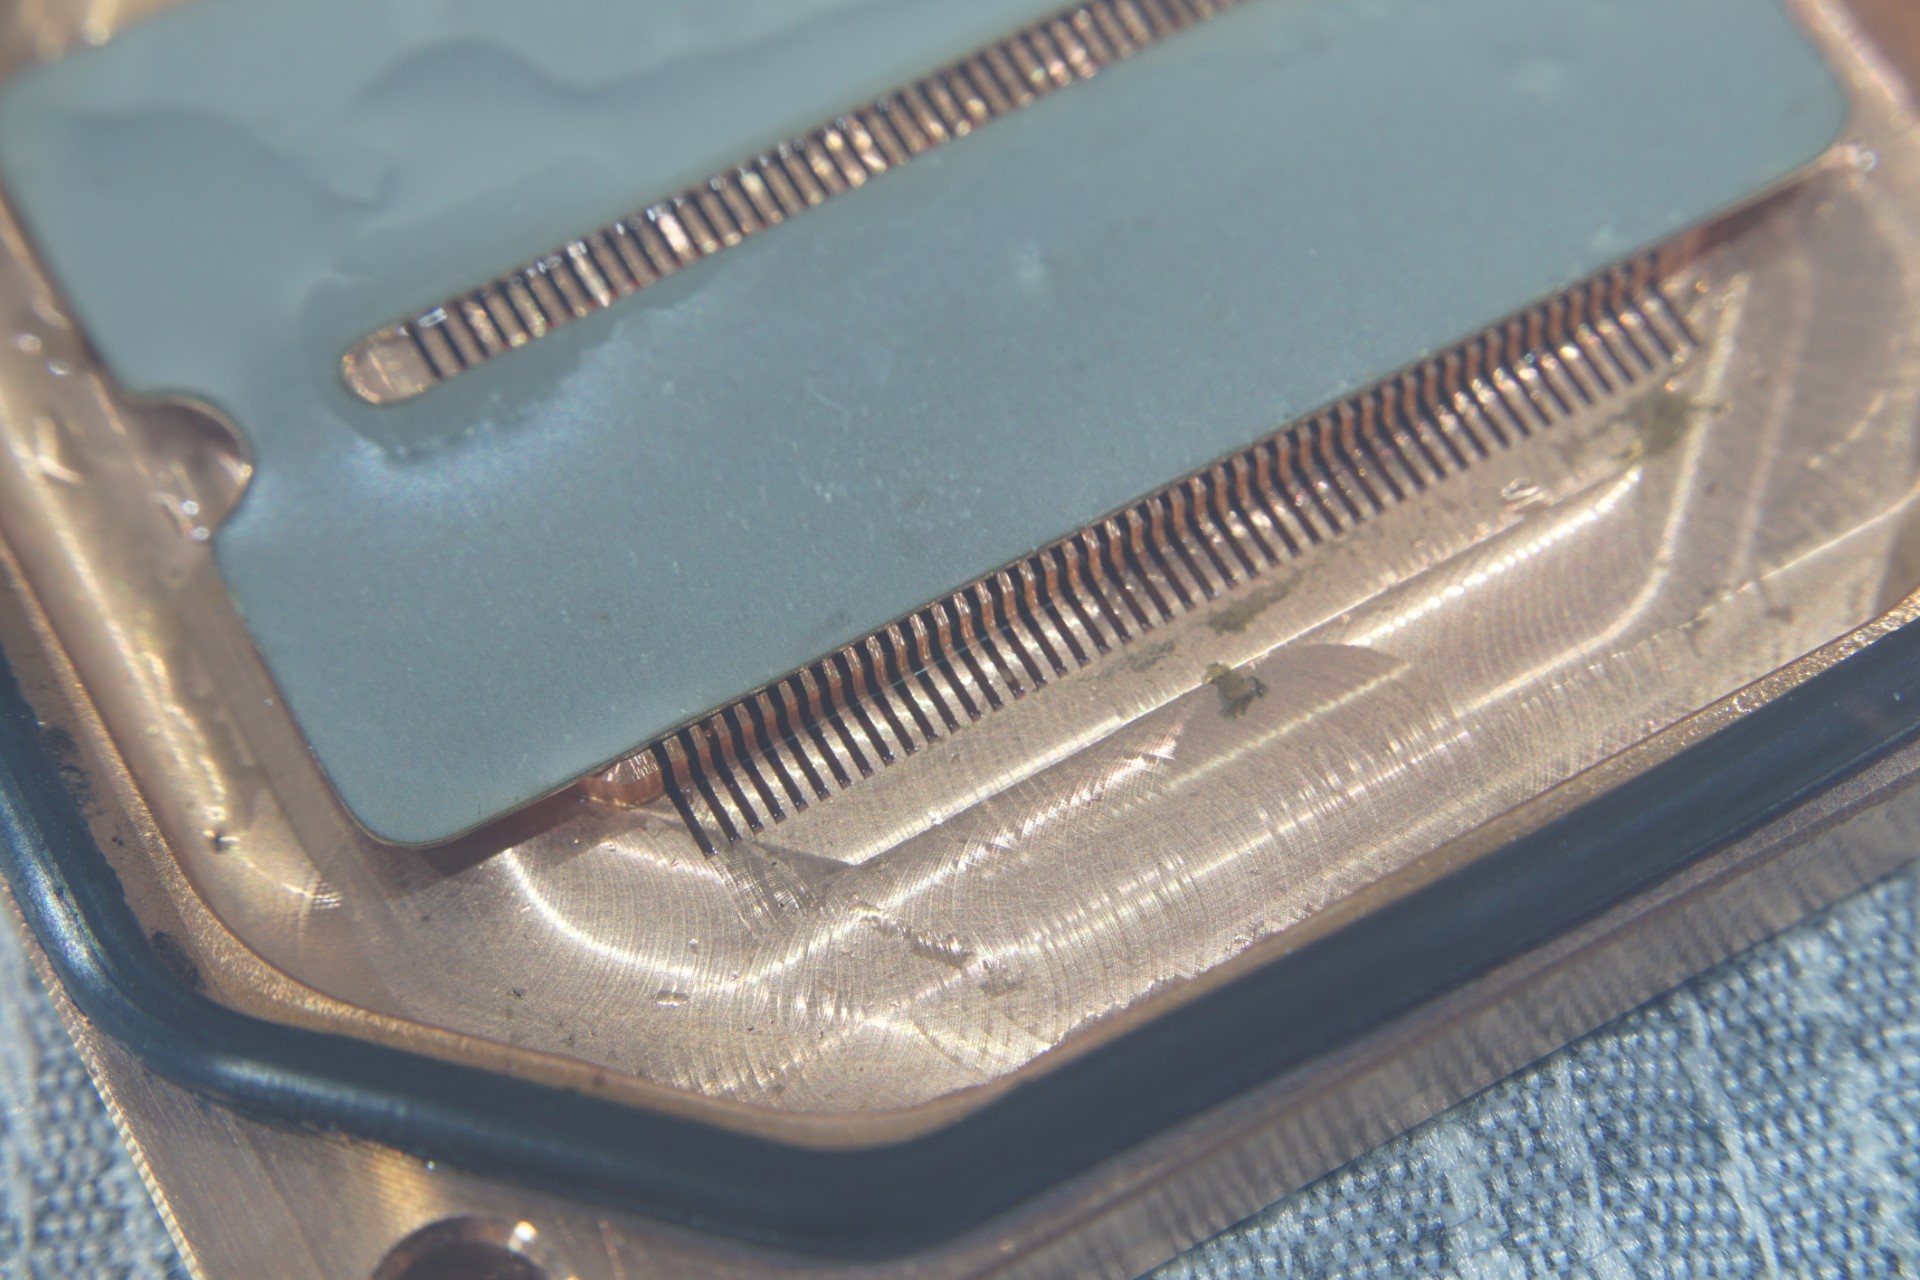
EKWB machined the copper base of the block down to a perfect mirror finish. It is almost a shame that copper is very soft and the perfect finish will be impaired when the block gets mounted on a CPU even once. Inside the block we found a metallic flow guidance plate, forcing the fluid to enter the microchannels from the center and exit from the sides. It is very well machined, without imperfections.
EKWB suggests in the manual that the microchannels should be cleaned in order to maintain maximum performance, however we strongly advice against such action by anyone who is not a liquid cooling expert. The process requires draining the system, opening the block carefully, cleaning it with specific solvents and resealing it. A new user to such a process should be extremely careful when refilling the system, and perhaps read/watch online guides, or the user will have to deal with leaks from improper sealing.


The radiator assembly comprises most parts of the system, as it includes the fluid pump, the air flow fans and the power controls. The pump is attached to the edge of the radiator, on a plastic frame that also serves as a basic fluid tank. The height of the pump encourages the presence of two cooling fans at the top side of the radiator, and two fans are preinstalled in a pull configuration. EKWB clearly assumes that the radiator will be installed at the top of a case, pulling air out of the case. The position of the pump also prevents the radiator from being installed vertically, as the pump will be unable to circulate the fluid, especially if the system is not filled to the brim and air removed.


There are two fluid filling and air bubble draining ports on the radiator, one next to the pump and one on the other side of the metallic body. If the user wants to drain and refill the system for any reason, be it for an upgrade or maintenance, the system has to be refilled from the port on the side of the radiator, while the radiator is standing upright. Once filled, the Predator 240 has to be powered on and the port next to the pump needs to be opened, draining the air and adding fluid if necessary. Both ports require a 6 mm hex key to be opened. The user needs to be very careful and gentle when closing the port next to the pump, as the body is plastic and it can be easily destroyed by the high torque of the 6 mm tool. The other port is on the metal body and is much more robust.
There is just one issue with the radiator which users might face - the thickness. The radiator and fan assembly is 68 mm thick, which is considerably thicker than what most case manufacturers have taken into account. There are cases that are designed to hold 240 mm radiators at their top panels but do not accommodate this kind of clearance. We strongly suggest checking the clearance of the case before purchasing this unit, or make sure that the case is in the EKWB's compatibility list.
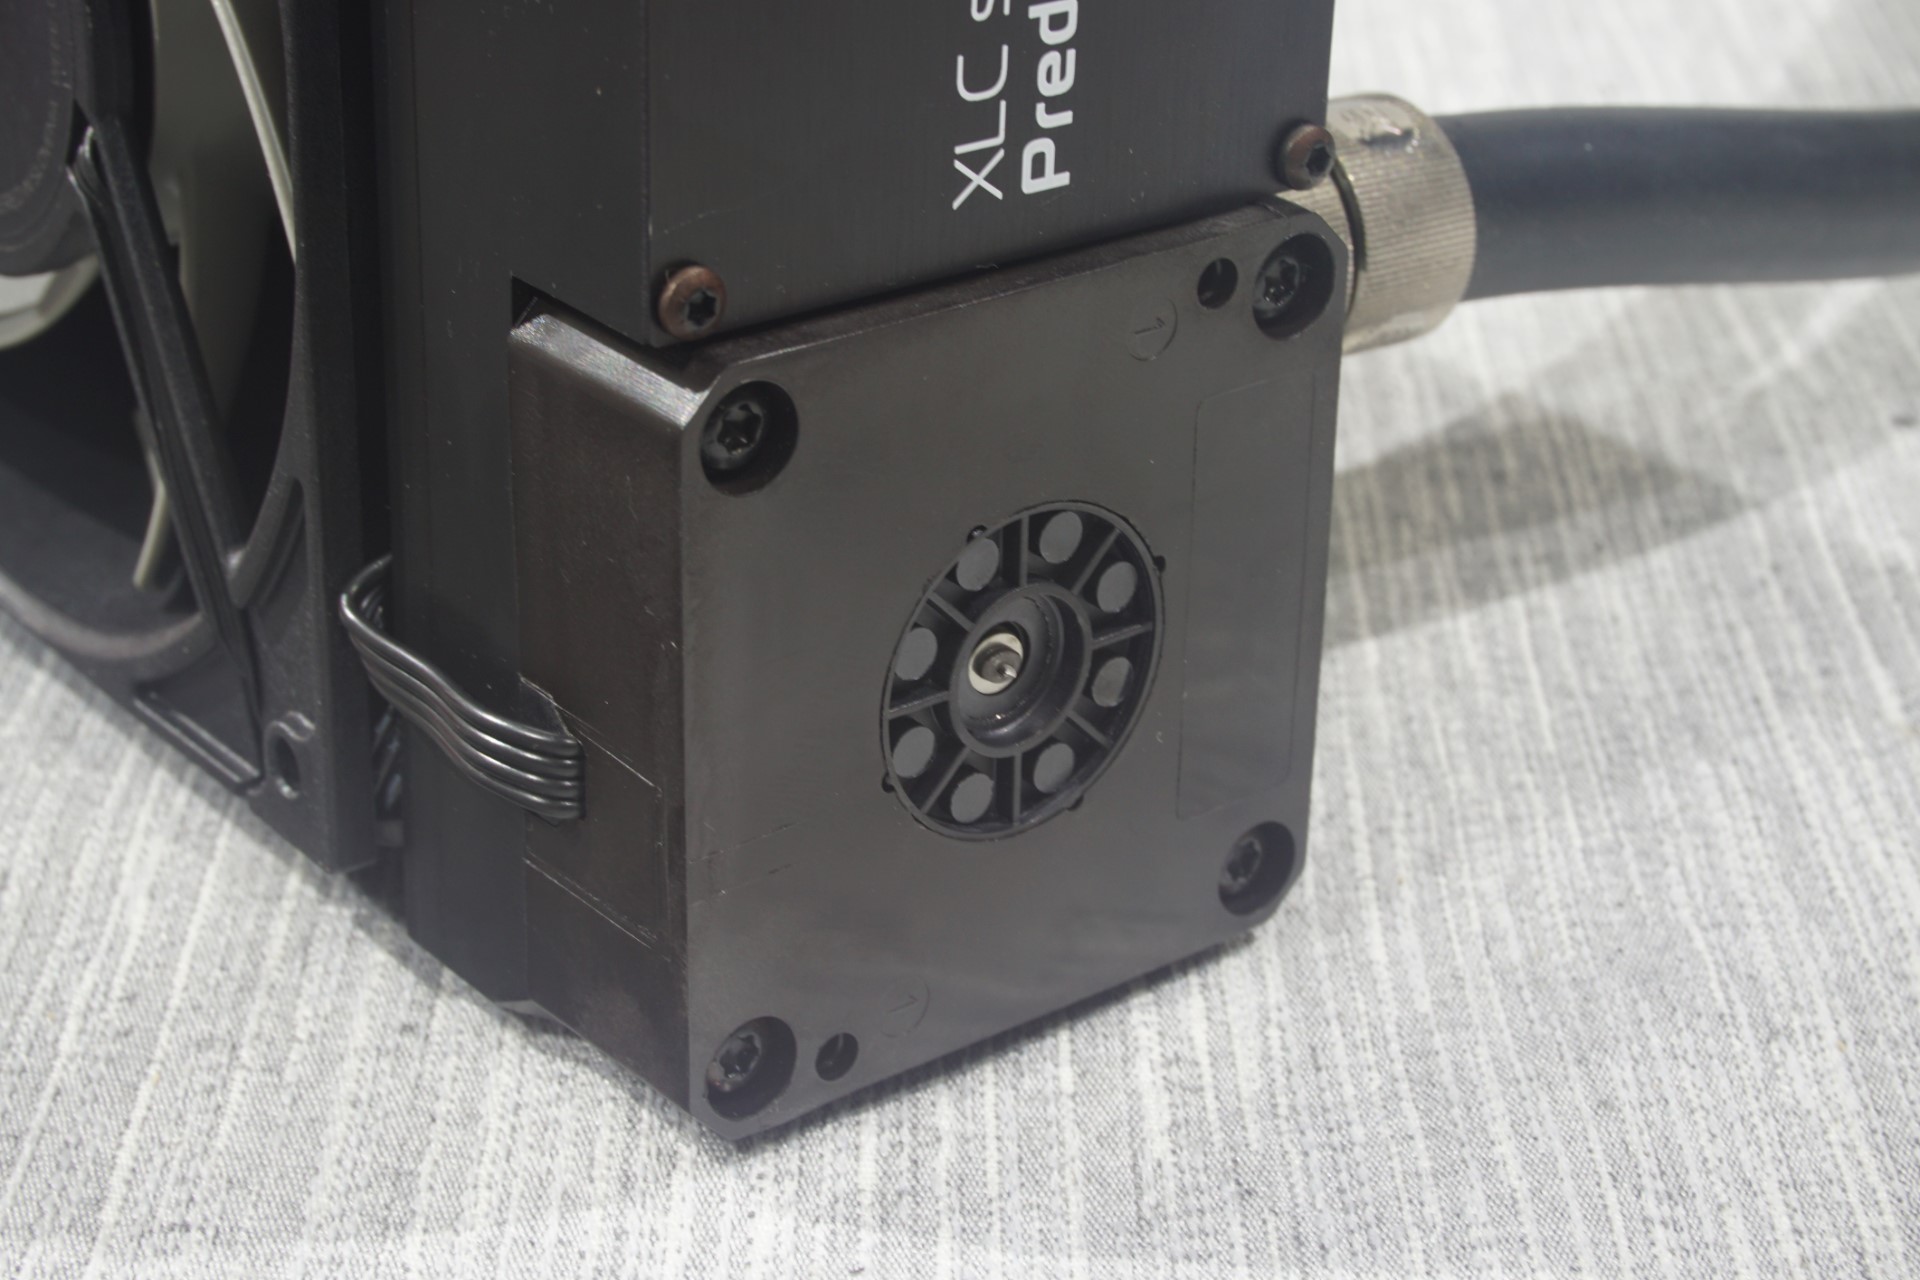
The power control board near the edge of the radiator is small, simple and very clever. It powers the fans and the pump from a single SATA power cable, getting rid of the cable mess. It gets a PWM signal from a single motherboard fan header and adjusts the speed of the fans and of the fluid pump. If no signal wire is attached, the assembly will just constantly operate at maximum speed.
What is odd about the power controller is that there is a single extra header for a third fan. As the EK-XLC Predator 240 is a dual fan radiator, the reasonable move would be to have two extra headers, in case someone wants to install two more fans for a push-pull configuration. Nevertheless, it is likely installed it there with a secondary (e.g. case) fan in mind.


36 Comments
View All Comments
shaolin95 - Thursday, December 17, 2015 - link
er no...its the top Air Cooler but no it does not "blow away almost all of these coolers" plus not everyone likes such huge thing on your build.I used to my tastes got refined and no longer like that huge chunk of metal there not to mention that its harder to clean between fins compared to a radiator.
stren - Thursday, December 17, 2015 - link
Yes using a lab grade setup like that is great for more accurate system measurements. It's damn hard to test radiators well after all - ask my buddy fast_fate about that. *But* a good amount of performance can be gained or lost from bow of the CPU block and how well it matches the CPU's IHS. One thing you failed to mention in your methodology is how the block was mounted to the heater plate. Which TIM was used? How many mounts did you do? Mounts can produce quite variable results. Typically a 1C variance might be seen in mounting one block to one CPU in one orientation. Different CPUs and orientations will produce a wider spread still. In addition measuring ambient air in is extremely hard to do well even if your sensors are world class. How many sensors do you use, how spread out are they, how far from the fans are they? Is there an intake manifold? Is the manifold restrictive? Is there any other airflow in the room? How much does the ambient change? What's the error in the system? How long do you log for, how many runs do you average etc etc?If you were to test CPU water blocks independently on a such a setup the results would be very different to those testing on a real motherboard/CPU. This is particularly true when a small difference in mount height can change mounting pressure and hence TIM thickness. Some block mounts bottom out rather than relying on a set torque to tighten and hence making your own mount will mean a difference in mounting pressure than a real motherboard/CPU combo.
In essence while you're testing *part* of the system very accurately, you're not testing the whole system accurately. While I applaud the effort to measure AIO's well, I think you'd do well to drop the lower power runs where the margin of error is > than the difference in the data in order to save time and also test with a CPU to try and see some impact of the mount on a real world system. Of course the latter can be frustrating to get the accuracy required. Taking data on ten water blocks accurately on one CPU can take me a month. So I can understand why you'd want to limit the variables, but it might be wise to mention that by limiting the variables in order to be more accurate you are also making the test less accurate by being a simulation of the real thing.
r4serei - Friday, December 18, 2015 - link
i'm lovin my 240. i've already expanded onto it with a block for my gpu and another rad. was surprisingly simple.r4serei - Wednesday, January 13, 2016 - link
EK has issued a recall for all revision 1.0 Predators due to a faulty O-ring. It's been corrected on revision 1.1 which has been released as of Jan 4th.alexrw - Saturday, January 30, 2016 - link
> the pressure triples for every increase of 3 dB(A)err, doubles ... actually almost doubles (the exact value when it exactly doubles is not 3dB but 10*log10(2)=3.0102999 dB, or conversely the ratio for exactly 3dB is not 2 but 10^(3/10)=1.99526)
file2man - Sunday, October 30, 2016 - link
I recently purchased the ekwb extreme 360 kit- it has a separate pump, reservoir, clear tubing for somwhere around $350 at microcenter. the pump is not variable speed like most other bought outside of kits and can only vary its speed by a fan controller. Im new at liquid cooling but I suspect hard tubing will in the longer term attract less sediment and is much preferred . Have not reached ek yet but not sure if I can use the 360 extreme kit fittings 13/10mm g1/4 for hard tubing literature says soft tubing is 9.5mm/12.7mm (3/8/1/2 inch). Any help is appreciated since is no way to email ek