MSI X99S MPower Review: Sting Like a Bee
by Ian Cutress on February 17, 2015 9:00 AM EST- Posted in
- Motherboards
- Intel
- MSI
- Overclocking
- X99
MSI X99S MPower BIOS
Very few changes from our last MSI X99 BIOS overview are present in the X99S MPower, and thus for completeness our analysis is included here with minor changes to represent the differences for MSI's OC Certified range.
The basic outline of the MSI BIOS has not changed that much since the introduction of the graphical BIOS however its implementation has significantly improved. We do not get much more over MSI’s Z97 series - only those options related to X99 are added. The layout is such that a persistent top ribbon is present indicating the motherboard being used, the BIOS version, the CPU installed, the CPU frequency, the memory size, the memory speed and the system temperatures. There is perhaps some whitespace here for some fan speeds as well. (Ignore the CPU temperature listed - I started taking these images without my CPU fan attached and the system eventually overheated. After spending 10 minutes wondering what the problem was, then facepalming, the temperature settled for the last few images. No damage was caused by the overheating as the automatic shut off worked great.)
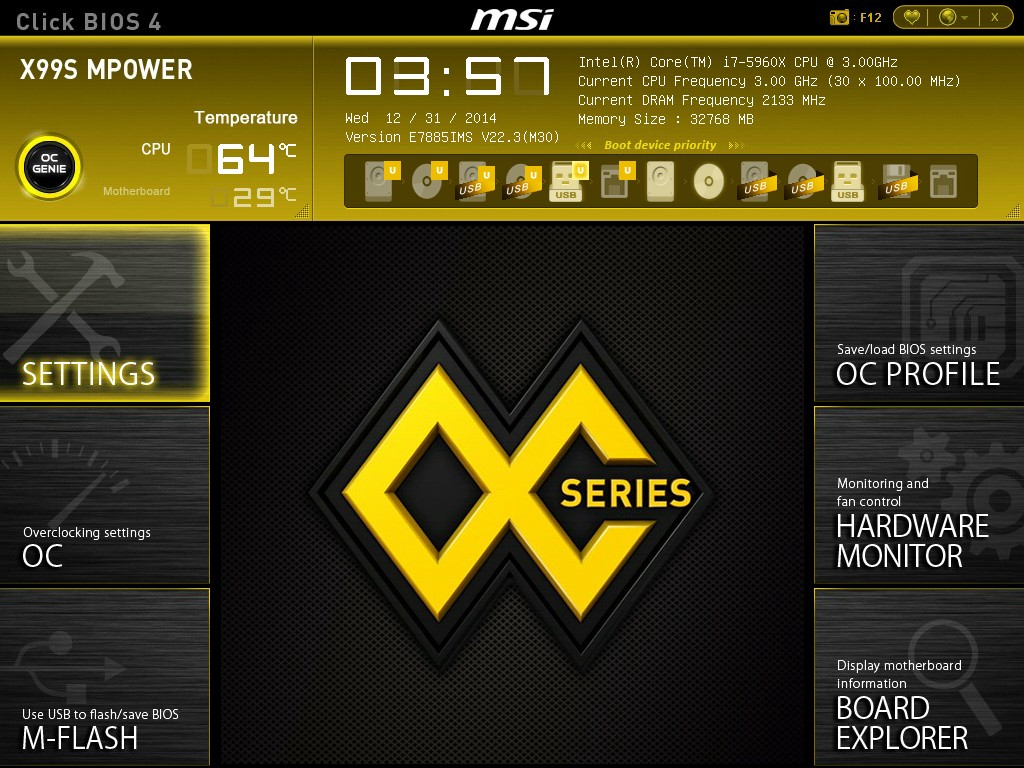
Note that we don’t have the XMP button similar to Z97. This is because when using a kit without an XMP profile, the button disappears, but it is present on X99 when the appropriate kit is used. I would rather MSI still had the button present, but it was greyed out to indicate it was unavailable.
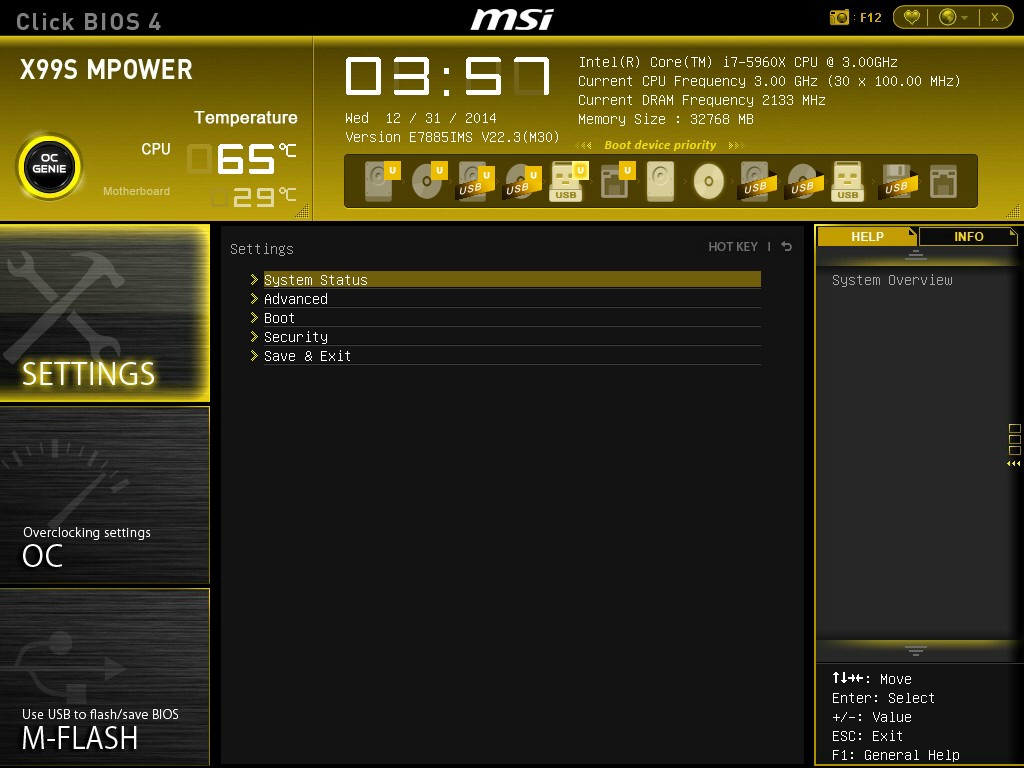
MSI’s system splits the BIOS up into two main areas – Settings and Overclocking. The Settings menu again subdivides into the System Status, Advanced, Boot, Security and Save & Exit.

For users wanting to adjust the PCIe bandwidth or disable the extra controllers, the Advanced menu gives all these options in separate sub-menus.

For example, in the PCIe Subsystem menu, the M.2 slot can be configured for both PCIe M.2 and SATA M.2 drives.
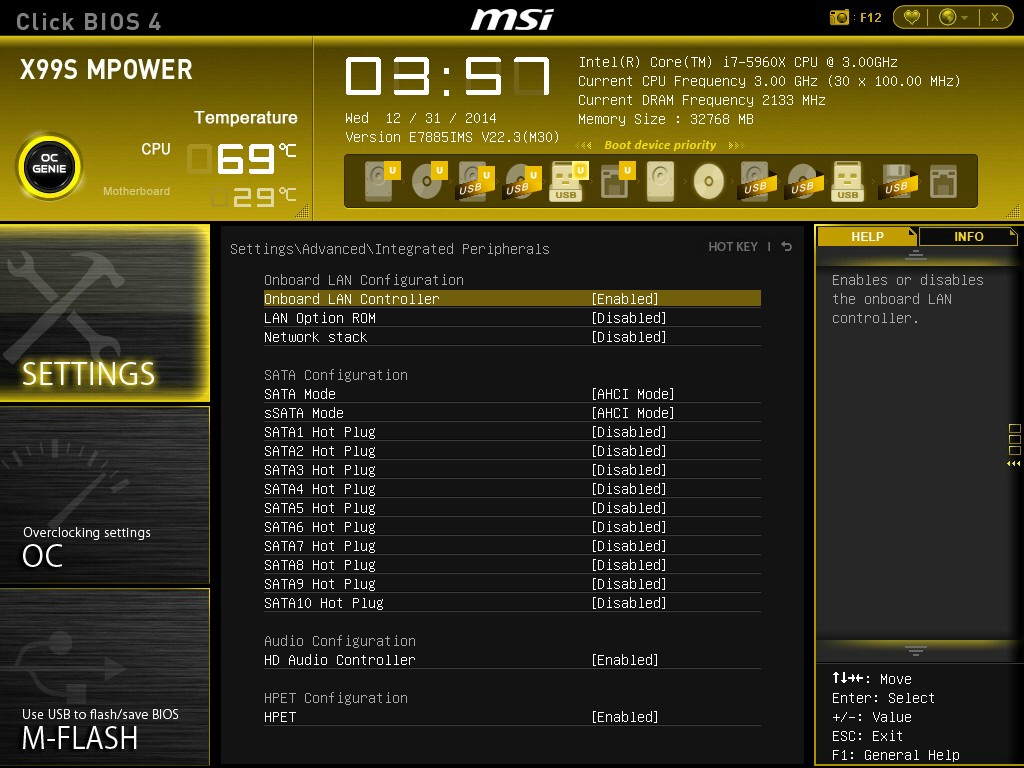
The Peripheral menu has the Hot Plug options for all the SATA ports. As with the other motherboards, the SATA ports are RAID capable but the sSATA are not, due to two AHCI controllers being present in the PCH with different functions. Unfortunately MSI does not distinguish here which ports are RAID capable and which are not – for reference SATA ports 1-6 allow RAID 0/1/5/10.
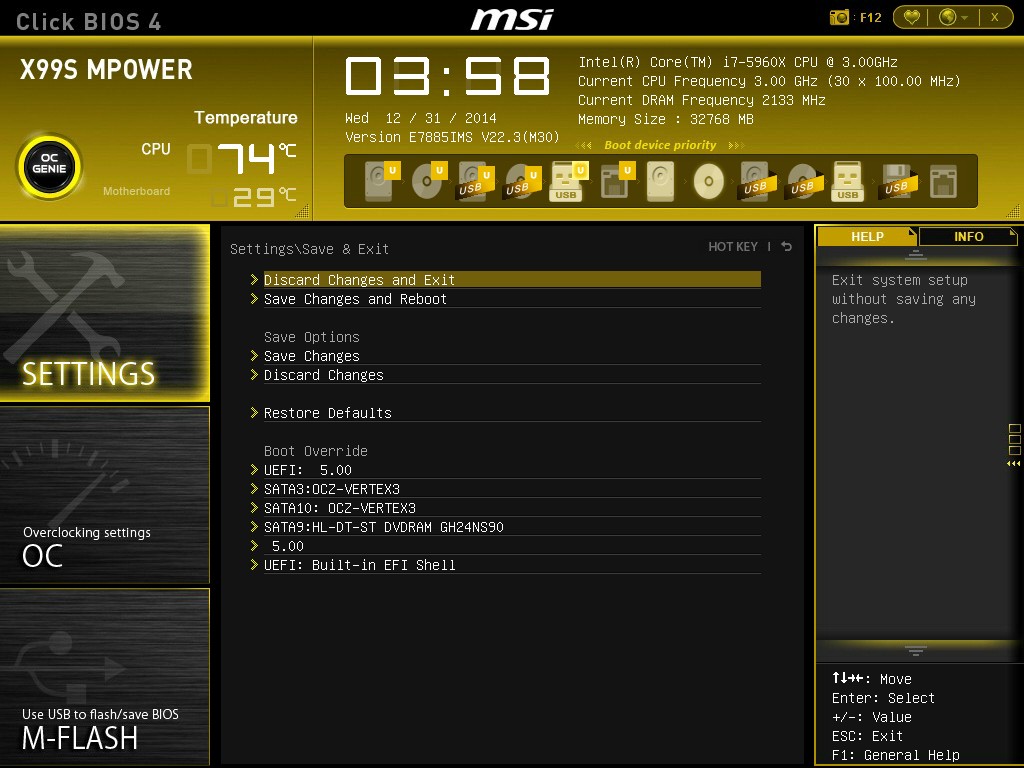
The other item of note in the Settings tab is that the user can issue a one-time boot override to a storage device of their choice:
The OC Menu is almost identical to Z97, allowing both a simple mode and an advanced mode:
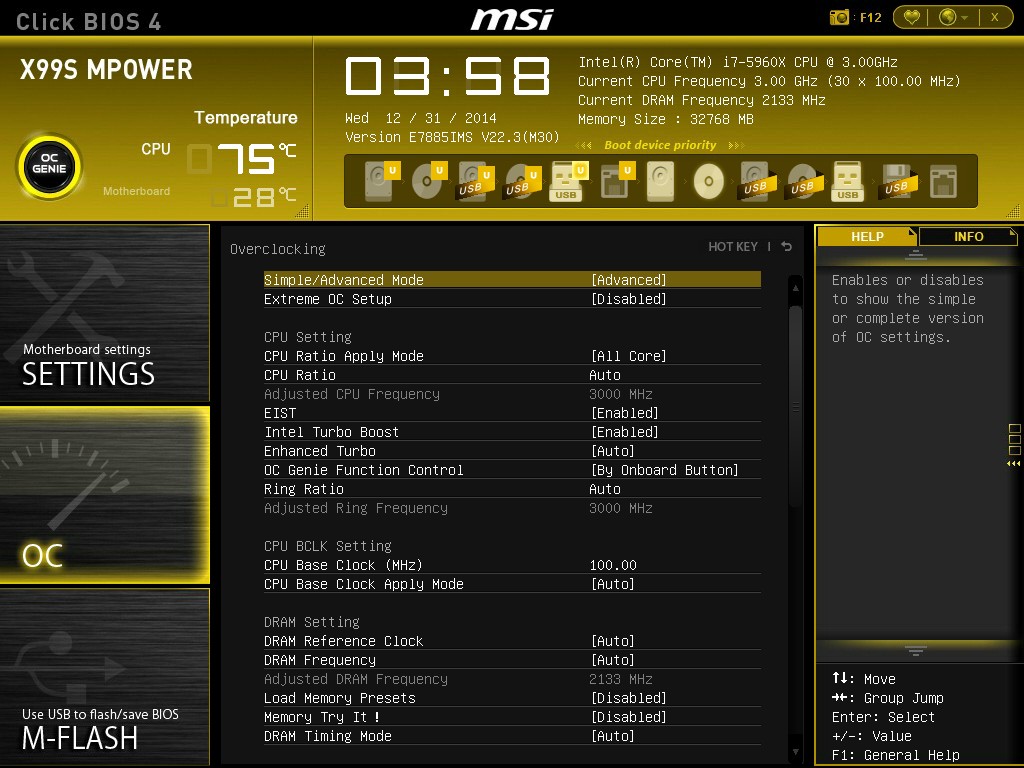
Thankfully MSI has decided to keep the new arrangement of overclocking options, starting with CPU/BCLK, DRAM, Voltage and then others:

Advanced mode opens up a larger selection of options for experienced overclockers who are used to them. Users can also select when an enhanced BCLK overclock is applied (either before POST or after), and the Mem Try It option provides a couple of options for attempting to tighten up memory timings. As this is the overclocking model of the range, features such as advanced memory OC options for users with special or rare kits are provided:

The DRAM options allow for control over the sub-timings, and it is good to see that the current timings are shown alongside the option to adjust them.

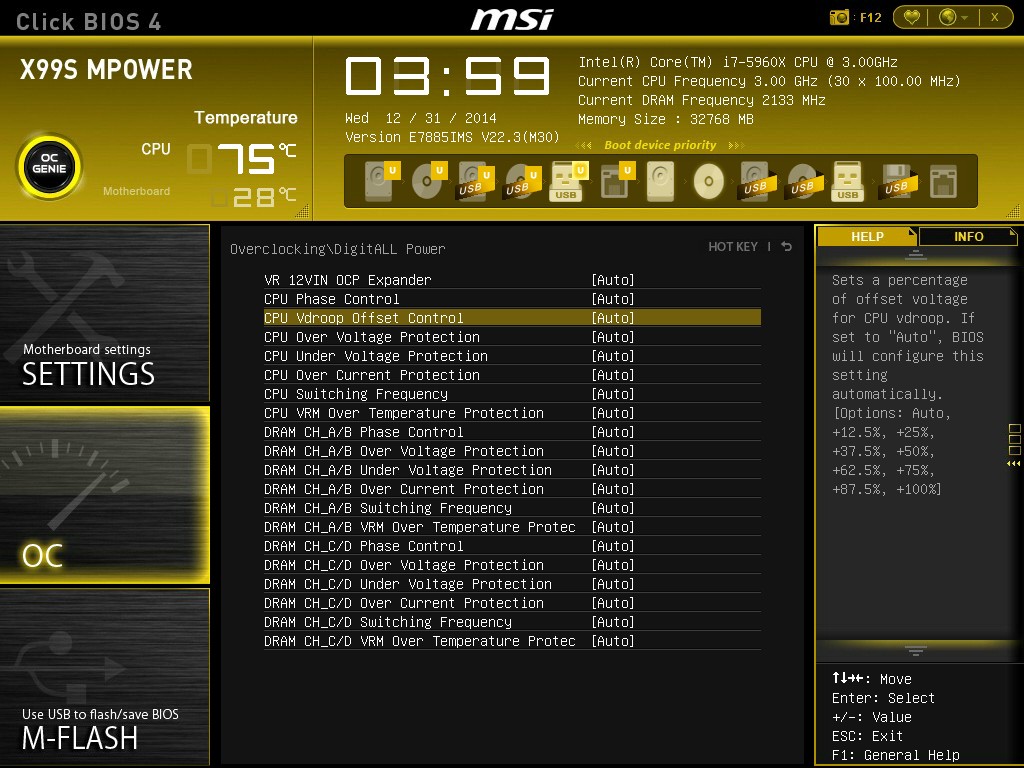
Unfortunately the Load Line Calibration issue with MSI motherboards rears its head again. Under the digital power menu, it gives an option for CPU VDroop Offset, and allows the user to set ‘Auto, +12.5% - 100%’, but does not inform the user which way around it should be for a constant voltage response. Other motherboard manufacturers have this option sorted by either providing a graph or renaming the options to ‘Auto, Low, Medium, High, Turbo, Extreme’. MSI could learn a trick or two in this instance.
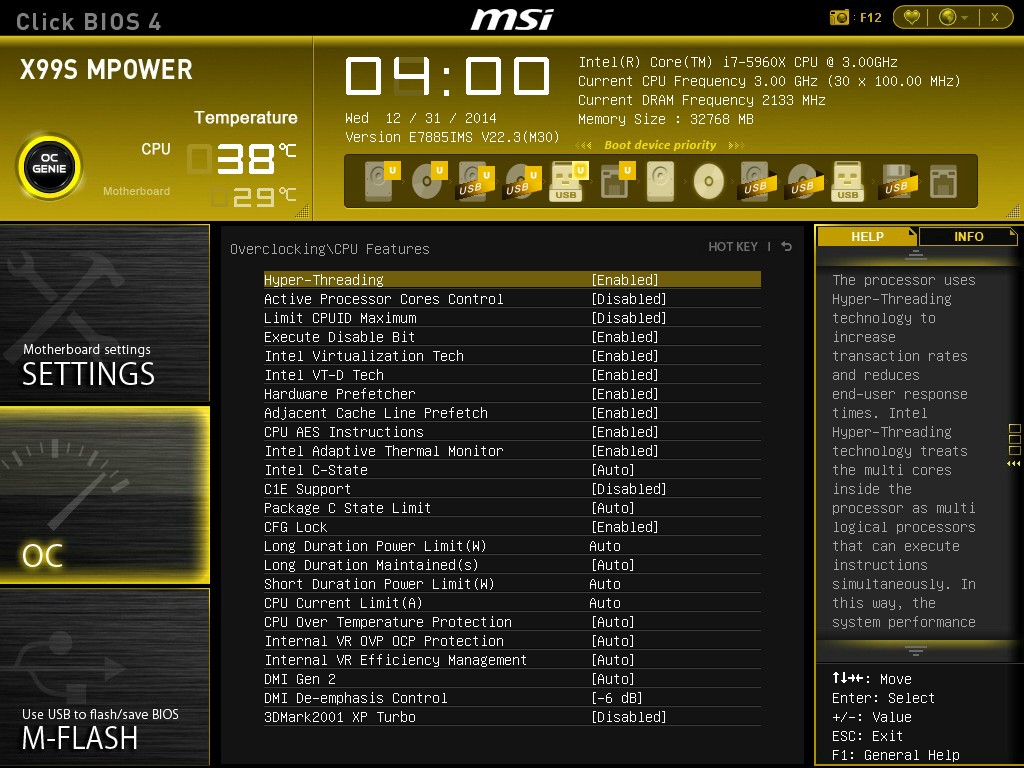
The OC menu also allows users to see the SPD information of the DRAM and adjust various aspects of the CPU features:
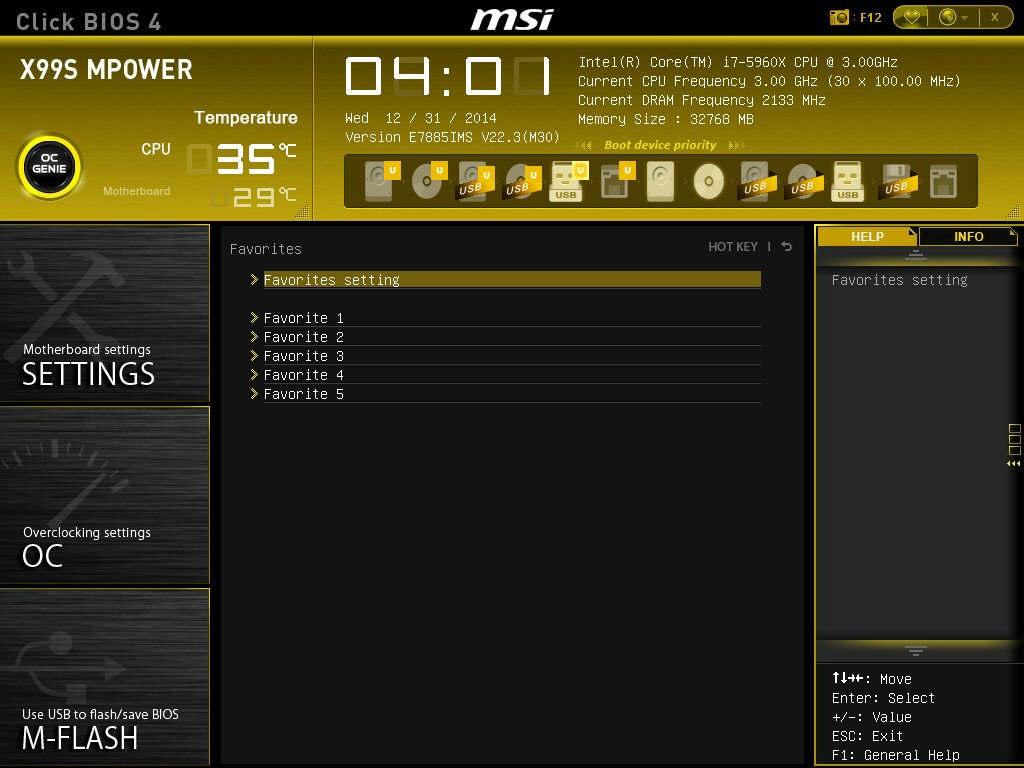
Alongside the Settings and OC tabs, the BIOS offers the M-Flash tool to update to the latest BIOS, overclocking profiles that can be saved and reloaded, a favorites menu for users to assign options they are used to (although not particularly needed with the new aligned OC menu) and also adjust the entry point of the BIOS.
The Hardware Monitor tab gives the fan options, which in recent generations has been substantially upgraded to some of the best we have ever seen.
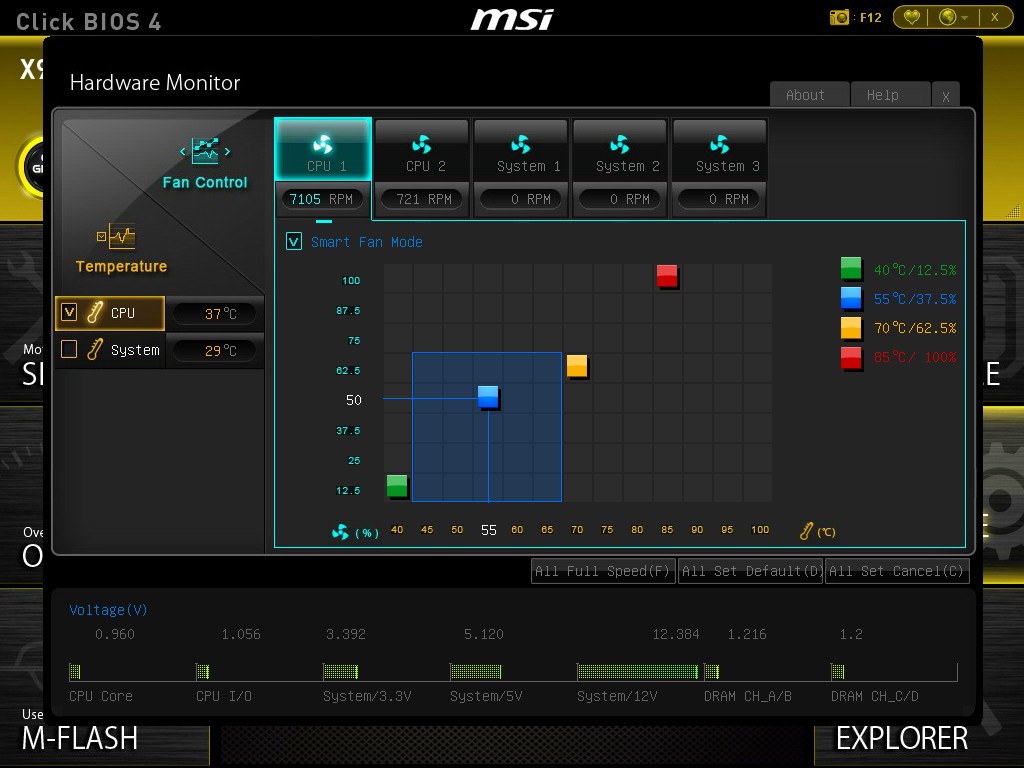
When the Graphical BIOS nomenclature was introduced, the ‘graphical’ part was designed to help the user experience and interactivity with what are normally mundane options. The fan controls are a perfect example – a user should be able to see a multipoint gradient graph and adjust it using the mouse, rather than fiddling with menu options. MSI’s graph adjustments are not as finely grained as some other manufacturers, but the user experience is right on the money. MSI now needs to introduce some internal testing functionality so that the system can test the fan and adjust the scale on the graph appropriately for the fan response.
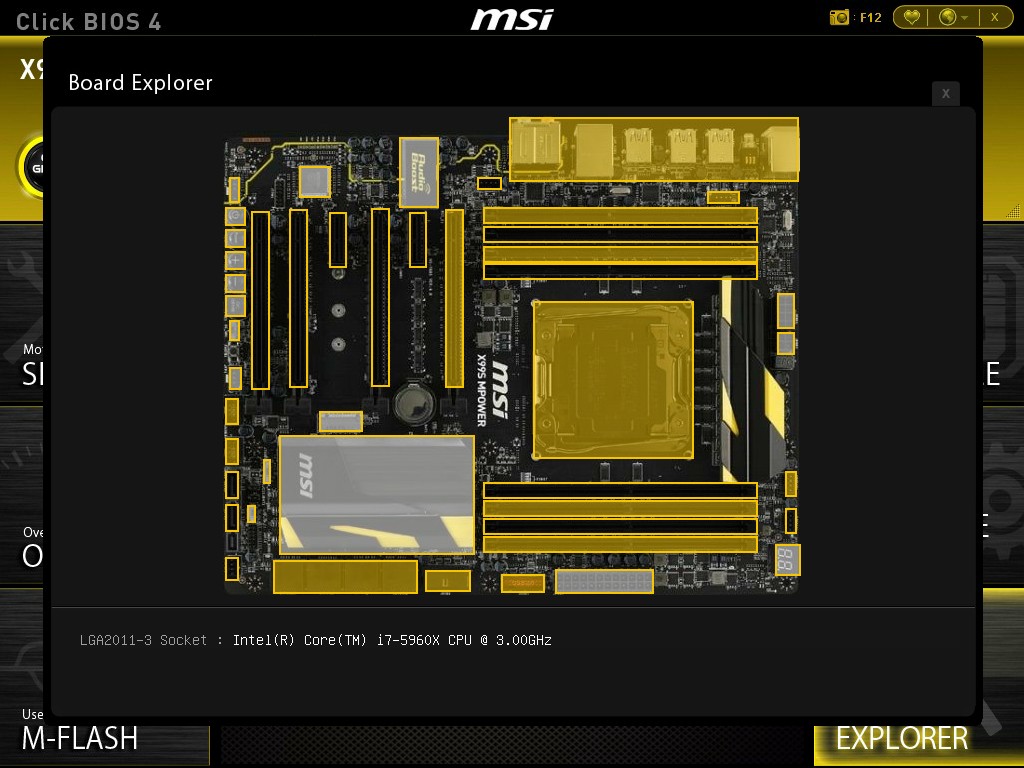
Similar to ASRock, we also get the Board Explorer functionality which allows the user to see what is installed. This is also useful if one stick of memory is not being seen or a PCIe device is not detected.


12 Comments
View All Comments
SantaAna12 - Monday, February 23, 2015 - link
An overclocking review with no side by side brand comparison?Really?
theduckofdeath - Tuesday, March 10, 2015 - link
It reminds me that I really have to get started on reading Metro 2034... :D