Averting Disaster - A Guide To Computer Backups (2014)
by Brett Howse on May 21, 2014 9:00 AM EST- Posted in
- IT Computing
- Mac
- Apple
- Windows
- Cloud Computing
- macOS
Built-in Backup Tools - Windows 7
The first method of performing backups is to use the built-in backup tools in Windows 7, 8.1, or OS X. These offer both image based backups, as well as file based backups. This is your first line of defense. If your budget is low, the bare minimum that you want to do is at least back up your files and system image to an internal or external drive, or a network share.
Windows 7
Windows 7 includes a built-in utility called Backup and Restore (formerly Backup and Restore Center in Windows Vista) which allows you to perform backups to internal or external disks on your local PC. If you have Windows 7 Professional, Enterprise, or Ultimate, Backup and Restore will also allow you to perform backups to a network share. Backup and Restore allows both file level, and image level backups. Windows 7 also has a built-in feature called Previous Versions, which will leverage both Windows Backups as well as restore points in order to allow you to restore files to a different point in time.
Backup and Restore, when configured to perform both file and system level backups, will actually perform both a file level, and a system level backup. Unlike more sophisticated backup software, it doesn’t leverage the system level backups for file level restores, meaning it is going to take up more space than a backup solution which does just system level. It does allow incremental backups and versioning though. The biggest issue with Windows 7’s built-in Backup and Restore is its inability to backup files and images to a network share for Starter and Home Premium – the two versions most people have. It also can’t backup files that are on a network share. That being said, it’s a great place to start for anyone who wants to back up to an internal or external drive for file and system protection. Let’s run through how to configure it:
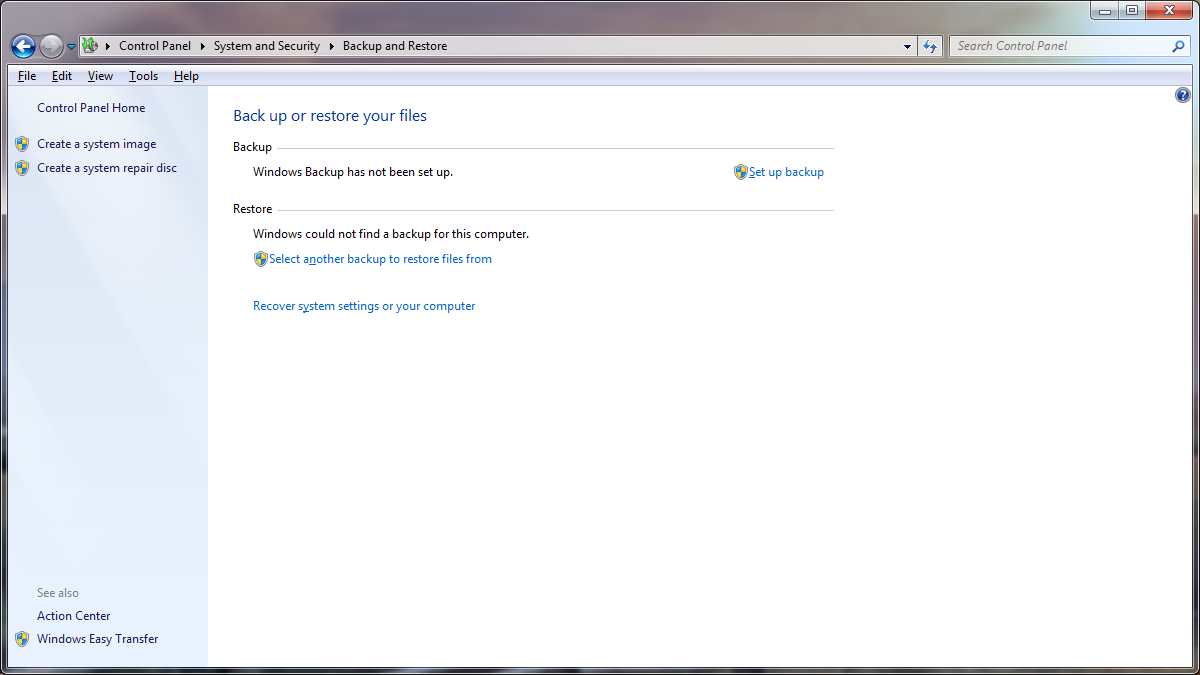
- Go to the Control Panel, then choose System and Security, and select Backup and Restore.
- On the Control Panel applet screen, choose Set up backup.
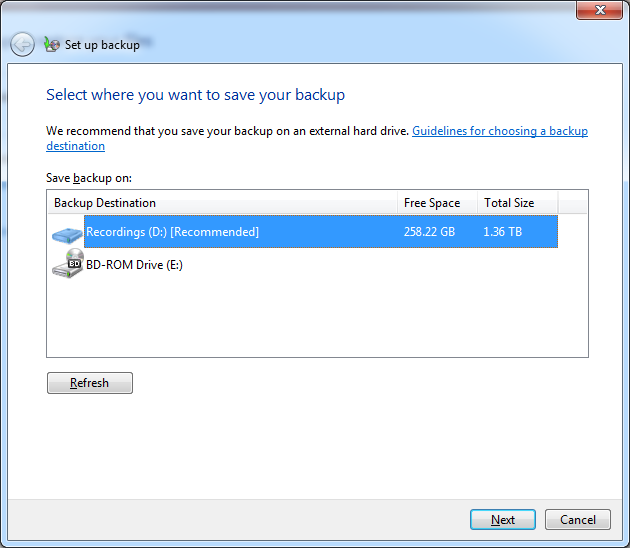
- First you will be prompted as to where to save your backups. Your options are any local disk, USB disk, or CD/DVD. If you have Windows 7 Professional, Enterprise, or Ultimate, there will be an additional selection here to choose a network share and enter the necessary credentials to access it. Choose your backup disk and click Next.
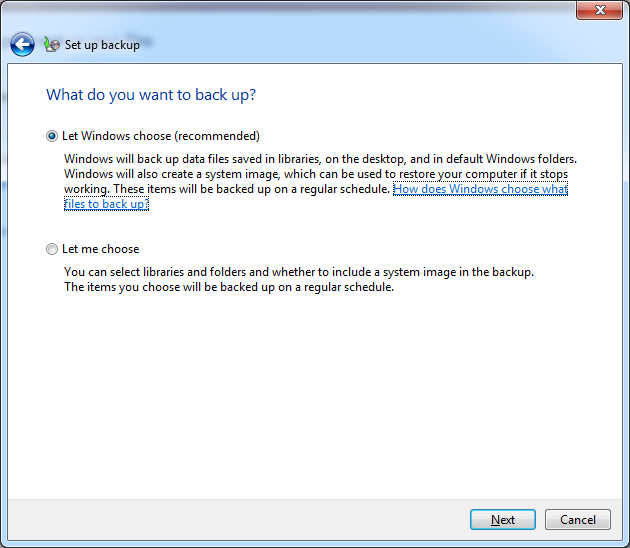
- Next, you will be asked what to back up. The default selection is to back up all user data saved in libraries and default user folders, as well as a system image. If you keep all of your data in your libraries, this should be fine for you so click Next. If you keep data in other folders, or only want to backup certain locations, select Let me choose and click Next.
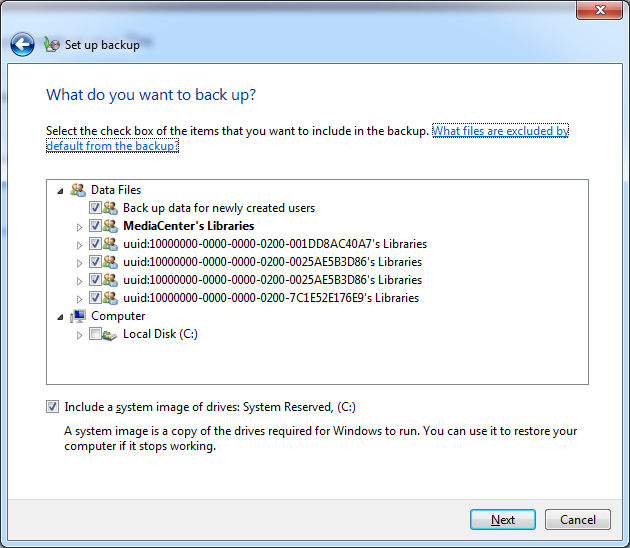
- If you’ve chosen Let me choose, you will be prompted to select what data files to backup. By default, all user Data files are selected, but you can also expand under Computer and choose what to backup, or just backup everything. Also there will be a selection to include a system image for restoring your entire drive. If you have space on your backup drive, it’s a great idea to include this. Click Next when you’ve selected everything you need to backup.
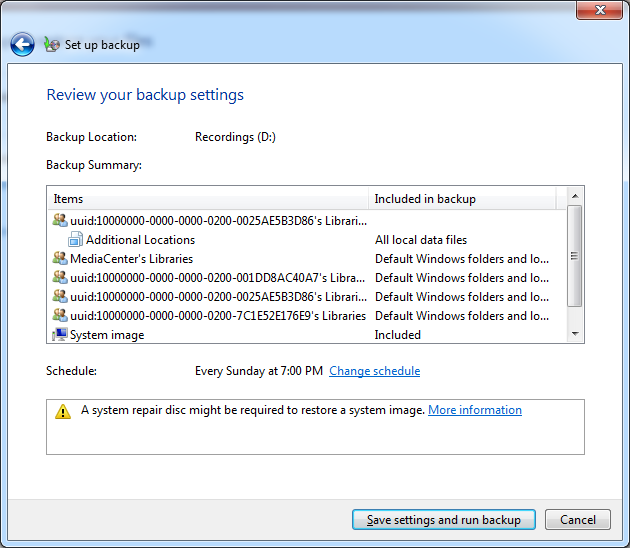
- Next, you will be provided a summary of the backup job which you can review. The summary page will display the default schedule (Sunday at 7pm) and you can change the schedule to perform backups more often. Weekly backups would be the minimum that I would perform. Since the backups are incremental, it’s probably a good idea to bump this up to daily. Choose a time where you are not likely to be using the computer. Once you are happy, click Save settings and run backup, and the system will perform the initial full backup.


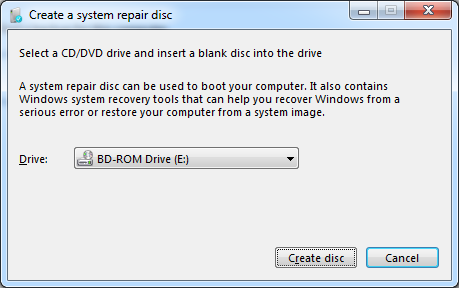
That’s it. Your computer is now backing up automatically at whatever schedule you chose. The next thing you should do, assuming you selected to create a System backup, is to create a bootable disk to recover your system. It’s easier to do this now, than when you need it. To do this, simply go to the Backup and Restore applet in the control panel, and choose Create a system repair disc. You will be prompted to place a CD or DVD in your drive and then just select Create disc. A small bootable disc will be burned which will allow you to restore a complete system image from a local disk, or a network share. If you do ever need this, bear in mind that a system restore will completely erase all files on the restore target.
If you want to restore individual files, you have a couple of options. You can use the Backup and Restore applet to browse for files and folders of your backups and choose which ones to restore. If you do a restore this way, and select restore to original location, it will do a standard file copy of the restored files to their original locations. If the original files are still in that location, the standard dialog will appear letting you select whether to replace the originals, copy with a new file name, or do nothing. Be careful if you do this as you will have a good chance of overwriting files you meant to keep.
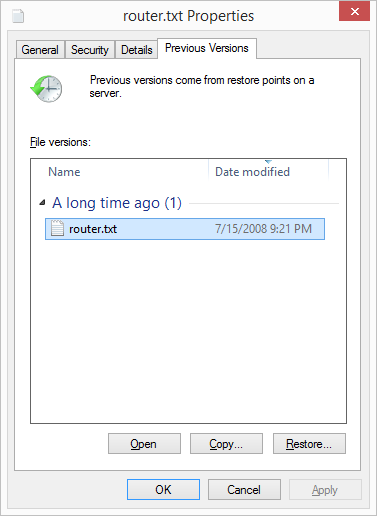
The other method for restoring files is to use the Previous Versions interface to select which file and folder, and from which date to restore. This is likely the preferred method since it will display graphically all previous versions of the file or folder. To invoke this method, simply browse to the file or folder you wish to restore, right click, and choose Restore previous versions. This will display all versions that are in the backups, and allow you to open the file to view it, copy the file, or restore the file.
Overall, the Windows 7 backup utility is fairly good. With both file level and image level backups available, you can recover from practically any scenario. Its glaring omission is the lack of network support on the home versions of Windows 7, which is really unfortunate. Many people would rather back up their files to a NAS, especially in any house with more than one computer. But if you are running Windows 7 and you just have a single computer, it is worthwhile using this for the price of a single hard drive to back up to. Unfortunately, almost no one used this backup system so it was replaced when Windows 8 was launched.


133 Comments
View All Comments
Brett Howse - Wednesday, May 21, 2014 - link
Backing up 6 TB is not an issue unless you modify all 6 TB between each backup, and even then it's really not a big deal. You can stand up 6 TB of network storage for not very much money.It all comes down to whether or not the data is important to you.
Gigaplex - Wednesday, May 21, 2014 - link
Backing up 6TB is most definitely an issue. Local backups require several hundred dollars worth of additional hardware (closing in on $1000 depending on the type of NAS). Off site is even harder, cloud backup isn't even an option so you need some kind of sneakernet.Brett Howse - Wednesday, May 21, 2014 - link
Gigaplex, what I'm saying is that it's not very difficult to achieve this. If you have 6 TB of data that's worth backing up, then I assume that data's worth the couple hundred dollars in hardware required to back it up.Once you move into this kind of data storage requirement, obviously cloud backup is going to get expensive, but there are other options.
You just have to decide if it's worth backing up, or perhaps a subset of the data is worth backing up.
Before you can dismiss any backup, all you have to do is decide how much the data is worth to you.
kamiyo - Wednesday, May 21, 2014 - link
There's SyncBack which has multiple levels of features, the lowest being free. I guess it's technically not a backup solution, but more of a backup helper, but it allows you to schedule and backup specific files/folders (or whole drives) and much more. It was recommended by a friendImpulses - Wednesday, May 21, 2014 - link
SyncBack and MS SyncToy are both decent freeware options for the simpler backup jobs.SeanFL - Friday, May 23, 2014 - link
SyncToy did not scale well to a hundred thousand picture files I had years ago...it starting creeping extremely slow even on incremental backups. Maybe there was some improvement somewhere? Didn't see any new version last time I looked.dstarr3 - Wednesday, May 21, 2014 - link
I swear by SyncBack. It's a ridiculously simple way to manage file backups on an external drive.BeethovensCat - Sunday, May 25, 2014 - link
SyncToy has been reliable for me. But lately I have shifted to FreeFileSync for syncs to my external HDDs. Seems to be faster and work better (sometimes the total file sizes on my internal backup drive and the external HDD differed with SyncToy - set to Echo - never figured out why). I have confidential work files on my external HDD (WD Passports) so I encrypt everything with TrueCrypt. Can afford to loose a HDD, but wouldn't like the data to end up in the wrong hands.hasseb64 - Wednesday, May 21, 2014 - link
For nonprofessionals: Avoid RAID!BeethovensCat - Sunday, May 25, 2014 - link
Not so sure that is true. I have 'played' with RAID 0 for the last ten years and never (fingers crossed) had an array fail. Neither HDD or SSD. I try to run Syncs 2-3 times per week to avoid data loss should it happen. Am using the in-built Intel RAID controllers on Asus motherboards. Seems to be very reliable.