MSI Z87I Review: Mini-ITX Haswell for $140
by Ian Cutress on August 27, 2013 10:15 AM EST- Posted in
- Motherboards
- MSI
- Mini ITX
- Z87
MSI Z87I BIOS
As this is our third MSI 8-series motherboard reviewed, we get a third crack that the MSI Click BIOS 4. Whereas previously we had seen the gaming editions run a red dragon color scheme and the overclocking motherboards run yellow, when it comes to the ‘classic’ range we get a wide eyed blue. Nevertheless, the functionality is pretty much the same as the other motherboards. The only significant deviation I was able to find was that the Z87I had an upper limit when it came to CPU voltages – 1.3 volts on the i7-4770K. This is actually a good idea on a mini-ITX board, although for users wishing to push boundaries it would be nice to have an ‘advanced OC’ switch to increase this value even more. Users who feel adventurous can up the CPU voltage using OS software even further.
Nevertheless, as a functional BIOS the Z87I does have some merits which we alluded to in our previous MSI BIOS rundowns:

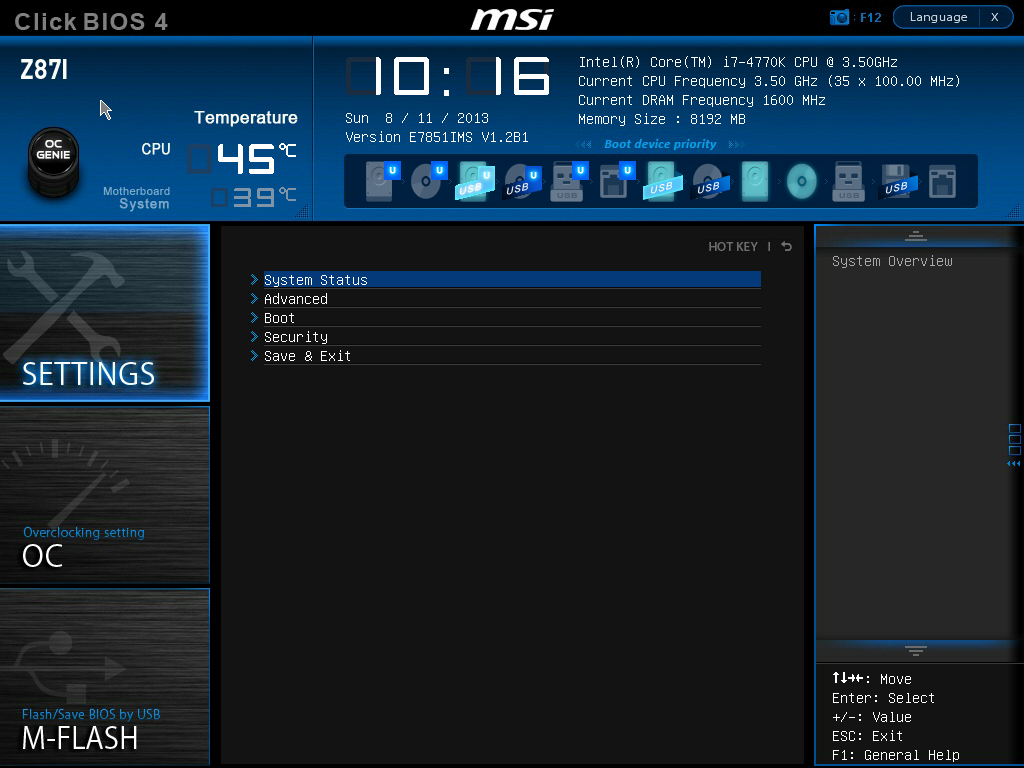
Like the Z77 BIOSes from MSI, the main selling point is the ribbon of information along the top – we get details of the motherboard being used, BIOS version, CPU installed, current speed, memory size and also memory speed. Ultimately all we are lacking is CPU voltages and fan speeds, but there is also perhaps another issue – this ribbon is quite big. Keeping it this size and keeping it a consistent part of the display means that everything else is squashed and it becomes an effort to fit everything in. A few manufacturers that are going down this route are keeping the ribbon small enough to make sure that the actual ‘options’ area of the BIOS have plenty of space.
Aside from the ribbon we have a standard MSI layout of six buttons around the edge and the main options in the middle. For Z87 the options have changed slightly, with the main two additions being Hardware Monitor and Board Explorer. Hardware Monitor is actually an awesome way to organize your fan controls from the BIOS:
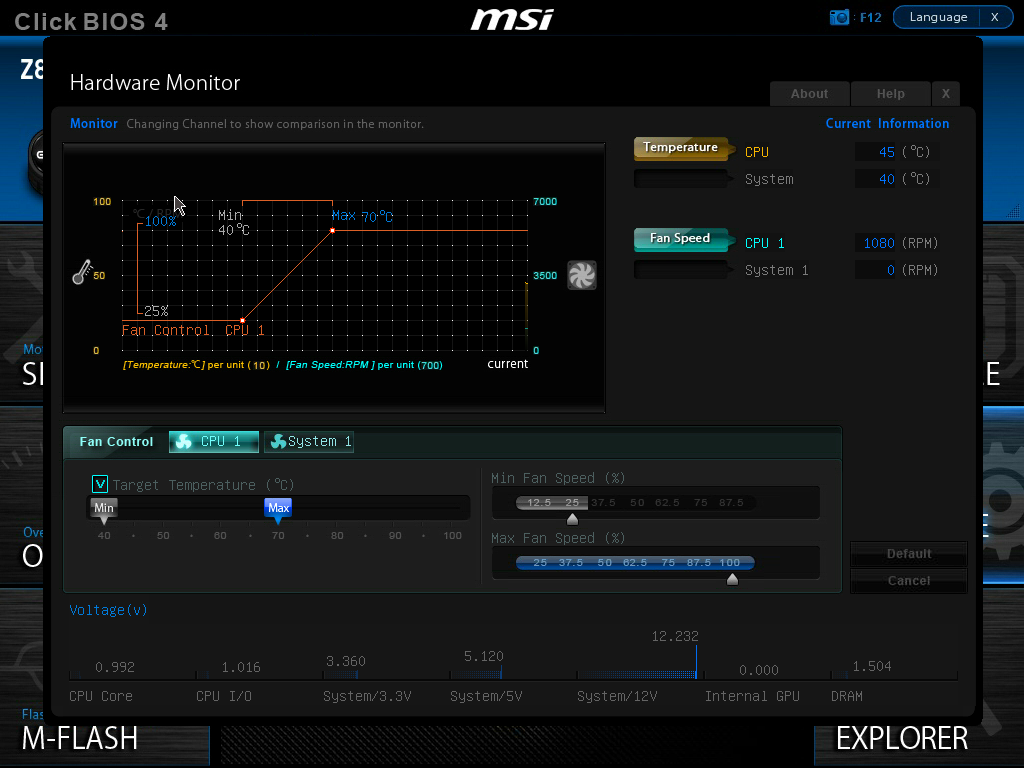
While the level of control is quite small (a two point gradient, no hysteresis, BIOS engineers confusing power applied to the fans as directly proportional with the actual RPM), the execution of visually showing the fan controls is one of the best we have seen. By moving the sliders in the ‘fan control’ section around the graph changes to show what is actually happening. Aside from the power-to-RPM issue (which should be inexcusable in 2013), what we need here is more control – more points in the gradient to deal with, as well as hysteresis and manual control over the points on the graph. Then perhaps MSI would be onto on overall fan control success.
The second new feature of the BIOS is Board Explorer, which mimics features we originally came across in other manufacturer BIOSes:
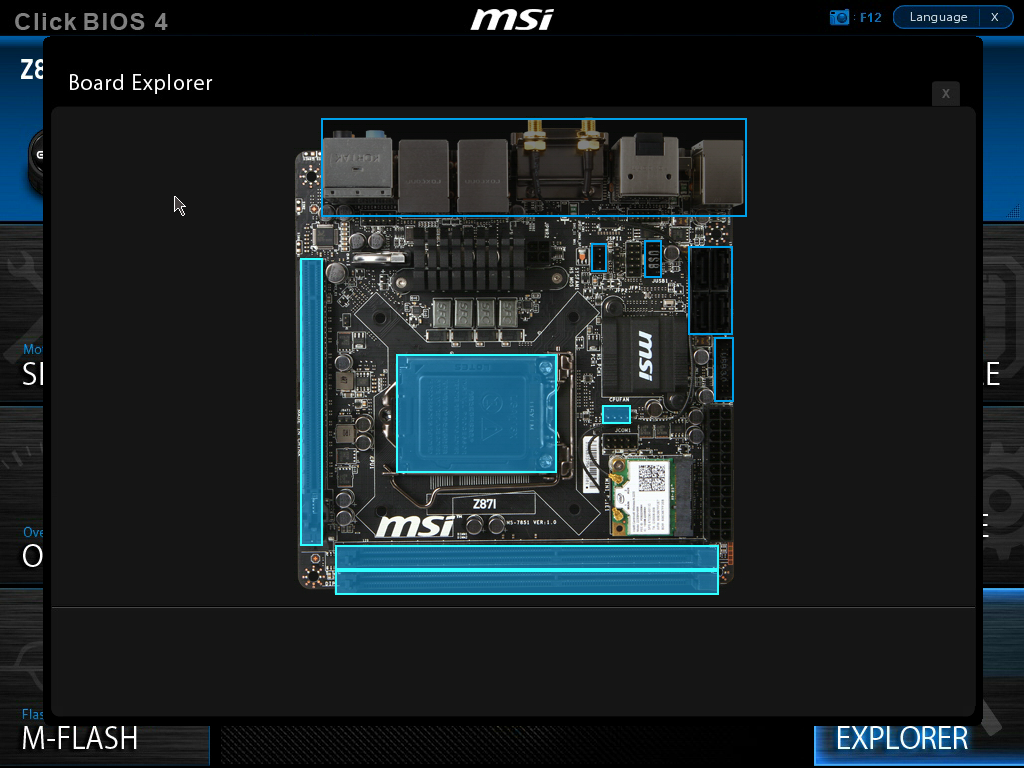
Here is a visual representation of the motherboard, and everything on board which has something plugged in comes up blue. My moving the mouse over an area we get an explanation of the hardware plugged in with the hardware string assigned by the manufacturer. Moving to the SATA ports or IO panel and clicking brings up an additional visual showing which ports are in use:
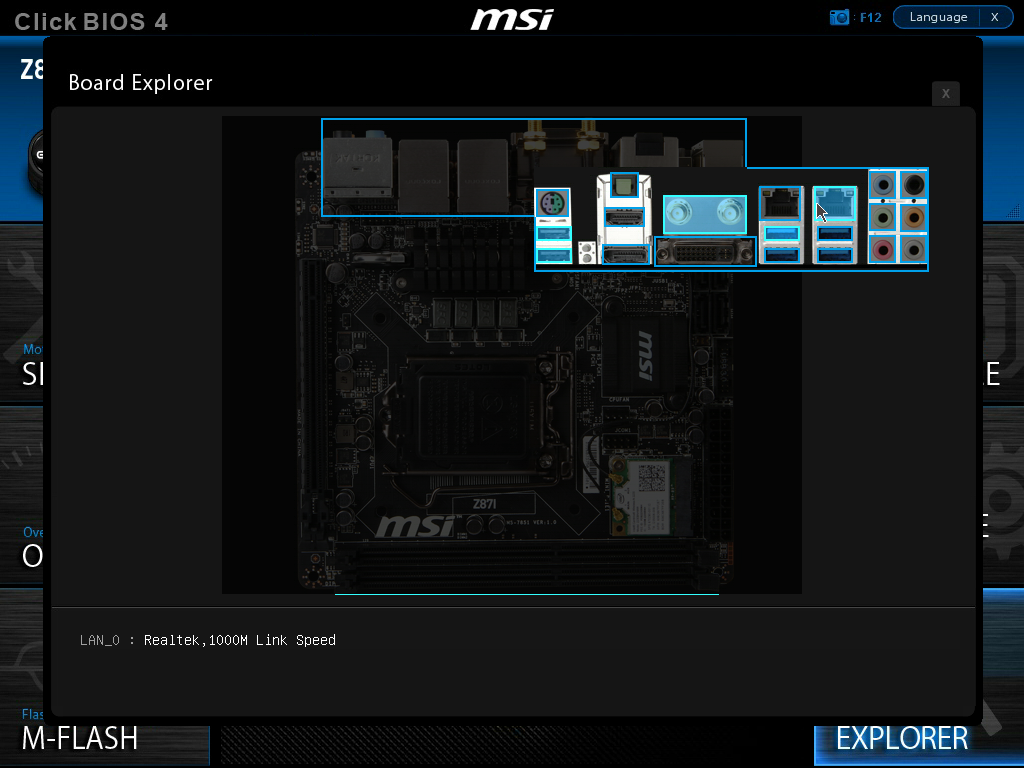
I am glad this is a feature becoming standard. It ultimately helped when I received the ES version of this motherboard into the office and one of the PCIe did not work – I was able to diagnose this issue through Board Explorer. If hardware is not seen here, then it was not recognized by the motherboard at POST time.
For the rest of the BIOS, we have typical MSI fare. Most of the regular options available to the user are in Settings, including SATA configuration and turning on/off controllers:

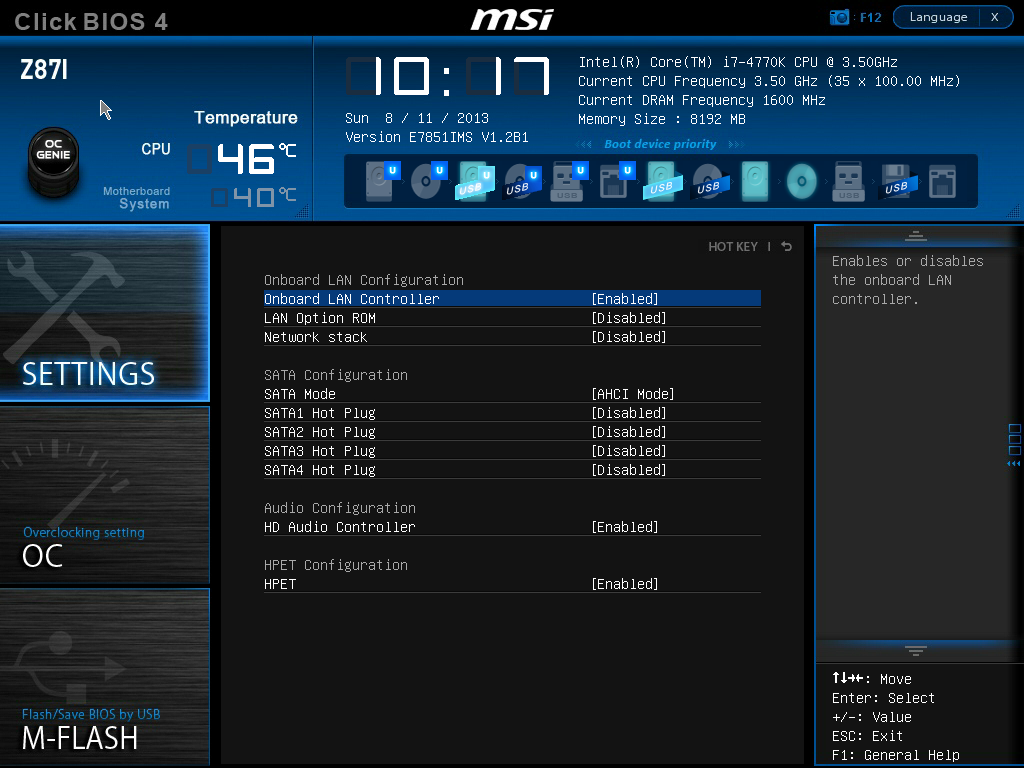
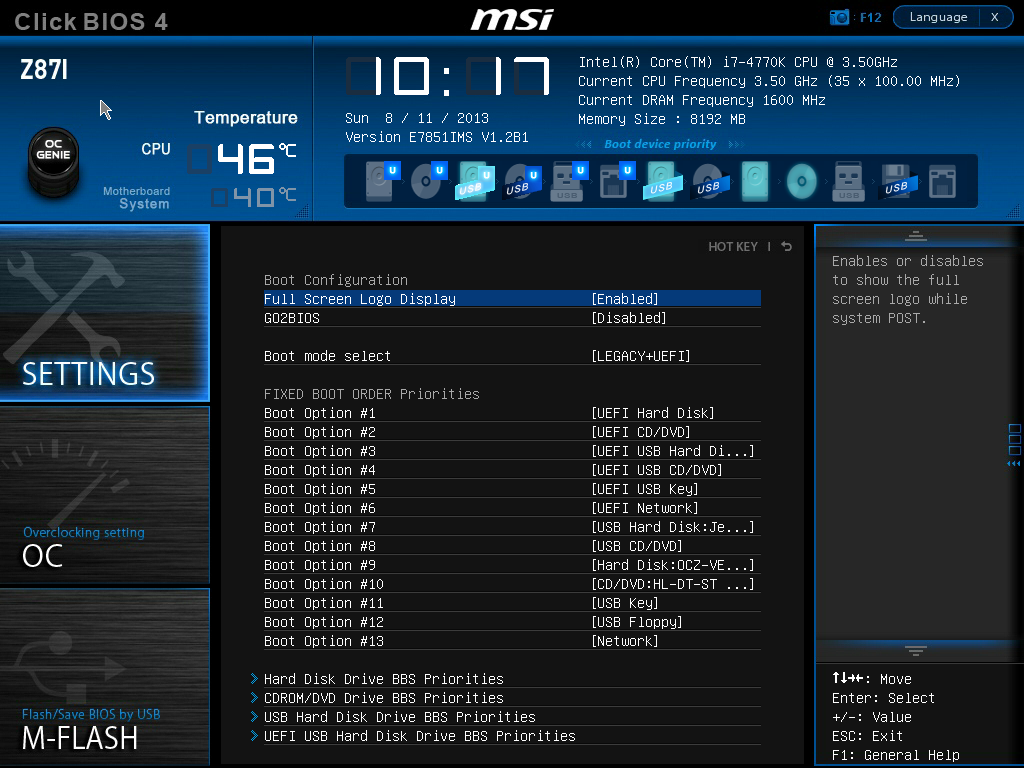
A nice positive is the Boot Override, also slowly becoming standard across all manufacturers allowing a one type boot from a secondary device.
As on the previous MSI Z77, our OC options are almost a complete jumble, although I am told that the BIOS engineers are working on a more sophisticated layout:
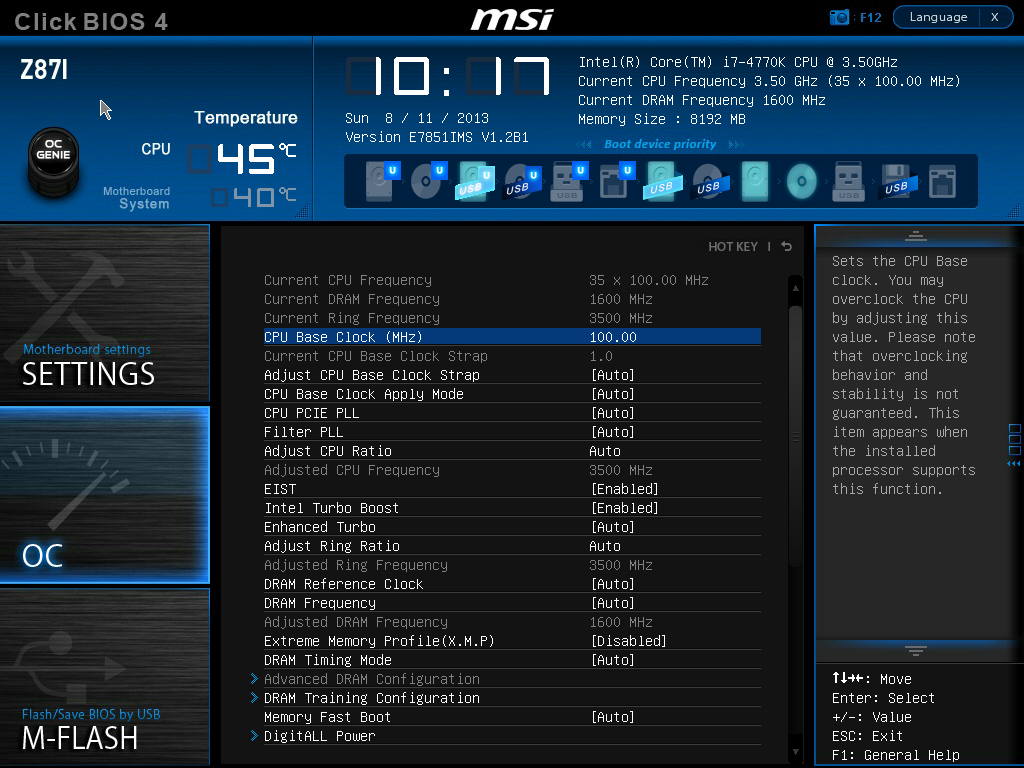
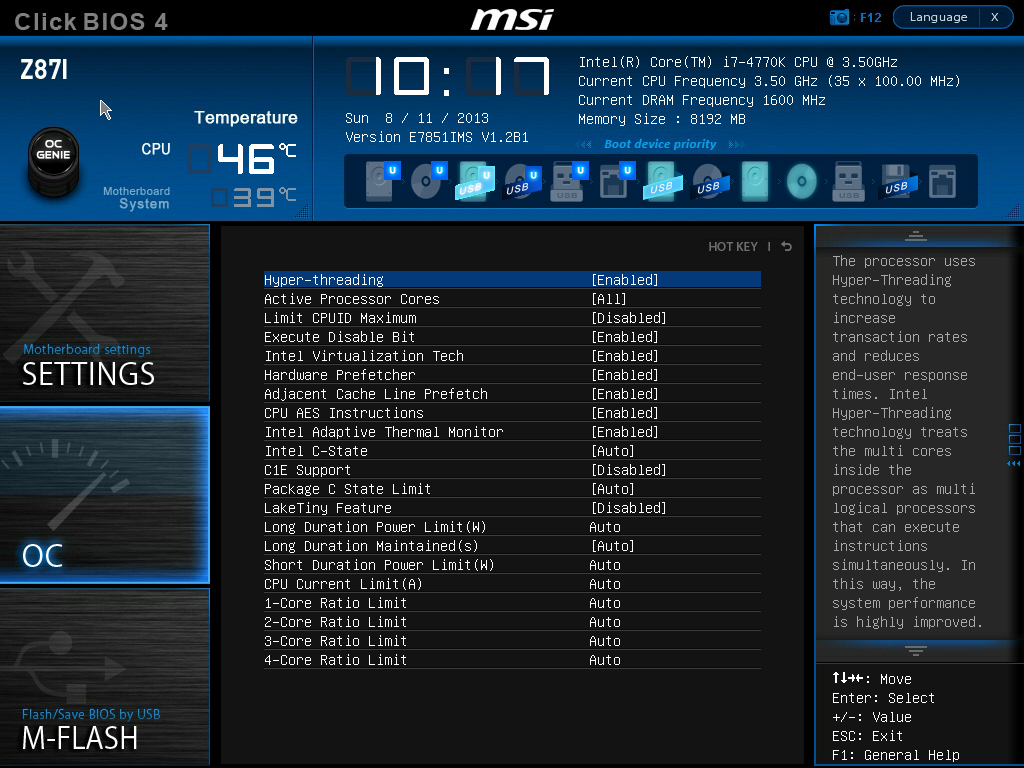
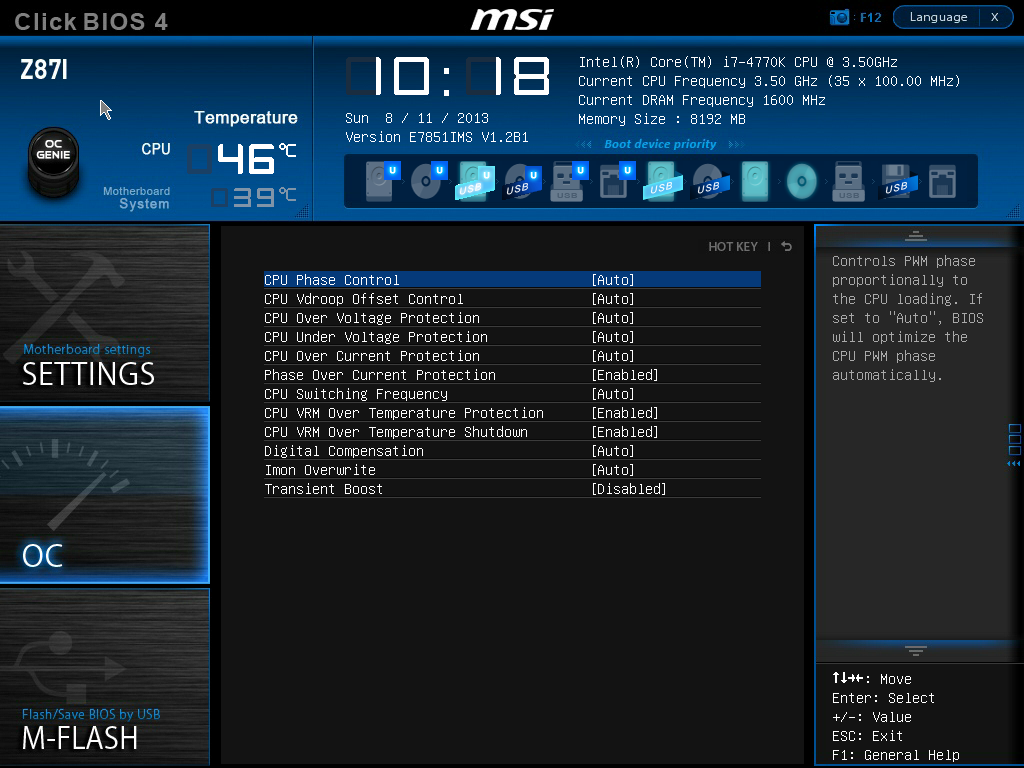
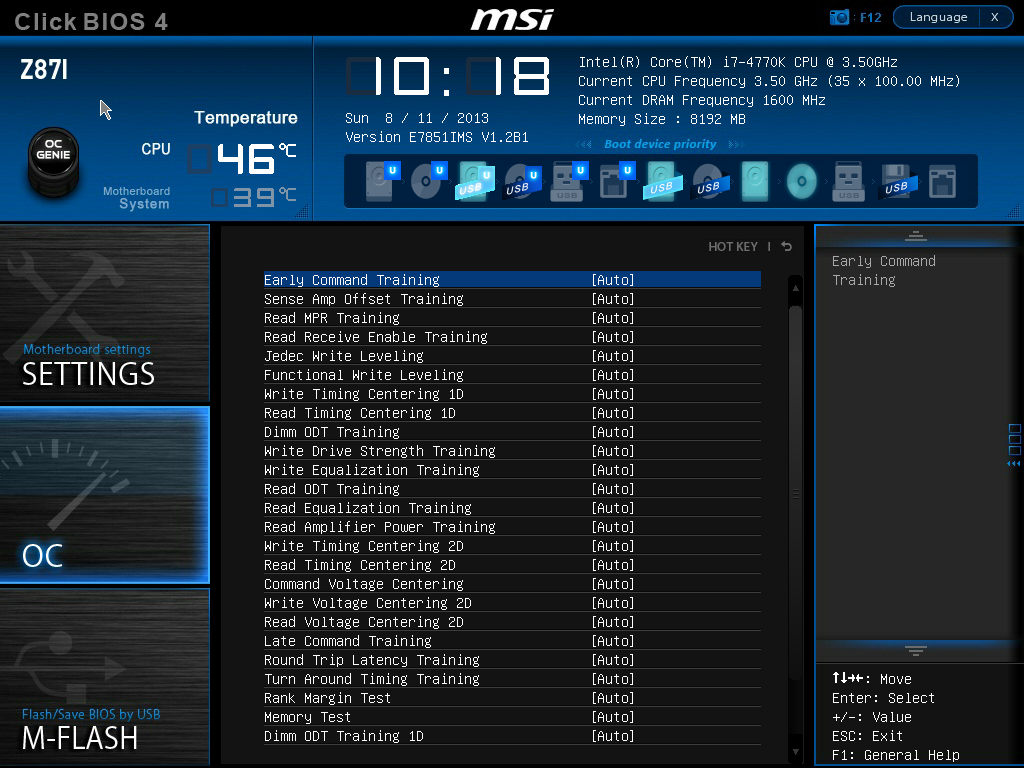
There is some sort of order, but it would be ideal to actually have headings like the Integrated Peripherals menu in standard Settings, such that CPU overclocking features are separate from the DRAM options and then voltage options inserted into the appropriate places. As it stands the MSI BIOS looks like a higgledy-piggledy jumble to a new overclocker. One of the positives on the Z87 generation at least is the addition of the information panel on the right hand side, allowing users to see a small amount of information on each option. Ideally this side panel should also show the min, max, interval and ‘suggested value’ for each option to assist overclockers, but that may appear in another update. It should also be pointed out that for some of the options, there is almost no guidance – it merely repeats the option listed or says ‘Adjust X’, which is not particularly helpful to anyone but the BIOS engineer.
One additional option that MSI should consider is a greater range of automatic overclocking options so users can select between 4.0 and 4.5 GHz in 100 MHz jumps with just an option selection in the BIOS. This would aid users in finding out how to overclock the CPU a bit more, and can work side by side with OC Genie.


46 Comments
View All Comments
Touche - Wednesday, August 28, 2013 - link
Do you test DPC latency with MBO software installed/running or without it?SteelRing - Thursday, August 29, 2013 - link
Is that a TOSLINK/Optical above the HDMI? Why is that not listed?TrevorH - Monday, September 2, 2013 - link
Glad to see that there are so many others who stopped reading this as soon as they saw "Realtek". Manufacturers, please note: Realtek NICs are not a selling point.Tujan - Friday, September 6, 2013 - link
I would be interested in any problem running these smaller boards with a graphics card . Then how if any problems or changes would occur within the specs. performance when a graphics card is used. Then how the board/board manufactures/bios handles the controls-settings differently. Or the feature set with the board manufacturer to do so (run with,disable onboard video within cpu).I've noticed some articles that describe certain inconsistency with mb components when utilizing them (the small boards) with graphics cards. Instead of the apu . Thanks.
smayonak - Tuesday, September 17, 2013 - link
Hello Ian, would you happen to know if this board is capable of undervolting (voltage offset)? I read through the article a couple times, but couldn't find anything relating to this. My apologies if you've mentioned it already.ozark - Sunday, September 29, 2013 - link
I just got this myself but hasn't had the chance to put things together. One thing I noticed is the connector next to hdmi port (1 pin-blank-4pins). They don't have it listed in the manual. Any one know what it is?