Intel Z87 Motherboard Review with Haswell: Gigabyte, MSI, ASRock and ASUS
by Ian Cutress on June 27, 2013 8:00 AM EST- Posted in
- Motherboards
- Intel
- MSI
- Gigabyte
- ASRock
- Asus
- Haswell
- Z87
- Shark Bay
- Lynx Point
Gigabyte Z87X-UD3H BIOS
Out with the old and in with the new - 3D BIOS from Gigabyte is gone. There was a lot of criticism coming from users with my point of view: the 3D BIOS at release was slow, but even when it was faster it failed to provide a sufficient level of detail to satisfy enthusiasts. We all moved into the advanced mode, and then had to shuffle around menus to get to multipliers and voltages. These days are now over, partly due to the fact that Gigabyte are now using 16 MB BIOS chips rather than the 8 MB chips that everyone used in the 7-series. This gives the BIOS engineers double the space to add in extra functionality (for a small BOM increase, which for Gigabyte is 2x for DualBIOS).
The new BIOS from Gigabyte uses a lot of common sense – for those with a 1080p monitor, the new BIOS gives us plenty of information around the BIOS screen itself. At hand we get the motherboard name, BIOS version, CPU installed, speed of the CPU, memory installed, memory speed, various voltages, temperatures and fan speeds. This is what we want in a BIOS, and I am glad we have it here! The only downside for me is that it unfortunately does not work with Korean 1440p monitors (!), but Gigabyte is looking into this.
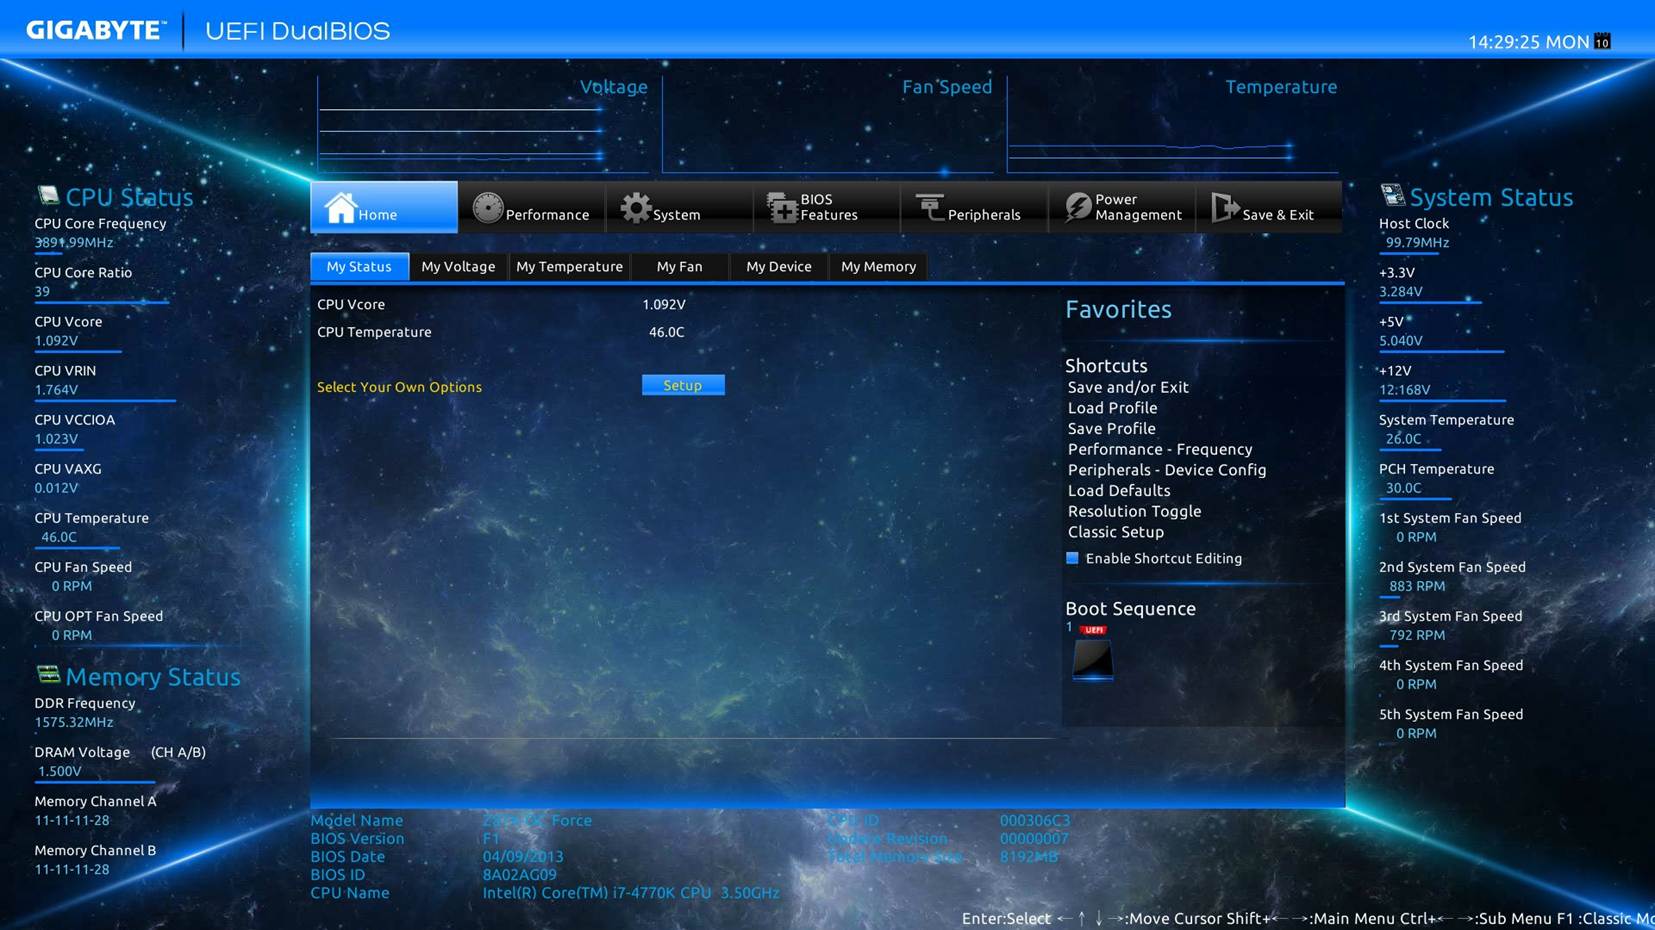
The BIOS looks visually nice – it is calm and collected. Unfortunately for me, as a member of the partially colorblind club, some of the blue text on the blue background is hard to read. This issue can be easily solved, as the older high contrast advanced mode is available at the press of a button.
This brings me to a salient point – the new visual to Gigabyte’s BIOS does not seem like a new BIOS from the ground up. It feels like a skin on top of the old advanced mode – this means Gigabyte has more leeway in making font and color changes as they need to. Personally I had to go back to the high contrast mode in order to make overclocking changes, but the Gigabyte frontage does offer a few nice features which will start to become commonplace.

The first thing to notice is the ‘Performance/Standard/YourName1/YourName2’ tabs just below the top row of icons. These tabs are here for user customizable menus and options. For any set of option in the BIOS, a user can add/remove options in these home screens (much like a smartphone home screen sort of) to make life easier. Gigabyte start the first home screen off by calling it ‘Performance’ and placing the majority of the manual overclock options in it. I like this, and can see it being used a lot by the enthusiasts that need this level of control.
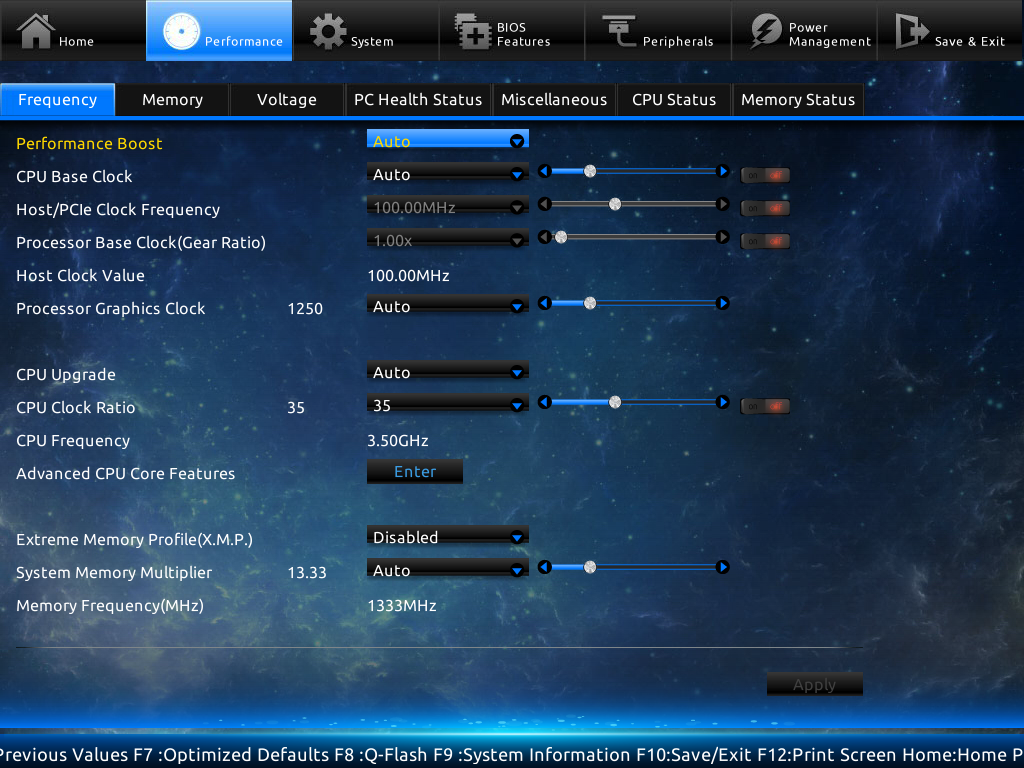
In terms of Gigabyte driven menu options, we start with the ‘Performance’ option along the top row, which contains a series of tabs (Frequency, Memory, Voltage, PC Health) more akin to a normal advanced mode. Here are our automatic overclock options in terms of ‘Performance Boost’ or ‘CPU Upgrade’, with the CPU and memory clocks accessible all in one screen.
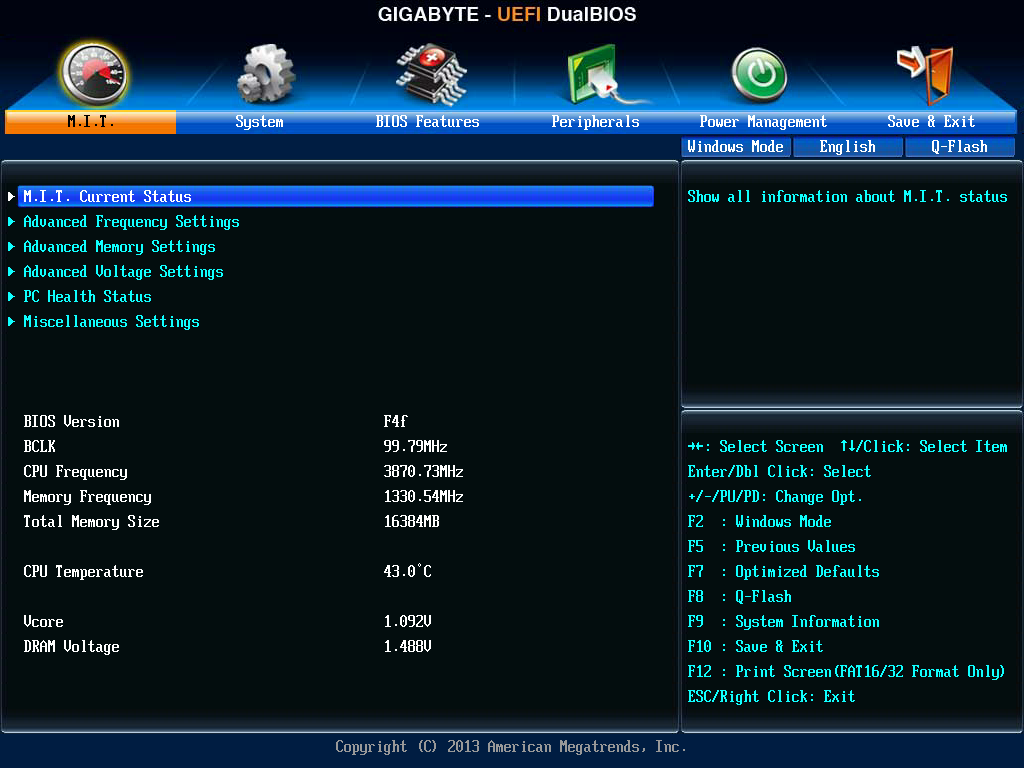
I would like to point out that this is essentially the M.I.T. menus in the older BIOS advanced menus, now deemed ‘Classic Mode (F3)’. So one of my gripes is potentially still here – having the CPU voltage options in a different menu to the CPU multiplier options is not my ideal scenario. However one could argue that this gripe is nullified by the customizable menus, now that the user can put all the options they want in the same menu.
As part of the performance package, Gigabyte’s in-house overclocker, Hi-Cookie, has contributed some of his testing for high-end memory kits into the system:
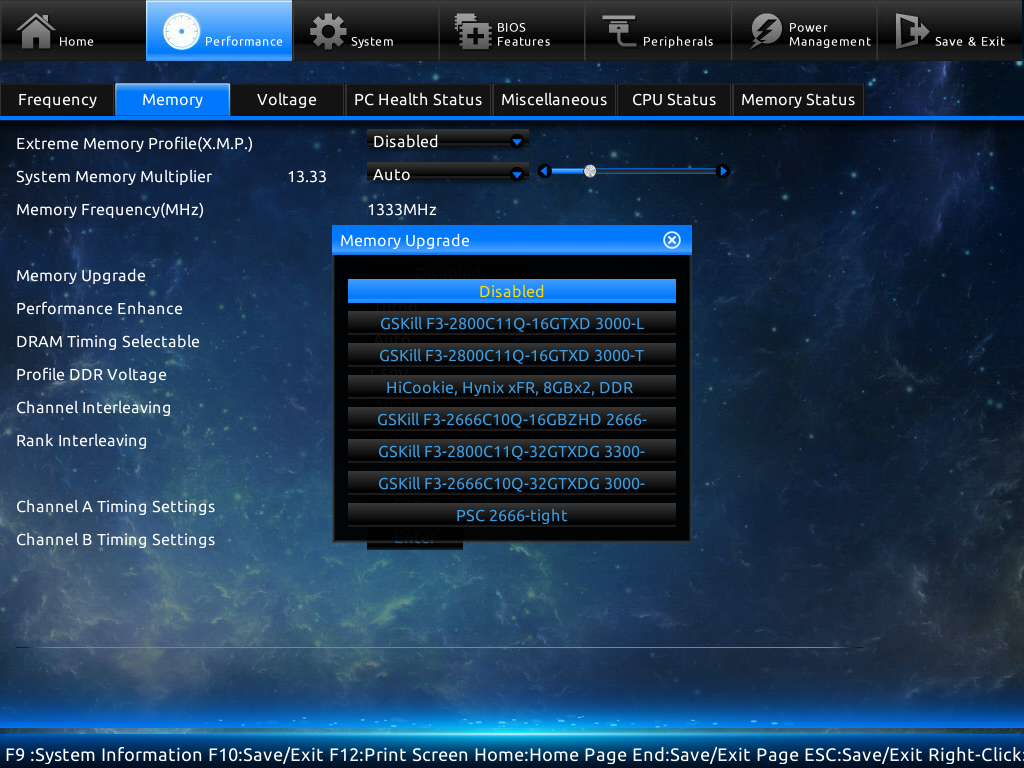
If you are lucky enough to own one of these insane MHz G.Skill or Hynix/PSC kits, here are some ‘in-house’ options for you.
The ‘3D’ moniker is not completely gone from the BIOS, as Gigabyte retains it as part of its International Rectifier package of power control. In the Voltage->3D Power menu we get our load line calibration options, with a little image to let us know what LLC actually does:
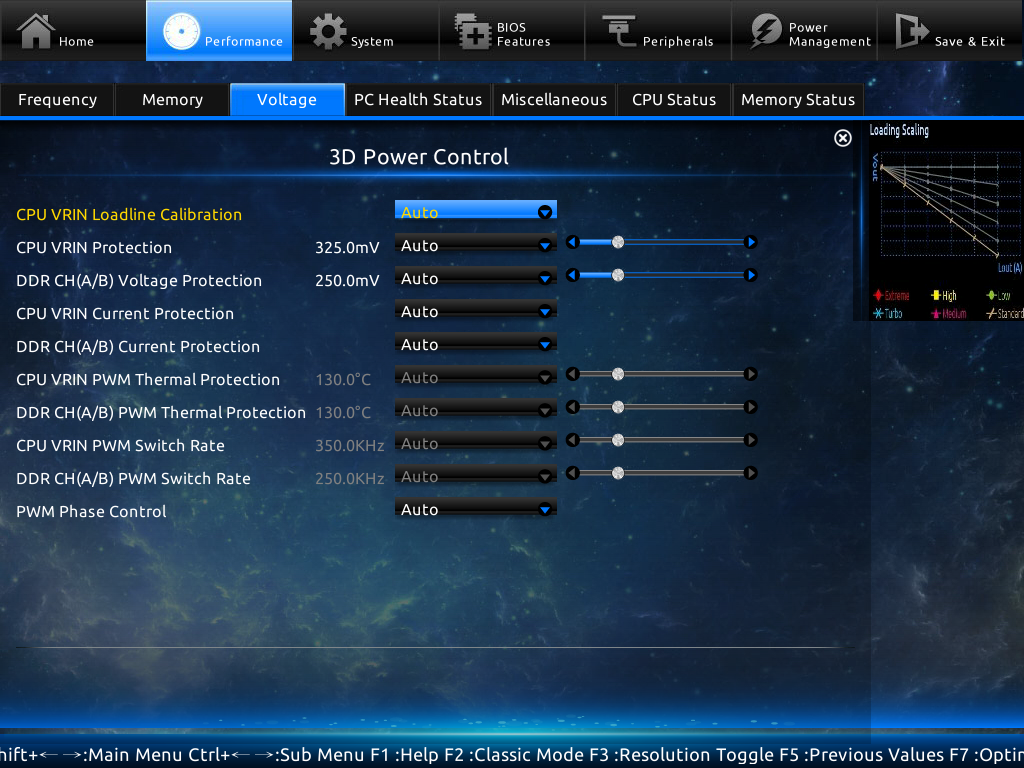
This had been a little request of mine since the start of graphical BIOSes, so I am glad that at least something is here to show (at least in a diagram) what is actually going on.
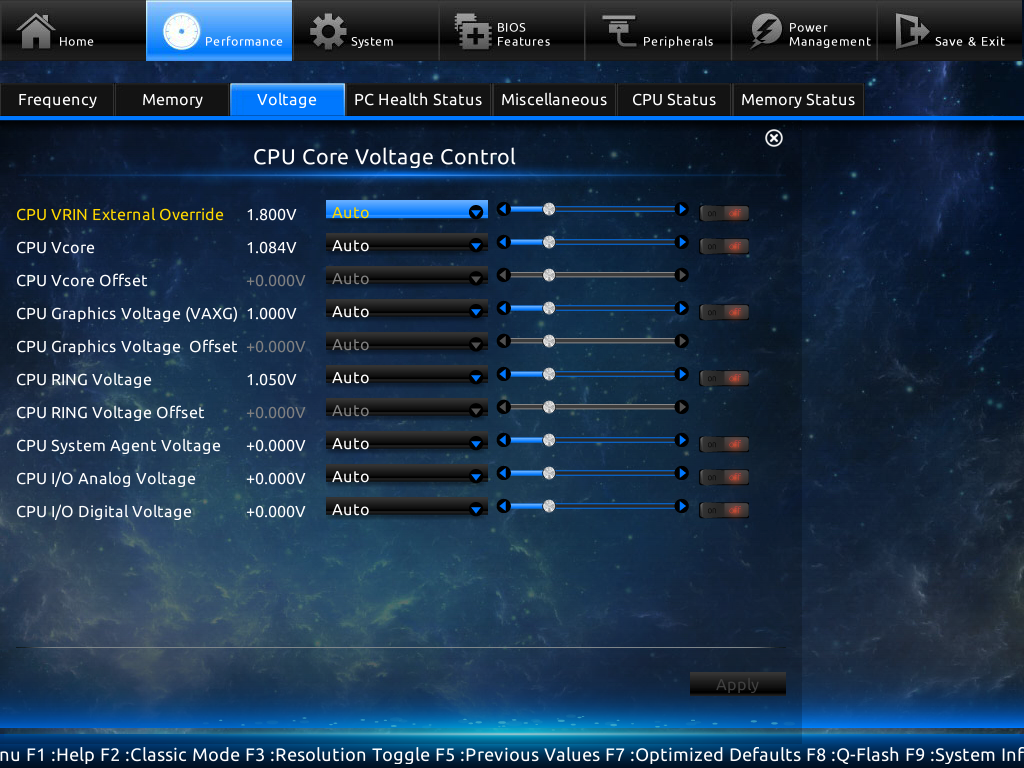
Our CPU voltage options come under the Voltage -> CPU Core Voltage Control, with the important ones (CPU VRIN, VCore, RING) ready to be adjusted. If I had one suggestion to make, it would be that on the right hand side in the black space, each option in the BIOS would have an explanation of what it does, along with min/max/recommended values. As far as I know this should be coming in a later BIOS update, which is good news.
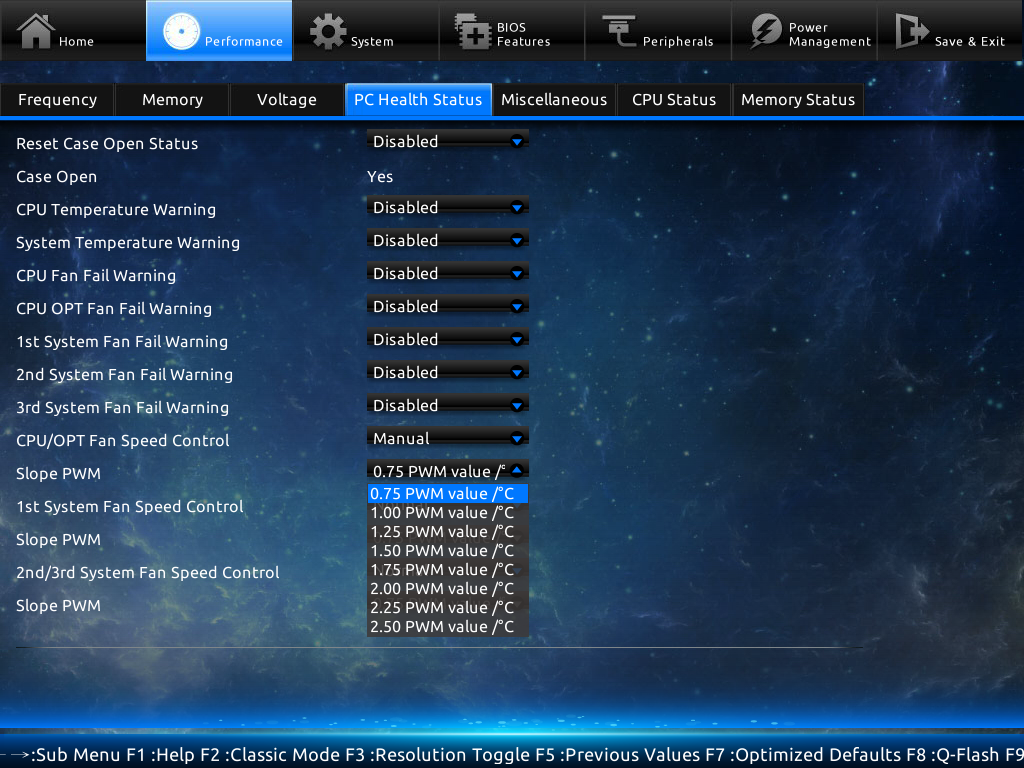
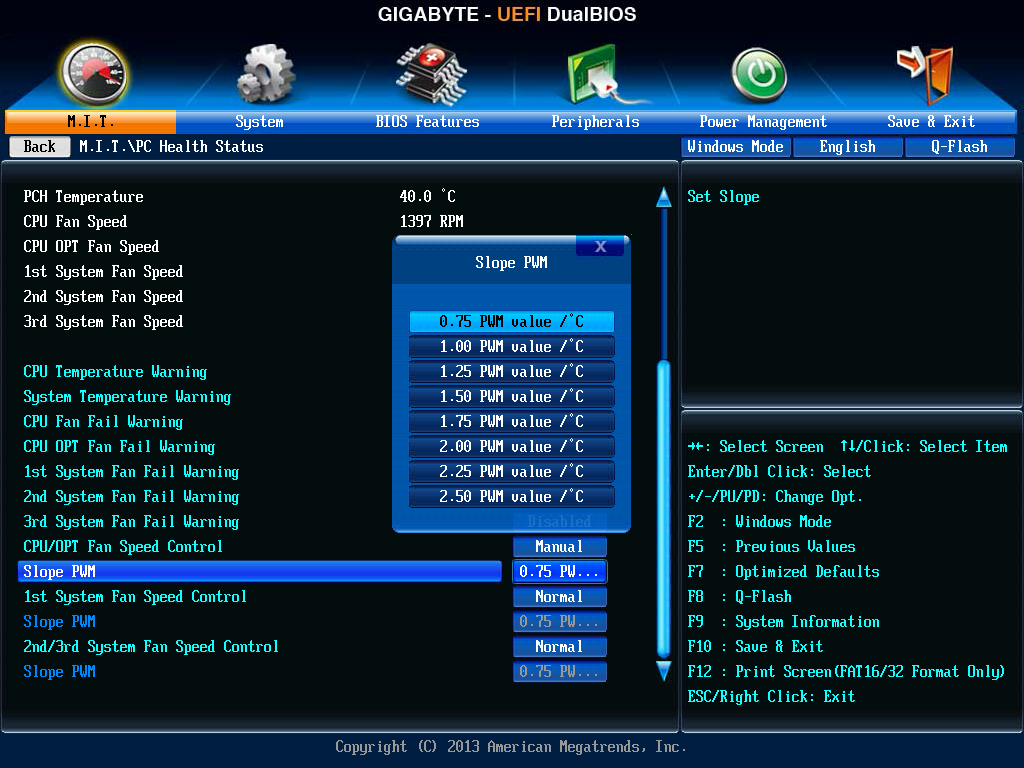
Fan controls are of course a hot topic in our small motherboard world. Over the past 12 months I have ranted and raved about poor fan controls, and BIOS/software options that have no relevance to the real world where fan RPM is not linear to power applied. Gigabyte has a solution in software, but the BIOS is still a little lacking:
The rest of the BIOS options are relatively standard from previous BIOSes of Gigabyte, with the Save and Exit screen being the source for BIOS profiles and boot override:

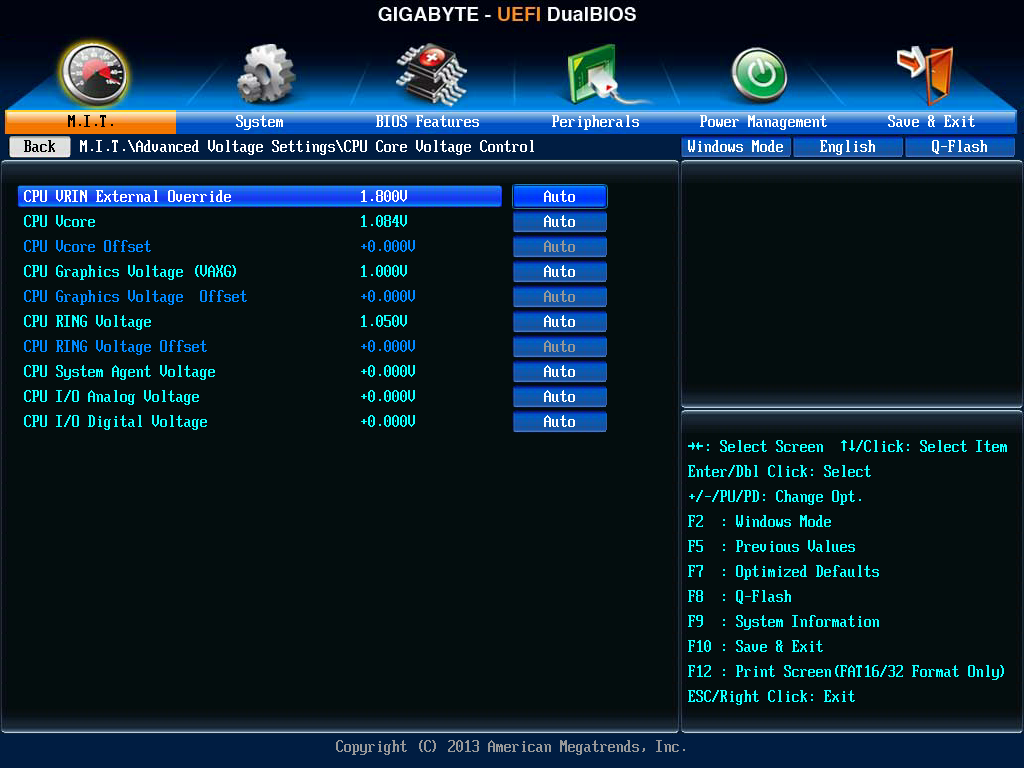
As mentioned before, we still have a high contrast ‘classic’ mode:


58 Comments
View All Comments
clyman - Tuesday, November 26, 2013 - link
In my personal experience and from ASUS tech support, the safest way to update bios is by first downloading it. This mobo has an excellent update program in bios that only looks at local drives, not online. I found it quite simple at each bios update.silenceisgolden - Thursday, June 27, 2013 - link
Great job Ian, really looking forward to the super high end motherboard review as well! I'm curious though, did you use the VGA port at all in any of these reviews, and also when was the last time you used a VGA port?IanCutress - Thursday, June 27, 2013 - link
My Korean 1440p panels are all via DVI-D. But the VGA comes in use when you have to use a DVI-I to VGA converter for DVI-I cables. Otherwise you need a DVI-D cable.JeBarr - Thursday, June 27, 2013 - link
Great review Ian. I very much appreciate your taking the time to explain the PCIe slot assignment and repeating the less-than-x8-no-good-for-SLI truth that needs to spread far and wide.What I took away from this review when analysing my own usage patterns and component choices is that each of the boards in this review would be better suited to the mATX form factor. There is no point in purchasing these mid-high end boards for multi-GPU, multi-display configs. There are only a handful of full size z87 boards that in my opinion earn their full-size status.
Shadowmaster625 - Thursday, June 27, 2013 - link
If it has fully integrated voltage regulators then why in blazes does it still need $20 worth of components buried beneath $3 heatsinks surrounding the cpu socket? Yeah, that's what I thought....DanNeely - Thursday, June 27, 2013 - link
What FIVR means to Intel isn't quite what you think it means. What's on package is the collection of VRs needed to provide power to all the separate sections of the CPU and to vary them as the chip clocks itself up and down. The motherboard itself still needs to do the heavy lifting to convert the 12V from the PSU to the voltage used by the DRAM and to a single input voltage the that CPU converts to the other levels it uses internally (IIRC this is the full load core voltage).I believe the reason why those regulators can be squeezed into the package while the ones still on the mobo are much larger is that the uncore/cache have relatively low power levels and the lower core voltages are only used at low CPU loads and thus don't need to push nearly as high of a peak current level.
WeaselITB - Thursday, June 27, 2013 - link
Wonderful review, Ian. Any chance of a Z87 vs Z77 vs ... comparison chart? It seems like functionalities of the processor are highly publicized, and the individual motherboard reviews chart the differences between chipset models within that family, but I don't recall seeing a comparison between chipset families. I know the chipset seems to be taking a smaller and smaller role these days, but it would still be helpful to exactly see the differences between generations.Thanks!
Kougar - Thursday, June 27, 2013 - link
It doesn't work with my 30" U3011 monitor either, yet another forum user with the same monitor didn't have any problem. Only difference was he used a Radeon and I use a GTX 480.
Creig - Thursday, June 27, 2013 - link
I only had time so far to skim this article, so I apologize if this question was already answered in the body. Is there any way to find out when each board starts shipping with the C2 stepping of the Z87 chipset? As some people are already aware, the C1 stepping has been shown to have issues with certain USB 3.0 controllers disconnecting when the computer awakes from sleep mode. The C2 stepping is apparently already shipping to manufacturers, but it would be handy to know a way to ensure that a person who orders a board in the near future receives the updated chipset.blackie333 - Friday, June 28, 2013 - link
I'm not sure that C2 stepping shipping already started, according to public available plan from May only samples have been sent to manufacturers. Mass production of C2 should start on 1st of July and manufacturers should start receiving them from the 30th of July. Boards based on C2 stepping should be available for end users from middle August.But you maybe have some more actual/insider information.