Arctic Cooling Duo: Alpine 7 & Freezer 7 Pro Attack Value
by Wesley Fink on January 29, 2008 2:00 AM EST- Posted in
- Cases/Cooling/PSUs
Freezer 7 Pro
The tested Freezer 7 Pro is an Intel Socket 775 mount. The cooler is also available for current AMD sockets as the Freezer 64 Pro.
Packaging for the Freezer 7 Pro follows the family image of the Arctic 7 with a similar black background and the AC7 logo.
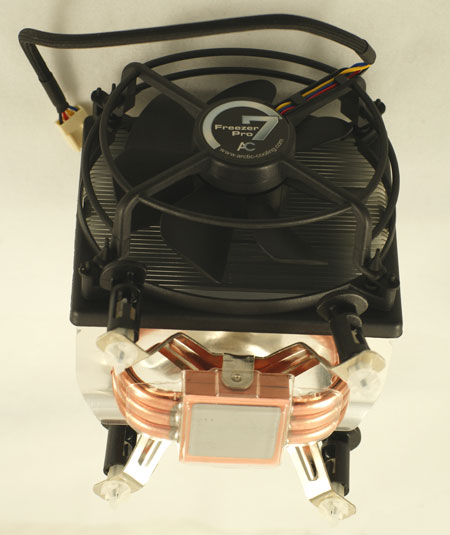
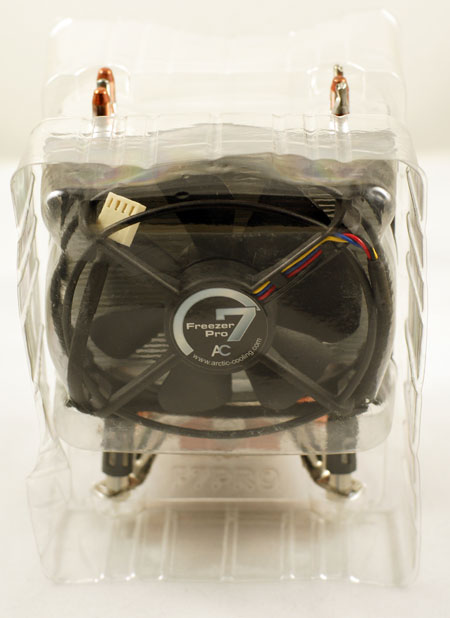
The fully assembled Freezer 7 Pro comes packaged in a protective styrene shell. Everything is pre-assembled. Even the thermal compound is pre-applied.
The only accessory for the Freezer 7 Pro is the Installation Instructions and an Arctic Cooling label to stick somewhere if you want to use it. There is absolutely nothing that needs to be attached to the cooler. If you like simple this is as good as it gets for a heatpipe tower.
Specifications
The Freezer 7 Pro is a side-facing fan heatpipe tower, similar in concept to many of the top coolers tested recently at AnandTech. It originally entered the market at around $35, but the price has dropped since to the $22 to $25 range, making it very affordable for this type of cooler. The Freezer 7 Pro is still small compared to coolers like our top Thermalrights, or the Scythe Infinity or Tuniq Tower. All those top coolers use 120mm fans, where the Freezer 7 Pro uses a 92mm fan.
| Freezer 7 Pro | |
| Heatsink Dimensions | 104(W) x 58(D) x 126.5mm(H) |
| Dimensions with Fan | 107(W) x 96.5(D) x 126.5mm(H) |
| Weight | 520g (18.3 ounces) |
| Material | Aluminum Fins with Copper Heatpipes |
| Cooling Capacity | 130W |
| Configuration | Heatpipe Tower with 3 U-Loop Heatpipes |
| Freezer Fan | |
| Fan Size | 92 mm |
| Fan Module Dimensions | 107mm x 43.5mm x 96mm |
| Fan Speed | 300-2500 rpm (controlled by pwm signal) |
| Connector | 4-pin (PWM) |
| Fan Bearing | Arctic Ceramic Bearing |
| Rated Life | 137,000 hours (MTTF@40C); 274,000 hours (MTTF@30) |
| Maximum Airflow | 46 CFM |
The Freezer 7 Pro fan itself is 92mm and frameless like the Alpine 7, but it is rated for higher output. Strangely, the higher output Freezer 7 Pro fan uses a lower life ceramic bearing instead of the long life Fluid Dynamic Bearing featured in the cheaper Alpine 7.
Installation
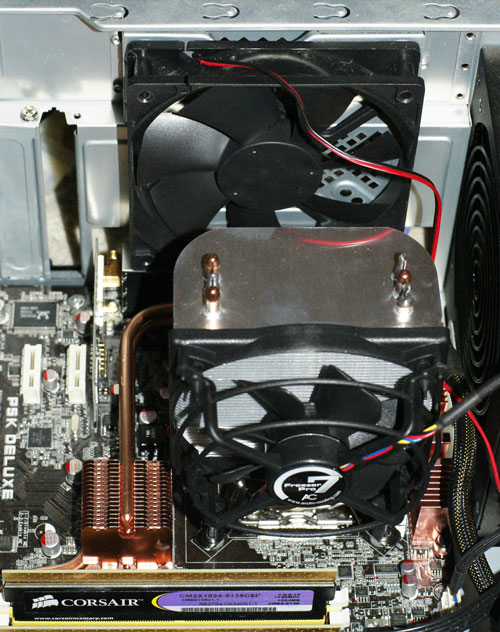
Even the thermal compound comes pre-applied so mounting is incredibly easy. Push the four pins in the holes until they click and the cooler is mounted. The pushpins are not our favorites for secure mounting, but they seem very adequate for this lighter weight heatpipe tower. Installation is the easiest we have ever seen, which should be welcome news for mechanically challenged cooler installers.


48 Comments
View All Comments
Spyvie - Tuesday, January 29, 2008 - link
I've only had my Freezer 7 Pro for about 9 months, but the equally excellent Freezer 64 Pro on my NF3-250 rig is 3 or 4 years old.the AC CPU coolers seem to be ignored on most of the hardware sites.
kristof007 - Tuesday, January 29, 2008 - link
So I see that you guys used this with a Core 2 Duo processor. I went on Newegg and I cannot find the sub-$15 model (Alpine 7) that matches with a LGA 775 layout motherboard. Am I missing something?Here is the search that I found:
http://www.newegg.com/Product/ProductList.aspx?Sub...">http://www.newegg.com/Product/ProductLi...x?Submit...
Wesley Fink - Tuesday, January 29, 2008 - link
Alpine 7 Pro for Socket 775 is $43.99 at http://www.xoxide.com/arctic-cooling-alpine-7-hsf....">http://www.xoxide.com/arctic-cooling-alpine-7-hsf..... The Alpine 64 for AMD is $12.99 at http://www.newegg.com/Product/Product.aspx?Item=N8...">http://www.newegg.com/Product/Product.aspx?Item=N8.... The Alpine 7 models are widely available in the $12 to $15 price range.Freezer 7 Pro is $22.99 at http://www.priceguidenetwork.com/computer-componen...">http://www.priceguidenetwork.com/comput...r-pentiu... and $24.99 at http://www.xoxide.com/arctic-cooling-freezer-7-pro...">http://www.xoxide.com/arctic-cooling-freezer-7-pro... based on a quick search. New Egg is selling the Freezer 64 for $24.99
Martimus - Tuesday, January 29, 2008 - link
I bought a Freezer 64 Pro for 19.99 about a month ago. I just checked NewEgg, and it went up $5 in price since yesterday.Wesley Fink - Tuesday, January 29, 2008 - link
CORRECTION: The Alpine 7 Pro for Socket 775 is $14.99 at http://www.xoxide.com/arctic-cooling-alpine-7-hsf....">http://www.xoxide.com/arctic-cooling-alpine-7-hsf.....Stas - Tuesday, January 29, 2008 - link
I'm so glad to see an affordable yet quality cooling solution. I was tired of seeing products like TT BT for the same price as it was when the cooler came out 2+ years ago. Same for Zalman HSFs. Now compete with this, you price gougers :)jkostans - Tuesday, January 29, 2008 - link
Two more coolers with amazing bang for your buck:KINGWIN Revolution RVT-12025 - $24 (after $10 rebate at newegg.com)
XIGMATEK HDT-S1283 - $37
They are actually the same heatsink as far as I've been told (kingwin may have a poorer quality fan but I'm not sure). Both are on par with the Ultra-120 if the frostytech review is to be believed and include a fan for a much lower price. Maybe these should be the next coolers up for review?
http://www.frostytech.com/articleview.cfm?articlei...">http://www.frostytech.com/articleview.cfm?articlei...
mixim - Tuesday, January 29, 2008 - link
Yeah bought the freezer pro for my 2 Ghz Core 2 Duo, with a chassis fan it turns out 22 degrees celsius! Amazing, this with half the stock fan speed, beeing practicly silent. And here in sweden we get theese for $20!After i bought the CPU fan, i actually swaped my system for the entire experience :D. Using their silentium case and with the inredible AND cheap Accelero S1 GPU cooler! Beeing cool has never been easier or cheaper haha...
Anandtech should test their Accelero S1 cooler with and without a fan, here in sweden it also sells for $20.