The Parts - The Top (cont’d)
Click to enlarge.
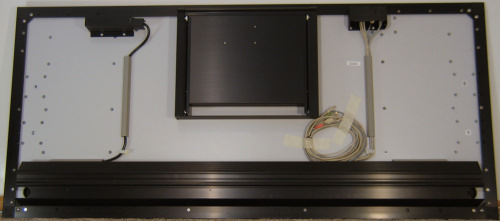
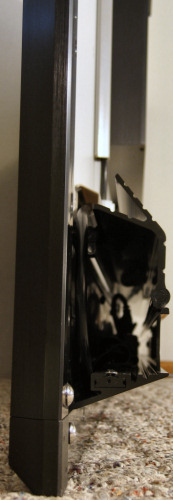
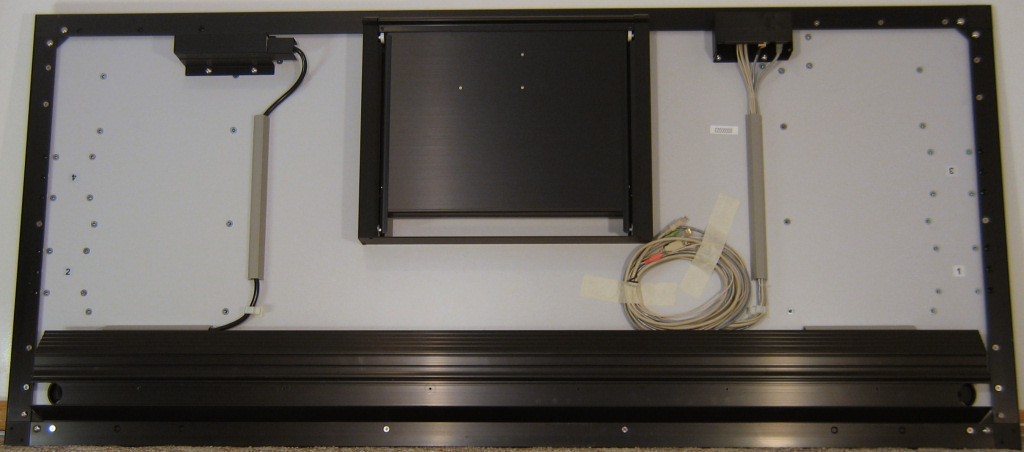
The top of this picture is the side of the piece that faces the user, and in the center, we can see the lockable center drawer. We can also see here the auxiliary power strip, "multimedia port", and their associated wiring and wiring containment systems. At the bottom is the main wire management system piece. Here's a shot of it from the side:
Click to enlarge.
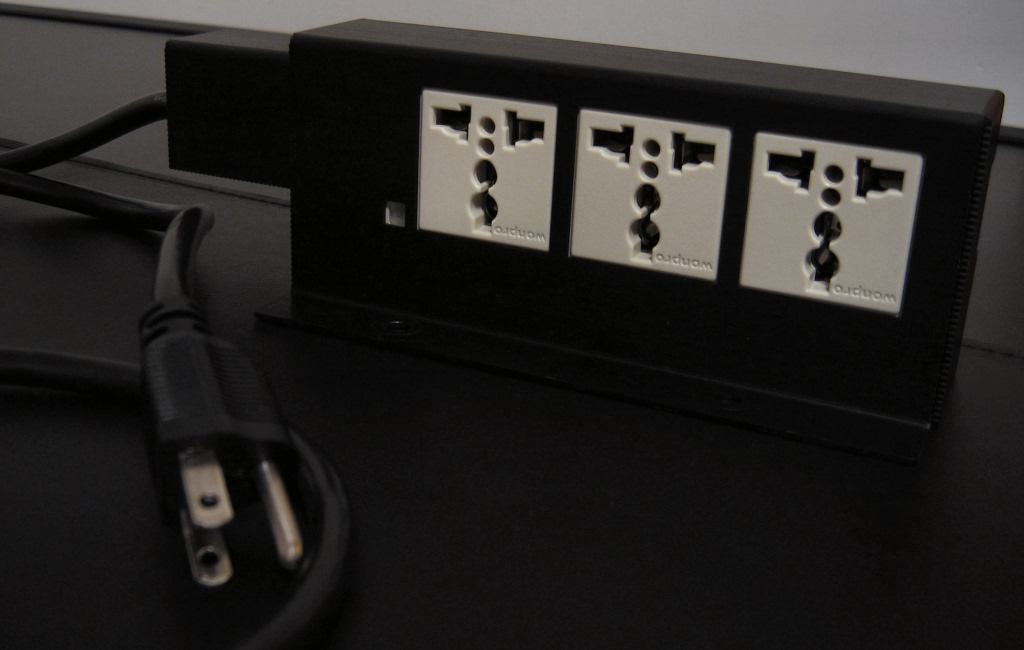
Once assembled, the lid of this piece will swing open downwards to allow access to the main power strip:
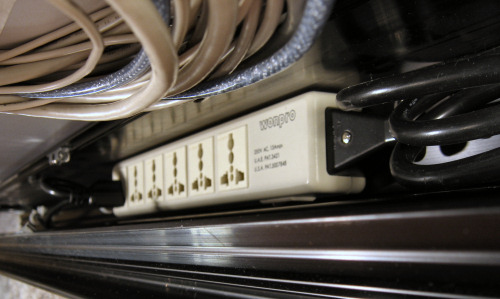
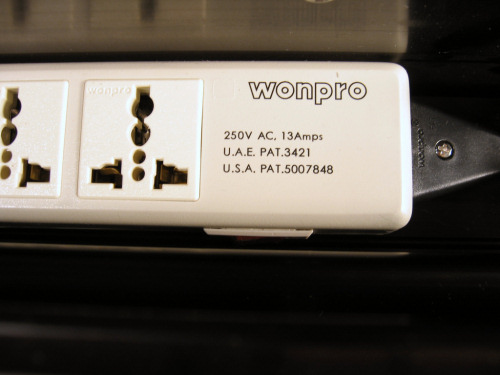
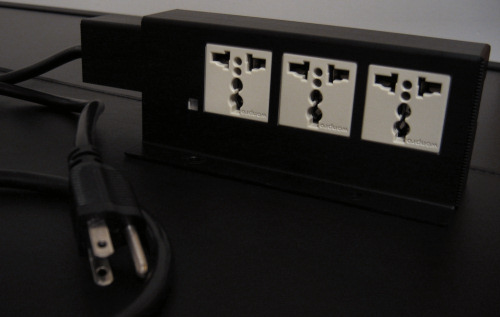
The included front-mounted auxiliary power strip has three additional plugs, which also have the ability to allow various shapes of cords to plug in.
Click to enlarge.
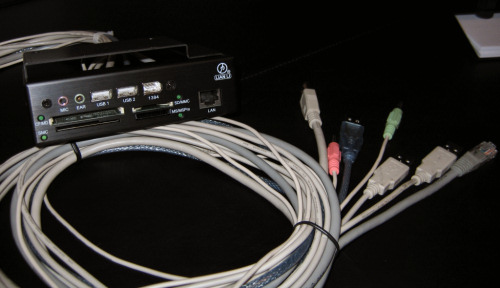
Here are some close-ups of the multimedia port. Notice that it's essentially a typical computer case front-panel port cluster plus a 12-in-1 media card reader and ethernet jack.
Click to enlarge.
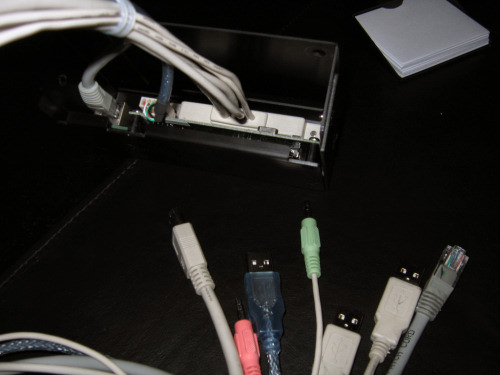
We thought that perhaps this piece was the same size as a typical 3½" drive, but while it is similar, it does not quite fit.
Click to enlarge.
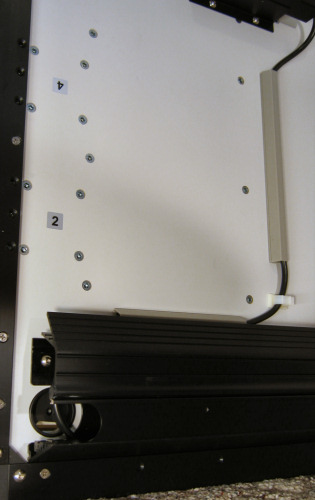
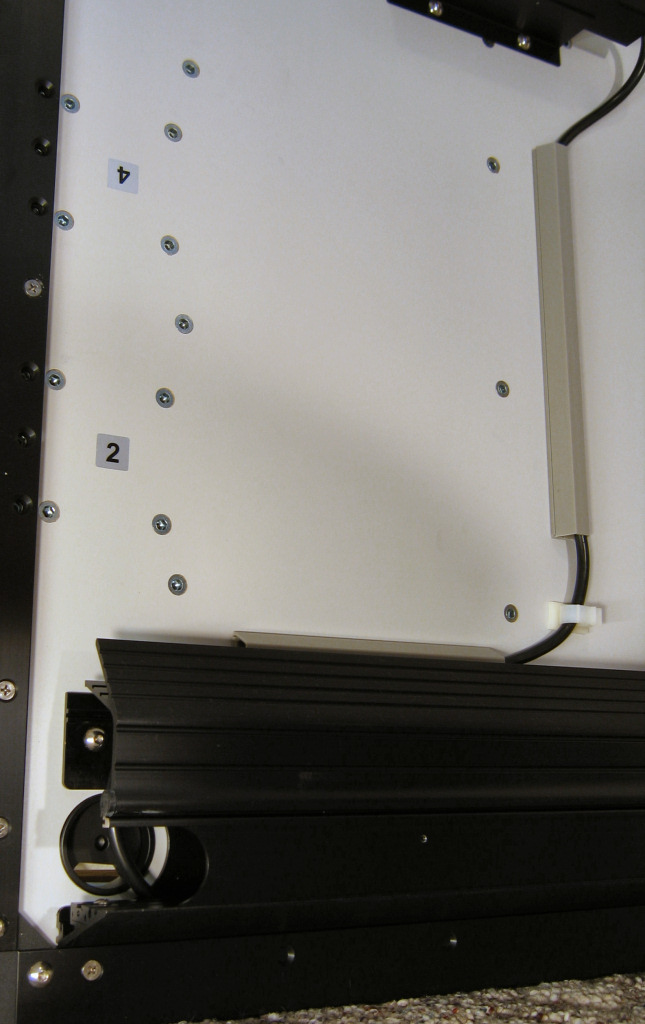
Lastly, notice how each set of mounting holes for the legs are numbered to help from inadvertently attaching a leg to the wrong place.
Click to enlarge.
Speaking of legs, let's take a look at them.


52 Comments
View All Comments
retrospooty - Sunday, August 7, 2005 - link
Hey look.... http://www.coolerguys.com/840556060857.html">http://www.coolerguys.com/840556060857.htmlThe silver is $100 less. LOL
faboloso112 - Sunday, August 7, 2005 - link
another overpriced item from lian li...wonderful...before i get flamed...i do admit that this is a pretty nifty product...just too damn expensive that is all.