The Supermicro H11DSi Motherboard Mini-Review: The Sole Dual EPYC Solution
by Dr. Ian Cutress on May 13, 2020 8:00 AM EST- Posted in
- Motherboards
- AMD
- Supermicro
- Naples
- EPYC
- 10GbE
- Rome
- H11DSi
BIOS Overview
As with most server motherboards, the BIOS interface is the old-style black/blue/white on grey. This is an Aptio utility on top of an American Megatrends base. There are a number of options here that would often be hidden in a regular consumer motherboard. We’ve chosen a few of the procedural highlights for this review.

The main entry point is the Main screen, which states the BIOS version and build date, as well as the memory installed, but not a lot else. Typically we prefer to see also the CPUs listed here, if only for a quick visual check when entering the BIOS.
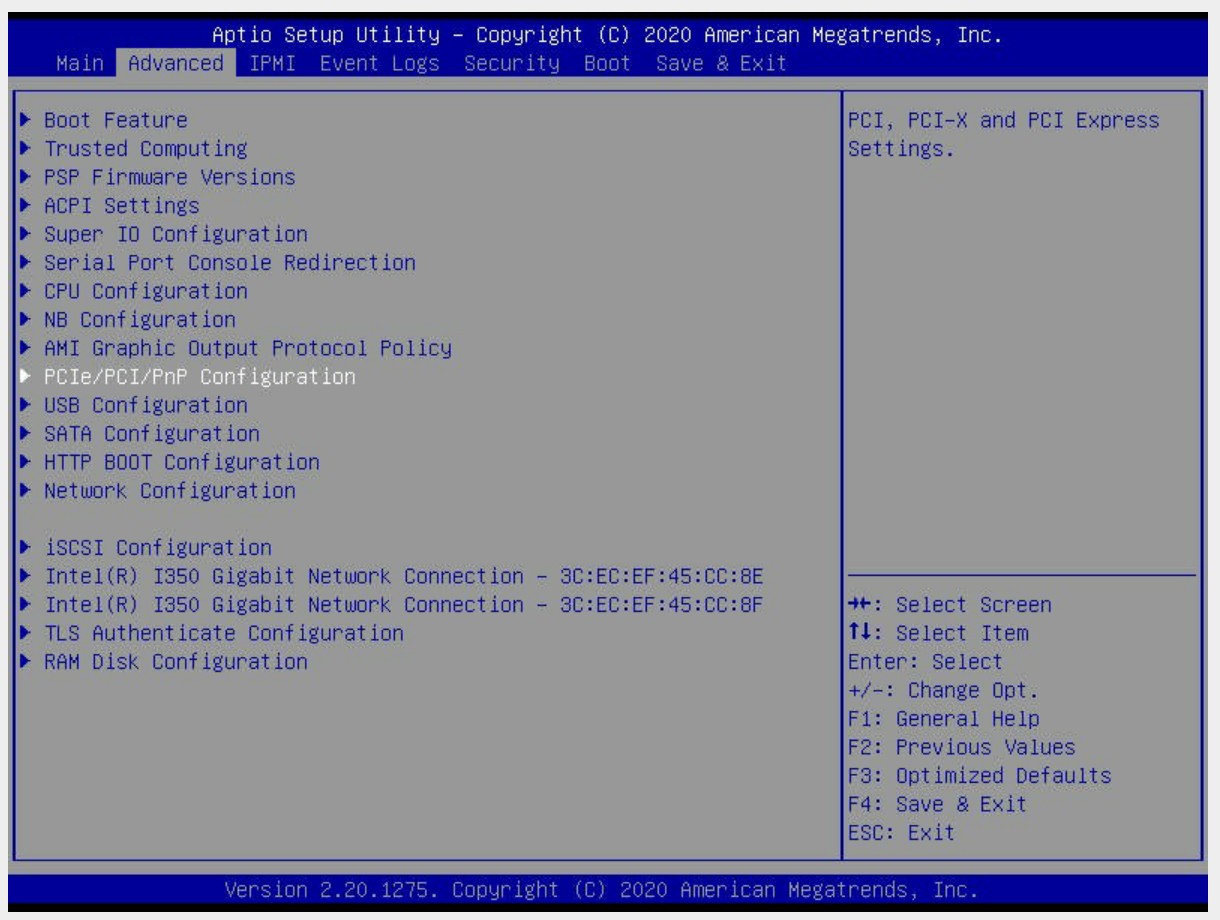
The screen with most of the functional options is Advanced, as shown here. There are sub-menus for most of the functional elements on the board, including Boot, Security Processor, IO, CPU/NorthBridge (DRAM), USB, SATA, Networking, and even a RAMDisk option.
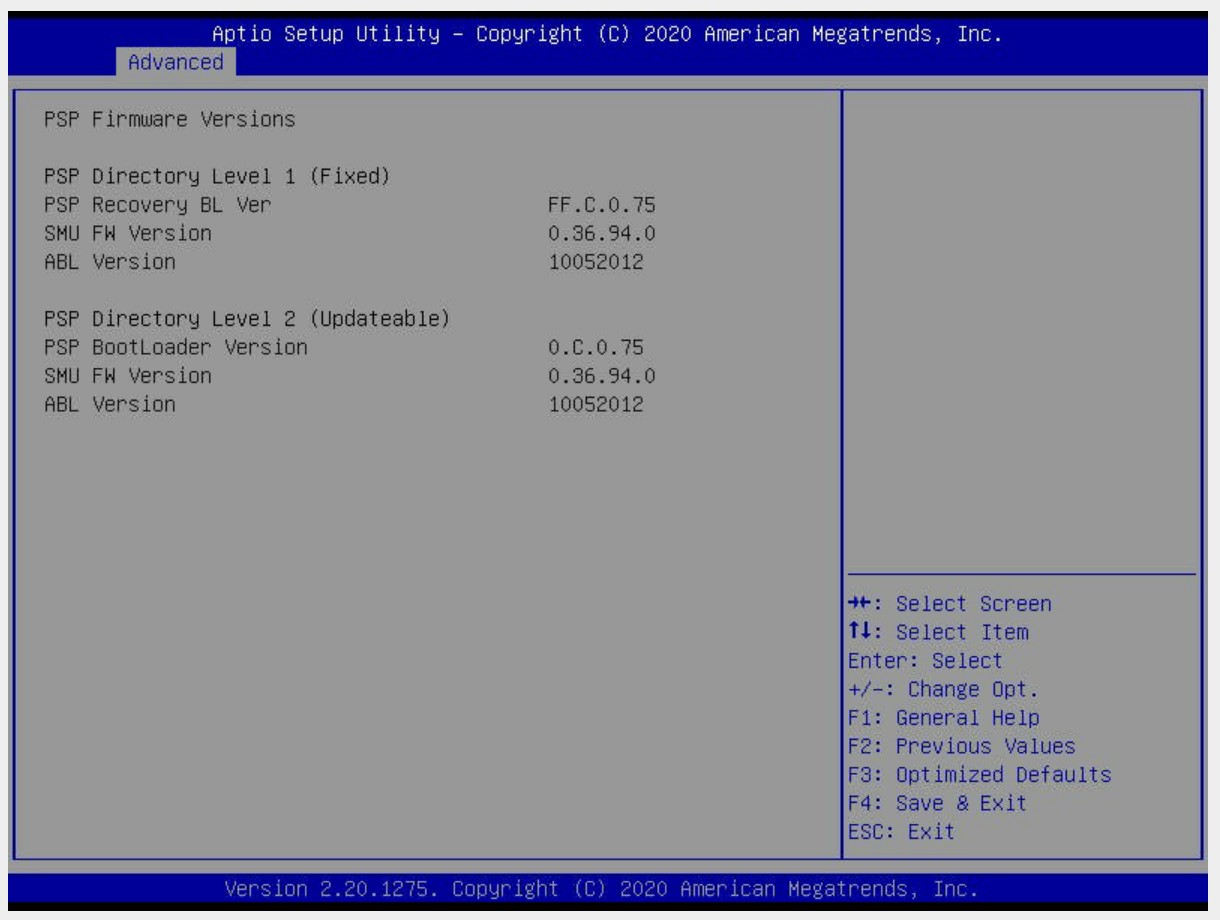
Under the PSP menu shows the hierarchy and firmware versions for PSP support.
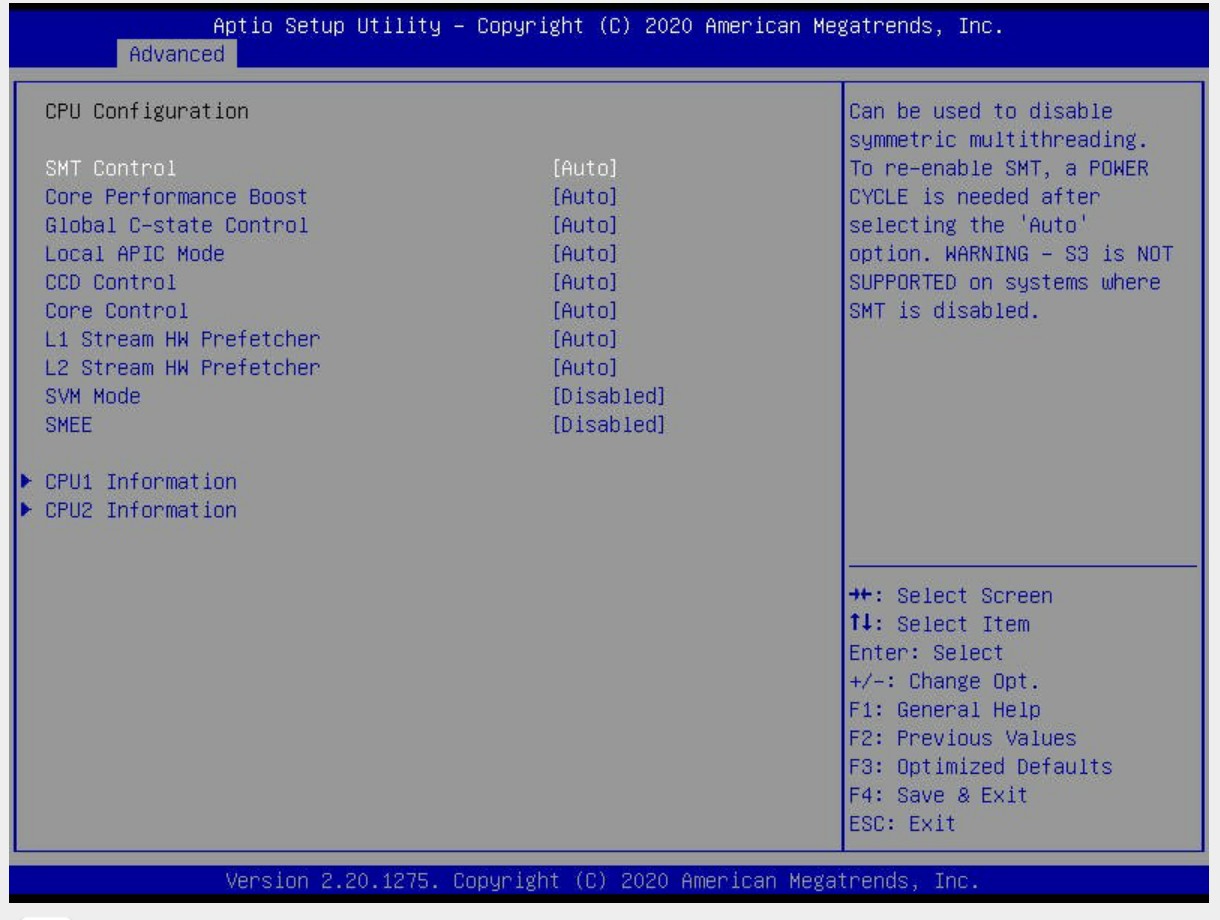
For the CPU configuration, we still haven’t seen what CPUs are installed, but here users can select to enable/disable simultaneous multi-threading, core performance (fixed frequency or fixed power), C-state control, Core Complex control, and other features like the hardware prefetchers (some software works better when these are disabled, depending on how the software is written).
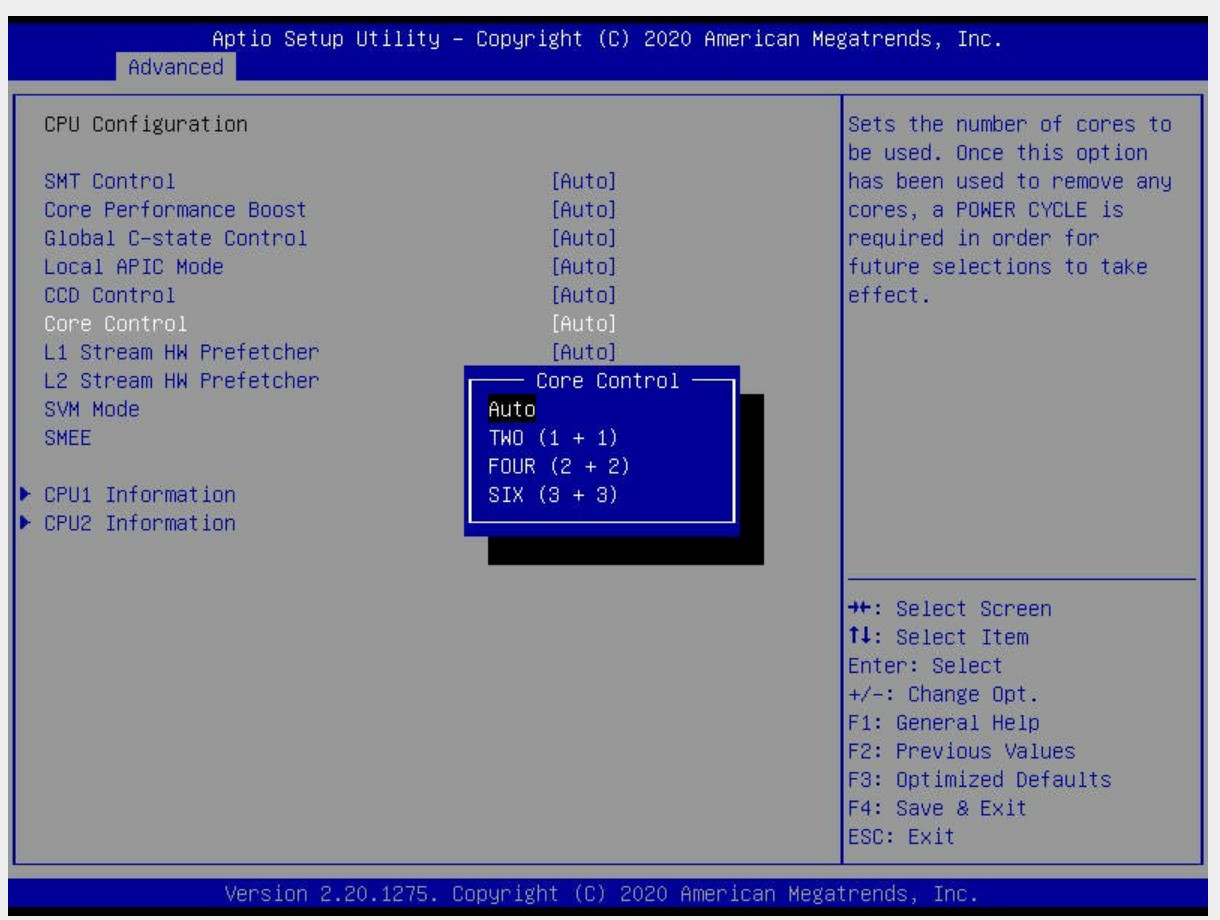
For the Core Control, users can select how many cores per CCX need to be enabled. The full L3 of the chiplet is still available, so this can be used to optimize software that can benefit from more L3 per core (if you didn’t buy a cheaper EPYC to begin with).
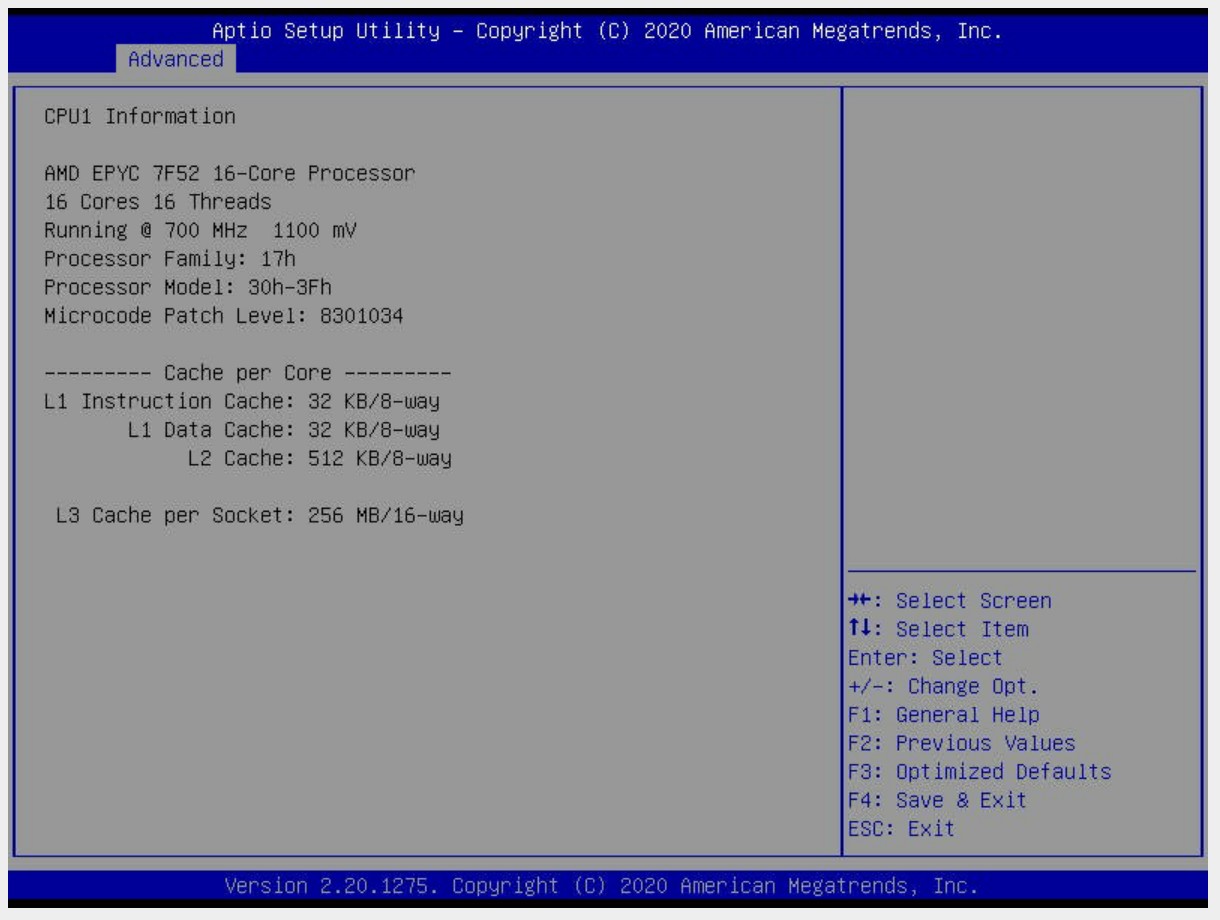
Here we get to the CPU information, finally. Our 7F52 here had SMT disabled, and is showing as running at 700 MHz while in the BIOS. The chip has a nominal operating voltage of 1.1 volts.
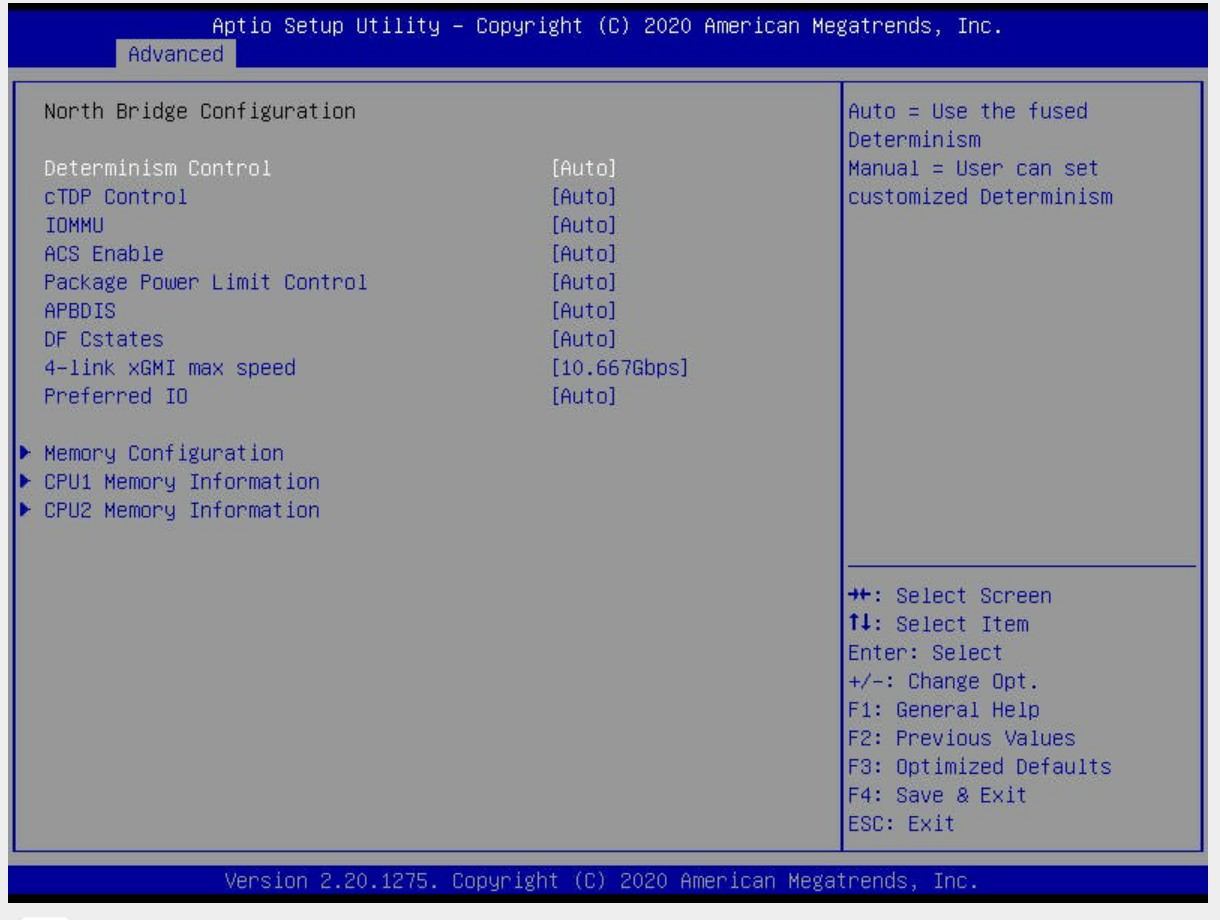
Under the North Bridge configuration is where we get some of the IO options as well as Memory configurations. Included here is the determinism option (for when QoS is required), as well as cTDP options for processor models that support it.

Users looking to have some high-end GPU compute will need to enable 4G Decoding, in the PCIe sub-menu. Users can also manage how the PCIe devices and slots are managed here, including the onboard video.
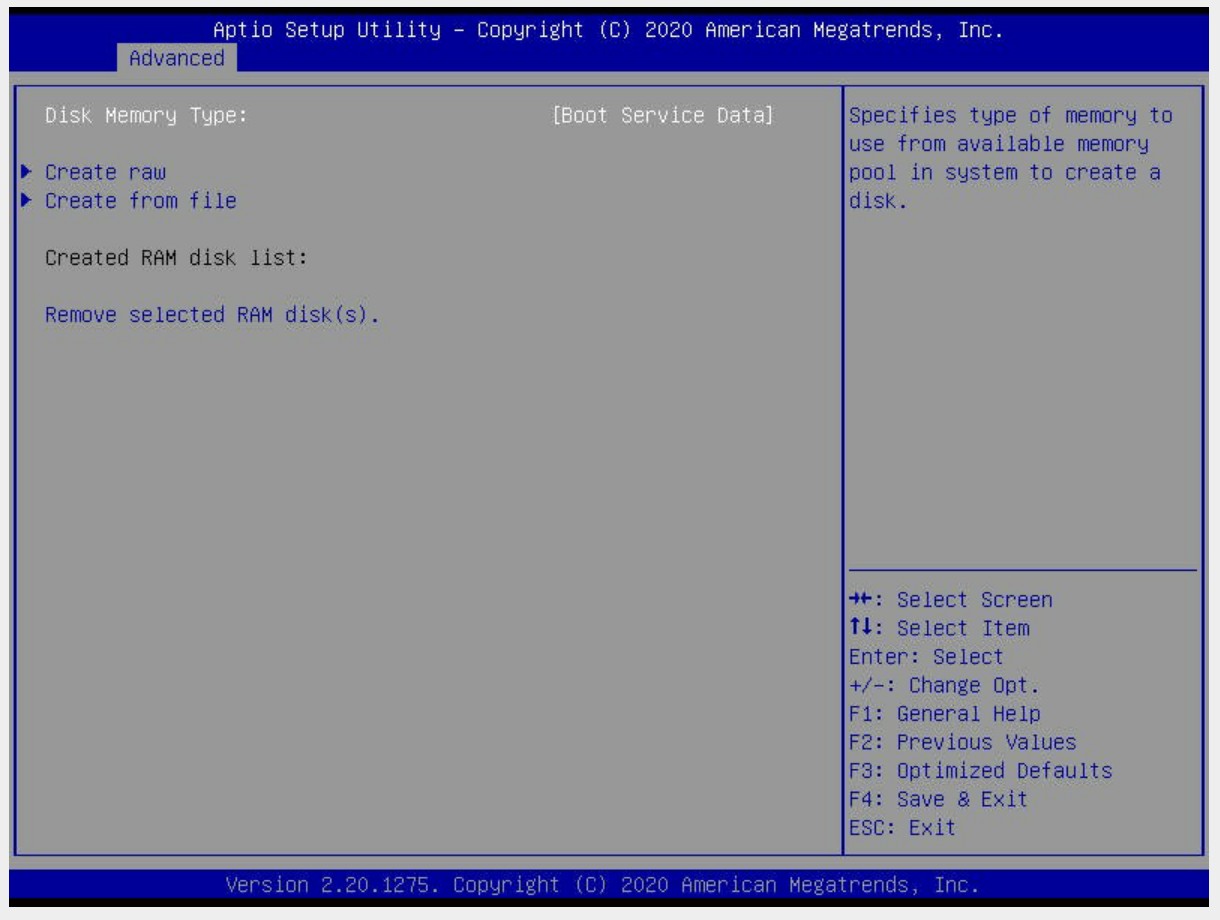
This board also supports RAMDisk operation, and like other RAMDisks this data is lost when power is lost.
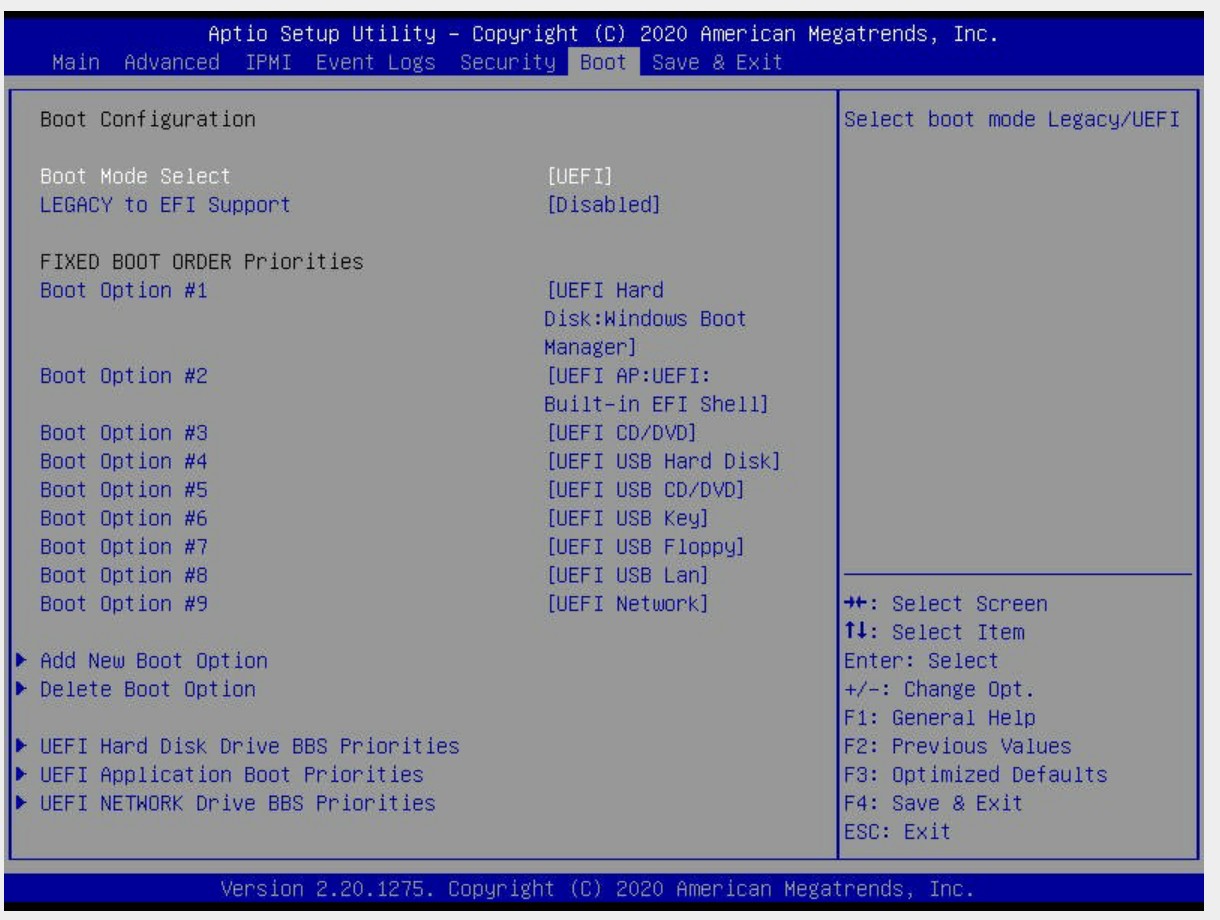
Boot options are extensive, with the board supporting boot from just about anything. Here we disabled Legacy boot due to some detection issues with our USB devices.
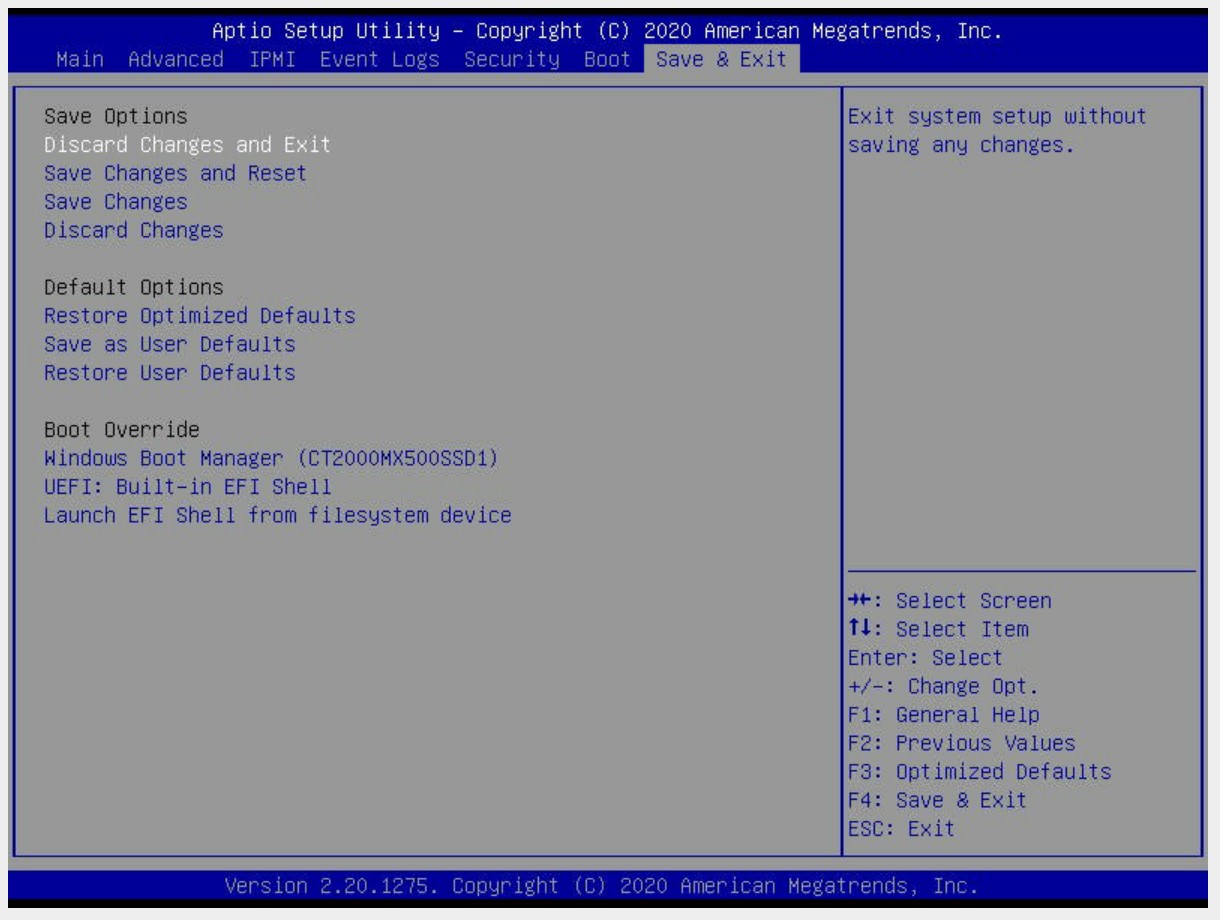
The ever critical Boot Override is also present. Users will need to press F11 in order to get to the boot menu during boot, or they can enter the BIOS and select it here.


36 Comments
View All Comments
johnwick - Monday, June 8, 2020 - link
I am glad to be here and read this wonderful article. all the info you provide to us, it was very informative to us! http://www.bestvpshostings.com/Pyxar - Wednesday, December 23, 2020 - link
Dear AMD, 1994 wants their comport and VGA connectors back..Thx, sincerely,
All the geeks in 2021.
boiledeggdiet - Friday, June 11, 2021 - link
Actually, I was searching for the best motherboard but I got little confuse here. https://fashionhealthbuzz.wordpress.com/2021/06/02...