Lian Li's PC-V1000: A Case Exclusive
by Purav Sanghani on April 29, 2004 12:05 AM EST- Posted in
- Cases/Cooling/PSUs
Installation
As we installed our test bed, we noticed it took less time to install the components in the PC-V1000 than in a standard style ATX chassis, at about 10 minutes for all necessary hardware. The 3-1/2" drive bays faced the side, which made HDDs extremely simple to mount.To install the 3-1/2" floppy drive, the drive bay converter needs to be removed by unscrewing it from the bay. Place the floppy drive in the mount and insert a floppy disk to displace the eject button. Use this as a measure of how far to place the drive from the front of the mounting. Then screw the drive in place using the provided drive screws.
Click to enlarge.
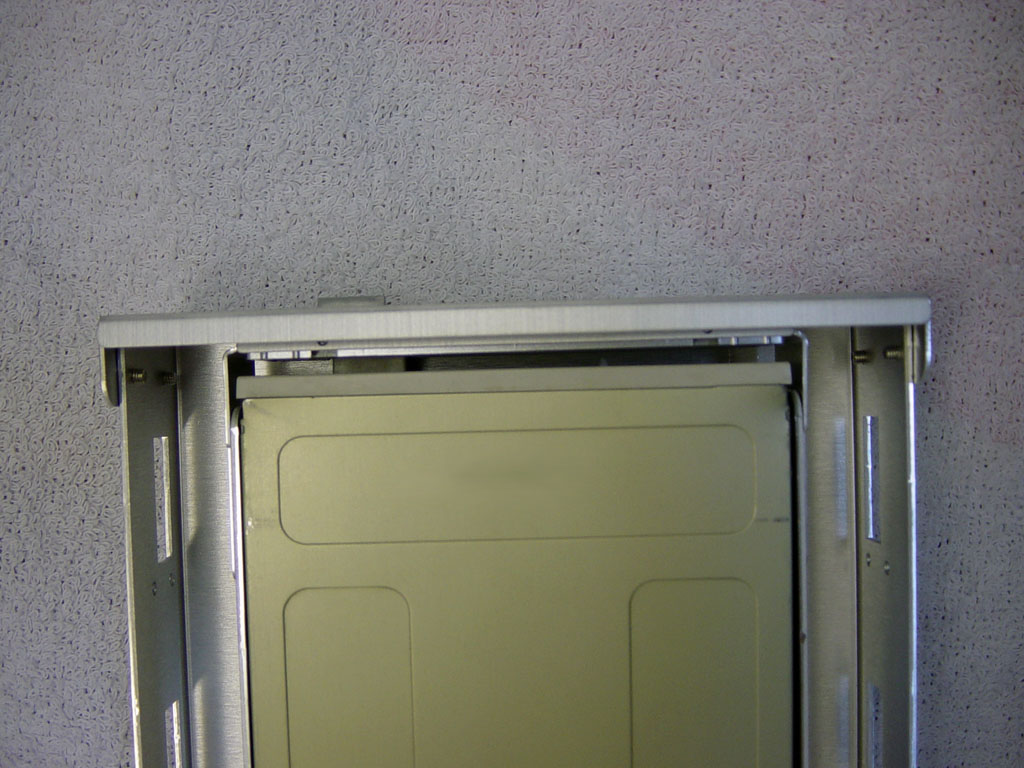
Mounting an optical drive with the included matching bezel is slightly different in that the eject button remains in the same position at all times. To mount the drive, slide it in from the inside of the chassis until the front bezel of the drive is flat against the bezel, making sure not to apply too much pressure (pressing the eject button). Then, screw the drive in from both sides as needed with the provided screws.
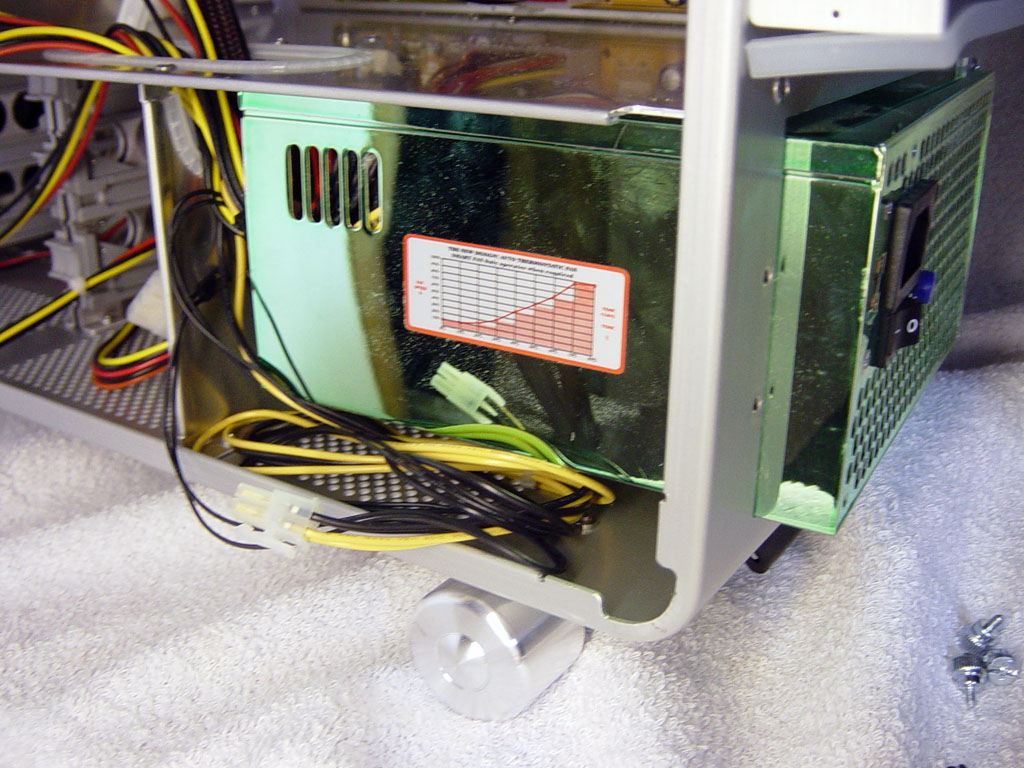
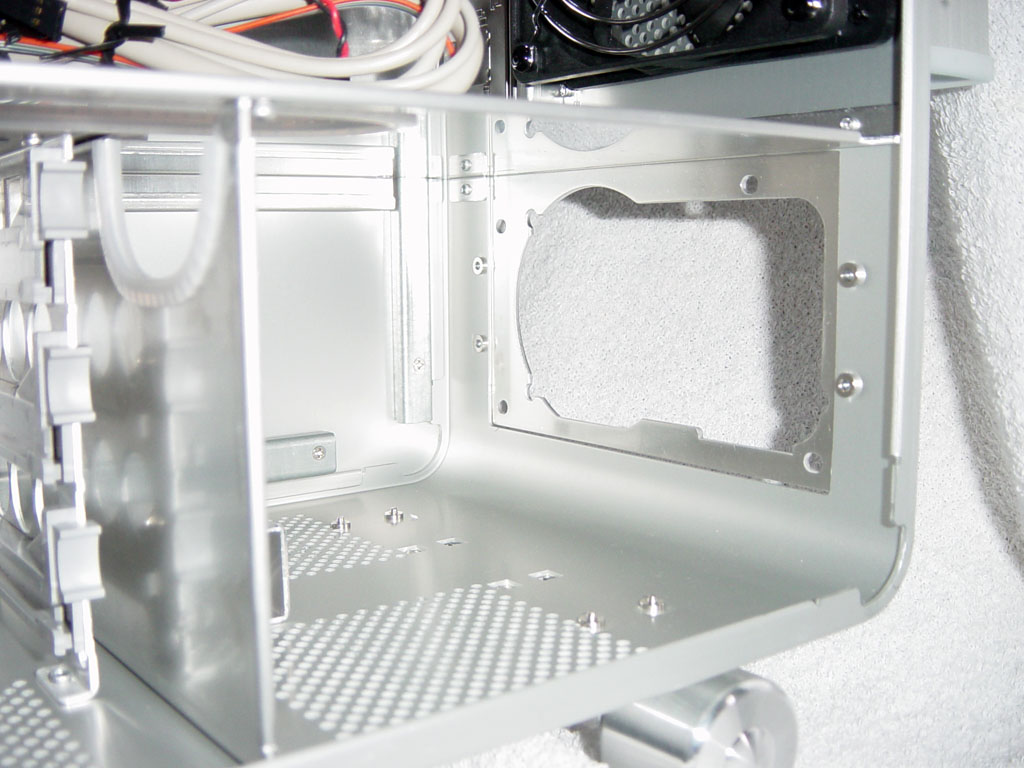
One major flaw in the design of the power supply compartment was the size limitation. We tested an oversized power supply, TTGI TT-550SS, with the PC-V1000 and it would not fit. About an inch of the unit hung out the back and there was no space for the internal wiring, as you can see in the picture below.
Click to enlarge.
Click to enlarge.
The motherboard consumed most of the installation time, since the tray was not removable and the mounting nuts were a bit tedious to install. But when in place, everything fit in perfectly.


32 Comments
View All Comments
bigboxes - Thursday, April 29, 2004 - link
Did you seriously not notice that this is butt ugly?tthiel - Wednesday, April 28, 2004 - link
Did you seriously not notice that this is a copy of the Mac G5?