The MSI Z370-A Pro Motherboard Review: Entry Level Business (And Pleasure)
by Joe Shields on September 11, 2018 8:00 AM EST- Posted in
- Motherboards
- MSI
- Coffee Lake
- Z370
- i7-8700K
- Z370A-Pro
- Pro Series
BIOS
The MSI Z370-A Pro Motherboard uses the same Click BIOS 5 we have seen in other MSI reviews as of late. The big difference here with this specific board is the color theme has changed from the more familiar 'gaming' livery we have seen on other models outside of the Pro lineup to a black and white theme here. Otherwise, the setup is the same with an EZ BIOS upon entry and an advanced BIOS as well.
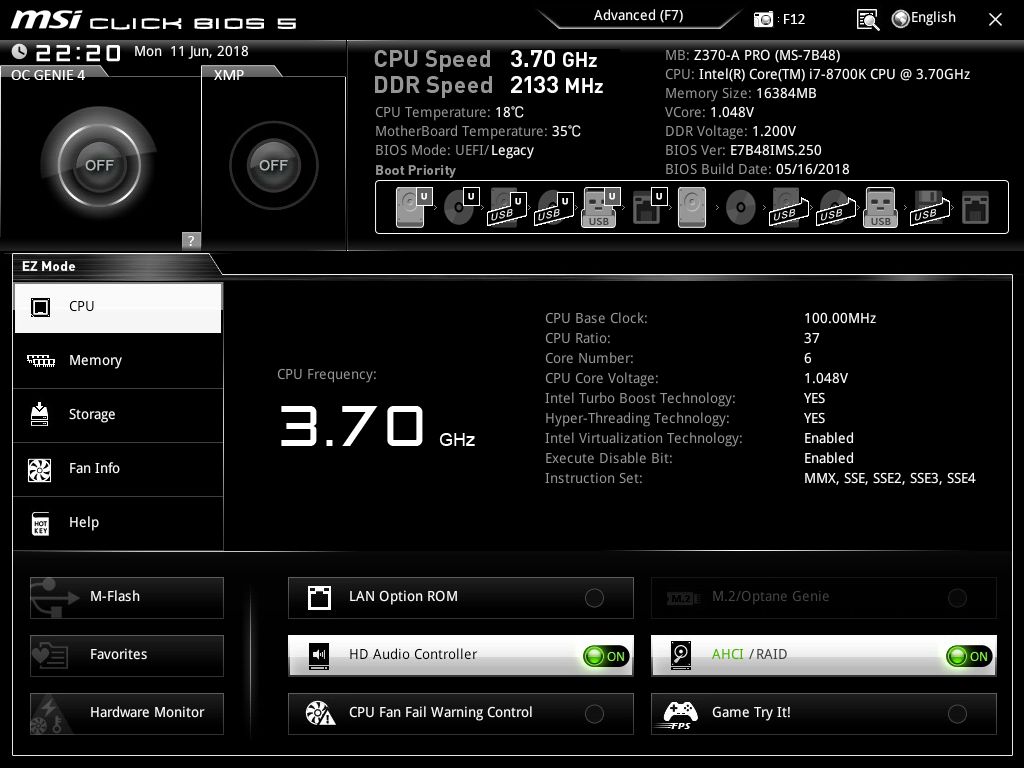
The familiar EZ Mode is informative displaying information in reference to the CPU, memory, motherboard, and other items including the BIOS version and buttons for one-touch overclocking and enabling XMP memory profiles. Users are also able to edit boot order as well as enable HD Audio, AHCI/RAID modes, and others.
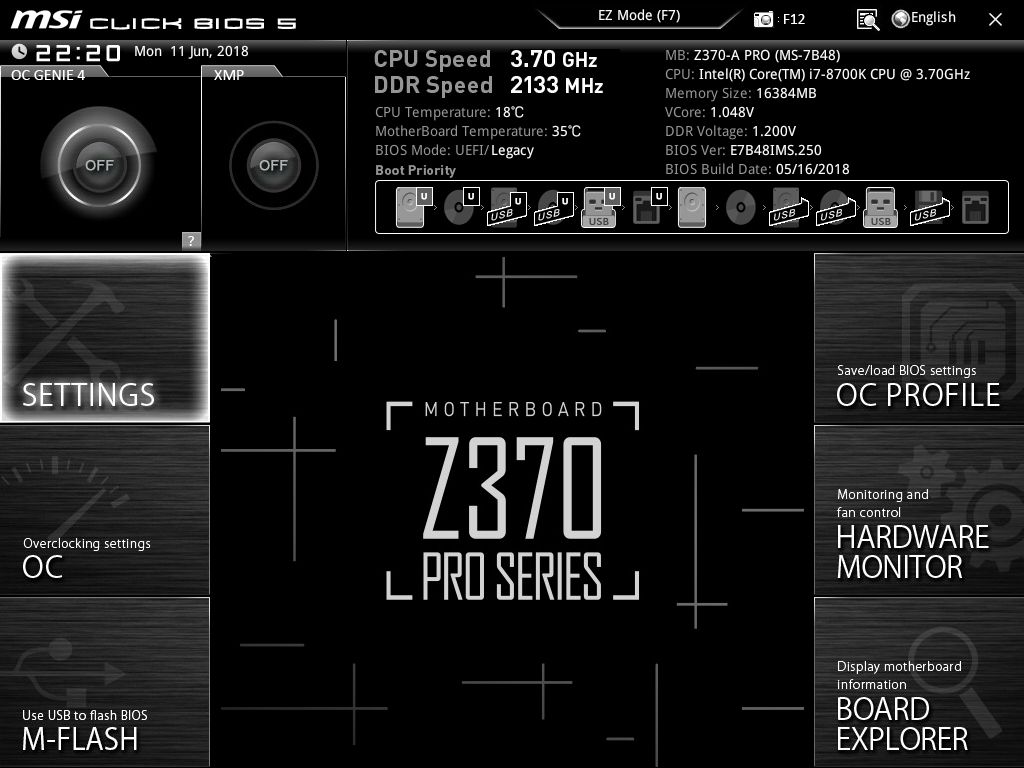
The advanced setup keeps the informative top 1/4 of the EZ Mode but then gives six options flanking an image in the middle. There is Settings, OC, M-Flash, OC Profile, Hardware Monitor, and Board Explorer to choose from each having a different set of options and functionality below it.
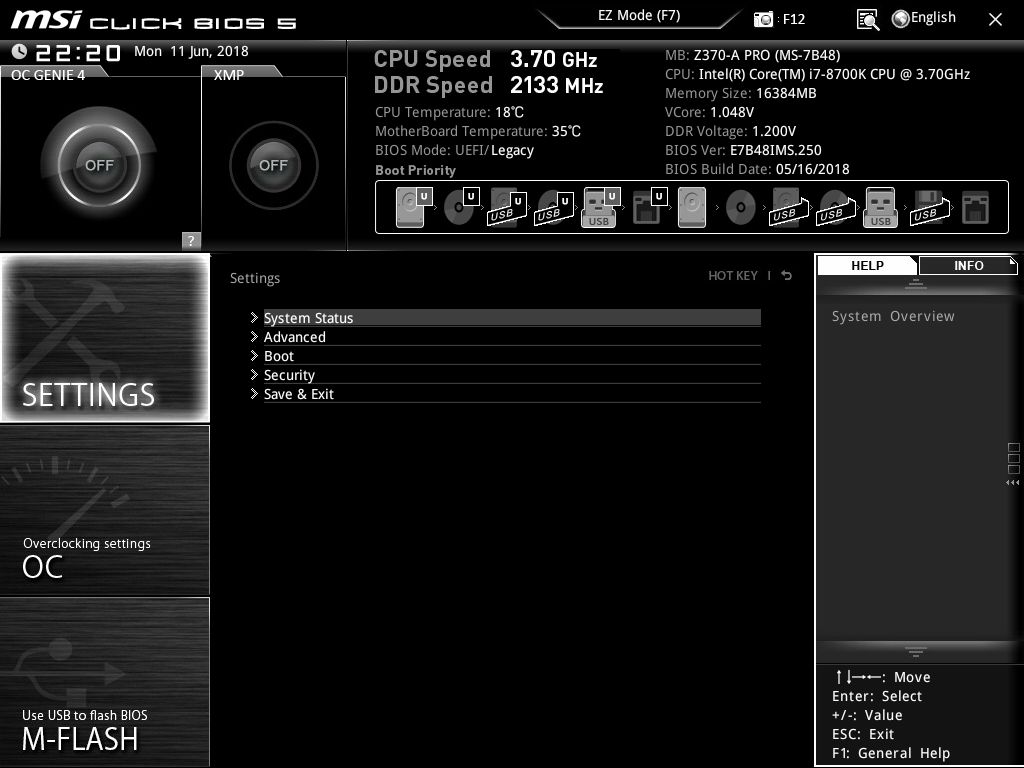
The settings section includes five subheadings including System Status, Advanced, Boot, Security, and Save & Exit. System status is self-explanatory while the Advanced section has options for configuring PCI Subsystem settings, Integrated peripherals and graphics, USB configuration, as well as power management OS configuration and wake up event options. Most peripheral configurations are found here.
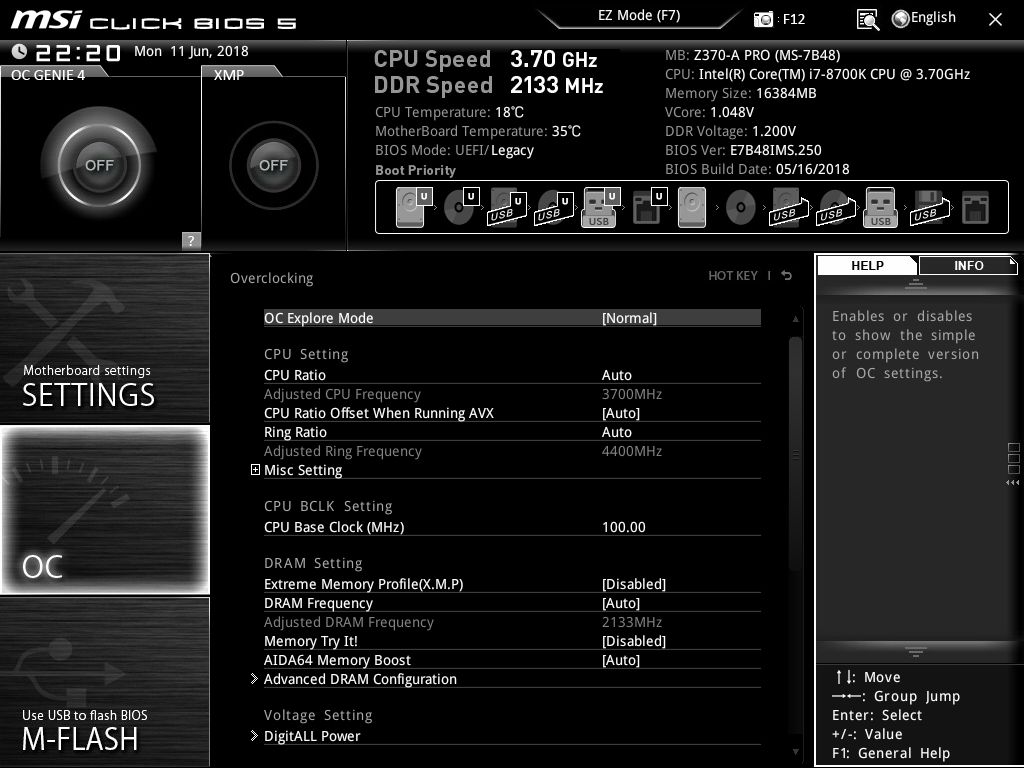
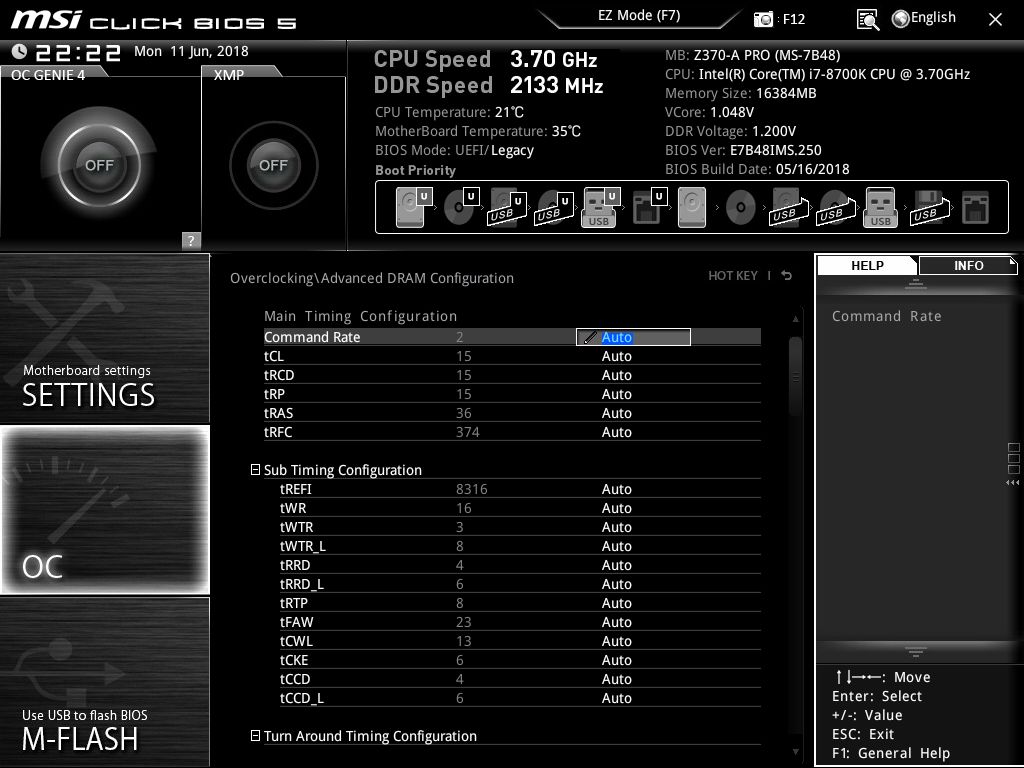

The OC section is where those who would like to overclock will call home. Inside this section are options to edit voltage domains, BCLK, CPU Multiplier, and other options associated with overclocking. By default, the system loads to the normal mode which hides a few options. I find that the most users will not need to get into the expert mode for daily overclocks. Like its non-Pro family, the Z370-A Pro offers users a ton of memory timing options, more than 99% of people will touch, but it is there. MSI's Click BIOS 5 is one of the more ergonomic setups for overclocking with most functions all sitting on one screen. Only power and advanced CPU functions will be needed off this main screen, depending on the overclock.

We skipped the M-Flash screen as that simple reboots and takes us to the M-Flash environment so on to the OC Profile. In this screen is where users are able to save their BIOS profiles. There are six slots and users are able to load from the BIOS chip onboard or from a USB.
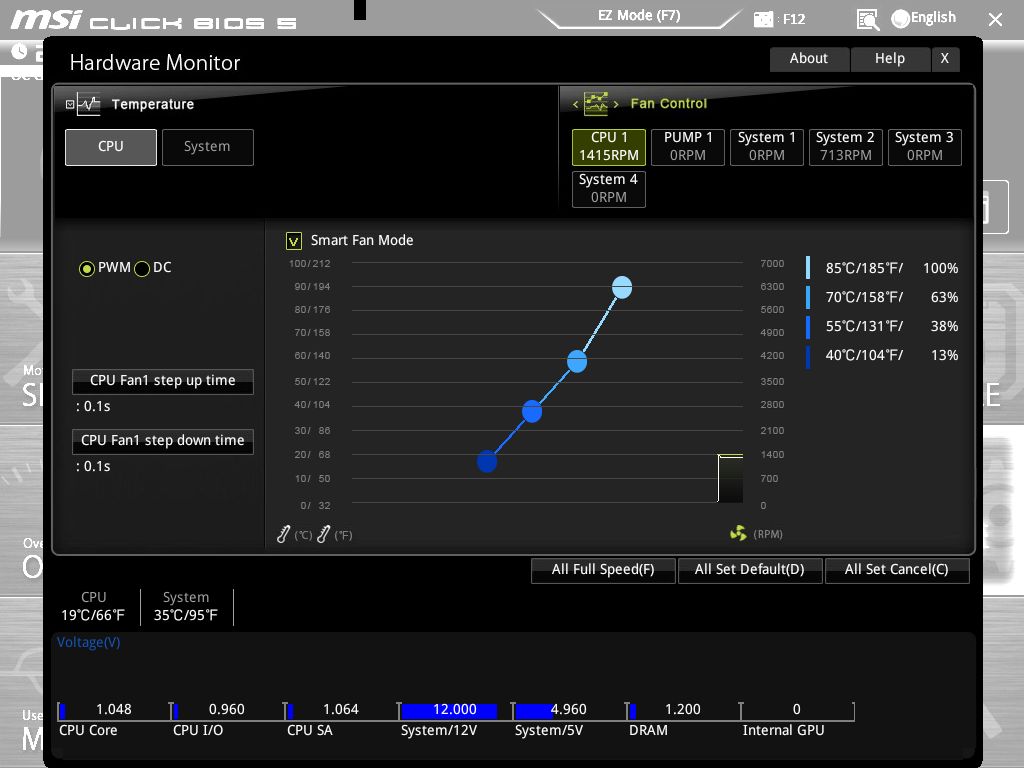
The Hardware Monitor section is where users are able to setup and control their fans and fan curves from within the BIOS. Users are able to select from full speed, or manually set up curves to their liking.
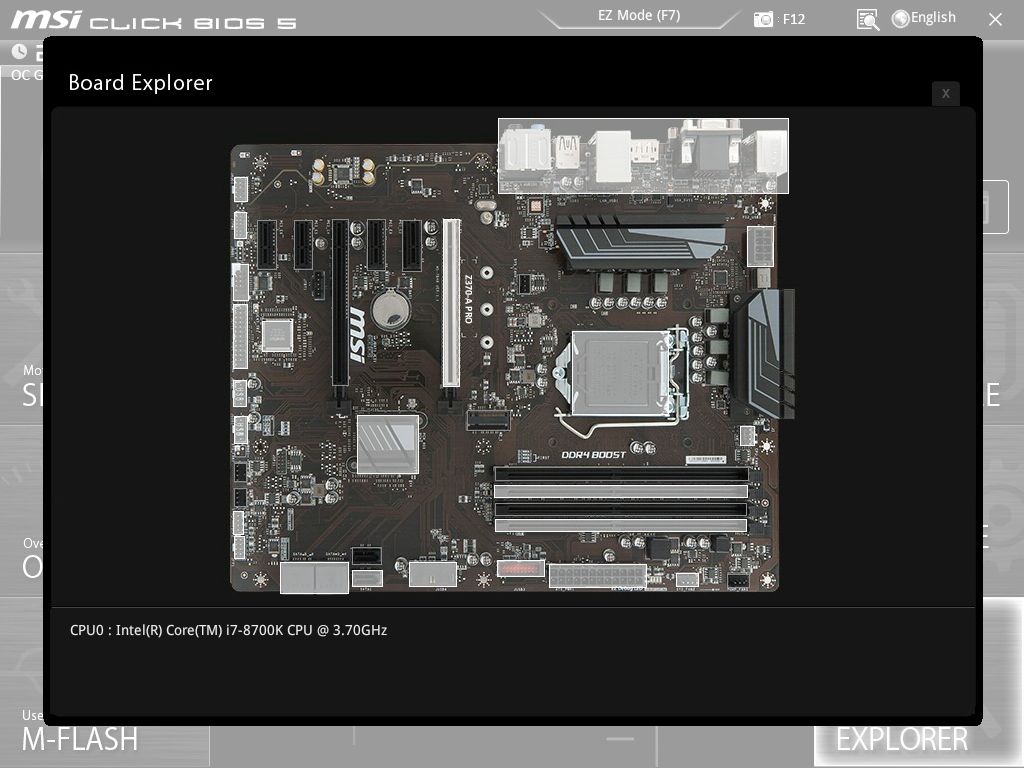
Last up is the Board Explorer. This informational screen displays a top-down image of the motherboard with 'hot-spots' on the board users can hover over and will display the hardware attached to it. This includes the back IO panel, DRAM, PCIe, and M.2 slots, SATA and USB ports, and connectivity on the bottom portion of the board.


Software
MSI, like all board partners, includes multiple pieces of drivers and software to get the system up and running in tip-top shape. This typically comes in the form of a driver disk with all the software as well as the support website to download the latest and greatest versions of said applications.
The included driver disk did not want to play nice with my system. Initially, I thought this was bad luck, but seeing as how its the third time it has happened, I am starting to wonder if my optical drive is going bad. The tabs include utilities such as Mystic Light software to the Command Center with several more available including a RAM disk, Latency tuner, and Live Update 6.
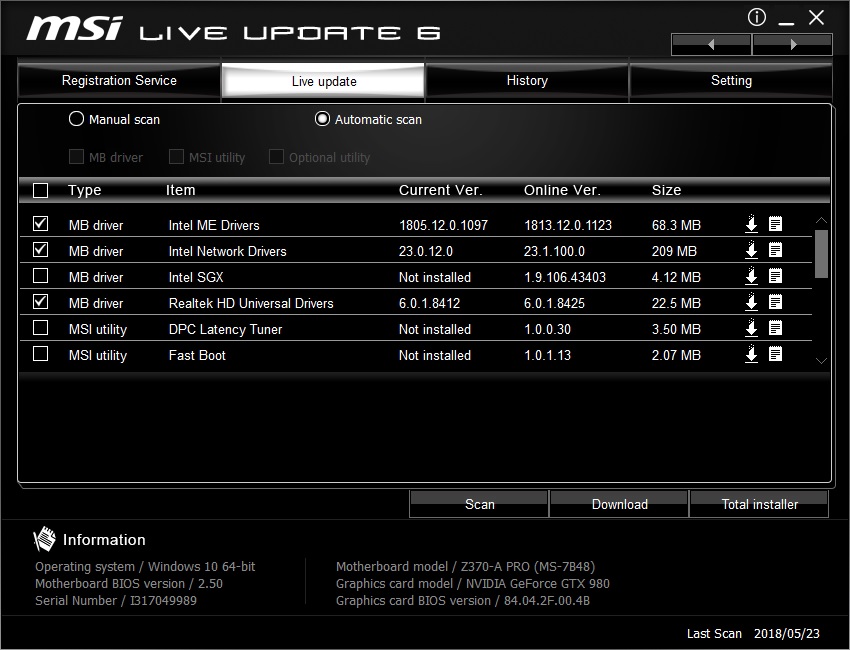
The Live Update 6 software is an included utility that sits in the system tray and compares installed software versions with the latest available on the MSI website. The application will let the user choose to download and install the software. The software is useful for those who prefer to be on the latest and greatest drivers and software.
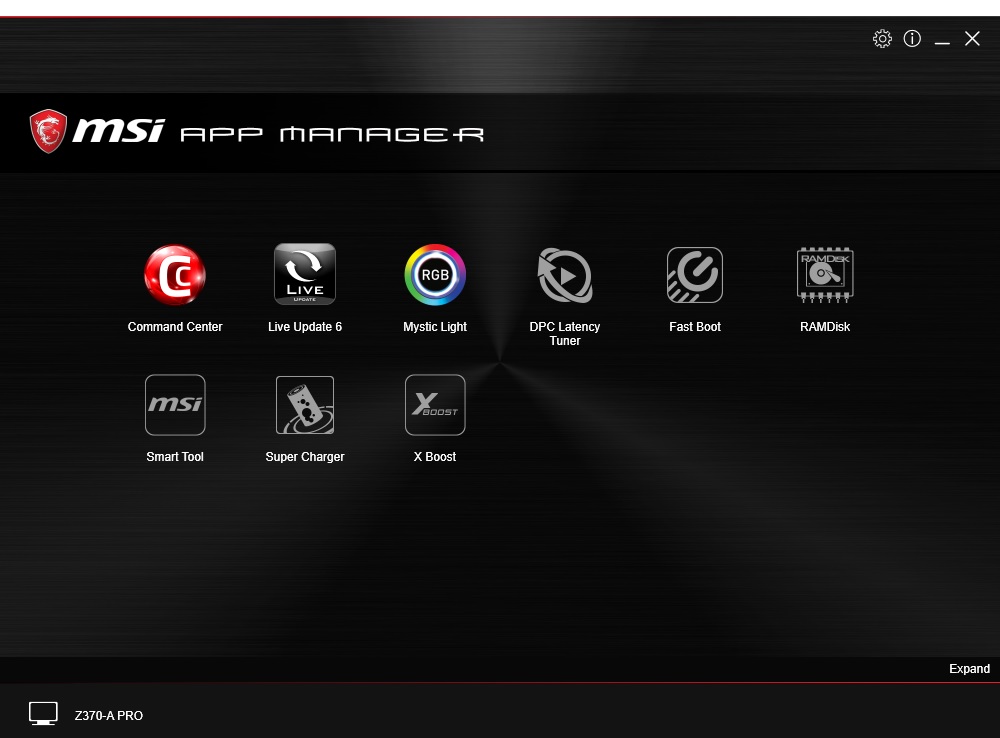
MSI's App Manager is a centralized location for all MSI applications. Users are able to open the software from this screen as well as download and install any applications displayed. What is downloaded and installed is in color and lighter than those that are not.

The MSI Command Center is their Windows-based monitoring and control application with functions to handle the CPU, DRAM, iGPU, and enable OC Genie 4 settings. When clicking on the advanced button, this brings up a menu in that space above with options to adjust multiple voltages, DRAM timings, Fan speeds, as well as monitor onboard temperatures in real-time. Overall it is a fairly complete and robust application for hardware control through windows.

MSI's Mystic Light application controls the LED functions on the board. In the case of the Z370-A Pro, the LED light color (white) cannot be changed, however, it does offer several light effects including breathing, flashing, random, and double flashing. Not quite as many as we have seen with RGB LEDs, but again, its a 'Pro' board so this isn't typically expected from the target demographic.
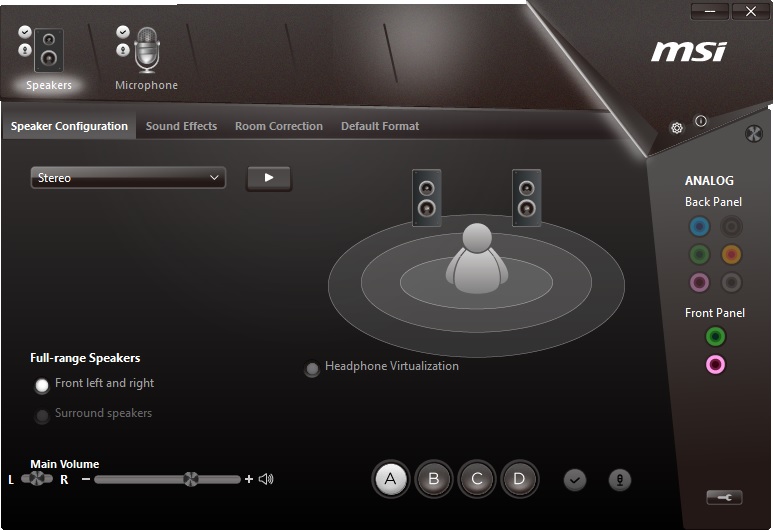
Last up is the Realtek audio software. The software inlcudes options to adjust sound as needed, as well as including a status of the connected devices.


12 Comments
View All Comments
AtomicMuffin - Sunday, February 17, 2019 - link
I too liked the color scheme they used. Also if rgb is off puting you can use mystic light app in silent mode. Where it boots with windows and is automatically hidden disabling the rgb strip that board has on it's backside.Samus - Tuesday, September 11, 2018 - link
My Z97-A Pro was free from Microcenter during the Pentium G promo...and that's about all it was worth. Nothing but problems with that board and eventually pulled it, smashed it, and threw it in the garbage out of frustration. Put in an Asus Z97 to replace it, works fine to this day.