The Biostar X370GTN Mini-ITX Motherboard Review: AM4 Goes Tiny
by Gavin Bonshor on October 23, 2017 9:00 AM ESTBIOS
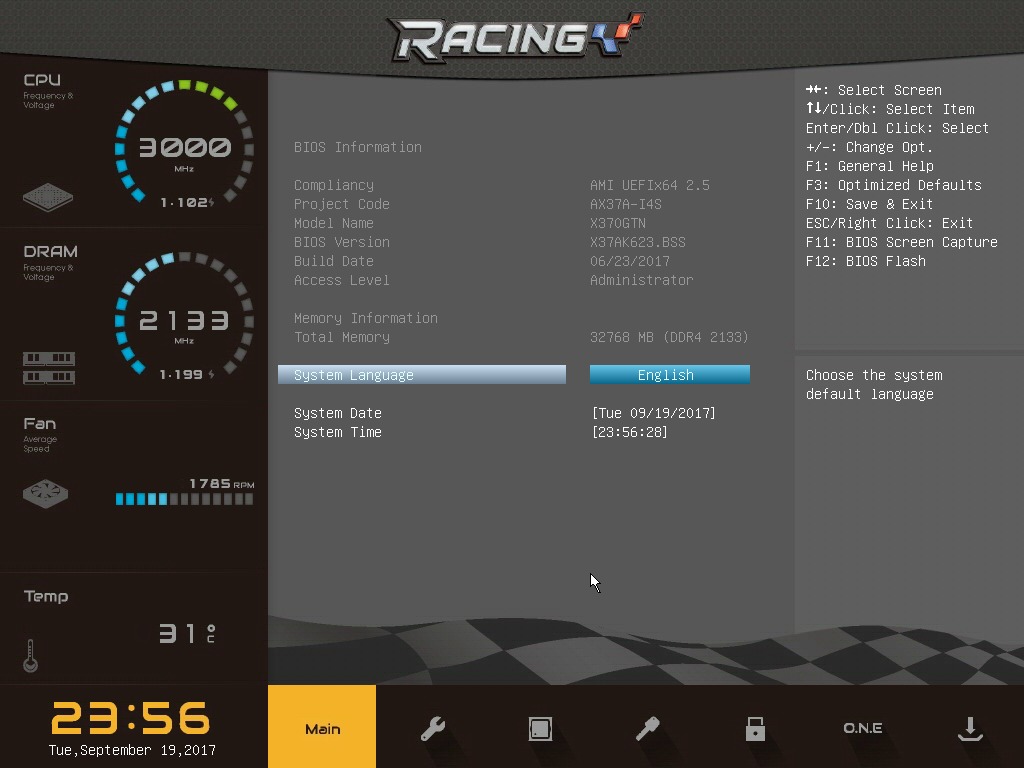
Looking at the Biostar X370GTN BIOS on the whole, the first thing that springs to mind instantly its simplicity: it is very plain. Unlike a lot of motherboard manufacturers, Biostar is one of the only mainstream vendors that has a simple GUI without splitting modes between basic and advanced. A more apt enthusiast will be itching to plough through an advanced section to check out all of the settings, but this is a relatively low-cost mini-ITX offering, so we wouldn't expect a lot of wiggle room in terms of voltage and core clock control.


The main screen is split into two main sections, with a center panel with all the customizable and changeable settings, and a skin on the left which has vital data including clock speed, memory speed, the amount of memory installed and even the average fan speed.
The Biostar Racing BIOS featured on the X370GTN has seven main tabs, although only a couple of them offer customization. The first of these screens is an advanced tab which allows for tweaking of many different settings and offers the ability to enable or disable components and controllers such as SATA ports and even on-board audio. Also available is the ability to turn on/off AMD specific features such as Cool and Quiet or C-State options.
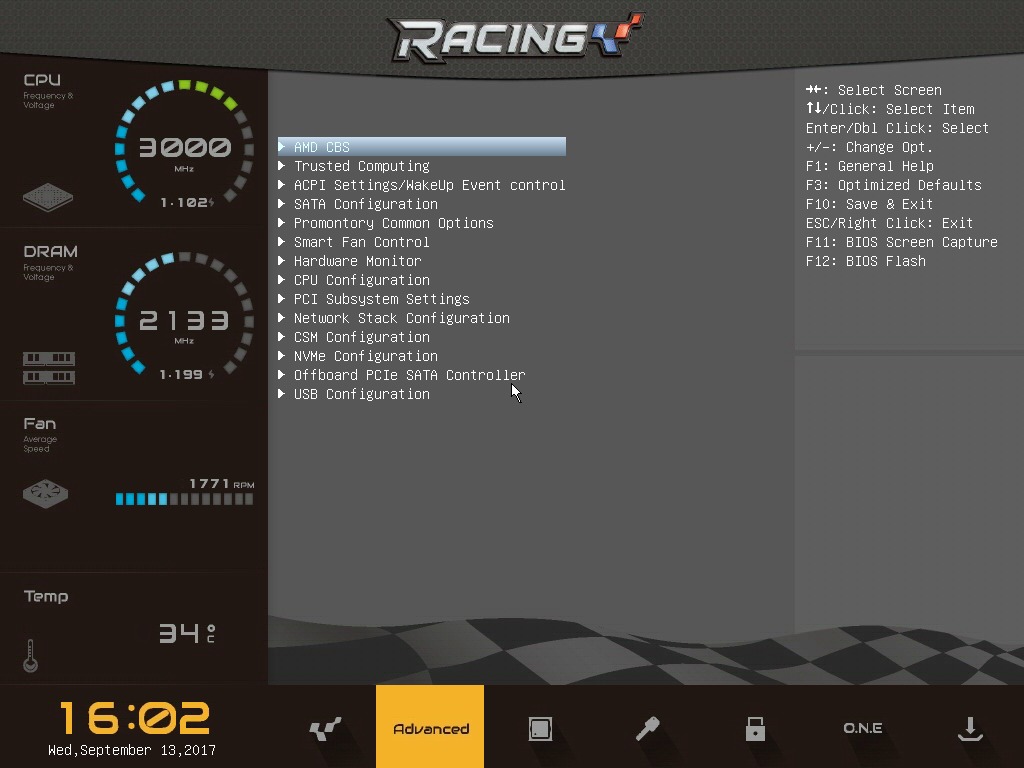
Having the ability to change specific USB options is handy if you wish to do so, but more useful to most is being able to switch IOMMU on and off. Users can also disable features such as the audio or networking functionality here, and RGB LED control is later in the BIOS.
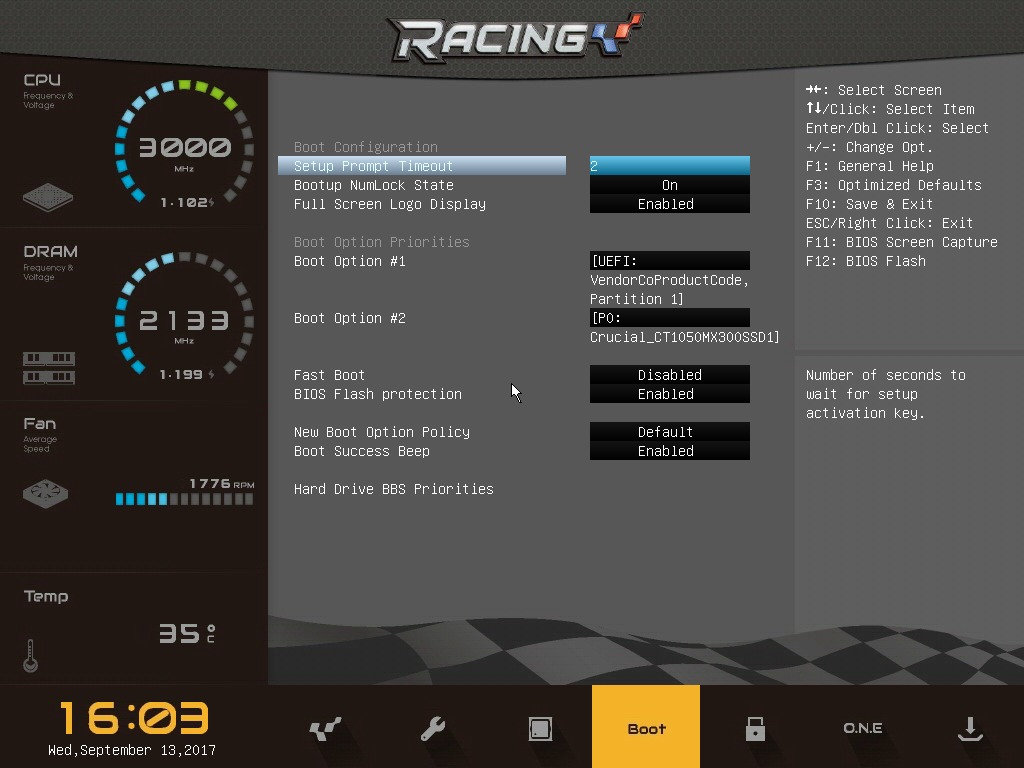
With the Boot tab, managing certain aspects of boot priority can be ascertained through the options available on this screen, although there is not a menu for single 'click to Boot on this device' as with some other motherboards.
With the O.N.E screen, we find Biostar’s simplified overclocking options for CPU and memory. Only after updating to an AGESA 1006-enabled BIOS do the overclocking features appear, however. Overclocking is possible through adjusting the multiplier, or increasing the base frequency. Voltage adjustments come only with an offset, making it difficult to pin down an exact voltage. There is no Load Line Calibration setting either.
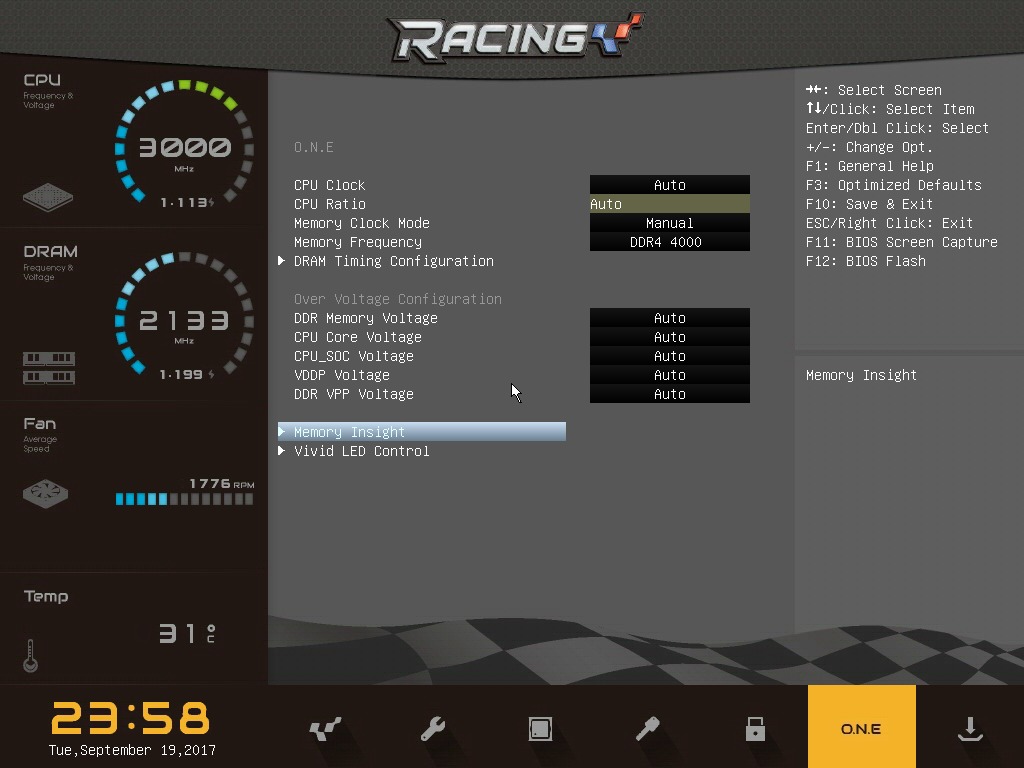
One perhaps disappointing omission from the BIOS is the inability to call upon XMP profiles from any installed memory. The easiest way to set rated speeds and timings is to simply enable XMP, but the lower-tier vendors mostly do not include this option, requiring users to set things manually. This can be an issue if there are other adjustments to be made in the secondary and tertiary sub-timings, and the motherboard vendor does not open those up (or users do not know what they are). XMP saves a lot of effort. It is worth noting that without the a BIOS built on the AGESA update, memory frequency multipliers are limited to a maximum of 3200MHz.

The BIOS also has an RGB LED lighting customization tool, for the RGB LEDs embedded in the power delivery heatsink and the RGB headers. Users have the option to enable or disable the lighting as well as changing the lighting effect and setting the red, green and blue values.
Software
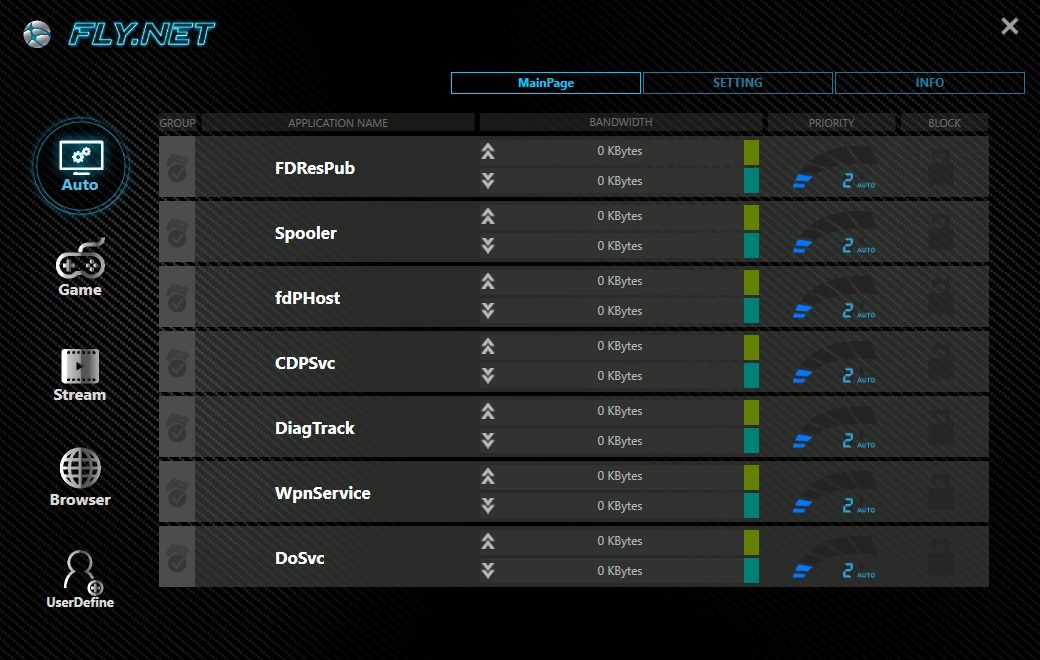
Perhaps expected given previous Biostar reviews, the included software doesn’t amount to the volume you would expect from the primary motherboard manufacturers. What Biostar has included is the 'Biostar Racing GT Software' for adjusting LEDs and monitoring the system, and a 'Fly.NET' utility that uses the gaming-focused network controller on the board to prioritize software network access over others.
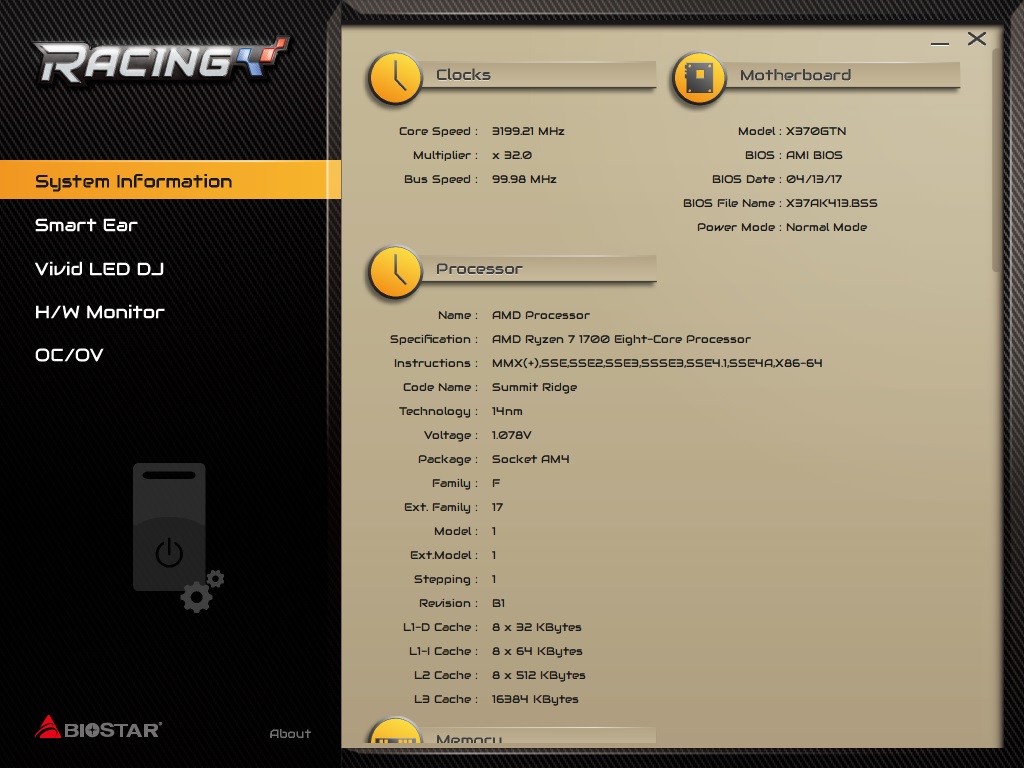
The Biostar Racing GT Software does actually provide a lot of useful information such as clock speed, motherboard information including BIOS version. Other options include Smart Ear, which increase the overall gain through the headphones.
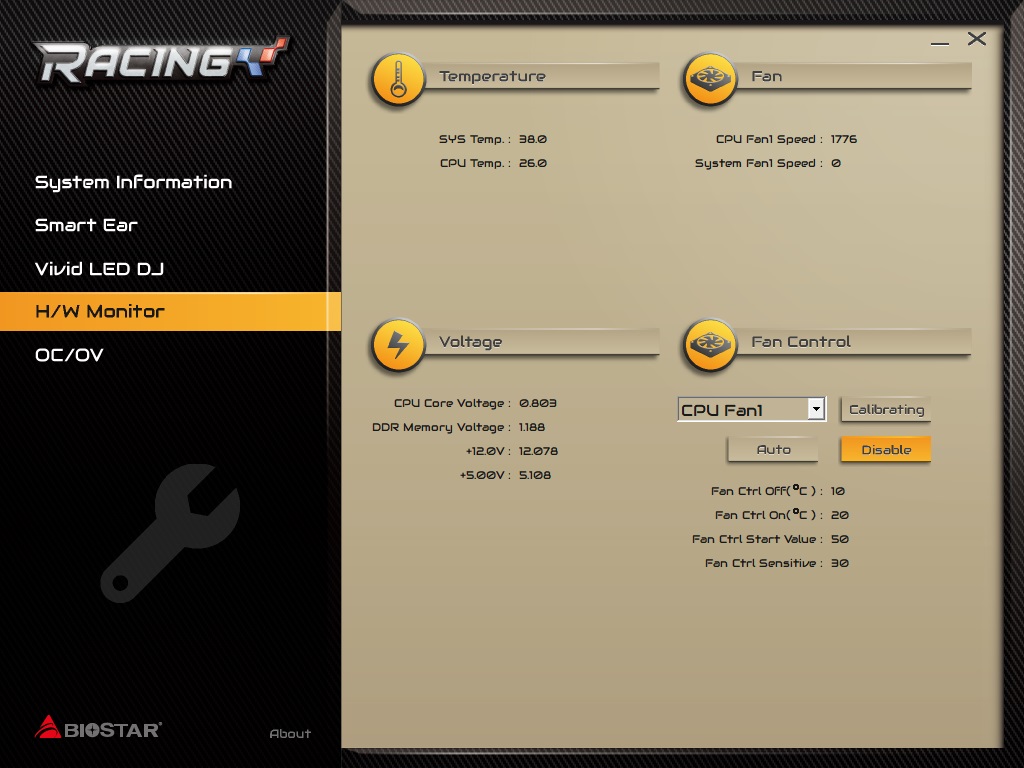
The H/W monitor tab is much of the same, but more information including CPU/memory voltage, core and system temperature and even fan speed is present here. The fans can also be calibrated here.

Vivid LED DJ which is a very strange naming scheme as DJing has nothing to do with RGB. But the software allows for a much more comprehensive and intuitive customization of the RGB lighting compared to the BIOS options. A lot of emphasis has been placed on RGB products so far in 2017, and although there isn’t much RGB to speak of on the board, RGB LED headers are present for use of RGB strips to further enhance the bling bling.


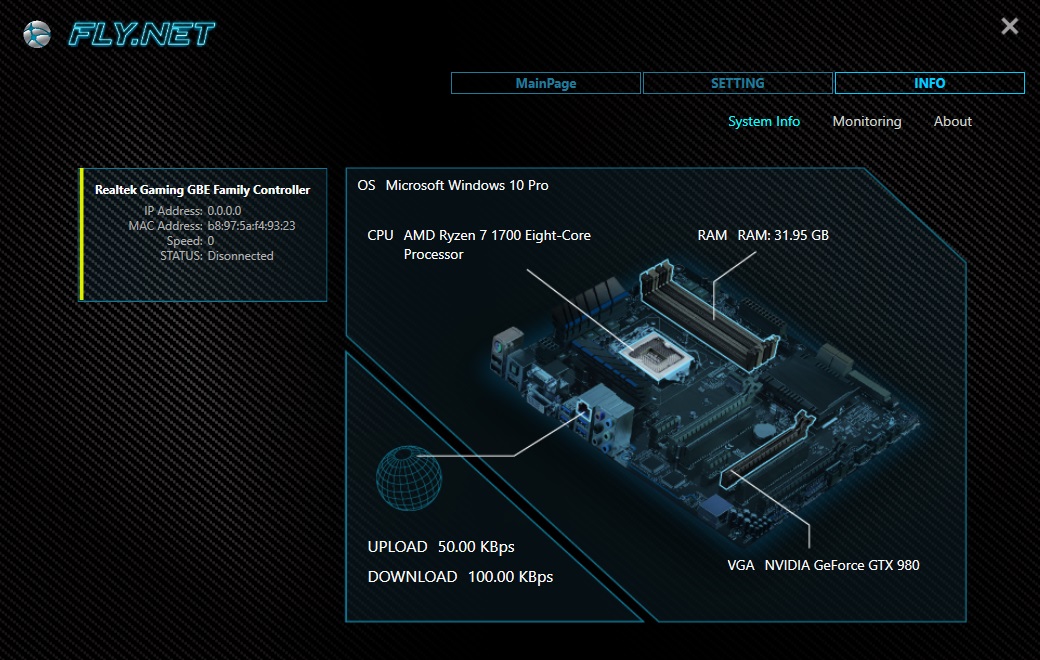
Touching on the Fly.NET software, this allows network prioritization between different programs connected to the internet, as well as certain processes which rely on the internet.


31 Comments
View All Comments
h3ll0 - Monday, June 17, 2019 - link
I've had this board since late november 2017 and I've never encountered a single issue with it. Yes it's not made by the most well known brand, however biostar has been around just as long as Asus and other manufacturers so they must be doing something right. I have mine paired with a R5 1600 @ 3.8Ghz 1.35625V through ryzen master and 16GB 3200Mhz ram in a CoolerMaster Elite 130 with a . The one downside that is mentioned in the review is the lack of setting a fixed voltage value in the BIOS, however ryzen master works just fine. For all the people whinging about the small vrm heatsink, most VRMs don't even need a heatsink as they designed to run without one and can be rated from 85C-125C and still function just fine, the problem is when you push voltages high and have no airflow or a heatsink on them, so as long as there is either a heatsink or airflow, but ideally both, you'll be fine.